ERR_CERT_COMMON_NAME_INVALID? Try these fixes
Some users have been coming across the error “ERR_CERT_COMMON_NAME_INVALID” along with the message “Your connection is not private” while trying to access a website, s. As it turns out, this error code comes up when the website that you are trying to access is using the HTTP protocol instead of HTTPS. In case you don’t know the difference between the two, the latter offers a secured connection between the host and the user as it encrypts the connection. In this article, we are going to show you how to resolve the mentioned error code so just follow through with the methods down below.
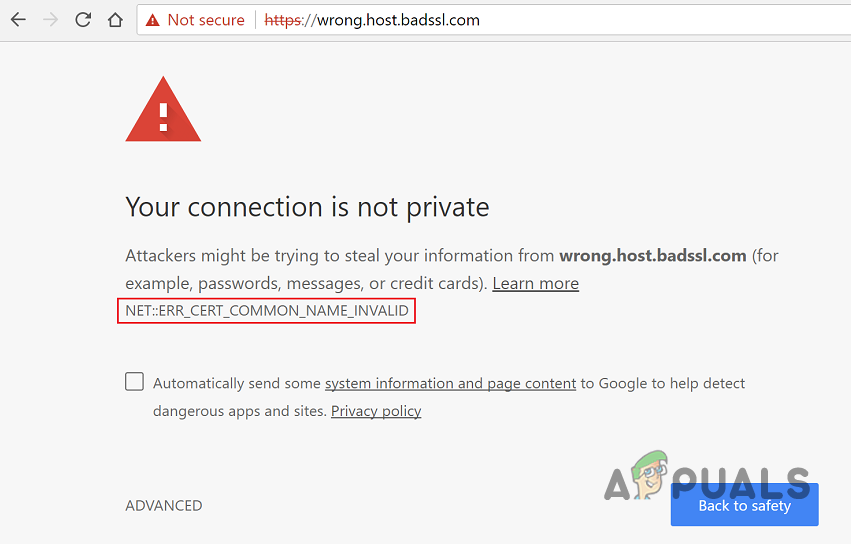
As it turns out, in order for a website to encrypt the connection between you and itself, it requires what is known as an SSL certificate. When a website has an SSL certificate, it is able to communicate over the HTTPS protocol which is more secure than HTTP. One of the main reasons that HTTPS is more common and important these days is like we have mentioned, security. When the connection between you and the website that you are trying to access is not secure, a hacker or third party can spy on the information that is being exchanged and potentially exploit that. As such, when the connection is encrypted, such man-in-the-middle attacks can not be performed.
With that said, we are not going to dwell into further details of why HTTPS is important and what an SSL certificate does as that’s not the purpose of this article. Before we begin, one way that you can resolve the issue if you are facing it on a specific website is to simply right-click on the empty and type in thisisunsafe. This will work on Edge and Chrome browsers. On Firefox, you can simply click the Advanced button and then click Accept Risk to open up the website which isn’t recommended. With that out of the way, let us get started and show you the different methods that you can use to resolve the error message in question.
Delete Certificates
The first thing that you should do when you encounter the problem in question is to delete any certificates that might have been stored on your web browser. As it turns out, the error code can occur when the certificate of the website does not match with the certificate that is present on your web browser. When this happens, your web browser thinks that the website is not safe and insecure as it apparently responded with an invalid certificate.
To resolve this problem, you can delete any existing certificates on your browser to see if that fixes the issue for you.
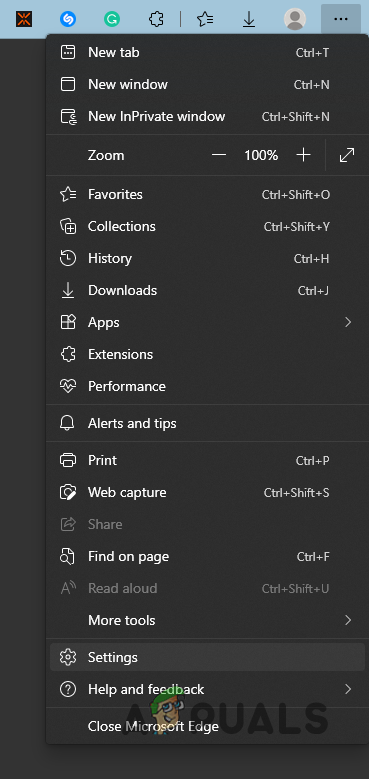
- First of all, on your web browser, click on the More menu at the top-right corner.
- From the drop-down menu, choose the Settings option.
Navigating to Settings - On the Settings screen, make your way to the Privacy and Security section.
- There, click on the Manage Certificates option provided.
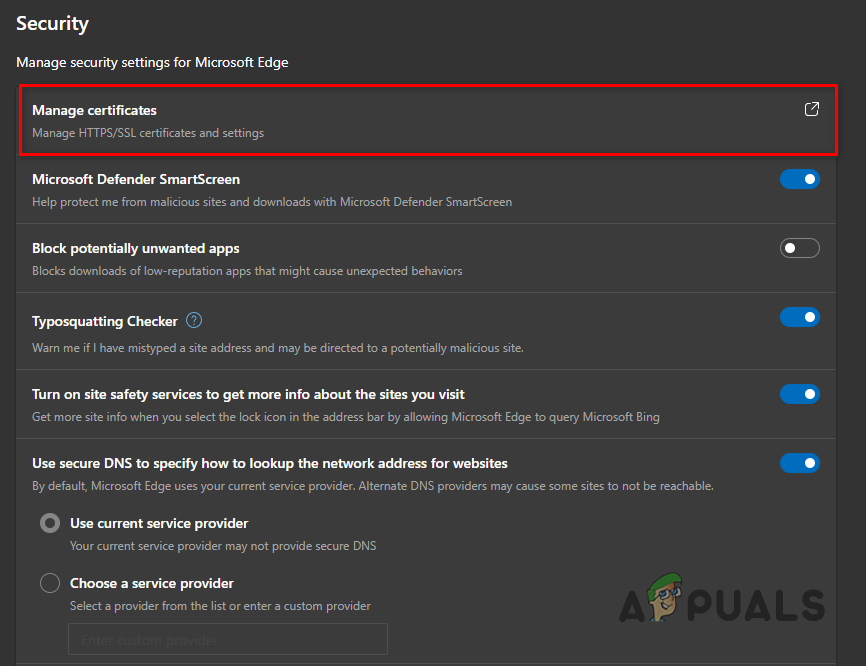
Opening up Certificates Menu - If you have any Google certificates present, select them and click the Remove button.
- Once you have deleted the certificates, restart your browser and visit the website again to see if the problem is still there.
Disable Third-Party Antivirus
As it turns out, in some cases the error message in question can appear when third-party antivirus software is interfering with your network activity. This happens when the security program installed on your computer comes with an HTTPS scanning or protection feature. If this case is applicable, the antivirus will prevent your web browser from providing the required security.
Therefore, in order to fix the problem, you will have to disable the third-party security program that is installed on your computer. Once you have done that, restart your web browser and see if the error is still occurring.
Flush DNS
Another way that you can resolve the error code mentioned above is by flushing your DNS settings. The Domain Name System or DNS server that you are using can also at times cause the problem in question. This is because the hostname that you are trying to access is resolved by your DNS server so it plays an important part. To flush your DNS, follow the instructions given down below:
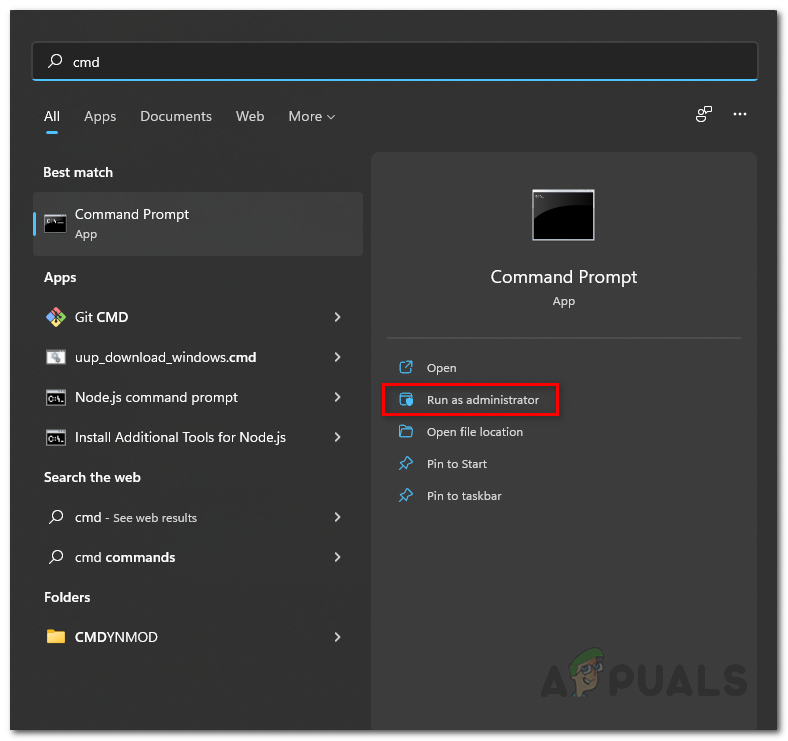
- To start off, open up the Start Menu and search for the Command Prompt. Click the Run as administrator option provided.
Opening up Command Prompt as Admin - On the command prompt window, type in the “ipconfig /flushdns” command without the quotation marks and then hit Enter.
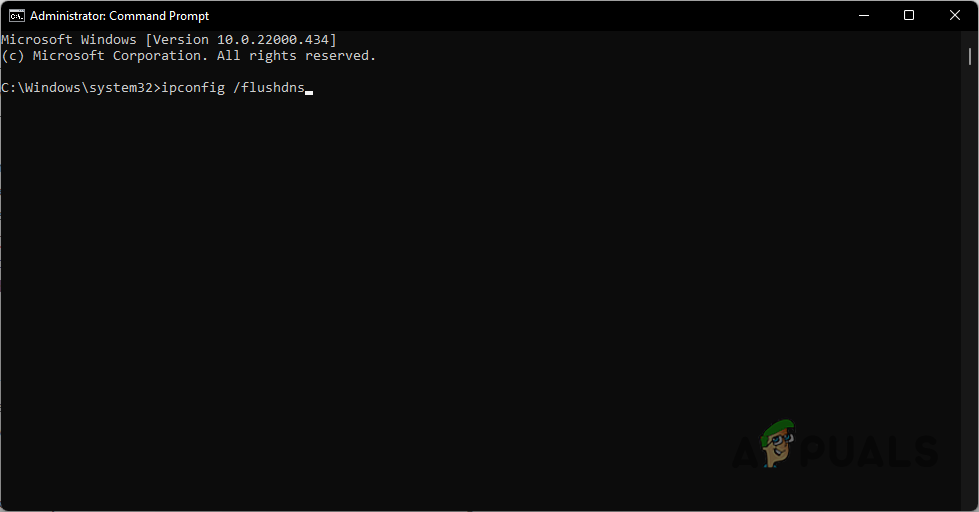
Flushing DNS - With that done, go ahead and restart your computer.
- Once your PC boots up, open up your browser and see if the problem is still there.
Edit Hosts File
As it turns out, Windows uses a hosts file that is used to map IP addresses to hostnames. This was widely used before DNS servers were properly implemented and used. However, now that DNS servers are common, Windows still has kept the hosts file for certain purposes. In some cases, when the website that you are trying to access is present in the hosts file, it may cause the error in question. As such, you will have to edit the hosts file on your system. To do this, you will need administrative privileges so make sure you are using an administrator account. With that said, follow the instructions down below to do this:
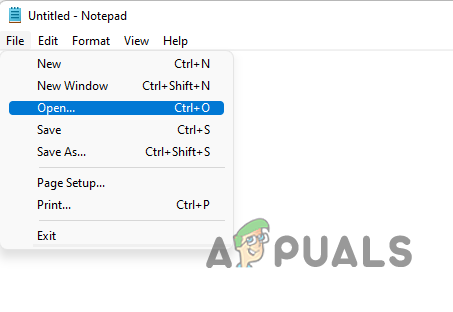
- First of all, open up the Start Menu and search for Notepad. Right-click on the result shown and choose Run as administrator from the drop-down menu.

Opening up Notepad as Admin - On the Notepad window, go to File > Open.
Notepad File Menu - Then, navigate to the C:\Windows\System32\drivers\etc\ folder on your system.
- Once you are there, make sure All Files are selected from the menu above the Open button.
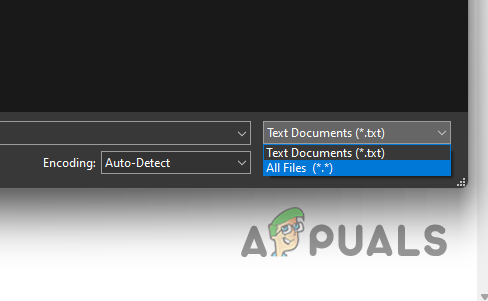
Showing All Files - With that done, choose the hosts file and click the Open button.
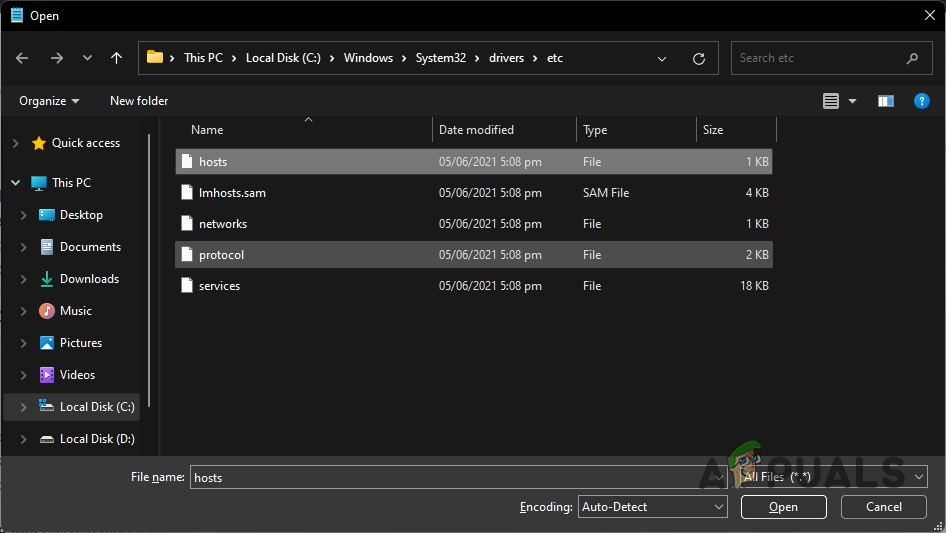
Opening up hosts File - Now that you have opened up the hosts file, look for any entries without the # sign that may contain the website that you are trying to access.
- If you find it, remove the whole line and then save the document by pressing CTRL + S.
- Once you have done that, close the file and restart your browser. See if the problem still persists.
Reset Browser
Finally, if none of the above methods has resolved the problem for you, then it is very likely that your browser settings may be causing the issue. This can include the third-party add-ons that you have installed along with general browser settings. As such, you can reset your browser which will get rid of the third-party add-ons and reset your browser settings. To do this, follow the instructions down below:
- To start off, click on the More menu in the top-right corner of your browser.
- From the drop-down menu, choose the Settings option.
Navigating to Settings - On the Settings screen, look for the Reset settings option. You can search for it via the search bar provided to make the process easier.
- Once you have found it, click the Reset button to reset your browser.
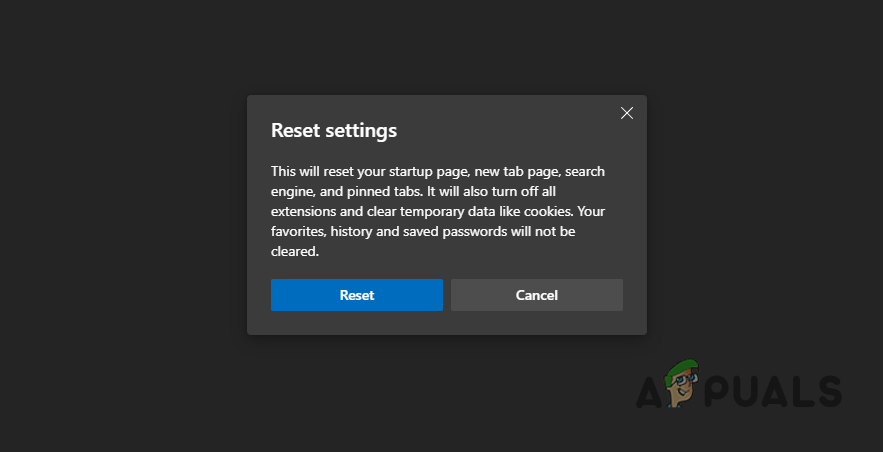
Resetting Microsoft Edge - With that done, restart your browser and see if the error code still occurs.