Fix: Chrome browser opens two tabs
Some users have reported a weird issue where Chrome browser opens two identical tabs everytime the user clicks a link. While some users are only encountering this issue when they try to start Google Chrome, other users complain that this is standard behavior for every hyperlink that they try to access.
Upon investigating the issue, we realized that these symptoms can be caused by a wide array of different culprits. Most of the time, the issue is caused by a bad installation or a corrupted file, but it can also be a symptom of a browser hijacker.
If you’re struggling with the same issue, the methods below will be of help. Below you have a collection of fixes that other users in a similar situation have used to resolve the issue. Please follow each potential fix in order until you encounter a fix that resolves the situation.
Method 1: Changing the startup settings of Chrome
Before we try anything else, let’s make sure that the issue is not caused by a Google Chrome setting. A lot of affected users have determined that this weird behavior has been caused by a startup setting.
Here’s a quick guide on seeing whether this setting is causing your Chrome browser to open two identical tabs at every startup:
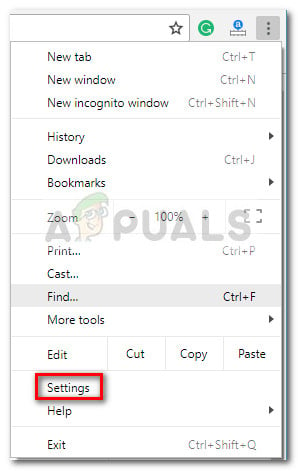
- Open Google Chrome, click the action icon (three dot icon) in the top right corner and click on Settings.
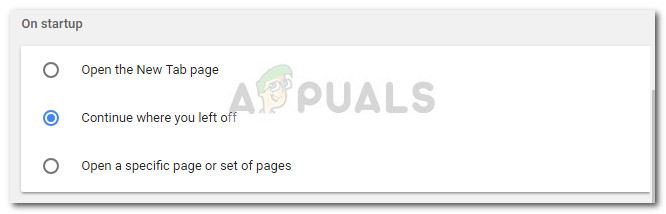
- In the Settings menu, go to the On startup tab and make sure the behavior is not set to Open a specific page or set of pages. You can set it to Open the New Tab page or to Continue where you left off.
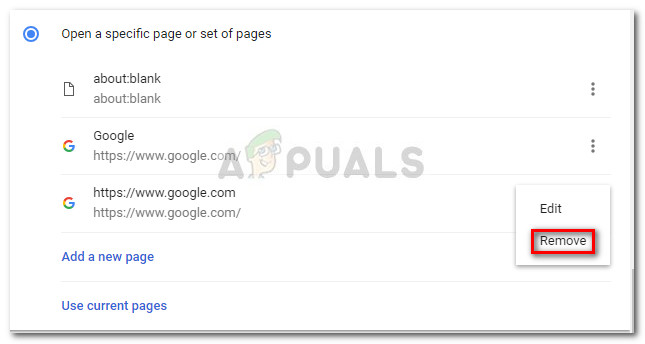
 Note: If it is set to open a specific set of pages and you’d like to keep it that way, simply remove any duplicates you don’t need by using the action button associated to each entry.
- Close Google Chrome and reboot your computer to see if you managed to resolve the issue. At the next startup, open Chrome again and see if you’re still seeing two opened tabs. If the same behavior persists, move down to the next method.
Method 2: Disabling all Chrome extensions
Extensions are often responsible for an odd behavior like this one. If you’re using a lot of extensions with Google Chrome, it’s entirely possible that some of them are conflicting and creating startup issue such as the one at hand.
A couple of users have managed to identify the culprit in their extension list. To test whether the issue lies with one of your extensions, let’s disable them all at once. Here’s a quick guide on how to manage your extensions:
- Open Google Chrome and access the action menu in the top-right corner. Then, go to More tools and choose Extensions.

- Next, use the toggle associated to each extension to disable it.
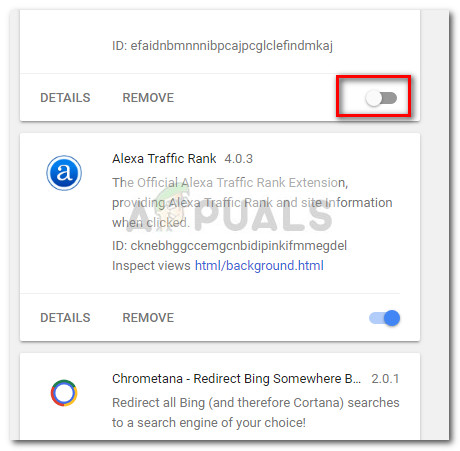
- With all extensions disabled, restart Google Chrome and see if the odd behavior is fixed. If it is, you can pinpoint the exact culprit by systematically re-enabling each extension and restarting the browser until you find out which extension is causing the issue.
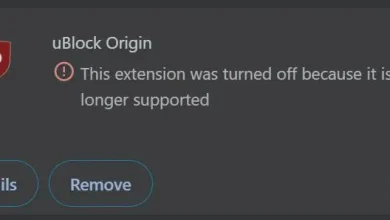
- Once you manage to identify the culprit, click Remove to delete it from your extension list.
Method 3: Running a malware scan
If the issue is not caused by a Chrome setting or extension, let’s make sure that we’re not dealing with a browser hijacker. Some users have managed to eliminate the odd behavior after noticing their browser became infected by a malware.
There are several ways in which you can make sure that your browser is clean of malware, but we recommend Malwarebytes for the best results. If you need further guidance, you can follow our step by step guide on using Malwarebytes (here).
Method 4: Updating or reinstalling Chrome
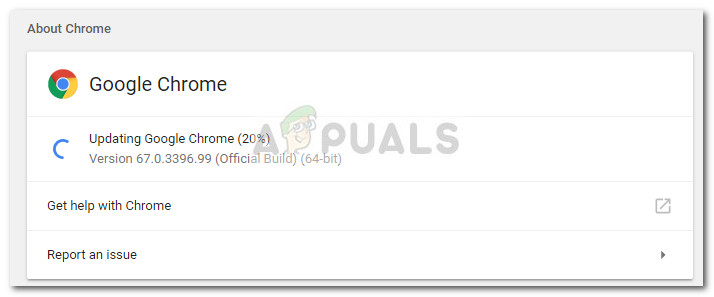
If none of the methods above have proven to be successful, there’s a high chance that some kind of file corruption is causing the problem. Google Chrome should update itself automatically, but just to be sure, click on the action button (top-right corner) and navigate to Help > About Google Chrome. If a new version is available, wait until the browser is available and restart the application.
 If Chrome shows that you already have the latest version, a browser reinstall might be the fix you need. Here’s a quick guide on how to do this:
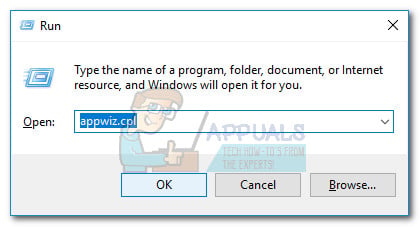
- Press Windows key + R to open up a Run box. Then, type “appwiz.cpl” and hit Enter to open Programs and Features.
- Inside Programs and features, right-click on Google Chrome, then follow the on-screen prompts to remove the browser from your system.
- Once the Chrome is removed from your system, use another browser to visit this link (here) and download the latest Chrome version.
- When the installation is complete, reboot your computer and see if the issue has been resolved at the next startup.
The same happens with edge, could it be the fault of the mouse?