Fix: Dishonored 2 Crashing
Dishonored 2 is a sequel to a popular game published by Bethesda and it was widely popular because of the fact that it combines the first-person experience with stealth and action and it’s up to the player to choose his style of fighting.

However, plenty of PC users had issues with launching and actually getting the game to run properly as it often crashes immediately on startup. We have gathered some working solutions and we hope you’ll be able to get the game to run after performing these methods one by one.
What Causes Dishonored 2 to Crash?
Dishonored 2 crashes are often caused by outdated graphics card drivers which don’t support new technologies used by such games. Also, users who have overclocked their GPUs also started to experience Dishonored 2 crashes. Some programs who use an overlay to display their windows with the game launched in full-screen are also some of the common culprits, among other things
Solution 1: Stop Overclocking Your Processors
Overclocking is a processor process where users change the maximum frequency of the graphics of the central processor to a value that is above the recommended one set by your manufacturer. This can give your PC a significant performance and speed advantage and improve it in all ways but you have to absolutely careful since there were instances where entire rigs broke down and even ended up in smoke.
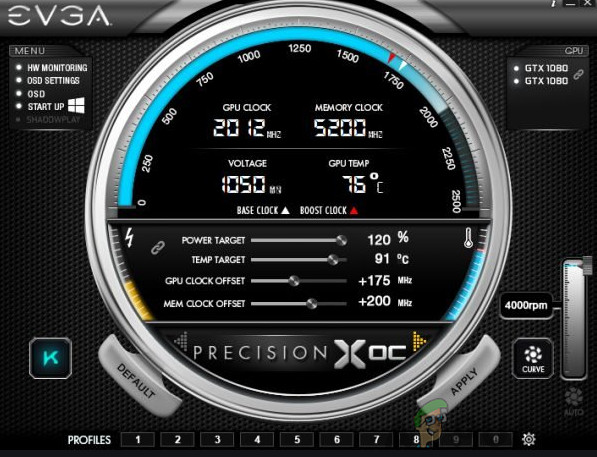
Some CPUs and GPUs were definitely not made to be overclocked and it’s a fact that some models perform way better than others. What’s even more important is that different tools used to overclock your processors (CPU or GPU) work better or worse depending on the processor which is being used.
Returning your processor’s frequency to its original state depends on which software you used to overclock it in the first place. Intel and AMD have their own applications available to download which let users overclock their CPUs but they sometimes implement factory overclock settings which are activated when, for example, running Dishonored 2. Stop overlocking and check to see if the issue persists.
Solution 2: Use Your Monitor’s Native Resolution
Simply changing the in-game resolution settings to your monitor’s native resolution has managed to solve the problem for several users and it’s definitely one of the easiest fixes you can try out.
The only downside of this method is that there might have been a reason for setting the resolution lower than your computer’s original one. If the game can only be run via minimum settings on your computer, the game may run slower and with less FPS if you increase the resolution setting greatly. You may need to tone down other graphical settings.
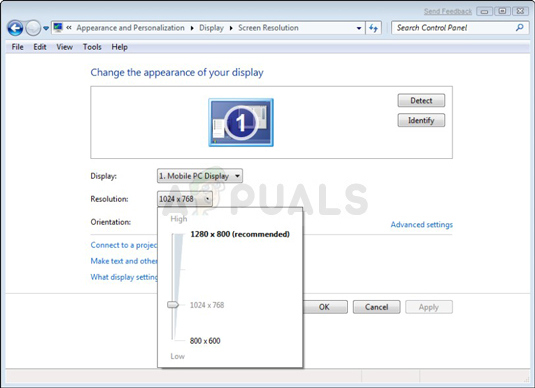
- First of all, you should find out your computer’s resolution settings. You can do so by right-clicking the Desktop and choosing the Display Settings option or Screen Resolution if you are using a version of Windows older than Windows 10.
- If you are using Windows 10, the Settings app should open immediately so try scrolling down until you reach the Resolution section. Click the resolution to open the menu and remember the option next to which you can see the “Recommended” text if the recommended resolution is used. Choose the one which is currently used.
- If you are using an older version of Windows, the window below will appear. Next to the Resolution text, you should see a similar resolution button. Your PC should be set to the highest settings which is also the recommended one. Take note of the resolution you are using.
- Open the game by double-clicking its icon on the desktop, by searching for it in the Start menu, or by launching it through Steam.
- From the Home screen which will open up, click on Options and navigate to the Graphics tab above by clicking on it and locate the Screen Resolution option. Change the resolution to the one your computer is using and accept the changes. Check to see if the game still crashes.
Solution 3: Uninstall MSI Afterburner
MSI Afterburner is a tool used to overclock your GPU. Even if you have tried out the Solution 1 and it has shown no improvement, you might want to uninstall this program completely. Even if you are not currently overclocking your device, you should uninstall this program in particular because of its screen overlays.
- First of all, make sure you have logged in with an admin account as you won’t be able to uninstall programs using any other account privileges.
- Make sure you have stopped overclocking your GPU or CPU before you initiate the uninstalling process on your computer.
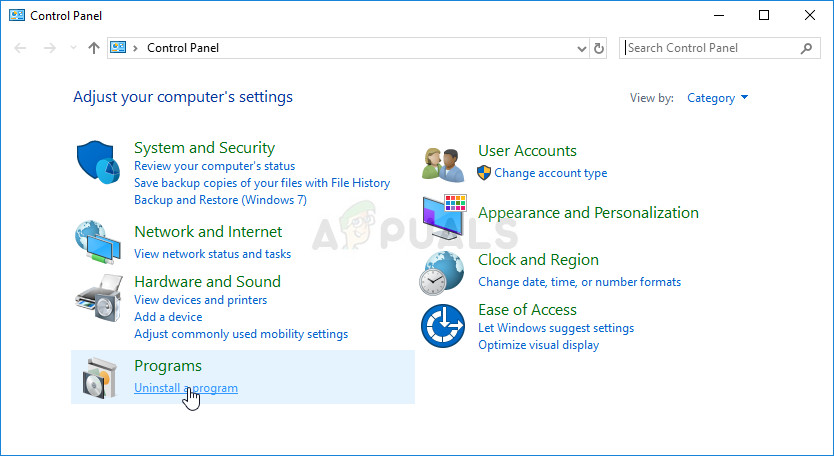
- Click on the Start menu and open Control Panel by searching for it. Alternatively, you can click on the gear icon in order to open the Settings app if you are using Windows 10.
- In Control Panel, select to View as: Category at the top right corner and click on Uninstall a Program under the Programs section.
- If you are using the Settings app, clicking on Apps should immediately open a list of all installed programs on your PC.
- Locate the MSI Afterburner entry on the list and click on it once. Click on the Uninstall button above the list and confirm any dialog boxes which may appear. Follow the instructions on-screen in order to uninstall MSI Afterburner and restart your computer afterward.
Solution 4: Disable Steam Overlay
Steam Overlay is a known culprit for this problem because of the fact that it interacts with your game in full-screen and it can cause instant crashes. Even though this is a respectable Steam feature, you probably won’t need it for this game as it often uses to chat with your friends and this is not an online game. You can disable it just for this specific game.
Note: Obviously, this method can only be applied to users who have purchased and downloaded the game via Steam.
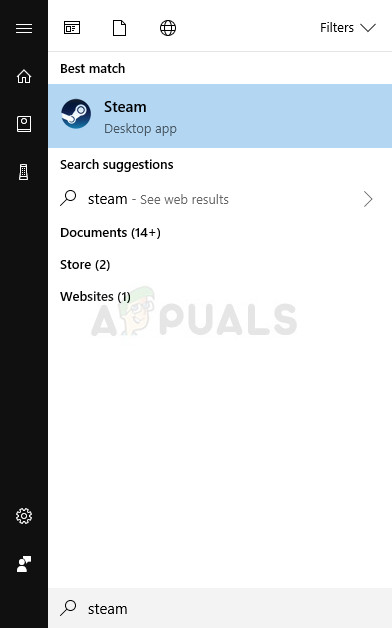
- Open up Steam by double-clicking its entry on the Desktop or by searching for it in the Start menu area or the search bar to the right.
- Navigate to the Library tab in the Steam window, and locate Dishonored 2 in the list of the games you own in your library.
- Right-click on Dishonored 2 from the library and choose the Properties option from the context menu which will appear. Stay in the General tab in the Properties window and clear the box next to the “Enable the Steam Overlay while in-game” entry.
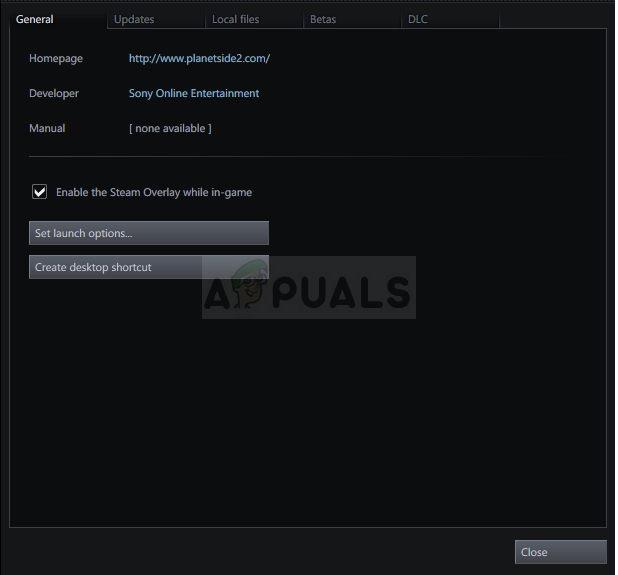
- Apply the changes, exit, and try launching the game. Check to see if the issue still appears while playing the game.
Solution 5: Update or Roll Back Your Driver
If the game has been crashing for a while, especially since you have first installed it, you might want to blame it on the game’s video drivers as new games often require the latest Windows updates as well as the latest graphics card drivers in order to run properly. It’s also recommended if you have just updated the game and it used to work properly.
The other scenario is the one in which the crashes start to occur just after a driver update and that can be blamed directly on the new drivers which aren’t well optimized for the game or they use technologies not accepted by the game. Either way, the problem becomes easy to solve if you follow the steps below.
Updating the Driver:
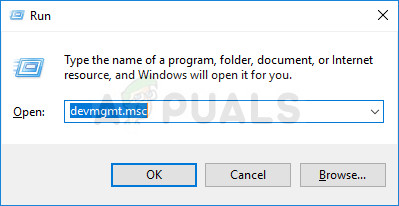
- Click on the Start menu, type in “Device Manager” with Start menu open, and select it from the list of results by simply clicking on the first one. You can also use the Windows Key + R key combo in order to bring up the Run dialog box. Type in “devmgmt.msc” in the box and click OK in order to run it.
- Since it’s the video card driver you want to update on your computer, expand the Display adapters section, right-click on your graphics card and select the Uninstall Device option.
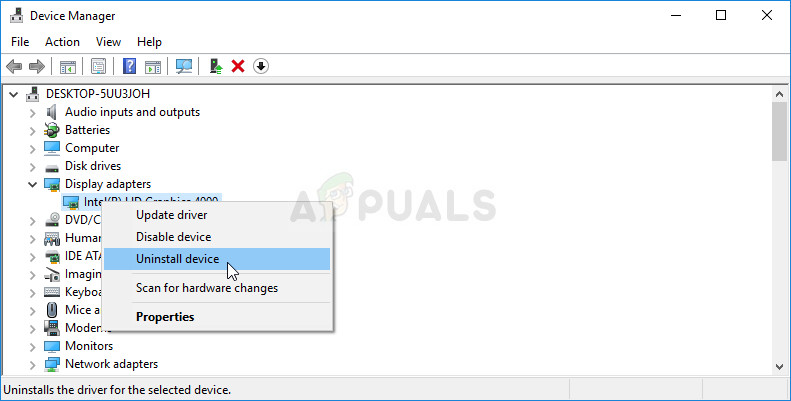
- Confirm any dialogues which may ask you to confirm the uninstallation of the current graphics device driver and wait for the process to finish.
- Look for your graphics card driver on the card’s manufacturer’s website and follow their instructions which should be available on the site. Save the installation file on your computer and run it from there. Your computer may restart several times during the installation.
- You should also gather some basic information about your computer in order to download the proper driver. Try running Dishonored 2 again and check to see if the crash still occurs.
Nvidia Drivers — Click Here!
AMD Drivers — Click Here!
Note: If you like to keep your OS updated (and you should), the latest drivers are often installed with Windows updates so make sure you keep your computer’s operating system up to date at all times. Windows Update is run automatically on Windows 10 by default and it’s quite difficult to turn it off manually but you can check if there are new updates by following the instructions we prepared below.
- Search for “Settings” by using the search bar located at the taskbar or click the gear key which will appear after clicking the Start menu button.
- Locate and open the “Update & security” section in the Settings app. Stay in the Windows Update tab and click the Check for updates button under the Update status part of the window in order to check whether there is a new version of Windows available.
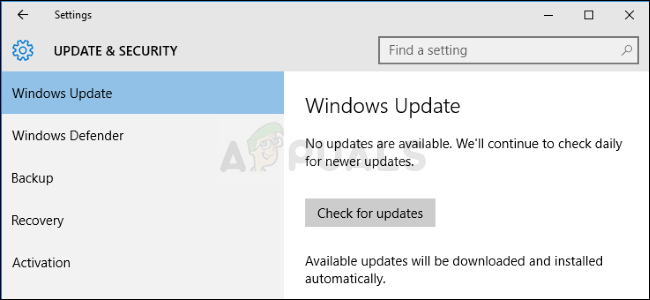
- If there is one, Windows should start the download process automatically. Please be patient for the update to install and check to see if Skype is now working properly.
If you are using any other version, of Windows, use the steps below in order to update your PC since this method works for all versions of Windows:
- Open the PowerShell utility by right-clicking the Start menu button and clicking on the Windows PowerShell (Admin) option at the context menu.
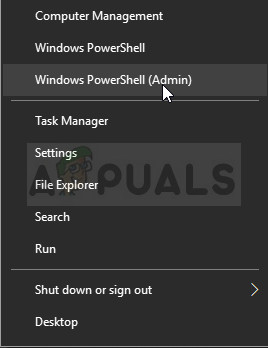
- If you see Command Prompt instead of PowerShell at that spot, you can also search for it in the Start menu or the search bar next to it. This time, make sure you right-click on the first result and choose Run as administrator.
- In the Powershell console, type in “cmd” and stay patient for Powershell to switch to the cmd-like window which might appear more natural to Command Prompt users.
- In the “cmd”-like console, type in the command shown below and make sure you click Enter afterward:
wuauclt.exe /updatenow
- Let this command do its thing for at least an hour and check back to see if any updates were found and installed without issues.
Rolling Back the Driver:
- Right-click on the graphics card driver you want to roll back and select Properties. After the Properties window opens, navigate to the Driver tab and locate the Roll Back Driver button at the bottom.
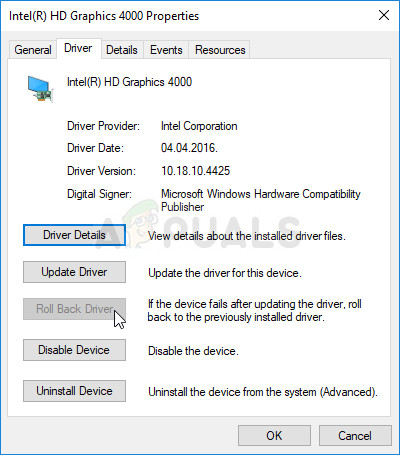
- If the option is grayed out, it means that the device wasn’t updated in the near future as it has no backup files recalling the old driver. This also means that the recent driver update is probably not the cause of your problem.
- If the option is available to click on, click on it, and follow the instructions on-screen to proceed with the process. Restart the computer and check to see if the problem still occurs when running Dishonored 2.
Solution 6: Change Your RAM Frequency
If you have ever changed RAM frequency while overclocking or if you have installed a new RAM on your computer, you might want to check out this solution. Furthermore, even if you haven’t touched anything, setting your RAM to operate on a lower frequency might help you solve this problem if you have the patience to follow through these steps as they include plenty of BIOS changes which can be dangerous if not executed correctly.
First of all, you will need to enter BIOS and enable XMP (Extreme Memory Profiles). Note that this can’t be done in all BIOS settings but it’s available for the vast majority of computers. It’s not always located in the same spot, though.
- Restart your computer by going to the Start Menu >> Power Button >> Restart.
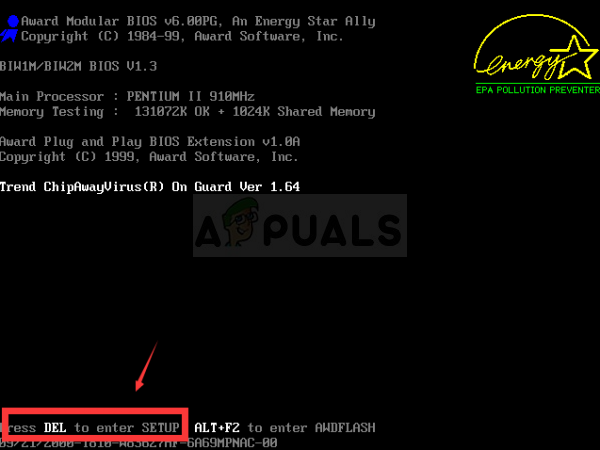
- Try to enter BIOS settings on your computer by pressing the BIOS setup key while the system boots.
- The BIOS key is typically displayed on the boot screen, saying “Press ___ to enter Setup.” There are other ways in which you may see the message but it will be quite self-explanatory. Common BIOS keys are F1, F2, Del, Esc, and F10 so make sure you click it fast enough or you will have to restart your computer again.
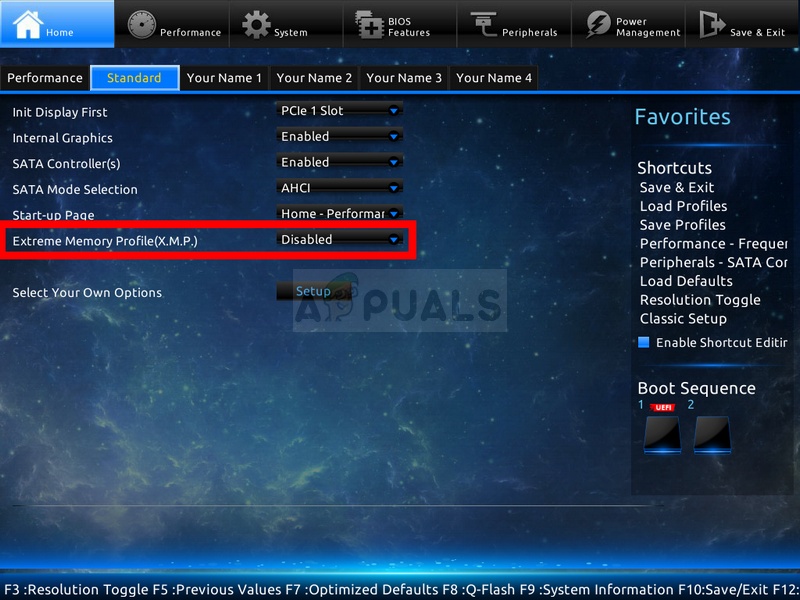
- The XMP Profile option which you will need to change is located under various tabs in the BIOS tools on different computers made by different manufacturers and there is no rule to where the setting should be located.
- It’s usually located under the Advanced, M.I.T >> Advanced Frequency Settings, or various Tweaker or Overclock tabs which may be available. No matter where it is, the name of the option is XMP Profile.
- Once you locate the correct option, change it to Enabled.
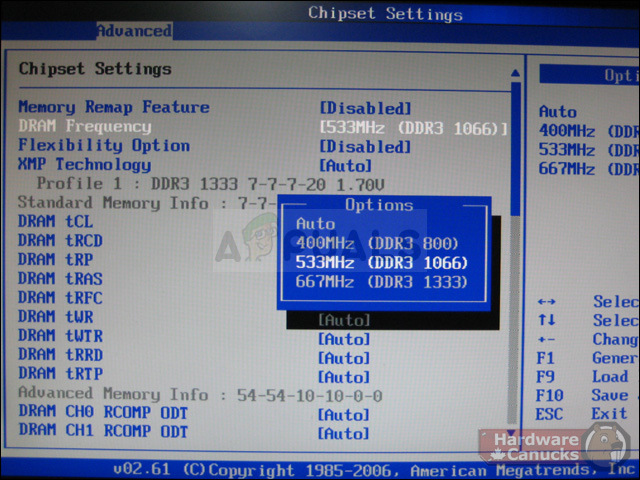
- The second option you should tweak is called DRAM Frequency. This option is also located in different places under various configurations but it’s often in the same area as the XMP profile setting.
- Wherever you locate this option after browsing for a while, you should select it and change it to a lower setting but make sure you don’t make any drastic changes. For example, if RAM was running at 4133MHz, you should change it to 4000MHz.
- Navigate to the Exit section and choose to Exit Saving Changes. This will proceed with the boot. Make sure you try to see if the Dishonored 2 game is running properly now.


none worked for me:(