Fix: Can’t install iTunes on Windows 10
A lot of users have reported problems when installing or updating iTunes. Most of them are reporting that the issue appears right after they completed the upgrade to Windows 10 from an older Windows.
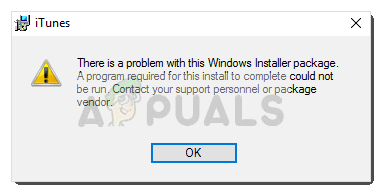
Note: While some users are reporting receiving an installation error when opening the iTunes installer, others are saying the installation wizard simply refuses to appear.
If you’re currently struggling to install iTunes, we the following fixes will most likely help. We managed to extract a few viable fixes that other users in a similar situation have used to resolve the issue. Please follow each method in order until you manage to manage to resolve the issue and install iTunes.
Method 1: Running the installer with administrative privileges
By far, the most common reason why iTunes fails to install on Windows 10 is because the user Windows account is lacking the administrative privileges. This method is very likely to be effective if nothing happens when you double-click the iTunes installation executable.
If you’re encountering the same symptoms, the fix is extremely easy – Right-click on the downloaded installer and choose Run as Administrator. The installation should then open without issues and you should be able o install iTunes normally.
If this method wasn’t effective in allowing you to install iTunes, move over to the other method below.
Method 2: Install all the pending Windows updates
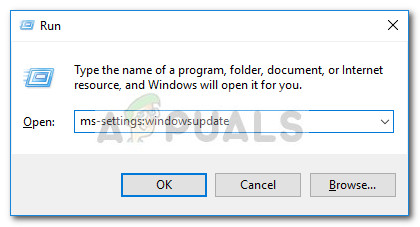
Some users have reported that the issue has been automatically resolved and they were able to install iTunes after installing all the pending Windows updates. To do this, press Windows key + R to pop open a Run command. Then, type “ms-settings:windowsupdate” on Windows 10 (or “wuapp” on an older Windows version) and press Enter to open Windows Update.
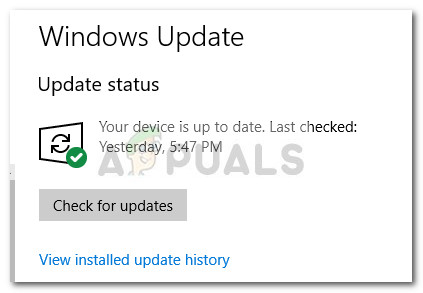
 Once you reach the Windows update screen, click on Check for updates and follow the on-screen prompts to install the pending Windows updates.
Once all the pending updates have been installed, reboot your computer and see if you’re able to install iTunes after the next startup is complete. If you aren’t, move to the next method below.
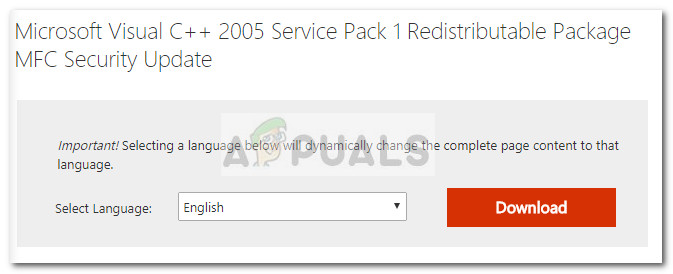
Method 2: Installing Microsoft Visual C++ 2005 Service Pack 1 Redistributable Package
Some users have been finally able to install iTunes using the downloaded installer after going through the steps necessary for installing Microsoft Visual C++ 2005 Service Pack.
Apparently, the iTunes installer crashes before it starts on some computers because a particular library file cannot be found in the distribution package that ships along with iTunes. Because of this, the installation wizard will not be loaded and the user cannot complete the installation.
Luckily, this issue can easily be fixed by installing the redistributable package that contains that particular library file. Here’s a quick guide to installing Microsoft Visual C++ 2005 Service Pack and resolve the iTunes installation issue:
- Access this official Microsoft download site (here) and click the Download button associated with Microsoft Visual C++ 2005 Service Pack 1.
- Check the box associated with the installer that matches your processor architecture and hit the Next button.

- Wait until the download is complete, then open the vcredist installer and go along with the on-screen prompts to install the missing library file.
- Once the installation is complete, reboot your computer and see whether the issue has been resolved and you’re able to install iTunes.
If the issue persists, move over to the method below.
Method 3: Using Tenorshare TunesCare
If all of the methods above have been a bust, it’s very likely that some corrupted files (most likely old iTunes files) are preventing the installer from installing the new version.
In this case, the manual solution will be to make sure that you completely uninstall every Apple application from your computer and make sure no residual files are left behind. However, there’s still a chance you can avoid all that by using a 3rd party software that specifically targets common iTunes issues.
Several users encountering this particular issue have reported that Tenorshare TunesCare was successful in resolving the conflict that was preventing the installation to complete. The base version of this software is free and will be enough to solve most iTunes installation errors.
Here’s a quick guide to using Tenorshare TunesCare to resolve the issues that are preventing you from installing iTunes:
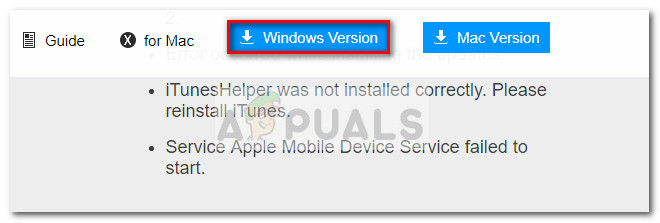
- Visit this link (here) and click the Windows Version button to download the installer.
- Open Tenorshare TunesCare’s installer and follow the on-screen prompts to install it on your system.
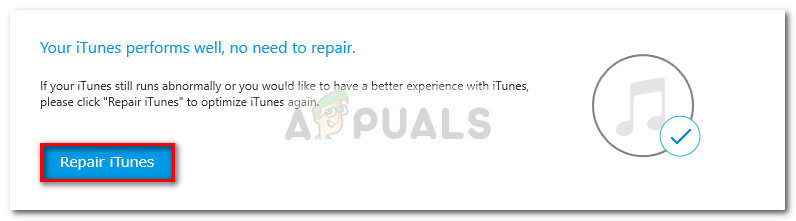
- Open Tenorshare TunesCare click on Fix All iTunes Issues, then hit the Repair Issues button.
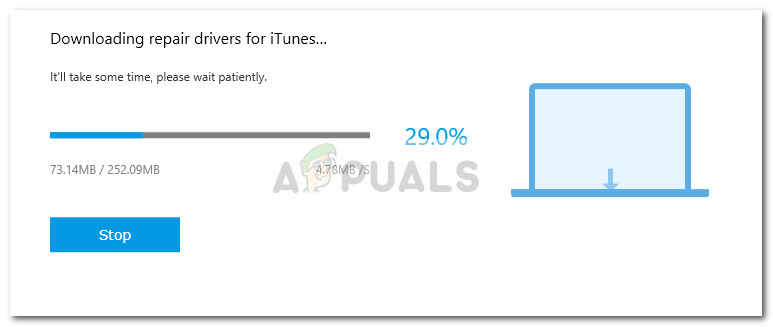
- Wait until the software downloads the necessary repair, then wait until all the different repair strategies are applied.
- Once the repair session is complete, reboot your computer and see whether the issue has been resolved at the next restart.
If you’re still unable to install iTunes, move down to Method 5.
Method 5: Removing all Apple products from your PC
If you’ve come this far without a result, there’s one last fix available for you to try. It involves uninstalling everything related to Apple products – this included iTunes, Quicktime, and any other apple services.
The good news is most users have reported that this method was effective in enabling them to perform a clean installation of iTunes. Here’s a quick guide through the whole thing:
- First things first, make sure you don’t have any apple devices currently connected to your computer. This will interfere with the uninstallation process since some services will remain open.
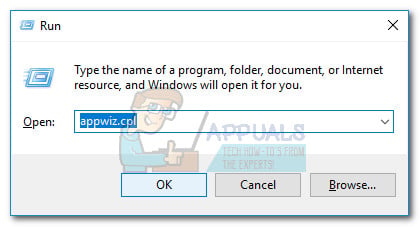
- Press Windows key + R to open up a Run command. Type “appwiz.cpl” and hit Enter to open Programs and Features.
- In Programs and Features, click on the Publisher column to order the applications based on their publisher. This will make it easier to spot every software signed by Apple.
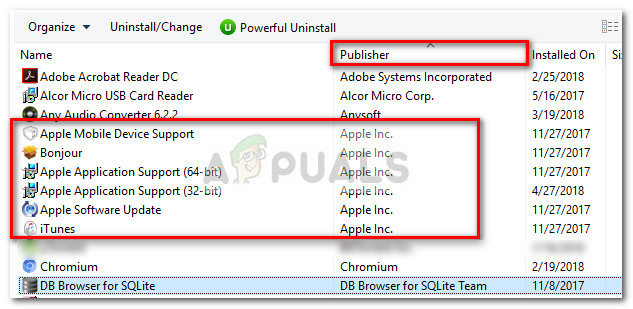
- Next, right-click each software that has Apple Inc. listed as its Publisher and choose Uninstall. Then follow the on-screen prompts to remove it from your system. Make sure to repeat the procedure with each occurrence until you completely eliminate the software signed by Apple.
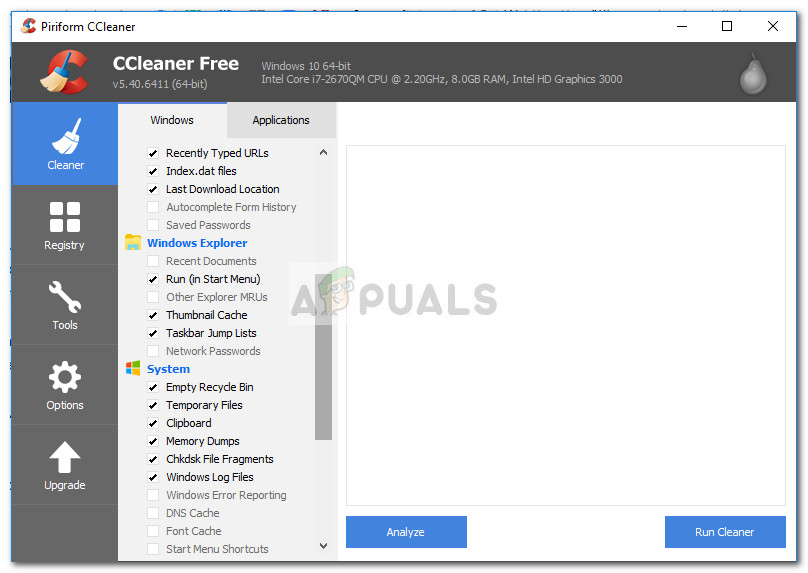
- Reboot your PC. Once the next startup is complete, scan your computer for any residual Apple files that might have been left behind by the uninstallation process. You can use CCleaner to make sure that’s not the case.
 Note: Residual iTunes files are known to interfere with the installation process if certain conditions are met.
 - Visit the official iTunes download page (here) and download the latest version. You should now be able to open the installer and complete the installation without issues.