Fix: Brother Printer Offline
Brother Industries is a Japanese multinational electronics company that produces a lot of products including printers, fax machines, desktop computers, etc. Despite it being the manufacturer of a lot of products, it is most well-known for its production of printers in the global market.

Brother Printers have also been well-known for their offline problems. The printer seems to be working fine but appears offline or doesn’t respond on your computer even though it is connected with the network. This might particularly happen after the printer is connected to the network or is set idle for some time. We have listed down a number of different solutions to this problem. Take a look.
Solution 1: Setting as Default Printer
One of the simplest workarounds for the problem is setting the printer as default. A printer flagged as a ‘default printer’ is the one where the computer sends all of its jobs automatically without having you to select. According to official Brother Documentation and numerous reports by users, setting the printer as a ‘Default’ printer fixes the problem.
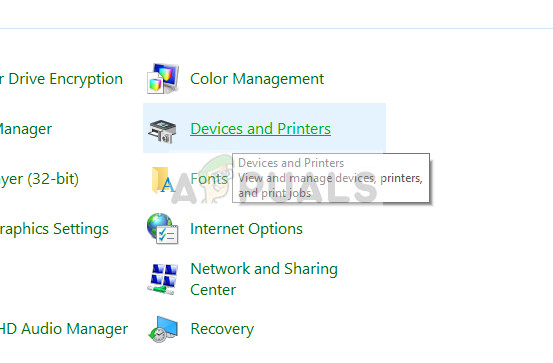
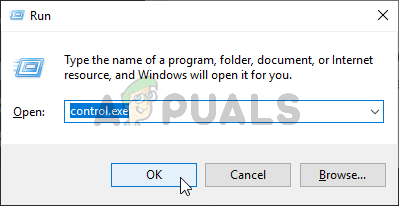
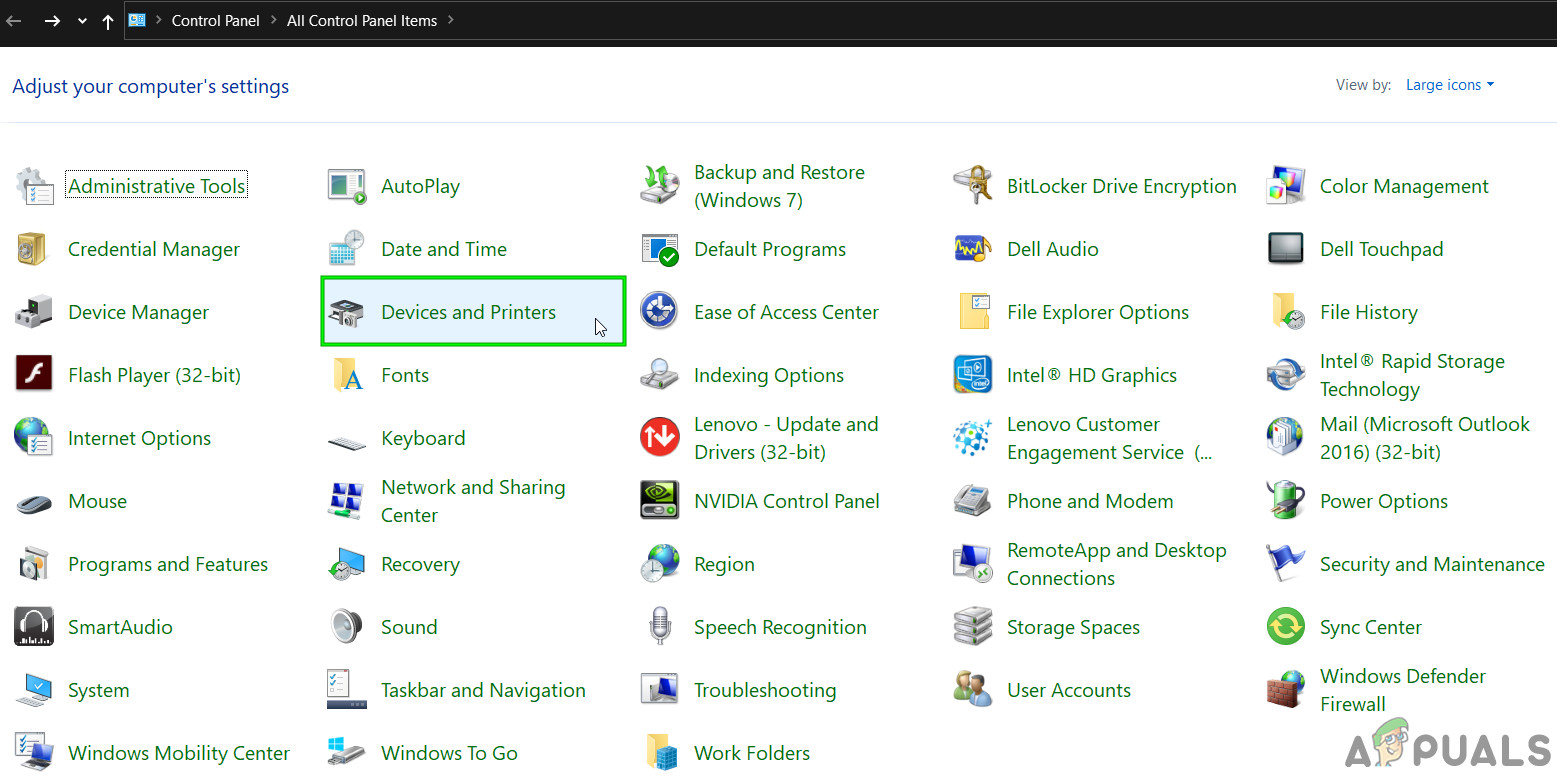
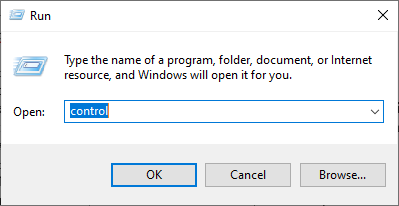
- Press Windows + R, type “control” in the dialogue box and press Enter to open the control panel. Once in the control panel, select Devices and Printers from the list of sub-options available.
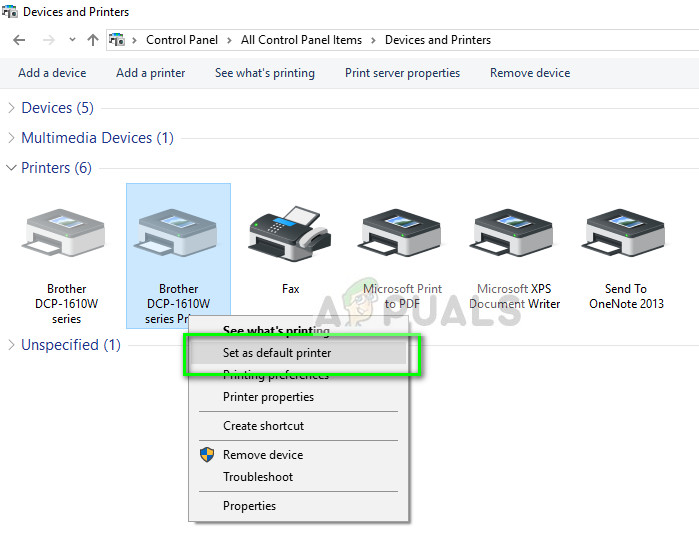
- Once in the settings, click on the Printer device, right-click it and select Set as default printer.
- Now restart the printer properly and check if the printer appears online on your computer.
Solution 2: Setting IP address and installing the latest firmware
If the printer is set as default but still giving problems, it probably means that the IP address assigned to the printer is wrong or the latest firmware isn’t installed. The latest firmware should in all cases be installed on your printer as it contains bug fixes and support for a later operating system of Windows.
- Open “My PC” or “My computer” and click on the Network tab present at the left side of the screen.
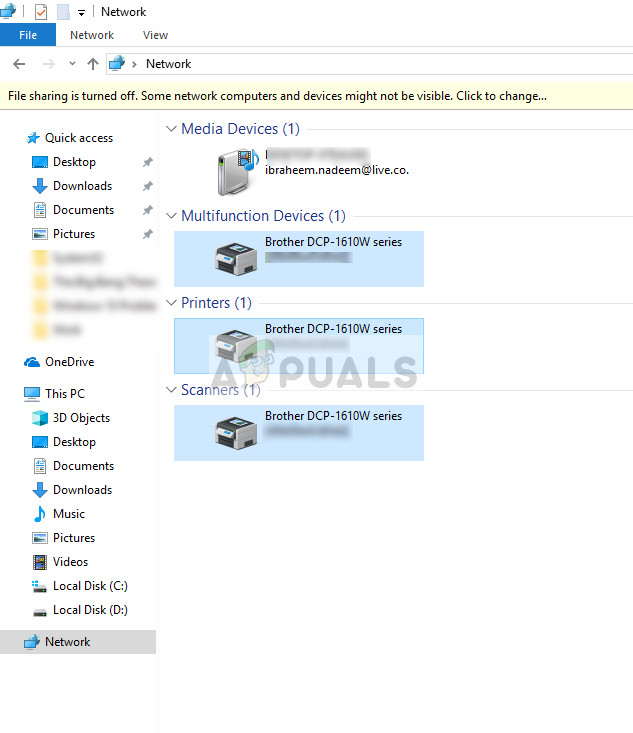
- Here the printer will be located. Double-click on it and it will probably install the latest firmware for some models. In some, a webpage will be opened in your default browser which will contain access to the printer.
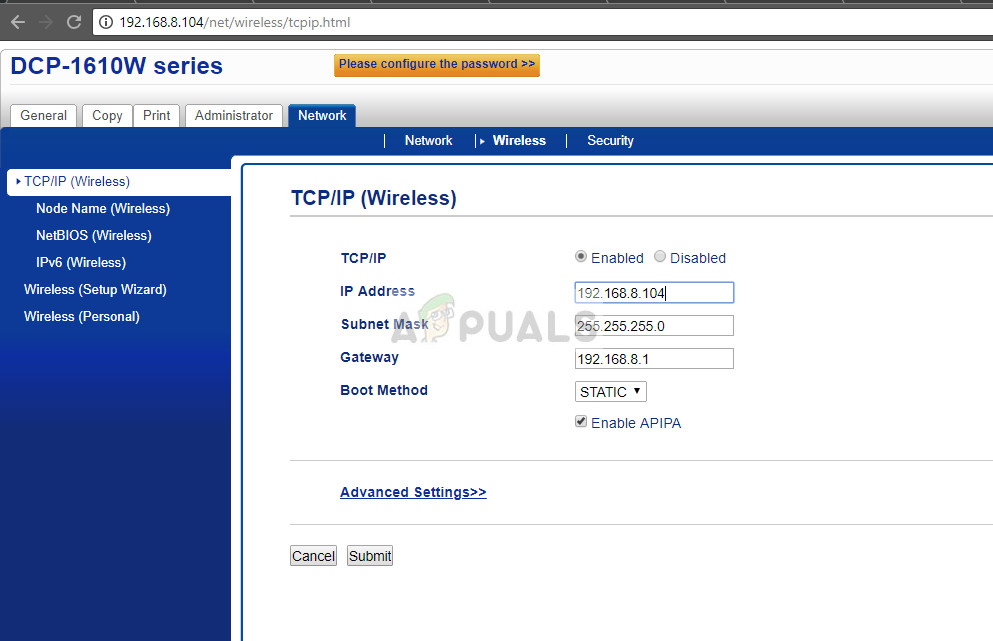
- Click on the Network tab present at the top of the screen and select the sub-category of Wireless. Here the IP addresses and other network-related information will be displayed. Copy this information.
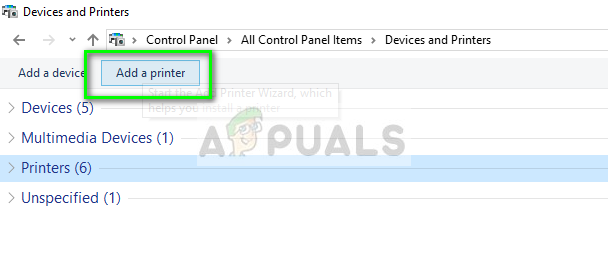
- Now press Windows + R, type “control” in the dialogue box and press Enter. Once the control panel shows up, click on “Devices and Printers” and select Add a printer.
Note: You should delete the existing printer so we can add it again using the IP address.
- The printer will not be detected most probably. If it does, just click on it and the computer will connect. If it doesn’t show up, select “The printer that I want isn’t listed”.

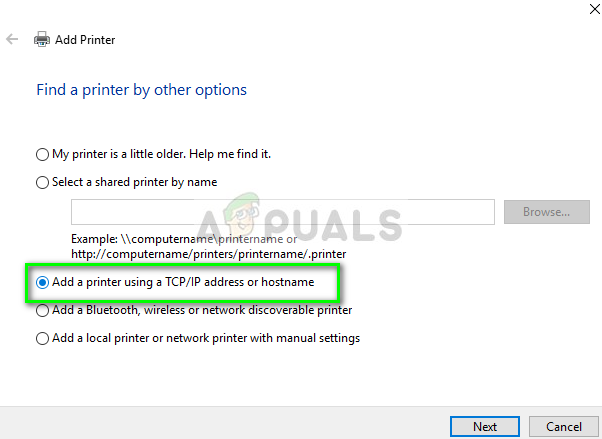
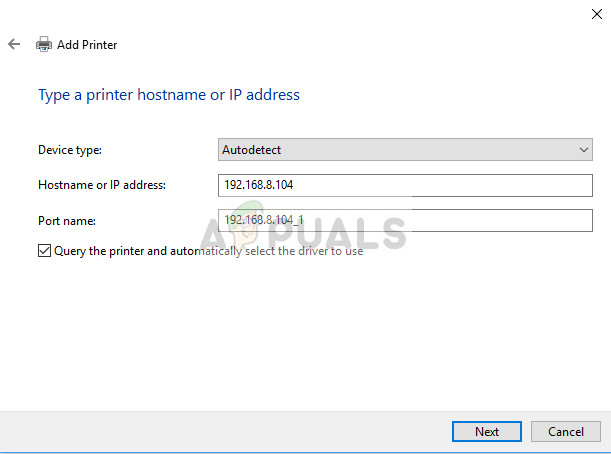
- Now select the option “Add a printer using TCP/IP address or hostname”.
- Enter the details of the IP address which we noted earlier on and enter them here. After entering the IP address, click Next.
- If the connection is successful, a list of printer driver will come forward. Select the correct driver or click Windows Update for Windows to automatically detect/add the drivers.
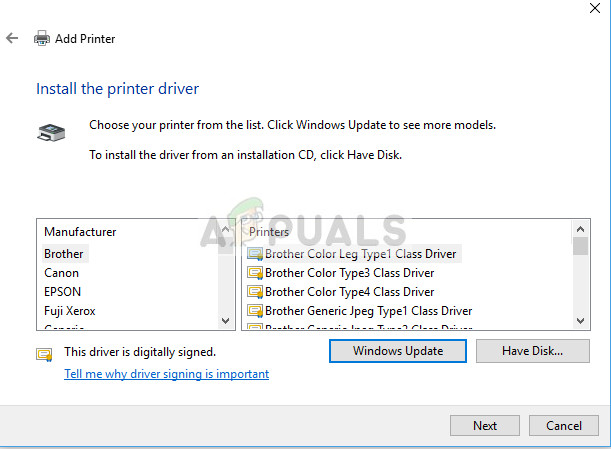
- After the addition, check if you can access the printer without any trouble.
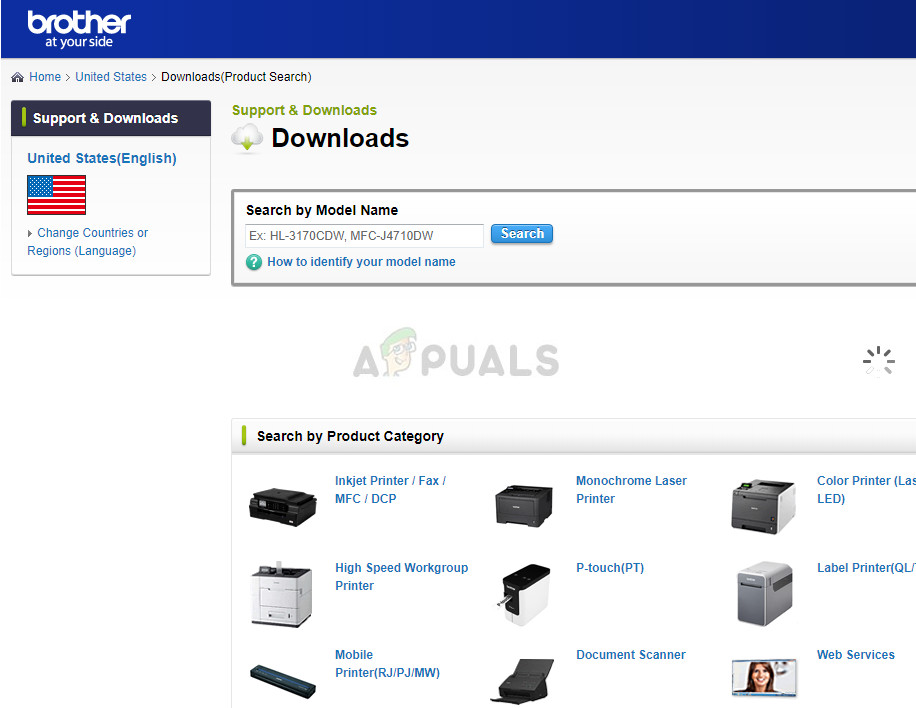
If the firmware isn’t updated automatically, navigate to the official Brother website, locate your printer and install the software required.
Solution 3: Disabling SNMP Settings
Brother Printer also uses the SNMP protocol (Simple Network Management Protocol) for its operations similar to other printers. It is used to implement more security and additional functionalities in the connection. There are many indications that showed that disabling this protocol fixes the problem. Let’s have a look.
- Open your control panel and click on Devices and printers. Once in the printers window, locate your Brother printer, right-click it and select Properties.
- Once in the settings, click on Ports, now with your IP highlighted, click on Configure ports and uncheck the option SNMP Status Enabled.
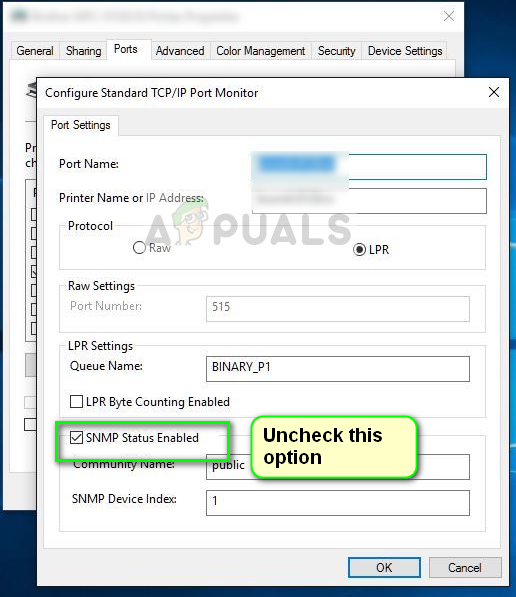
- Press OK to save changes and exit. Now right-click on the printer and try connecting. If possible, power cycle your printer properly before proceeding.
Solution 4: Uninstalling antivirus and third-party software
Antivirus software is known to cause problems for printers to communicate wirelessly with the computer. They add an extra layer on Windows primarily firewall and monitor all the incoming and outgoing data. This antivirus software is known to cause problems with the printer. We can try to disable your antivirus and see if this does the trick.
Some noticeable products which are known to cause problems with the printer are BitDefender, Avira, and Avast. Disable these specifically and try connecting your printer again.
Solution 5: Cancelling all print jobs and reinstalling the printer
Another workaround is canceling all print jobs which are submitted to the printer and then uninstalling the printer from the system. Once the printer is uninstalled, you can reinstall it using the IP Address method which we just covered above.
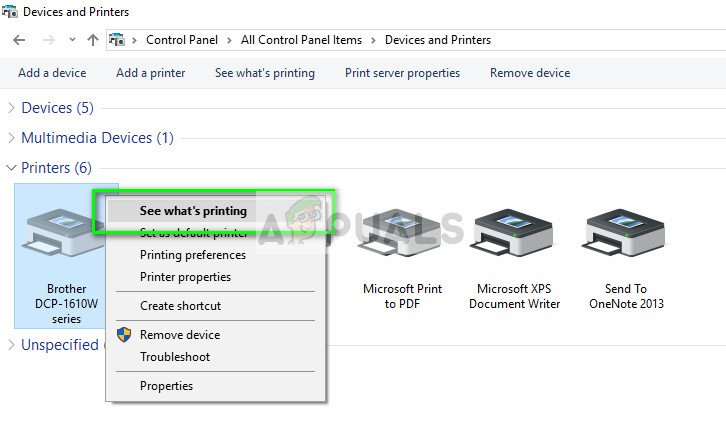
- Navigate to Devices and printers like we did earlier, right-click on the printer and click See what’s printing.
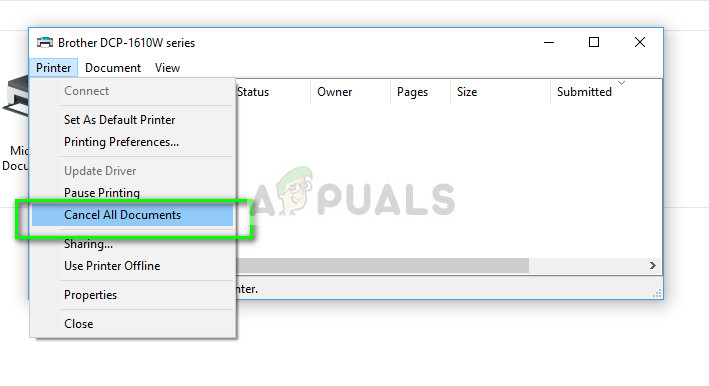
- On the new window which opens up, click on Printer and click Cancel all documents.
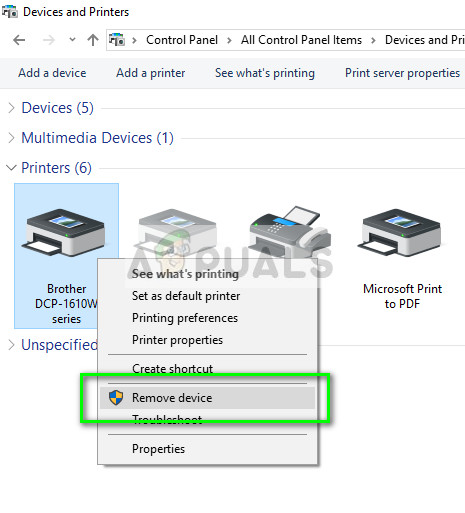
- Now you should check if you can access the printer perfectly. If you cannot, right-click on it and select Remove device.
- Now add the printer using the IP Address in the second solution or add the printer again to the network completely.
Solution 6: Selecting the Right Printer
In some cases, there might be multiple printers connected to your computer due to which it might be unable to properly recognize your brother printer. Therefore, in this step, we will be selecting the proper printer from the list of printers connected to our computer.
- Make sure to disconnect all other printing devices connected to the computer before we start.
- Now, press the “Windows” and “R” button on your keyboard to open the Run prompt.
- Type in “Control” and press “Enter”.
Running the Control Panel - Click on the “View By:” option at the top right and select “Small Icons”.
- Select the “Devices and Printers” option from the next screen.
Open Devices and Printers in Control Panel - Here, hover the pointer over all the installed printers and check for the “Status: Ready” information displayed when you hover the pointer over one of the printers.
- The printer that displays the “Ready” status when the pointer hovers over it is the one that is actually being used by the computer.
- If that printer isn’t the Brother printer, right-click on it and select “Disable Device”.
- Check and see if the printer comes online after disabling the other one.
Solution 7: Un-Pausing Printer
In certain situations, your printer might be paused or it might be configured to run in offline mode. This can sometimes prevent the proper functioning of the Brother printer and show it offline. Therefore, in this step, we will be removing both of these restrictions from the printer.
- Press “Windows” + “R” to launch the run prompt.
- Type in “Control” and press “Enter” to launch it.
Accessing the Classic Control Panel interface - Click on the “View by:” option and select the “Large Icons” button from the list.
- Click on the “Devices and Printers” option and right-click on the printer.
Open Devices and Printers in Control Panel - Click on the “See What’s Printing” option and then click on the “Printer” tab.
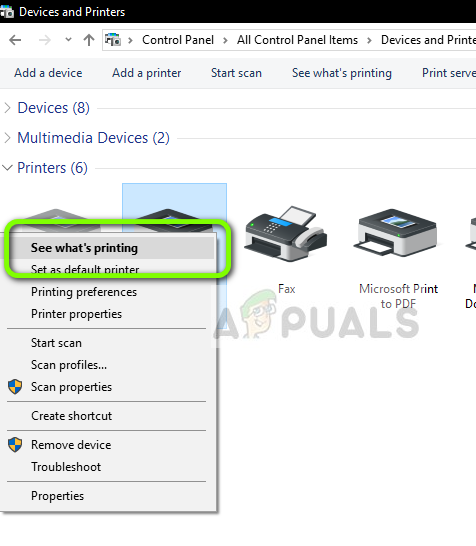
See what’s printing option - Uncheck the “Use Printer Offline” and the “Pause Printer” options.
- Save your settings and close out of this window.
- Check and see if doing so has fixed the issue with your Brother printer being shown offline.
Solution 8: Select Appropriate Printer on macOS
It is also possible that the appropriate printer hasn’t been selected on your macOS due to which this issue is being triggered. Therefore, in this step, we will be selecting the correct printer driver from the printer configuration panel.
- Select the “Apple Menu” on your macOS and click on the “System Preferences” menu.
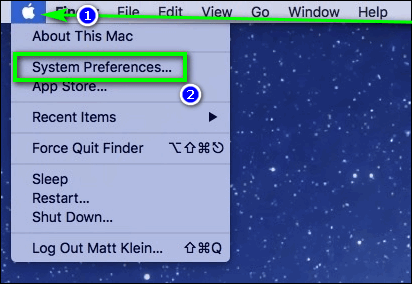
Click on the Apple menu and then on System Preferences… - Click on the “Print & Scan or the Printers & Scanners” button and then select your Brother Printer in the printers section.
- After selecting the printer, click on the “Print” option on the right pane and check which driver is listed in front of the “Kind:” entry.
- If the “Air Driver” is being listed, it means that the appropriate driver isn’t being listed.
- Now, click on the “Plus” button on the bottom left of the left pane where we selected the printer.
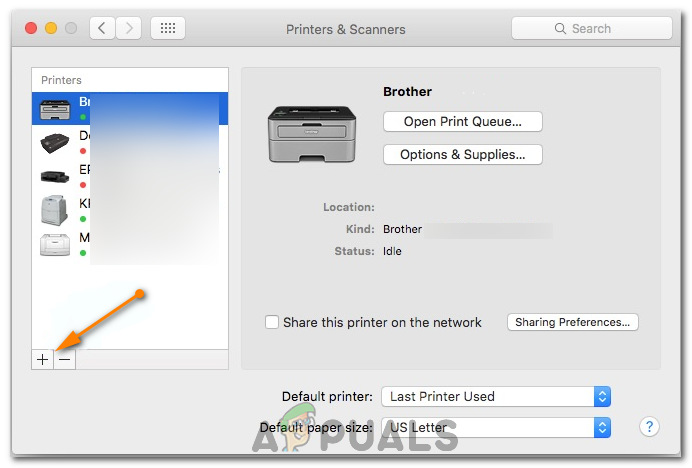
Clicking on the “Plus” button - Now, select the “Default” option from the top and select your printer from the Names list.
- Also, make sure that the “Brother MFC xxxxx + CUPS” driver is selected from the “Use” list.
- Click on “Add” and the printer should now be installed with the correct driver.
- Check and see if doing so fixes the issue for you.
Solution 9: Troubleshooting Issues
Sometimes the issue might lie within the Windows’ configuration of the printer on your computer. Therefore, it is best to let the Windows’ default troubleshooter figure out the issues with your printer. In order to do that, follow the guide below.
- Press “Windows” + “I” to open the settings.
- In settings, click on the “Update & Security” option and select “Troubleshoot” from the left pane.
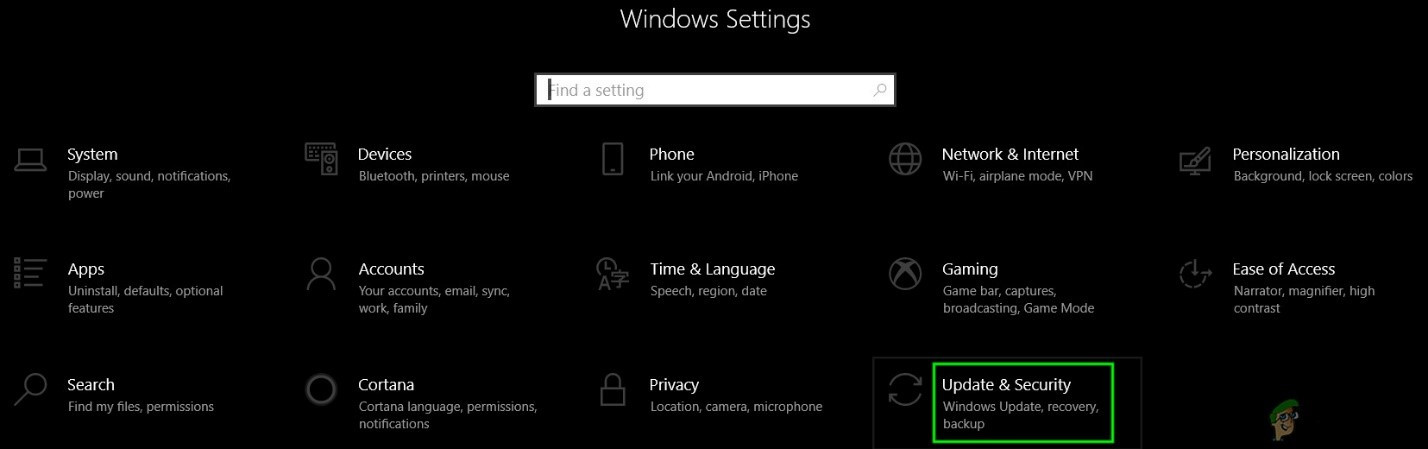
Open Update & Security in Windows Settings - Click on the “Printer” option in the list and then select the “Run the Troubleshooter” button that pops up after clicking on the printer.
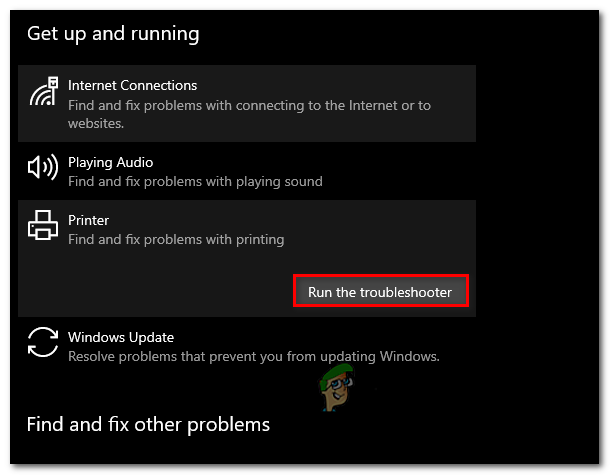
Running the Printer Troubleshooter - Follow the on-screen instructions and let the Troubleshooter run completely.
- It will automatically detect any configuration issues with the printer and should fix it completely.
- Check and see if the error is fixed by doing so.
In addition to the above solutions, you can also try:
- Power-cycling your computer system entirely. This is known to solve problems where instead of the printer, the computer is at fault.
- Checking network settings for a timeout Many routers have a timeout period where they close a port if it isn’t used for some time. Disable that setting.
- Reset your Network settings and set up the WLAN connection again. This should fix this issue on some routers.
- Check the network connection of your printer again and again. This is responsible for most of the problems. It is also advised that you connect the printer with your computer using a USB