How to Fix YouTube “Audio renderer error” on Windows?
Fix: 'Audio renderer error. Please restart your computer.' on YouTube
Several Windows users report that they are seeing the “Audio renderer error. Please restart your computer.” whenever they try to play a Youtube video. The issue is not specific to a particular Windows version and is reported to occur with several different web browsers including Chrome, Opera, Edge, and Mozilla Firefox. Other affected users report that for them, the issue also occurs when listening to iTunes or when using the built-in audio player.

What Causes Audio Renderer Error on YouTube?
We investigated this particular issue by looking at various user reports and the steps that they followed to either circumvent or resolve the issue completely. From what we gathered, several different scenarios are known to trigger this particular error message:
- Audio driver glitch – This seems to be a recurrent bug with some motherboard models. Affected users have found various solutions that resolve the problem temporarily such as unplugging > plugging the headphones, restarting the computer, or temporarily disabling the audio driver.
- A conflict between the Windows Sound drivers and ASIO drivers – This issue is confirmed to appear in those situations where the users use both the Windows Sound driver and the ASIO driver with different sound format frequencies. In this case, the solution is to synchronize the two frequencies.
- Bugged BIOS version – On Dell computers, the issue is most liked with a flawed software update. Since Dell has resolved the bug, updating the BIOS version to the latest version should resolve the issue entirely.
So now we know the possible causes, let’s jump straight to the possible fixes for this solution. Some solutions might be basic for you because we have listed the solutions that require doesn’t change many things on your computer.
1. Unplug/Plug headphones
As silly as this method might sound, a lot of affected users have reported that the issue was resolved after they unplugged the headphones and plugged them back in. This step is confirmed to work with both jack headphones and USB (dongle or physical cable).
So if you’re encountering this issue when trying to play a video on Youtube, simply disconnect your headphones cable if you have a pair connected.
Note: Keep in mind that this fix is likely just a temporary solution. Unless you do something else about it, the “Audio renderer error. Please restart your computer.” error will return eventually.
If this method is not applicable or you’re looking for a more lasting fix, move down to the next method below.
2. Restart your computer
As suggested by the error message, restarting your computer might also resolve the “Audio renderer error. Please restart your computer.” error. However, most affected users report that this method (similar to Method 1) is only temporary. Some users encountering this issue reported that they are only able to get 20-30 seconds of audio playback before the error message returns.
So, if you’re encountering this issue and Method 1 has not been applicable, restart your computer and see if this temporary fix helps. If the error message returns or you’re looking for a permanent fix, move down to Method 3.
3. Run the audio troubleshooter
Another potential fix that might help you get around the “Audio renderer error. Please restart your computer.” error is to run the built-in audio troubleshooter. This built-in utility essentially contains a collection of repair strategies that treat a lot of common audio problems. If the error is caused by a common issue that Microsoft is aware of, running the audio troubleshooter should resolve the issue entirely.
Follow the steps below to run the audio troubleshooter:
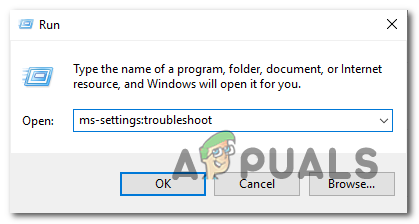
- Press Windows key + R to open up a Run dialog box. Then, type “ms-settings:troubleshoot” and press Enter to open the Troubleshooting tab of the Settings app.
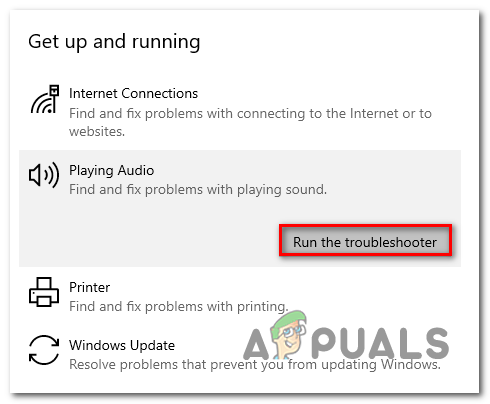
Opening the Troubleshooting tab of the Settings app via a Run box - Inside the Troubleshoot tab, scroll down to Get up and running and click on Playing Audio. Then, click on Run the troubleshooter to open the utility.
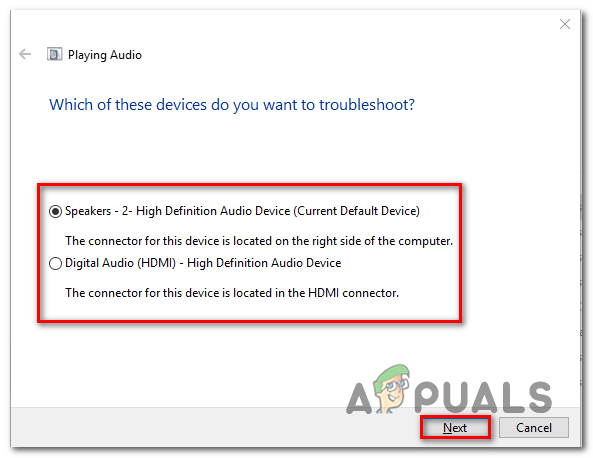
Running the Audio troubleshooter - Wait until the initial investigation phase is complete. Then, select the device with which you’re encountering the “Audio renderer error. Please restart your computer.” error and hit Next.
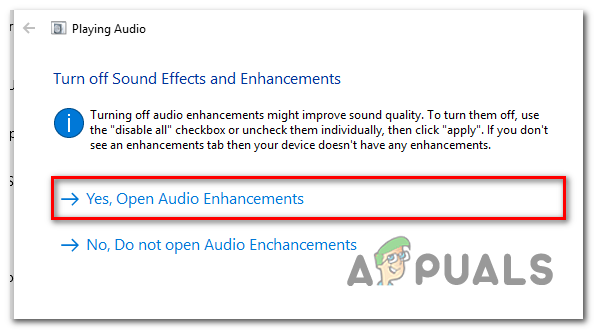
Choosing the audio device that you’re encountering the issue on - Wait until the utility analyses your Audio device for problems. If an issue is found, you will be recommended a repair strategy. Follow the on-screen prompts (click ‘Yes, Apply fix’ or ‘Yes, Open *menu’) and follow through with the recommendations.
Following the audio repair instructions - Restart your computer and see if the error is no longer occurring once the next startup is complete.
If you’re still encountering the “Audio renderer error. Please restart your computer.” error, move down to the next method below.
4. Disable & re-enable the audio driver
Some affected users have reported that they managed to resolve the issue without restarting the computer or running the troubleshooter. As it turns out, you might be able to resolve the issue by disabling every audio adapter in your device manager and re-enabling them after a couple of seconds.
For a lot of several affected users, this approach is the go-to method when it comes to resolving the “Audio renderer error. Please restart your computer.” error. Here’s a quick guide on disabling and re-enabling the audio driver:
- Press Windows key + R to open up a Run dialog box. Then, type “devmgmt.msc” and press Enter to open up Device Manager.
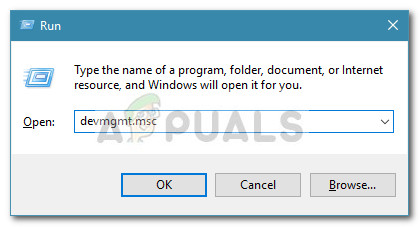
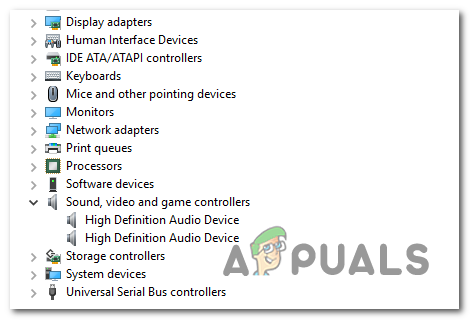
Run dialog: devmgmt.msc - Inside Device Manager, expand the Sound, video, and game controllers menu. Then, proceed to disable every audio adapter in there by right-clicking and choosing Disable device.
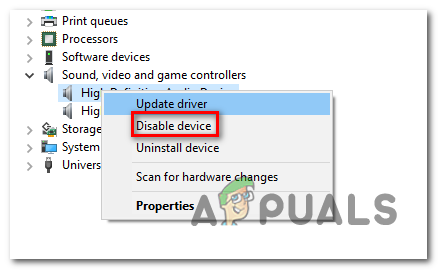
Disabling every audio device - Once all audio adapters under Sound, video, and game controllers have been disabled, wait a couple of seconds before re-enabling them by right-clicking and choosing Enable Device.
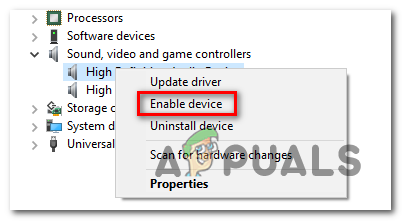
Re-enabling the audio adapters - Repeat the action that was previously triggering the “Audio renderer error. Please restart your computer.” error and see if the issue has been resolved.
If you’re still encountering the issue or you find that the issue still returns after some time, continue down with the next method below.
5. Rollback/uninstall the Audio driver
Another possible fix for the “Audio renderer error. Please restart your computer.” error is to roll back on the audio driver. Rolling back to a previous audio version will resolve the issue if it was previously caused by a software bug. Uninstalling the audio driver will also force Windows to reinstall the audio driver which will eliminate the error if you were dealing with some corrupted files.
Here’s a quick guide on rolling back the audio driver:
- Press Windows key + R to open up a Run dialog box. Then, type “devmgmt.msc” and press Enter to open Device Manager.
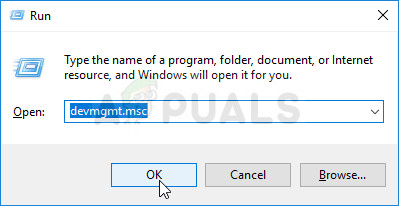
Running Device Manager via Run dialog bo - Expand the Sound, video, and game controllers drop-down menu and double-click on your audio adapter.
Accessing your Audio adapter Device Manager listing - Inside the properties of your audio adapter, go to the Driver tab and click on Roll Back Driver. If this action is not available, click on Uninstall Device.
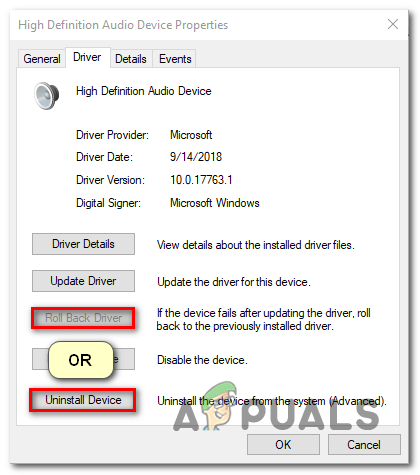
Rolling back or uninstalling the driver - Restart your computer. If you choose to uninstall the audio driver, Windows will automatically reinstall the latest available version of your audio adapter. Once the startup is complete, repeat the action that was previously causing the “Audio renderer error. Please restart your computer.” error and see if the issue has been resolved.
6. Setting the same sample rate for both Windows Sound driver and ASIO driver
If you’re only encountering this error while Cubase is opened, you’re likely dealing with a conflict between the Windows Sound system and the ASIO driver settings. If this scenario applies to your current situation, chances are you will be able to resolve the issue by ensuring that both your Windows Sound driver and the ASIO driver ar 3both using the same sample rate (e.g. 44.1k vs 48k).
Here’s a quick guide on how to do this:
- Press Windows key + R to open up a Run dialog box. Then, type “mmsys.cpl” and press Enter to open the Sound settings menu.
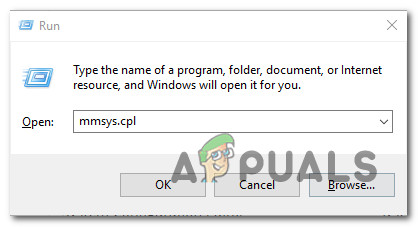
Opening the Sound menu via a Run command - Inside the Sound menu, go to the Playback tab, select the audio device that you’re encountering the issue with, and click on Configure.
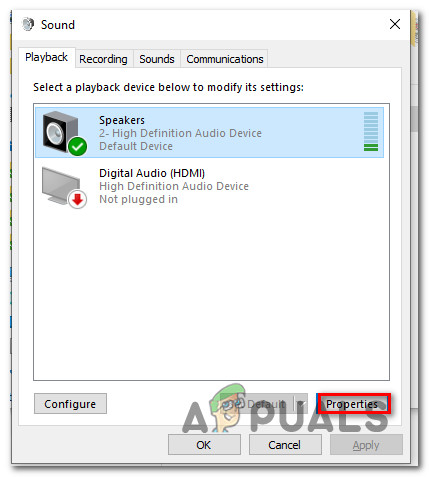
Accessing the properties menu of the Audio device triggering the error - Inside the Properties screen of your audio device, go to the Advanced tab and change the Default Format to 16 bit, 44100 (or a different standard format that you wish to use). Then click Apply to save your current configuration.
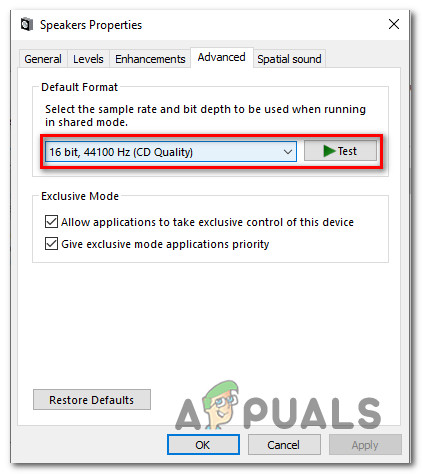
Changing the Default Format - Next, open your ASIO driver settings and go to the Audio tab. Once you get there, change the sample rate to the frequency as the Audio Format that you previously established at step 3.
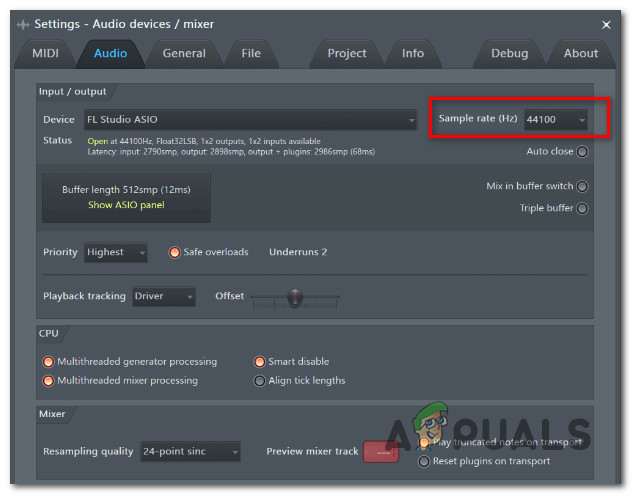
Changing the ASIO driver settings - Restart your computer and see if the conflict has been resolved.
If you’re still encountering the same “Audio renderer error. Please restart your computer.” error, move down to the next method below.
7. Update BIOS (only confirmed on Dell computers)
Some users encountering the issue on DELL computers have reported that the issue was resolved for good once they updated their BIOS firmware. This procedure might be applicable with other manufacturers, but we’ve only been able to confirm the fix on Dell computers.
Note: If you manage to resolve the error using this method on a different configuration, let us know in the comment section below.
Warning: Keep in mind that the process of updating your BIOS firmware can be detrimental to your PC if you don’t follow the instructions for the letter. If you decide to go through with it, you’ll have to do it at your own risk.
BIOS interfaces, as well as the exact steps of updating the BIOS on a DELL PC, will be different from configuration to configuration. To avoid any confusion, we urge you to read Dell’s BIOS updates support page (here) to understand the procedure.
Once you become familiar with the process, follow the specific instructions (here) to create a BIOS installation media and update your BIOS to the latest version.


Had to update BIOS on my dell computer, that’s the only thing that worked