How to Fix Engine Error – 0x887A0006 in Apex Legends?
When launching Apex Legends, users often encounter a type of error called an “Engine Error,” which crashes the game randomly or completely prevents the game from opening. This Engine Error comes in many forms, and several factors can cause it.
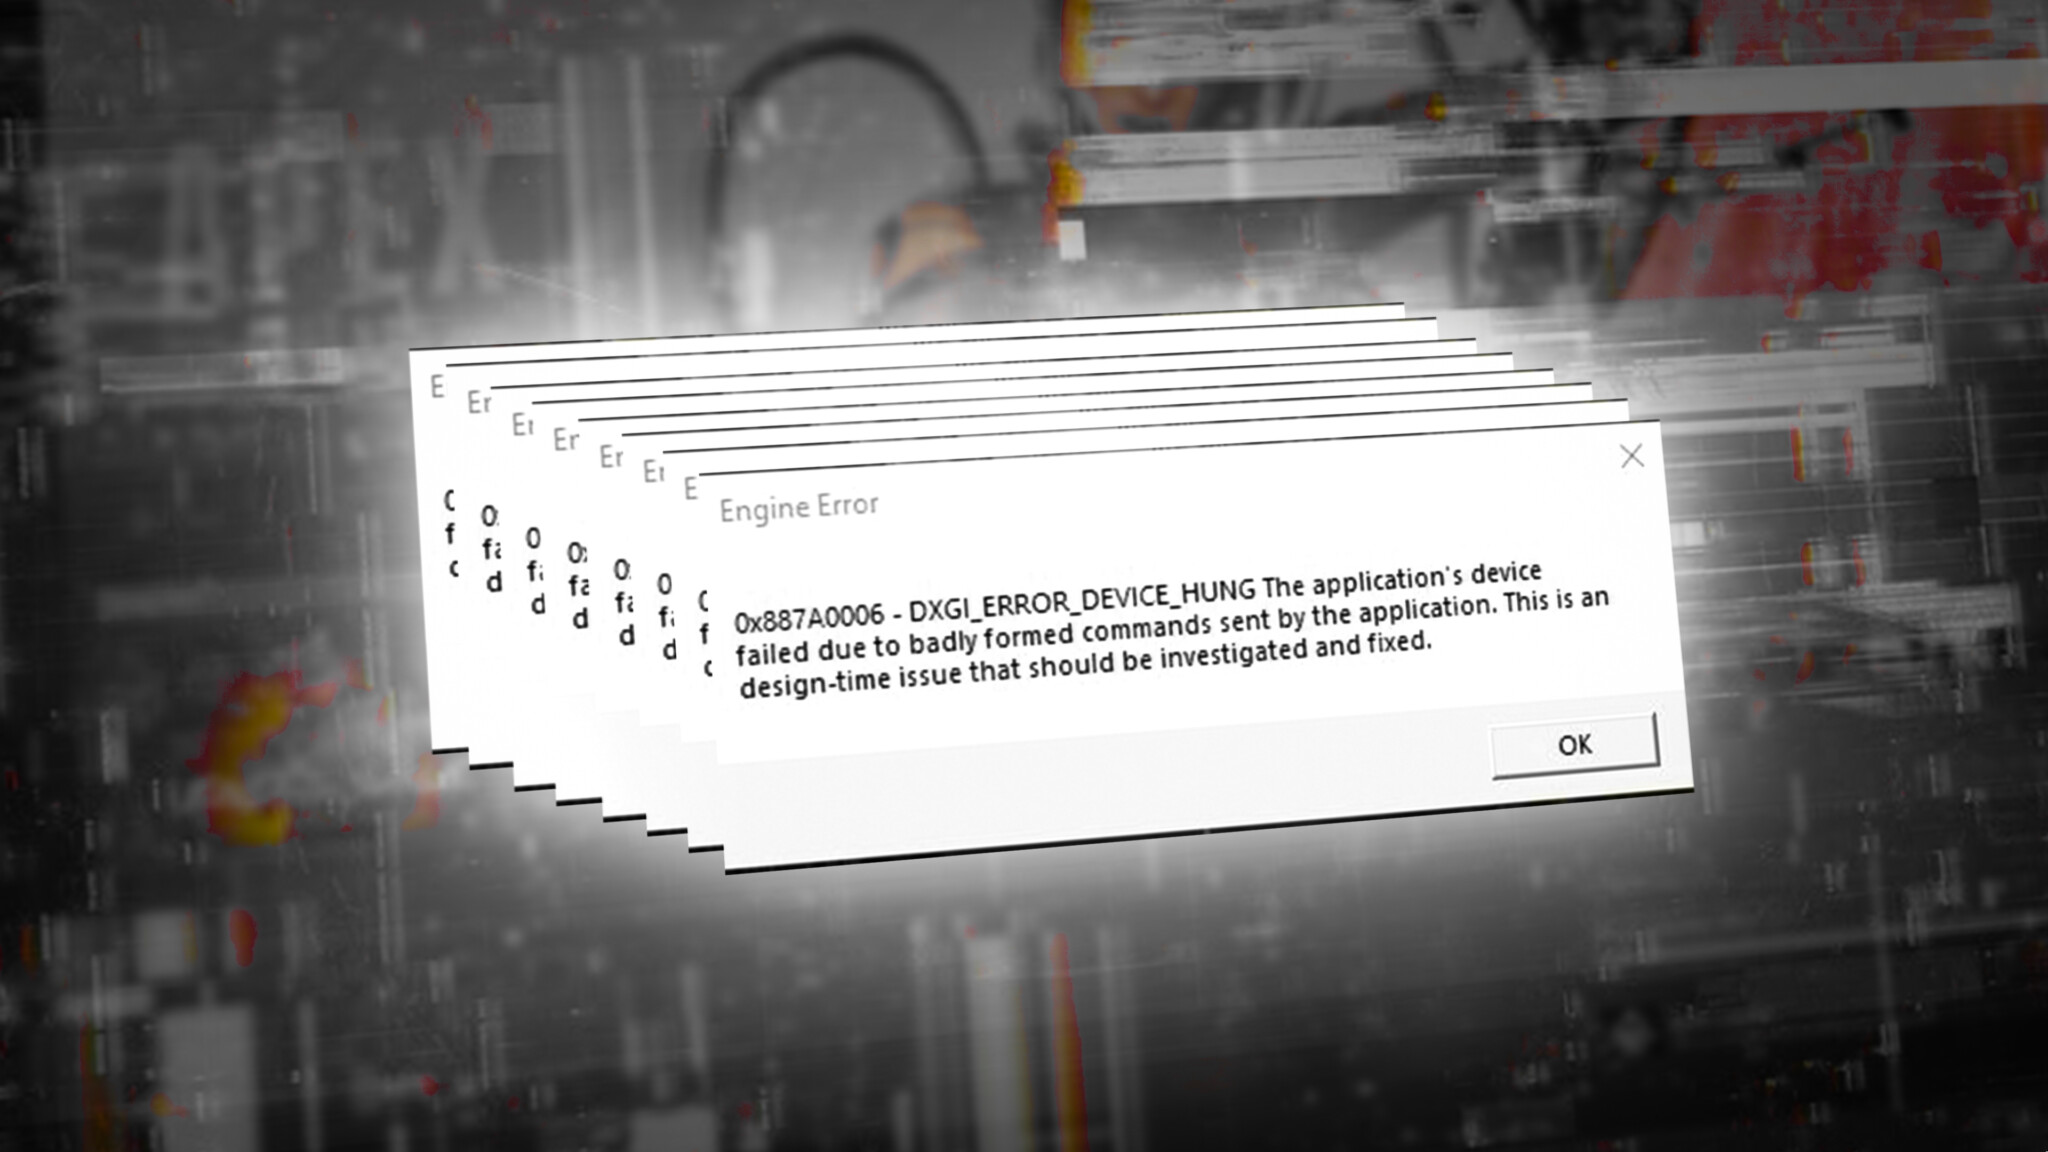
The error code most commonly associated with the Engine Error is “0x887A0006 – “DXGI_ERROR_DEVICE_HUNG,” but this error can come with many different codes, such as the ones we’ve listed below:
- CreateTexture2D Failed to create texture
- CreateShaderResourceView failed
This guide lists every possible cause of this error and the best solutions for each possible cause. The solutions listed below are ordered from easiest to hardest to perform, so make sure to follow these solutions in this specific order.
1. Run Apex Legends with Administrator Privileges
The most straightforward solution to this error is to grant Apex Legends administrator privileges on your system. If the game is not launched as an administrator, it may not obtain the necessary privileges to access important files and run specific commands.
Therefore, launching the game as an administrator can resolve this error as it will grant the game all the privileges it needs to access the important files.
To run Apex Legends as an administrator, you’ll need first to find its install location on your system. You can find this folder through the game’s launcher.
If you play Apex Legends on Steam, follow the steps listed below to find its install location:
- Launch the Steam application.
- Navigate to your Game Library.
- Locate Apex Legends in your list of games and right-click on it.
- Click on the “Manage” option.
- Click on the “Browse Local Files” option.
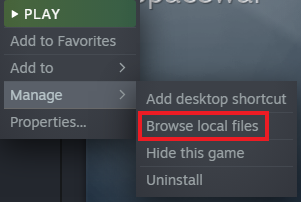
Browse Local Files
If you play Apex Legends on Origin, follow the steps listed below to find its install location:
- Launch the Origin application.
- Click on the “My Game Library” option on the left.
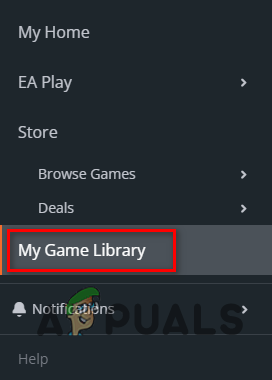
Navigating to the Origin Launcher Game Library - Right-click on Apex Legends.
- Click on the “Move Game” option.
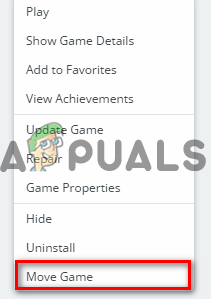
Selecting the Move Game option
After you follow these steps, the install folder of Apex Legends will open. In this folder, look for the .exe file of the game, which is named “r5apex”.
Right-click on this file and select Properties. In the Properties window, navigate to the Compatibility tab and put a checkmark next to the “Run as an administrator” option.
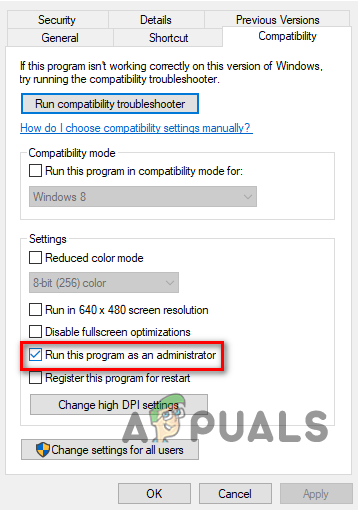
Click on Apply to save your changes, and then launch the game. If you continue to experience the error even after granting the game admin privileges, move on to the next solution listed below.
2. Repair Apex Legends’ Game Files
The next solution to this error is to repair Apex Legends’ game files. Generally, the leading cause of this error is game files that had become corrupted over time or failed to download when the game was being installed on your system.
Luckily, these corrupted/missing game files can easily be repaired/replaced using the Repair Game File feature built into both Steam and Origin.
But before performing the file repair process, check whether the error message shows you a specific file name. For example, in the screenshot below, the error message shows that the culprit of the issue is the settings.cfg file.
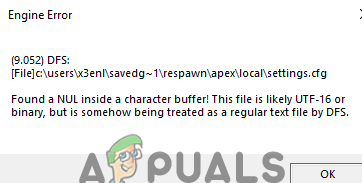
If the error message you see shows such a file name, open Apex Legend’s install folder again and locate that file. Once you’ve found it, you must delete the file before you perform the game file repair process.
We’re doing this because deleting this file before repairing the game files will allow the launcher to completely renew the file, which will most likely fix your issue.
And if you don’t see any file name in the error message, you can simply perform the file repair process without doing anything beforehand.
If you play Apex Legends on Steam, follow the steps listed below to repair its game files:
- Launch the Steam application.
- Navigate to your Game Library.
- Right-click on Apex Legends.
- Click on the “Properties…” option.
- Navigate to the Local Files tab.
- Click on the “Verify integrity of game files…” option.

Verifying Integrity of Game Files through Steam
If you play Apex Legends on Origin, follow the steps listed below to repair its game files:
- Launch the Origin application.
- Click on the “My Game Library” option on the left.
- Right-click on Apex Legends.
- Select the “Repair” option.
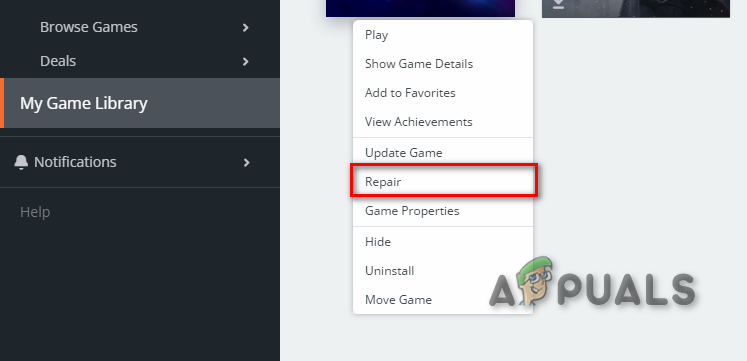
Repairing game files through the Origin Launcher
The file repair process will take only a few minutes to finish. Once it finishes, it will inform you whether it found and repaired any missing/corrupted files.
After repairing the game files, launch Apex Legends and see if it still gives you the error. If you continue to experience the error, don’t worry; we’ve listed more solutions below.
3. Disable Shadow-Related Graphics Settings (If Applicable)
According to many reports from the Apex Legends community, certain graphics settings in the game tend to cause the game’s engine to crash if the system has low-end hardware.
The graphics settings that cause these crashes are related to the shadows in the game, and we’ve listed them below:
- Sun Shadow Coverage
- Sun Shadow Detail
- Spot Shadow Detail
Spot Shadow Detail seems to be the most buggy of these three graphics settings, as most players have reported that disabling this setting has fixed the crashing bug for them.
Therefore, the following solution is to disable the shadow-related graphics settings. Note that this solution is only applicable to those players whose game does not crash at launch but crashes at random intervals instead.
If you encounter the error as soon as you launch Apex Legends and the game immediately crashes at launch, skip to the next solution.
Follow the steps written below to disable these graphics settings:
- Launch Apex Legends.
- Click on the cogwheel icon in the bottom-right corner of the home page.
- Click on Settings.

Opening Apex Legends Settings - Navigate to the “Video” tab.
- Scroll down to the Advanced section.
- Set Sun Shadow Coverage and Sun Shadow Detail to Low.
- Set Spot Shadow Detail to Disabled.
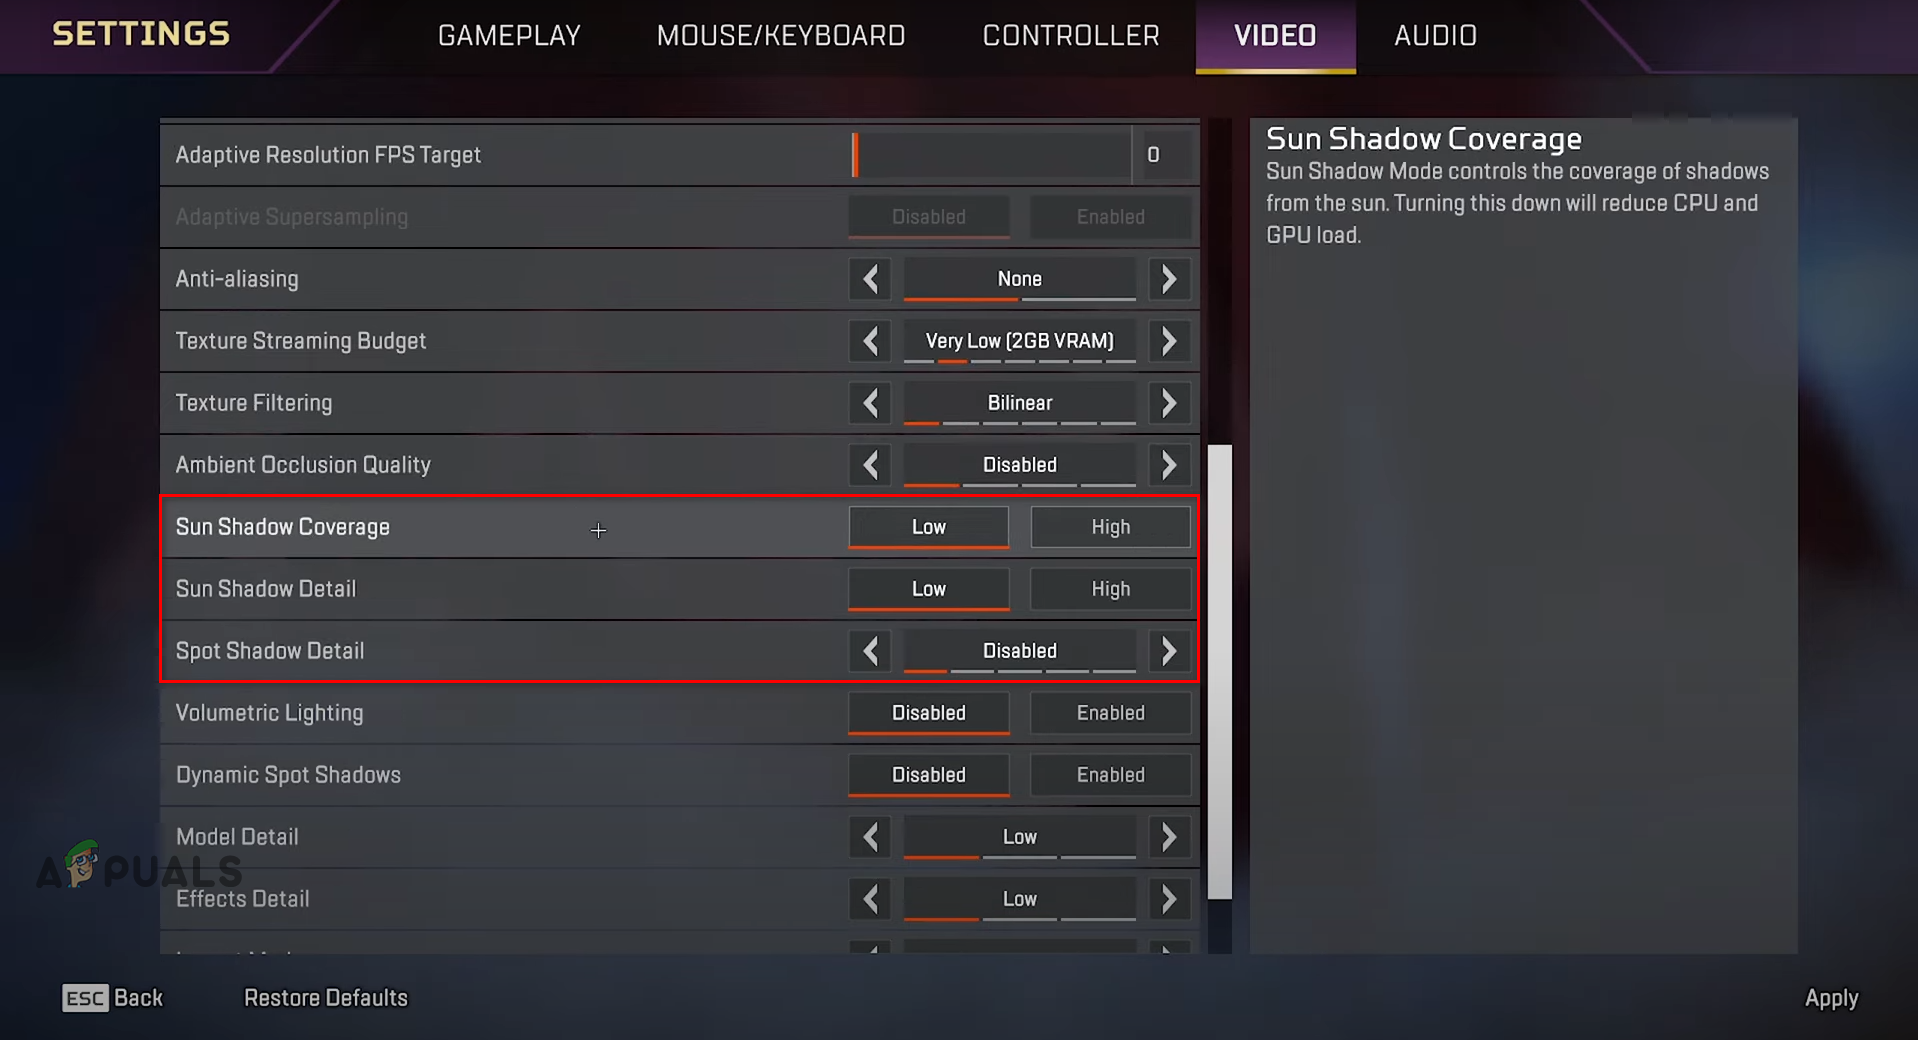
Changing Graphics Settings - Press ESC and save your changes.
After disabling these settings, play the game for a while. If the error stops occurring, these settings are the cause of the issue. But if the game continues to crash, move on to the next solution below.
4. Disable Overlays
While playing Apex Legends, you should not have any programs running that have a built-in overlay feature. Having overlays enabled can help increase productivity, as they allow you to access features of apps like Steam without having to open them, but these overlays come with significant downsides.
The biggest problem with the overlays of different apps like Steam, Discord, and NVIDIA GeForce Experience is that they are known to have compatibility issues with different programs.
Due to these compatibility issues, they can cause certain programs to crash randomly. Furthermore, these overlays also quietly use up system resources in the background, even if they are not being actively used.
So if you have several active overlays, they will prevent Apex Legends from accessing all the system resources it needs.
The overlays that are known to cause the most issues with games are Discord, Steam, Xbox Game Bar, and NVIDIA GeForce Experience overlays. Below, we’ve shown how to disable the overlay of each of these apps.
Follow these steps to disable the Discord Overlay:
- Launch the Discord app.
- Click on the gear icon next to your name at the bottom-left corner.
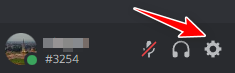
Opening Discord Settings - Navigate to the Activity Settings section.
- Click on “Game Overlay.”
- Disable the in-game overlay option.
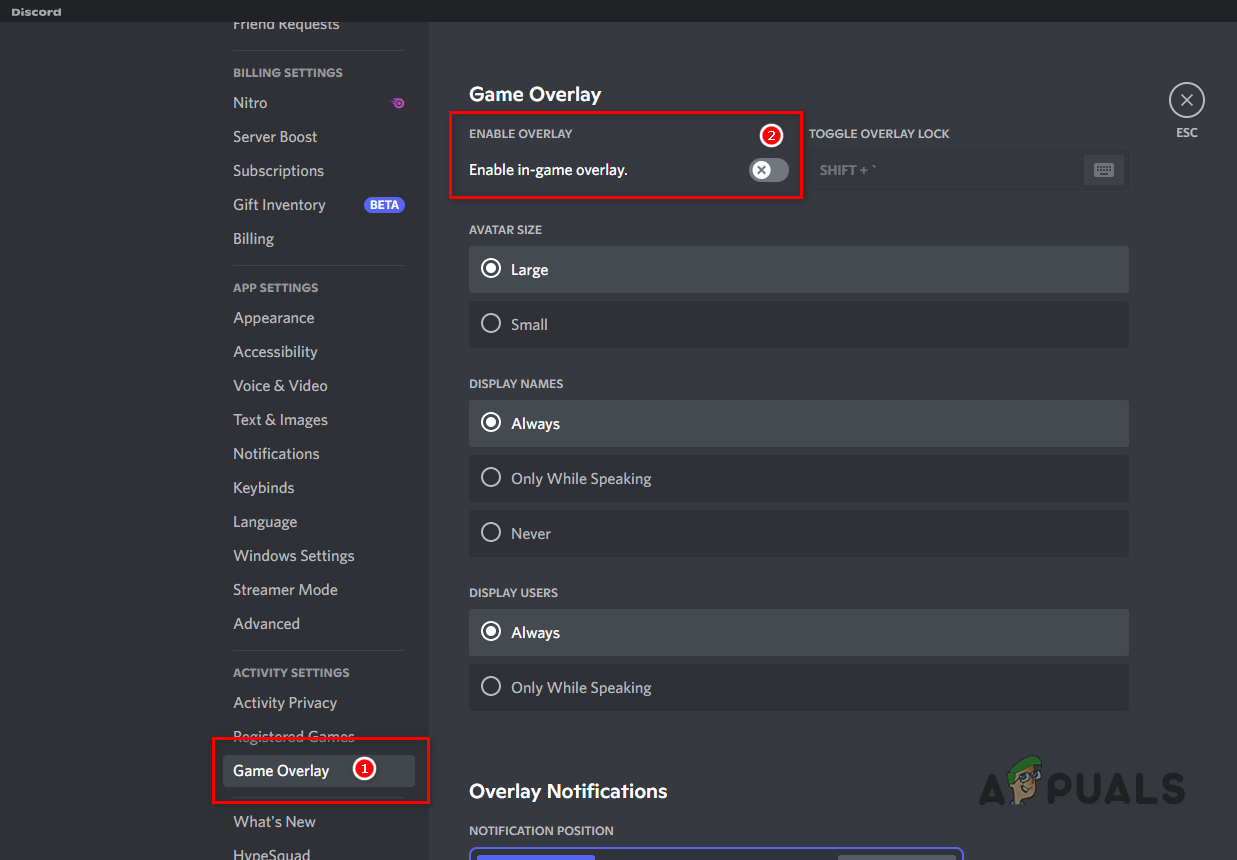
Disabling the Discord Overlay
Follow these steps to disable the Steam Overlay:
- Launch the Steam app.
- Press the small “Steam” button in the top-left corner of the window.
- Click on “Settings.”
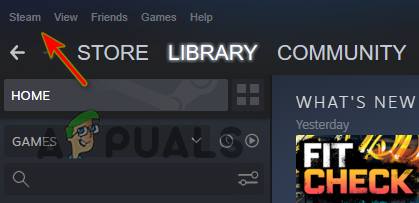
Opening Steam Settings - Navigate to the In-Game tab.
- Disable the in-game overlay option.
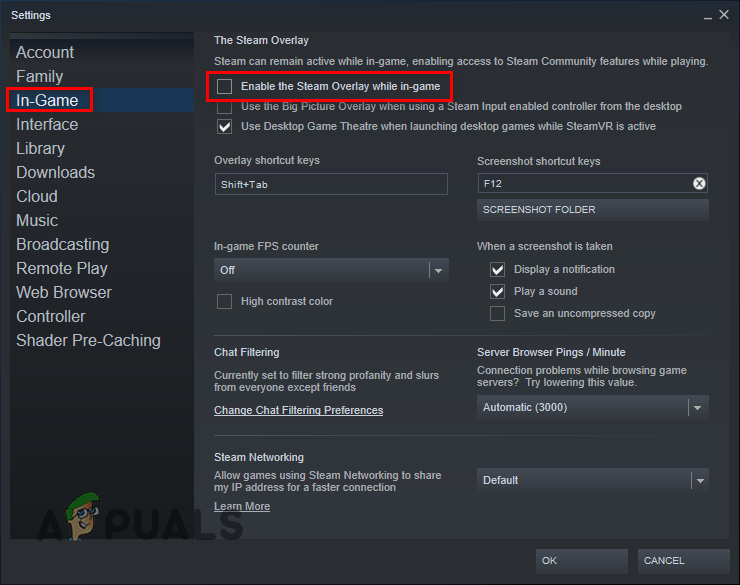
Disabling the Steam overlay - Press the OK button.
Follow these steps to disable the NVIDIA GeForce Experience Overlay:
- Launch the NVIDIA GeForce Experience app.
- Click on the gear icon next to your name at the top-right corner.
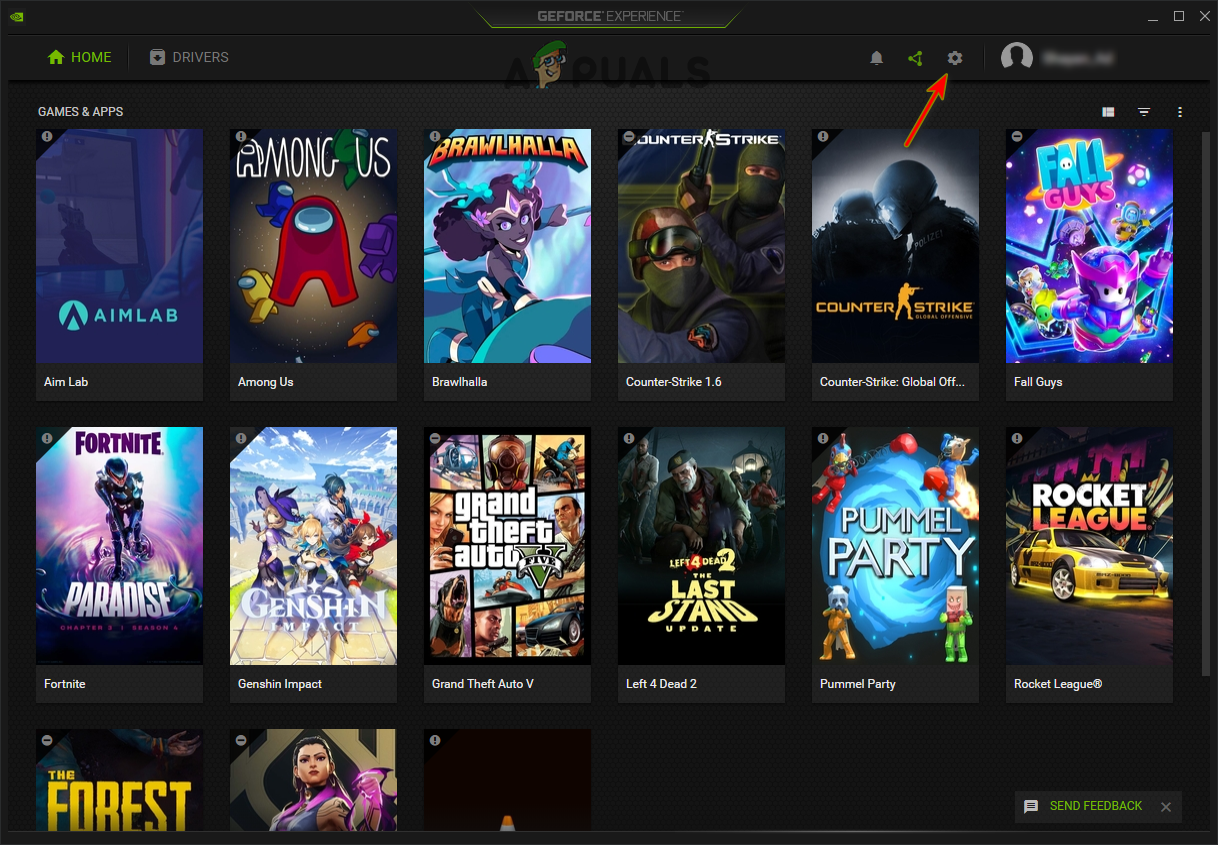
Opening NVIDIA GeForce Experience Settings - Disable the in-game overlay option.
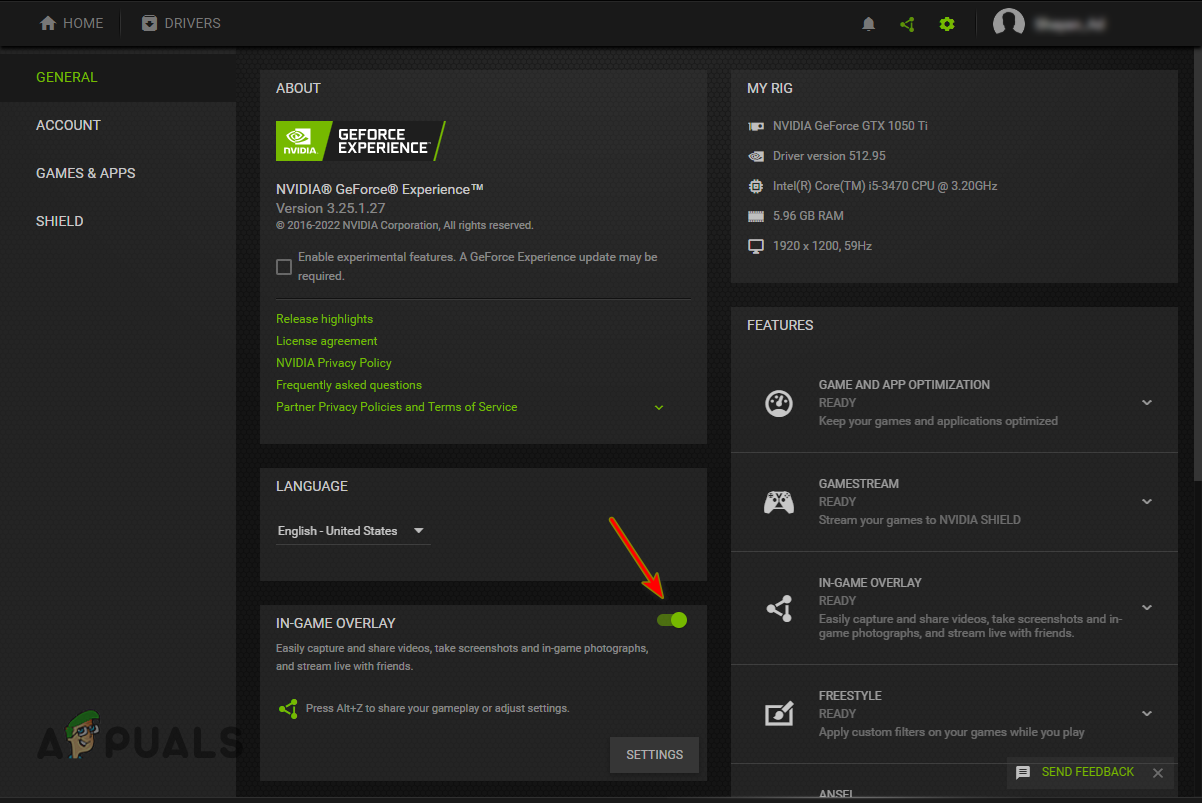
Disabling GeForce Experience In-Game Overlay
Follow these steps to disable the Xbox Game Bar Overlay:
- Press Windows Key + I (at the same time) to open the Settings menu.
- Click on the “Gaming” option.
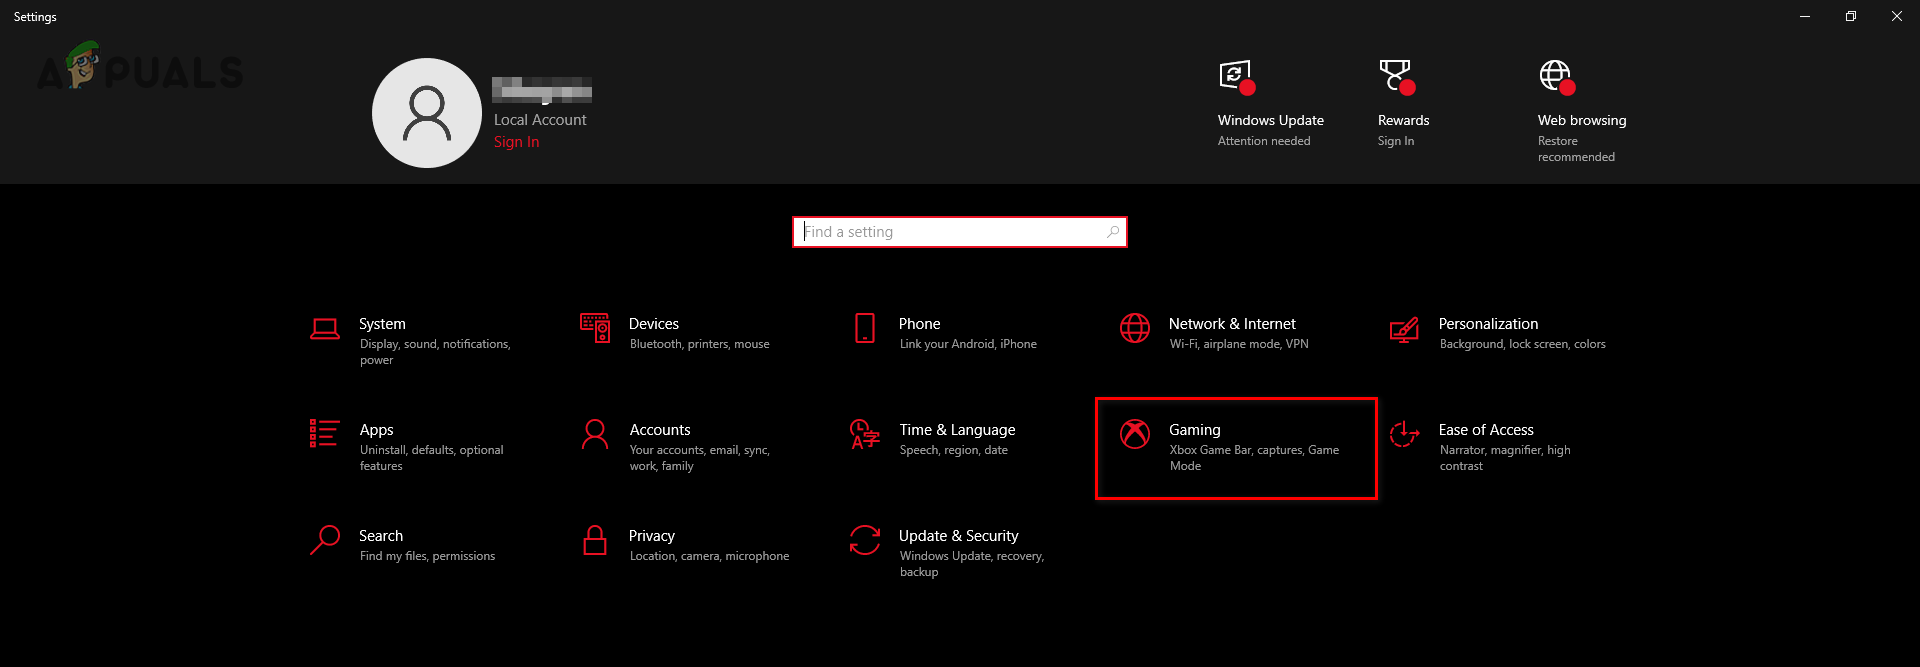
Opening the Gaming Settings menu - Disable the Xbox Game Bar overlay.
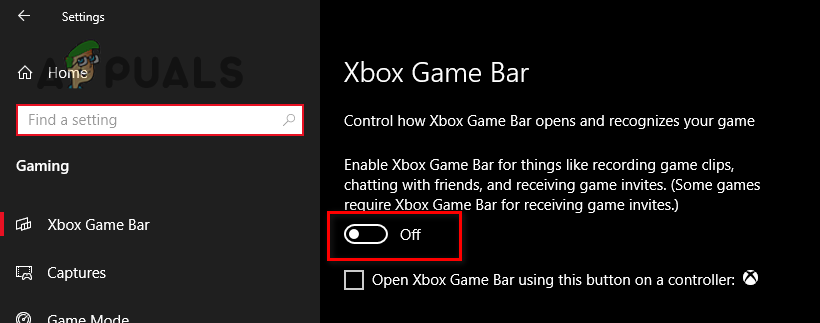
Disabling the Xbox Game Bar
5. Update GPU Drivers
An outdated Graphics Card (GPU) driver leads to all kinds of errors in games. Old GPU drivers are not optimized for the latest games, so they usually lead to errors due to compatibility issues or cause bad performance in newer games.
If you haven’t updated your GPU drivers in a long time, it is likely the main cause of the error you’re facing. So the next solution for this error is to update your GPU drivers to the latest version.
5.1 Finding the Model of your GPU
To update your GPU drivers, you must know the brand and model of the GPU installed in your system. If you already know what GPU you have, skip to the next part of the solution.
Follow the steps listed below to find out your GPU’s brand and model:
- Press the Windows Key and X together and click on Device Manager.
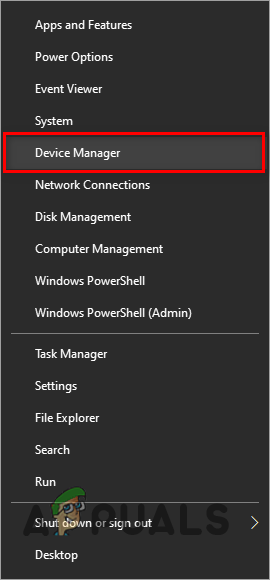
Disabling the Xbox Game Bar - Click on the small arrow next to “Display Adapters” to expand it.
- Note down the name of the device that appears under it.
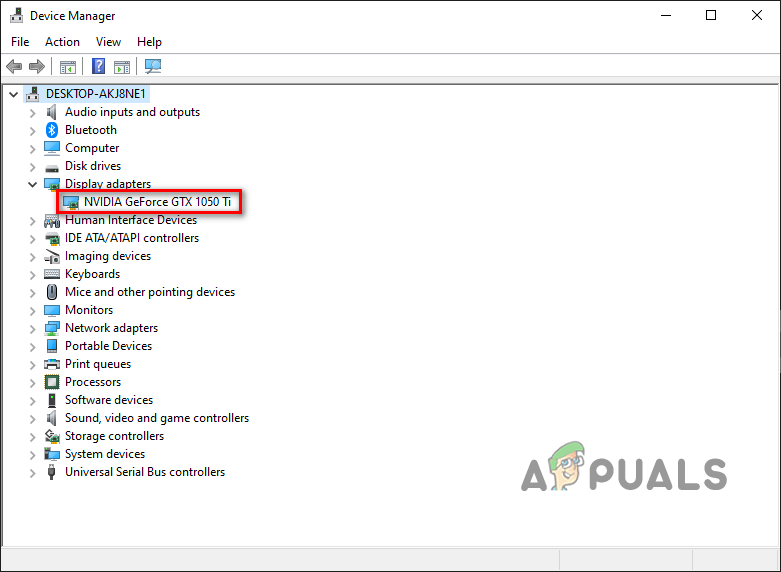
Identifying GPU model using Device Manager
Upon being expanded, the Display Adapters section will show you the name of the GPU installed in your system. However, if you follow these steps and see “Microsoft Basic Display Adapter” in the Display Adapters section, it is not the real name of your GPU.
Windows shows your GPU’s name as such if the GPU driver is missing or corrupted. So if you see this name, you’ll have to follow these steps to find the actual name of your GPU:
- Open Device Manager again and right-click on Microsoft Basic Display Adapter.
- Click on “Properties.”
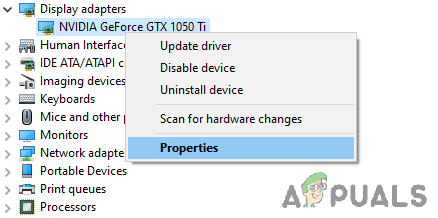
Selecting GPU Properties - Navigate to the “Details” tab.
- Click on the drop-down list under “Property” to expand it.
- Select the “Hardware Ids” option.
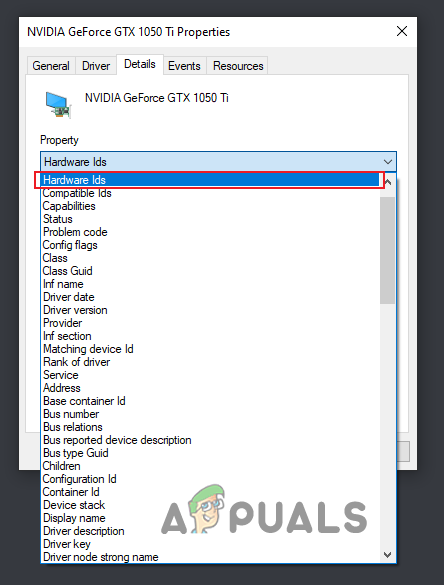
Selecting Hardware Ids - Copy the first line of text written under “Value.”
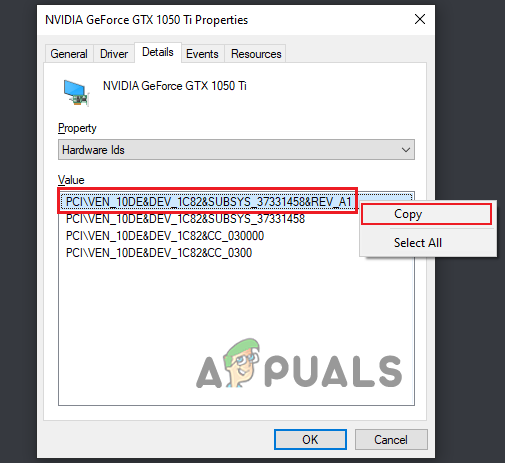
Copying Hardware Id - Open a browser and paste this text into Google, and hit enter.
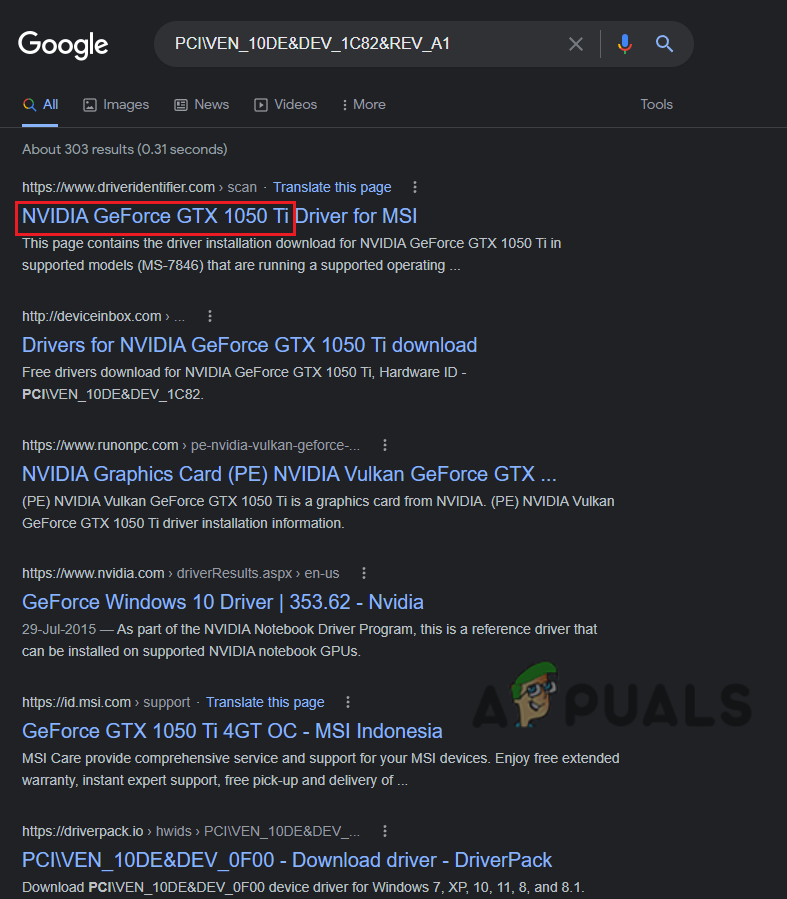
Finding name of GPU through Google
The search results that appear on Google will allow you to determine your GPU’s exact brand name and model easily. After figuring this out, the next step is to uninstall the GPU drivers that are currently present in your system.
5.2 Uninstalling Current GPU Drivers
This step is extremely important in this process as installing new drivers without uninstalling the ones you have currently can lead to all kinds of problems, especially performance errors.
This is because if the currently installed drivers are corrupt or improperly installed, they will conflict with the new ones we will install.
Now, to wipe the currently installed GPU drivers from the system, we will use a program known as “Display Driver Uninstaller (DDU).”
We are using DDU instead of Windows’ native driver uninstaller because it does a significantly better job of deleting all driver files.
If you use the native driver uninstaller of Windows to perform this step of the process, it will leave behind traces of the driver file, which will likely cause issues with the new drivers.
To download DDU, visit their official website and press the download button at the bottom. After installing it, you need to boot your PC into Safe Mode before you actually start wiping the drivers. This will ensure that the driver uninstall process goes as smoothly as possible.
Follow the steps written below to boot your PC into Safe Mode:
- Click the Windows icon in the bottom-left corner of your screen.
- Right-click on the Power icon above it.
- Hold the Shift key on your keyboard and select “Restart.”
- In the Troubleshoot menu, select “Advanced Options.”
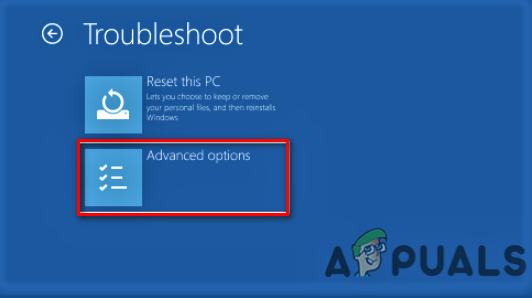
Selecting Advanced Options - Select the “Startup Settings” option.
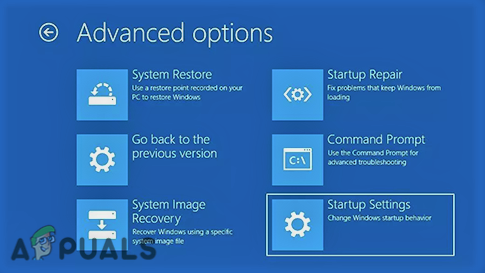
Selecting Startup Settings - Click on “Restart.”

Selecting Advanced Options - After your PC restarts, press the F4 key on your keyboard to boot into Safe Mode.
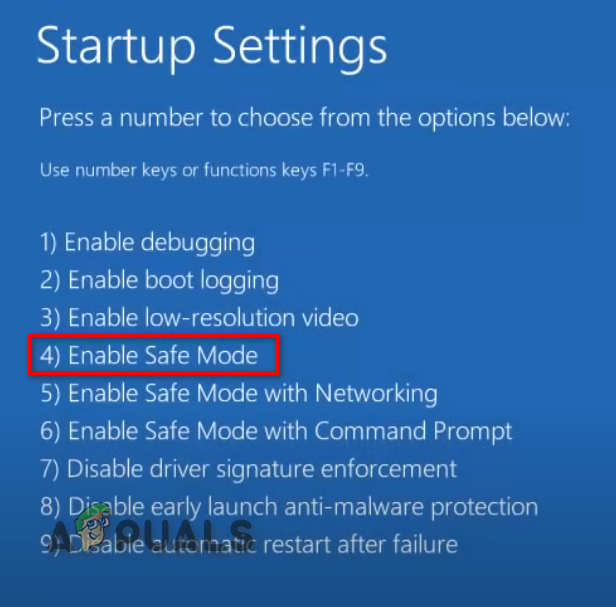
Selecting Safe Mode
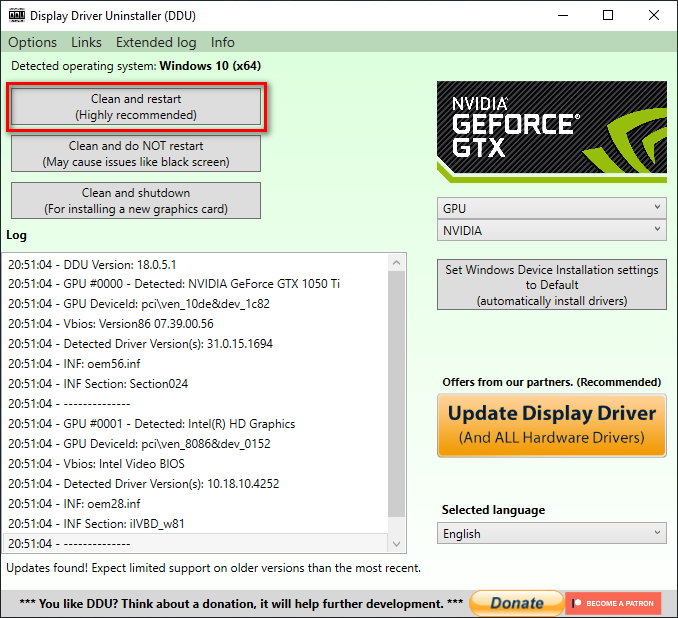
Your PC will then restart once more. Once it starts up, it will be in Safe Mode. Launch DDU and set the options on the right to the appropriate device type (GPU) and device brand name (NVIDIA/AMD/Intel).
After that, click on the “Clean and Restart” option at the top-left to begin uninstalling the GPU drivers. It will only take a few minutes for the drivers to be completely uninstalled from your system.
Once the drivers are completely uninstalled, your PC will restart one last time. After it restarts, it’s time to install the new drivers into the system.
5.3 Downloading and Installing New Drivers
To install the latest drivers for your GPU, you need to visit their official website and download the driver file from there.
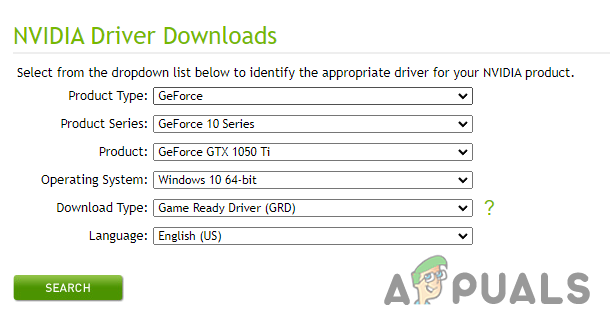
If you have an NVIDIA GPU, visit this website and select your GPU’s model using the drop-down lists under the “NVIDIA Driver Downloads” section. Then, press the green SEARCH option to find the newest drivers for your GPU.
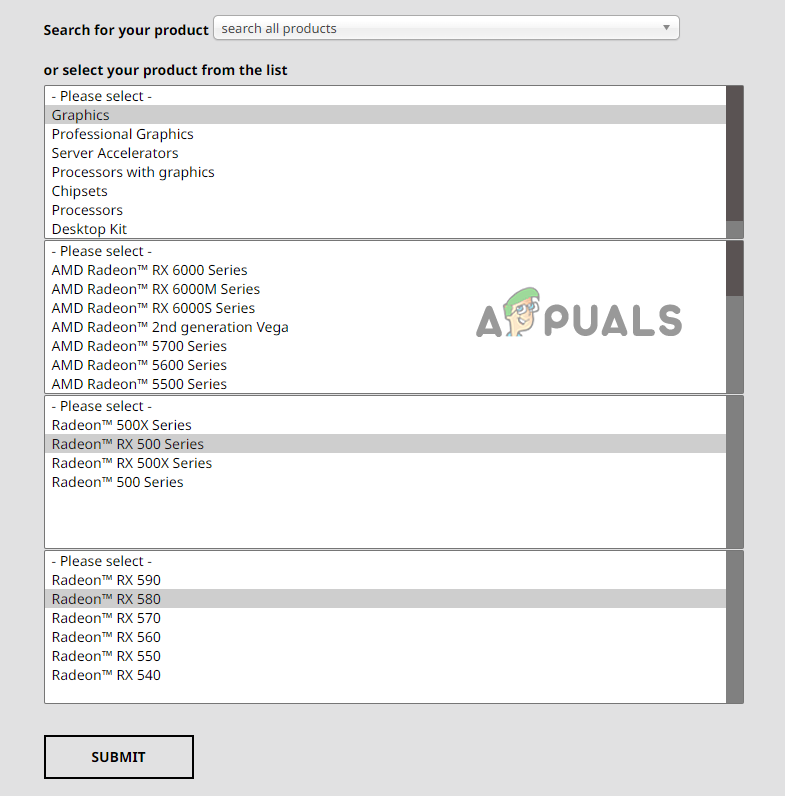
If you have an AMD GPU, visit their official website and click on the “search all products” option. Type your GPU’s exact model in the search bar and then press the SUBMIT option at the bottom to find the newest drivers.
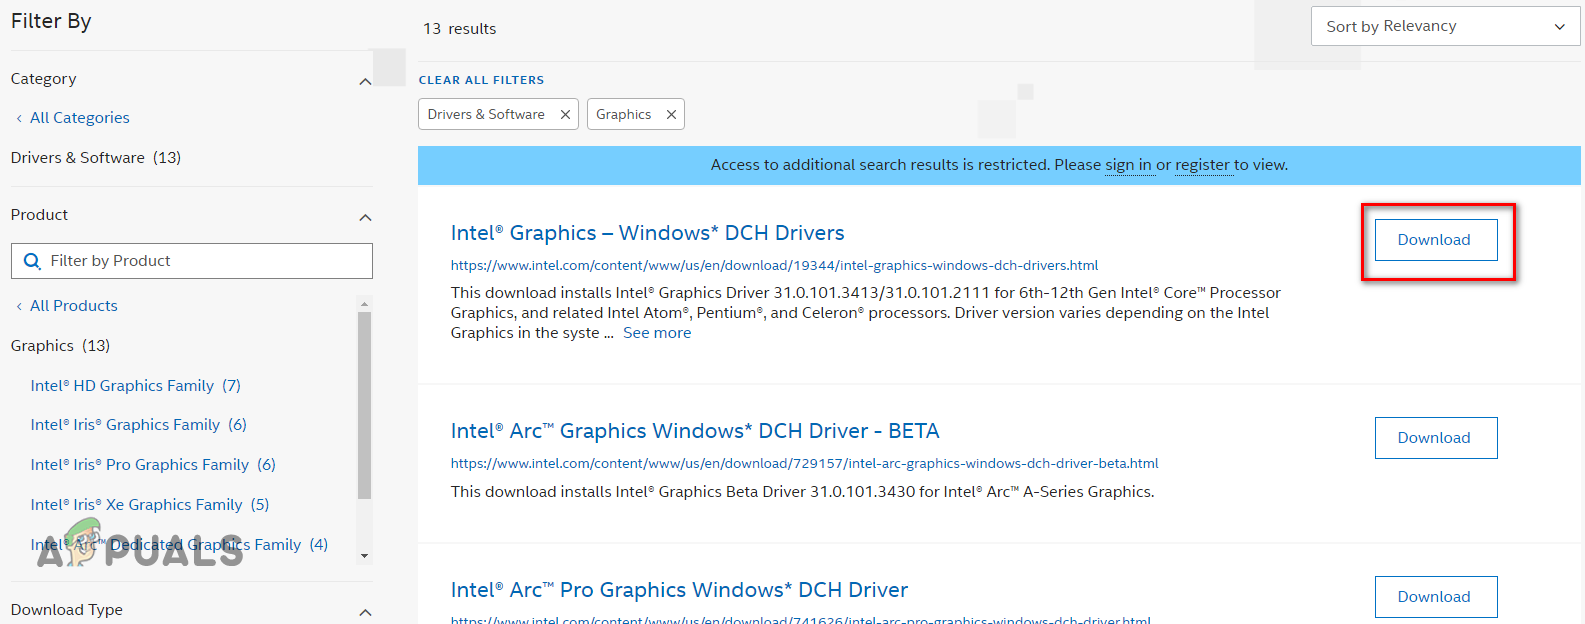
If you have an Intel GPU, visit this website and select your GPU model using the filters on the left side of the page. From the list of drivers it shows, download the latest one.
After the driver file has finished downloading, open it and select the “Express” installation option to begin installing the GPU drivers on your system. After the driver has been installed, launch Apex Legends and check whether the error has been fixed.
6. Use the System’s Dedicated Graphics Card (If Applicable)
If updating your GPU drivers did not affect the error, you should check whether Windows is even using the dedicated GPU installed inside your system to run Apex Legends.
There is a chance that Apex Legends could be running on your system’s integrated GPU instead of the dedicated one. And this could be why updating the GPU drivers did not fix the error for you.
To ensure that Apex Legends is running on your system’s dedicated GPU, follow the steps listed below:
- Press Windows Key on your keyboard, type Graphics Settings, and hit enter.
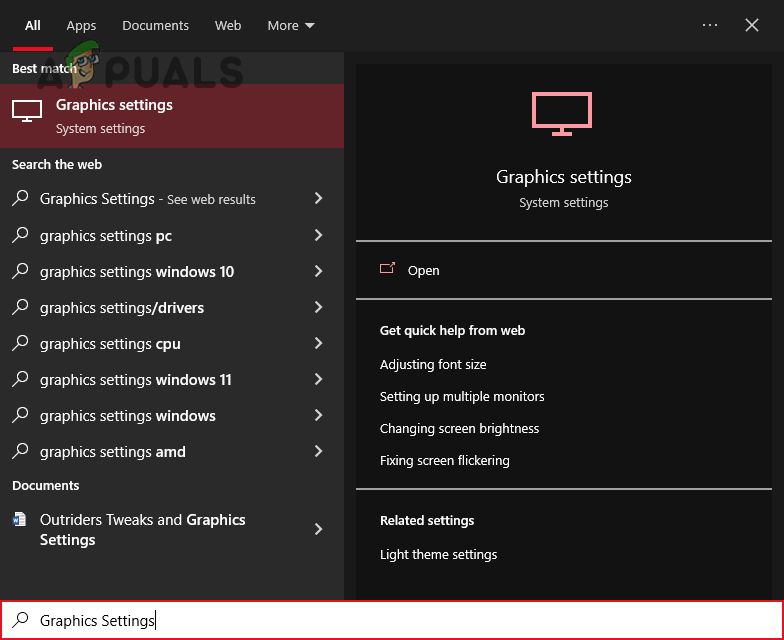
Opening Graphics Settings - Click on the “Browse” button below “Choose an app to set preference.”
- Add the r5apex file to the list.
- Click on Apex Legends.
- Click on the “Options” button.
- Select the “High performance” option and press save.
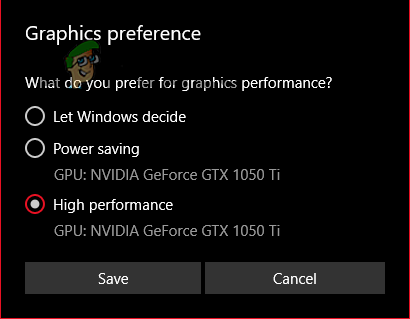
Changing Graphics Settings to High Performance
If High performance is already selected, then Apex Legends is already running on your system’s dedicated GPU, and the error is being caused by something else.
But if the High performance option was not selected previously, the game was running on your system’s integrated GPU this whole time. If you launch the game now, you should immediately feel a massive boost in performance, and the error should finally be fixed.
7. Add Registry Command
The next solution for this issue is to add a specific command in your system’s Registry. Many users have reported that the root cause of this issue was a missing Registry Command, and simply adding that command into the Registry manually resolved the error for them.
Follow the steps written below to add this Registry Command:
- Press Windows Key, type Notepad, and press enter.
- If you are running a 32-bit version of Windows, copy the following text and paste it into Notepad:
Windows Registry Editor Version 5.00
[HKEY_LOCAL_MACHINE\SYSTEM\CurrentControlSet\Control\GraphicsDrivers]
"TdrDelay"=dword:00000008
If you are running a 64-bit version of Windows, copy the following text and paste it into Notepad:
Windows Registry Editor Version 5.00
[HKEY_LOCAL_MACHINE\SYSTEM\CurrentControlSet\Control\GraphicsDrivers]
"TdrDelay"=hex(b):08,00,00,00,00,00,00,00

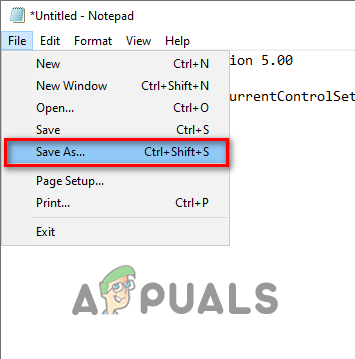
Adding Registry Command to Notepad file - Click on the “File” option in the top-left and select the “Save As” option.
Selecting the Save As option - Enter any file name of your choice, but type .reg at the end of the file name to save it as a registry file.
- Click Save.

Saving Notepad File - After saving, open the file and press “Yes” on the warning message.
- Now, launch Apex Legends and check to see if the issue persists.
8. Update Windows
If you are not running the latest version of Windows, the Apex Legends error you’re facing could be caused by compatibility issues with your system’s OS.
The latest games like Apex Legends require the newest version of Windows to run properly, as they are specifically optimized for these newest versions. So if a user is running an outdated OS version, it can lead to all sorts of issues.
So the next solution to this problem is to ensure that you are on the latest version of Windows. You can do this by following the steps below:
- Press Windows Key + I (at the same time) to open the Settings menu.
- Click on the “Updates & Security” option.
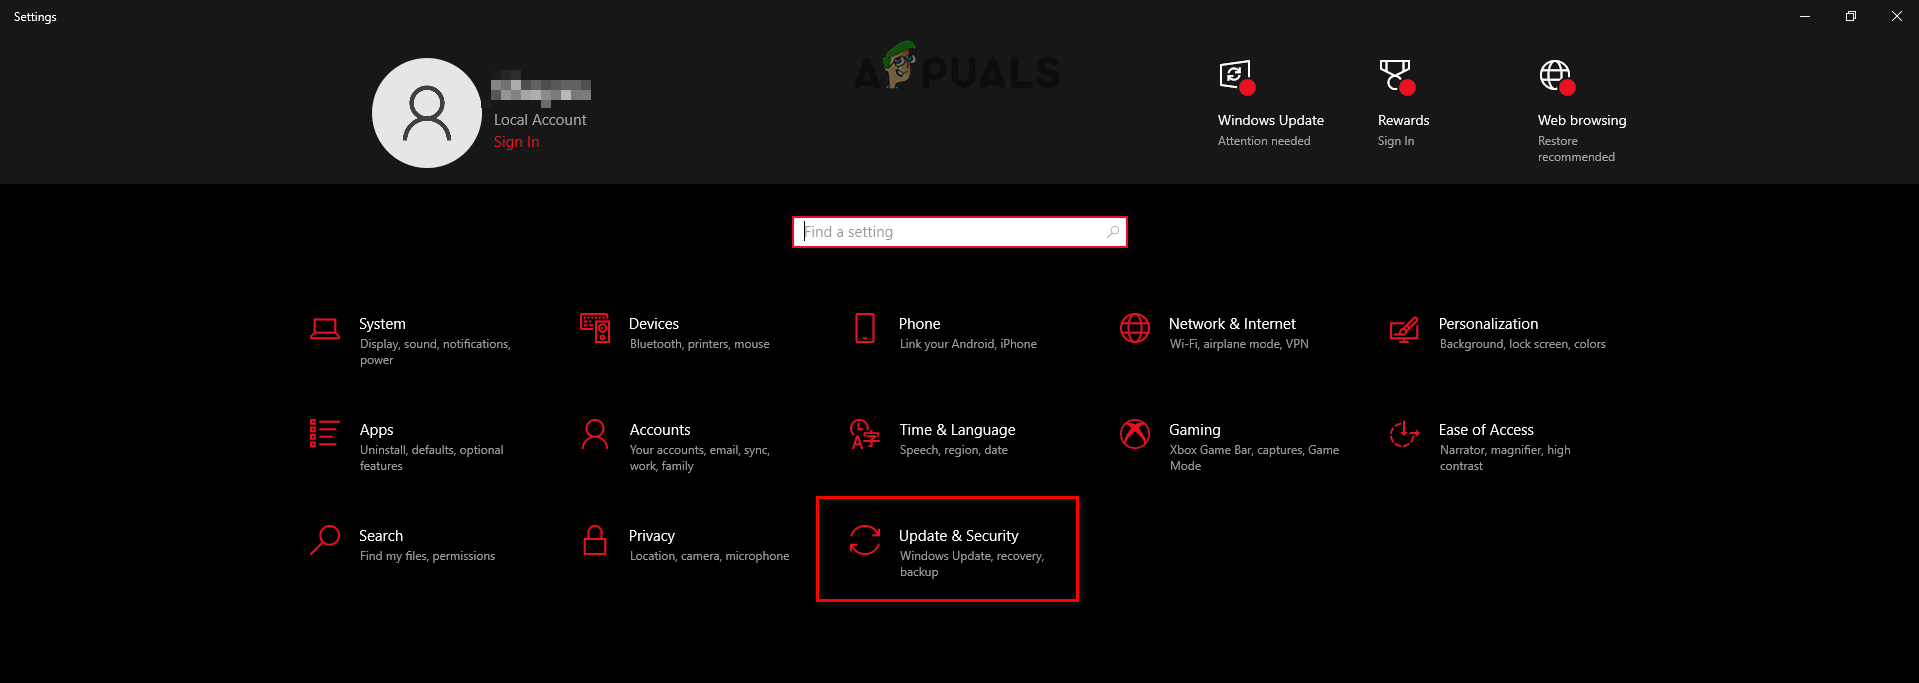
Opening Updates and Security Settings - Select the “Check for Updates” option.
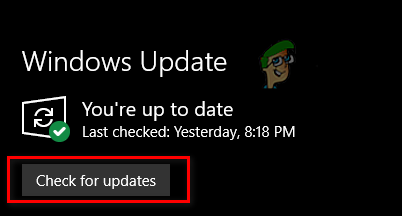
Updating Windows
If you are not running the latest version of Windows, a new Windows update will appear after you click this option. Install the update and then launch Apex Legends to see if it fixed the error.
9. Undo Graphics Card Overclock (If Applicable)
If your Graphics Card is overclocked to run at a higher frequency than the one it is set to by default, you must undo the overclock.
An overclocked GPU can suffer from temperature and instability issues, which leads to many types of errors when trying to launch games. Therefore, if Apex Legends continues to show you this error after you’ve tried all the solutions above, ensure that your GPU is set to the default settings and not overclocked.
10. Reinstall Apex Legends
If you’ve tried all of the solutions listed above and the error still hasn’t gone away, the final fix is to do a complete reinstall of Apex Legends.
The cause of the error is likely some deep corruption present in the game files that the Steam/Origin file integrity checker is overlooking. So a fresh install of the game will ensure that all the files are properly installed and there’s no corruption.
To reinstall Apex Legends, you must uninstall it first by following the steps below:
- Press Windows Key + R together to open the Run Dialog Box.
- Type appwiz.cpl in the search bar and press enter.
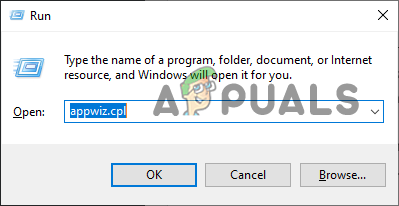
Opening Programs and Features menu through the Run dialog box - Right-click on Apex Legends in the list of programs.
- Click on Uninstall.
After the game finishes uninstalling, open Steam/Origin and reinstall the game onto your PC. This should finally resolve this error for you.


