How to Fix FFMPEG.dll is Missing
Your system may show the missing FFMPEG DLL error if essential system files are corrupt and this DLL is not found by the system directory. Moreover, the corrupt installation (or attempted installation) of an application may also cause the error under discussion.
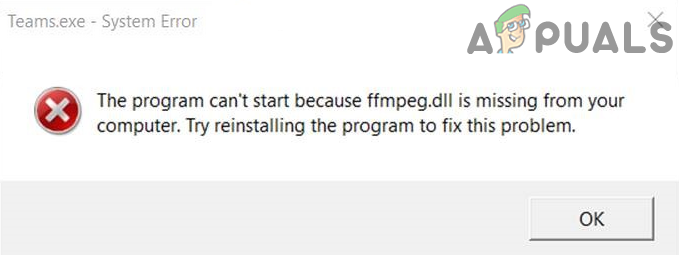
The user encounters the error when he tries to install an application but the setup fails saying FFMPEG.dll is missing. Some users also encountered the missing file error message while booting up the system. In some cases, the problem occurred while accessing websites like GitHub. The issue is mainly reported on the following applications:
Skype

Teams

Deezer for Windows

WhatsApp for Windows

Format Factory

Discord

Vortex for Windows

G Hub

MTZ Client

Sia-UI
Before moving on with the solutions to fix missing FFMPEG DLL, make sure your system drivers are up-to-date. Moreover, completely close all the applications on your system and make sure, through the Task Manager and System Tray of your system, that no background application is operating (only system processes should be running in the Task Manager). Now power off your system and wait for 1 minute. Then power on your system and re-run the problematic application setup and check if the issue is resolved. Moreover, check if any leftovers of previous installations of applications are causing the issue (you can try 3rd-party uninstallers or system cleaners).
Solution 1: Perform a System File Checker (SFC) Scan
You may encounter the error under discussion if your system files are corrupt or missing. In this case, using the Windows built-in SFC tool to scan (& repair) the corrupted system files may solve the problem.
- Perform an SFC scan of your system.
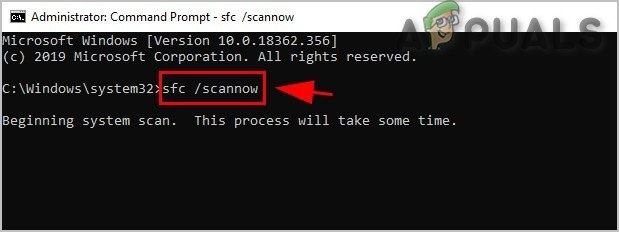
Run SFC Command - Now repeat the process which was causing the issue (e.g. try to install the application which was causing the issue) and check if the issue is resolved.
Solution 2: Copy the Folder into the Installation directory of the Application
If you tried to reinstall an application but without removing the remnants of the previous installation, there is a possibility of duplicate application folders. In this case, copying the contents of the new installation to the older folder (which has default folder names and paths) may solve the problem. For illustration, we will discuss the process for Microsoft Teams, you may have to dig deeper to make it work for your problematic application.
- Make sure no process related to Microsoft Teams is operating in the Task Manager of your system.
- Then launch the Run box of your system by simultaneously pressing Windows + R keys and then execute the following:
%localappdata%
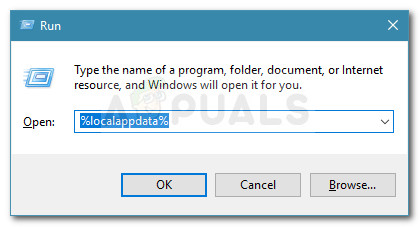
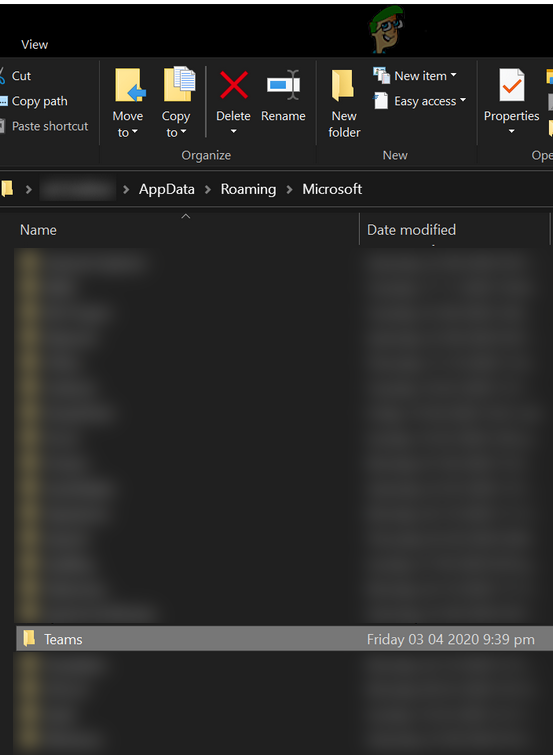
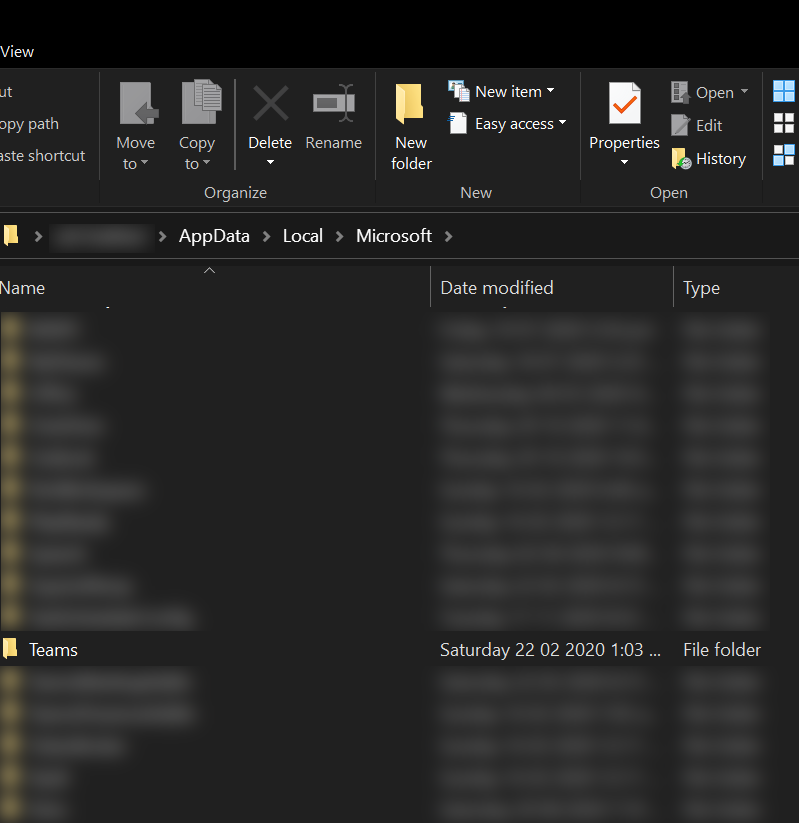
Run dialog box: %localappdata% - Now open Microsoft Folder and then Teams folder.
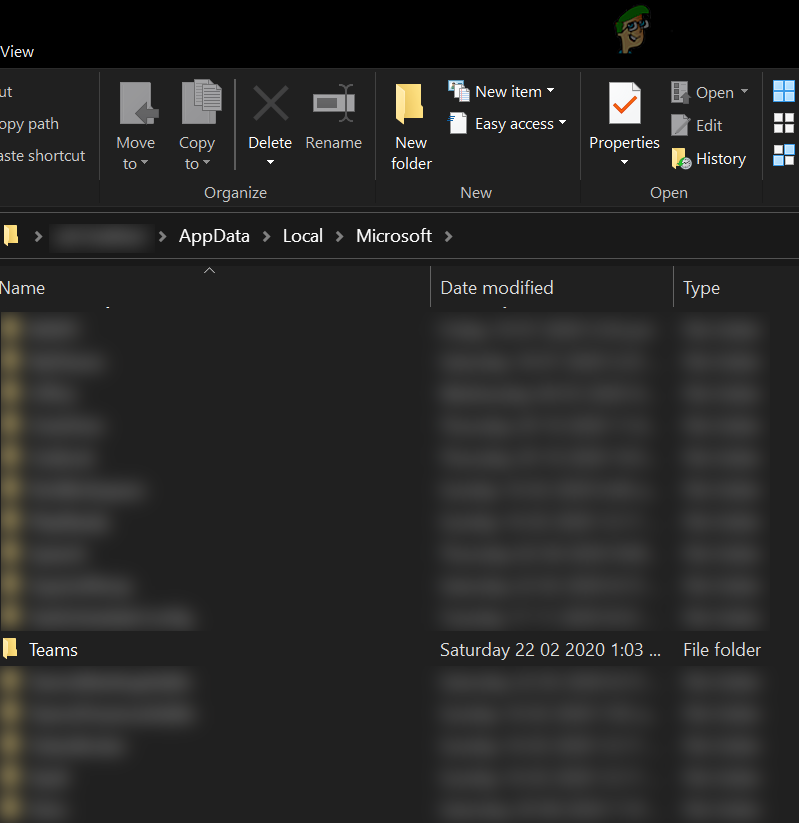
Open the Teams Folder - Then check if the Teams folder has more than one folder starting from Current e.g. current (the default folder name for Teams) and current-s1 folders. If so, then copy all the contents of the folder that does not have a default name (in this case, current-s1 folder) to the folder having the default folder name (in this case, current folder). Ignore any warnings for replacing the files (if asked to merge folders, click yes) and after copying the files, reboot your machine.
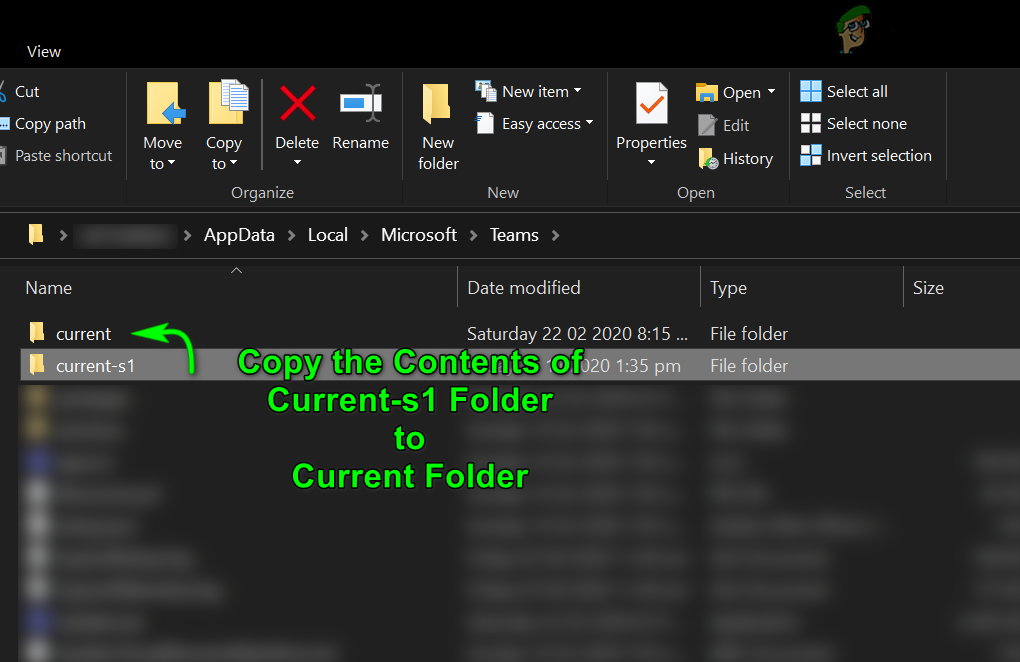
Copy the Contents of Current-S1 Folder to Current Folder - Upon reboot, check if the problematic application is clear of the error.
Solution 3: Clear the Cache of the Problematic Application
Applications use cache to boost up performance and improve the user experience. However, you may encounter the error at hand if the cache of the problematic application is corrupt. In this scenario, clearing the cache of the problematic application may solve the problem. For elucidation, we will go through the process for Microsoft Teams, you may have to dig deeper to make it work for your particular application.
- Make sure no process related to Microsoft Teams & Skype is operating in the Task Manager of your PC and then simultaneously press the Windows logo + R keys to launch the Run box.
- Now, navigate to the following paths one by one and delete all files present there (if Teams pops-in during the process, kill it using the Task Manager):
%appdata%\Microsoft\teams\cache

%appdata%\Microsoft\teams\blob_storage

%appdata%\Microsoft\teams\databases

%appdata%\Microsoft\teams\GPUcache

%appdata%\Microsoft\teams\IndexedDB

%appdata%\Microsoft\teams\Local Storage

%appdata%\Microsoft\teams\tmp
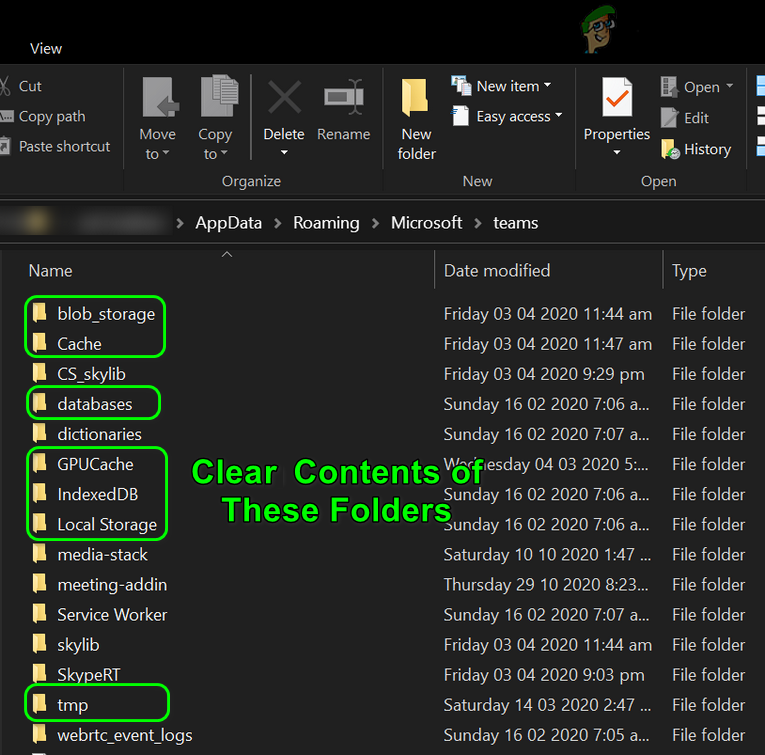
Clear the Microsoft Teams’ Cache - After clearing the above-mentioned folders, reboot your PC and upon reboot, check if the FFMPEG.dll issue is resolved.
- If not, repeat step 1 and open the Run box and execute the following:
%appdata%\Microsoft\
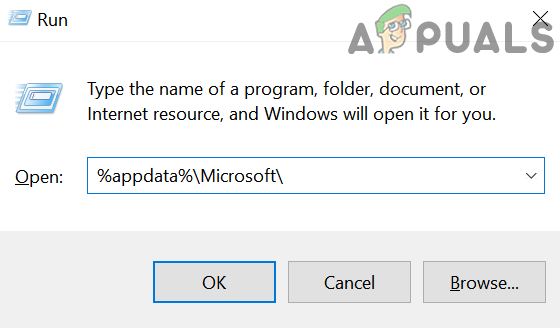
Open the Microsoft Roaming Folder - Now, right-click on the Teams folder and then select Delete.
Delete the Teams Roaming Folder - Then confirm to delete the folder and reboot your PC.
- Upon reboot, check if the system is clear of the FFMPEG.dll missing error.
Solution 4: Reinstall the Problematic Application
Your system may show the missing FFMPEG.dll missing error if the previous installation of the problematic application is corrupt or the new installer you are trying to use is corrupt. In this case, reinstalling with the newly downloaded setup of the problematic application may solve the problem. For illustration, we will discuss the process for Microsoft Teams, you may have to dig deeper to make it work for your particular case.
- Download the latest version of Microsoft Teams.
- Now press the Windows logo key to open the Windows menu and click on the Gear icon to open the Settings of your system.
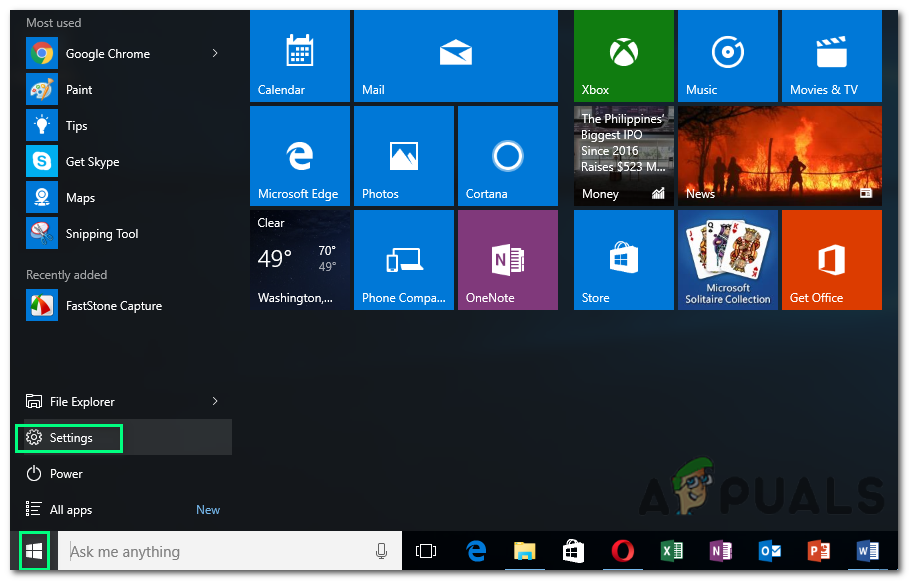
Opening Windows Settings - Then select Apps and expand Microsoft Teams. If Teams is not shown here, then try to use a 3rd-party uninstaller to remove remnants of the previous or attempted installation.
- Now click on the Uninstall button and confirm to Uninstall the Microsoft Teams.

Uninstall Microsoft Teams - Then follow the prompts on your screen to uninstall Teams and reboot your PC.
- Upon reboot, simultaneously press the Windows logo + R keys to launch the Run box and execute the following:
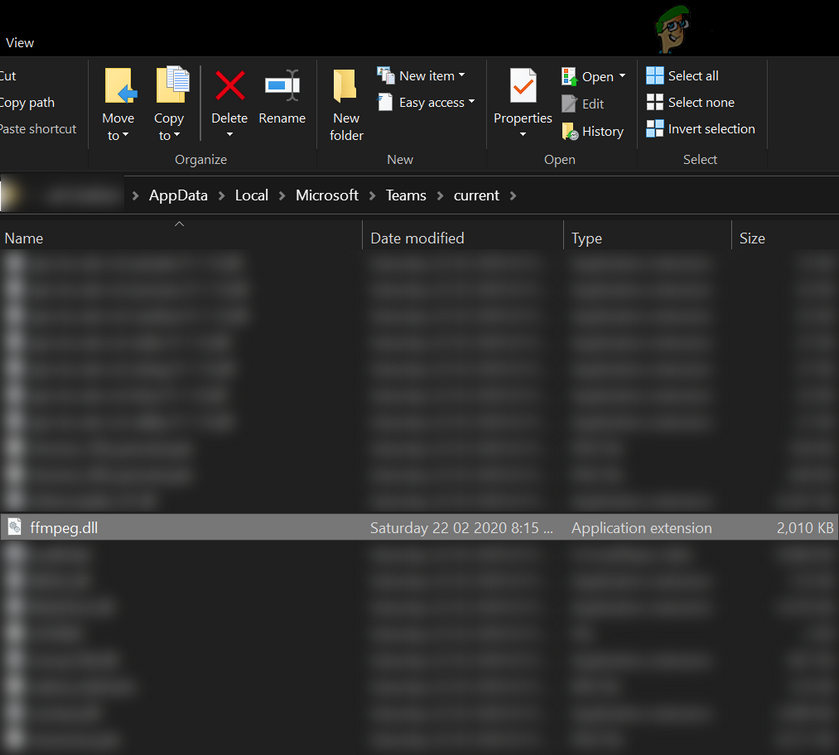
%localappdata%\Microsoft\
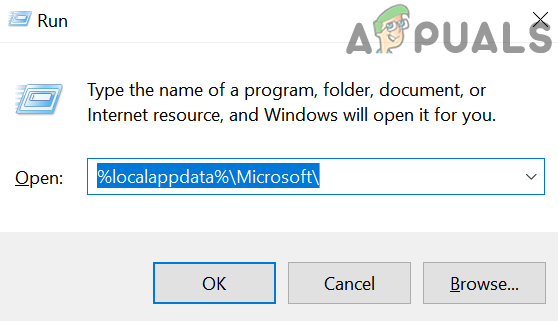
Open the Microsoft Local Folder - Now right-click on the Teams folder and choose Delete. Then confirm to delete the Teams folder.
Delete the Teams Local Folder - Then press the Windows logo key to launch the Windows menu and search for Registry Editor. Now, right-click on the Registry Editor (in the search results) and choose Run as Administrator.
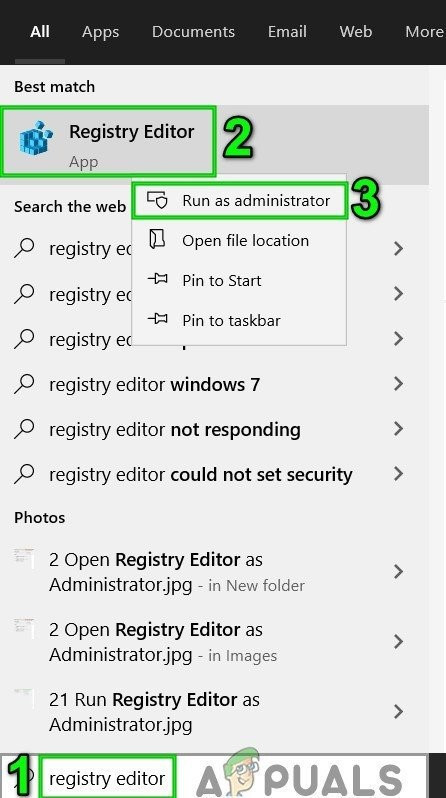
Open Registry Editor as Administrator - Now navigate to the following:
Computer\HKEY_CURRENT_USER\SOFTWARE\Microsoft\Office\Teams\
- Then, in the right pane of the window, delete the PreventInstallationFromMsi registry value and close the Registry Editor.
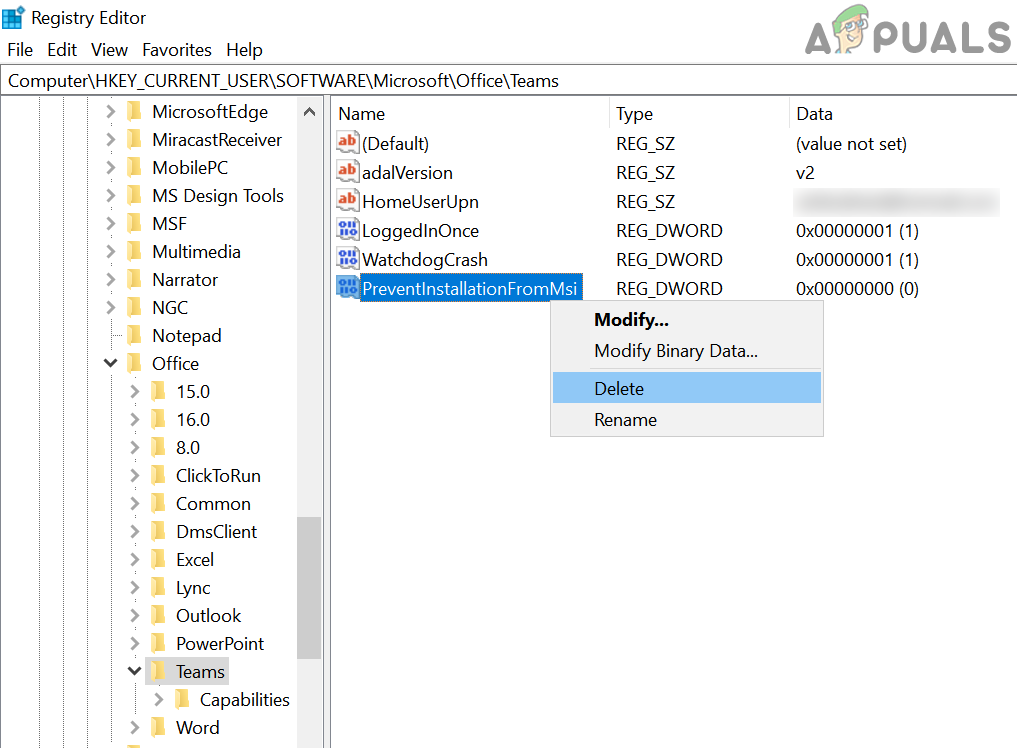
Delete the PreventInstallationFromMsi Registry Value - Now reboot your machine and upon reboot, hopefully, the FFMPEG.dll issue is resolved.
Solution 5: Create a New User Account
Your system may show FFMPEG.dll missing error if the user profile of your system is corrupt. In this context, creating another user account and accessing the system through that account may solve the problem.
- Create another system user account (make sure it is with administrator privileges).
- Now, reboot your machine, and upon reboot, log in to the system with the newly created account.
- Then check if your system is clear of the FFMPEG.dll missing error.
If the issue persists, then check if restoring the system to an earlier point in time solves the problem. Also, you can try to reinstall the codecs (if using a 3rd-party codec application). You may also try to copy the FFMPEG.dll file from another source (be very careful as copying the files from unverified sources may expose your system and data to threats like viruses, trojans, etc.) like another working PC or Windows setup (ISO file). After acquiring the DLL file, make sure to paste the file in the folder from where you are trying to install the file or installation directory of the application e.g. if having issues with Microsoft Teams, then paste the file into the following directory:
%localappdata%\Microsoft\Teams\current
If you are using a 64-bit system, then paste the acquired file to the relevant 64-bit folder.