Fix: Event 65, AppModel-Runtime
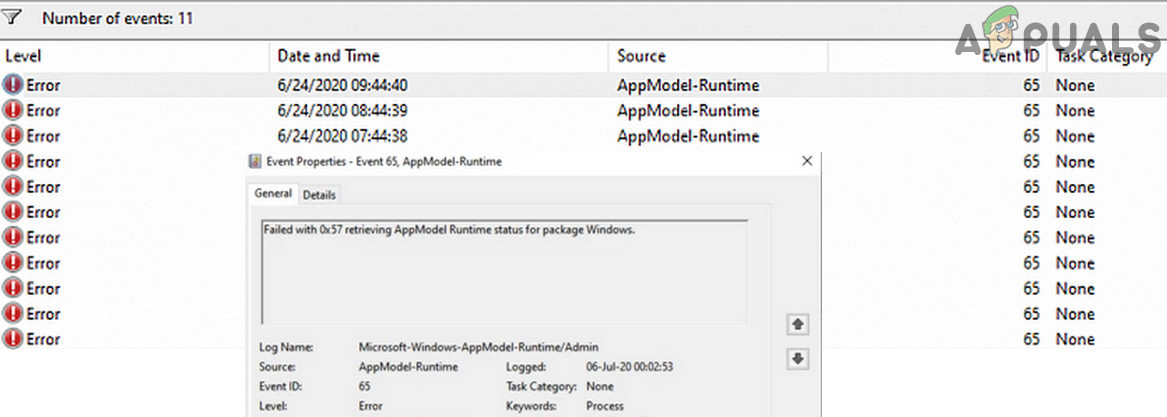
You may see Event ID 65 in the event viewer (with or without system hanging/crashing) due to outdated Windows or drivers of your system. Moreover, non-optimal configuration (Focus Assist, Variable Fresh Rate, Full-Screen Optimization, etc.) may also cause the error under discussion.
The issue arises when the user sees Event ID 65 in the event viewer of his system. Some users encounter the issue with a system crash/hang-up (having failed with 0x57 description), whereas for others, it is just creating entries in the event viewer without any notable system issue. In some cases, the issue was triggered when the user used Alt + Tab keys while playing a game on the full screen (some users reported the issue with just one game only).
Before moving on with the solutions, make sure to create a restore point of your system. Moreover, make sure you are not overclocking your system (try to lower the speed of your system/GPU to the lowest possible). Furthermore, check if using just one (or two) ram sticks in the system solves the issue. Additionally, check if clean booting the system resolves the issue. If so, then enable applications/services one by one till you find the problematic one. Last but not least, make sure the Windows of your system is updated to the latest build.
Solution 1: Disable Full-Screen Optimization for the Problematic Game/Application
Windows automatically tries to optimize an application that is operating on the full screen. You may encounter the Event ID 65 if the full-screen optimization of Windows is hindering the operation of the problematic game/application. In this case, disabling the full-screen optimization for the problematic game/application may solve the problem.
- Right-click on the problematic application/game shortcut (e.g., League of Legends shortcut) & choose Properties.
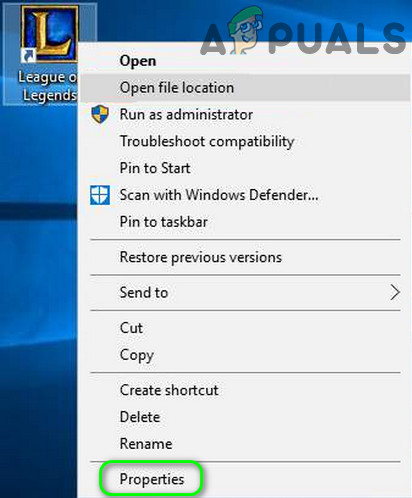
Open Properties of League of Legends - Now navigate to the Compatibility tab & check-mark Disable Full-Screen Optimization.
- Then click on Apply/OK & reboot your PC.
- Upon reboot, check if the system is clear of the Event ID 65.
Solution 2: Disable Variable Refresh Rate of Your Display
Variable Refresh Rate (VRR) is used to change the refresh rate of a display unit (where supported) to prevent screen tearing during the game’s play in full-screen. But this feature may hinder the operation of the display modules and thus cause the error under discussion. In this case, disabling the Variable Refresh Rate may solve the problem. But this option may not be available to all the users.
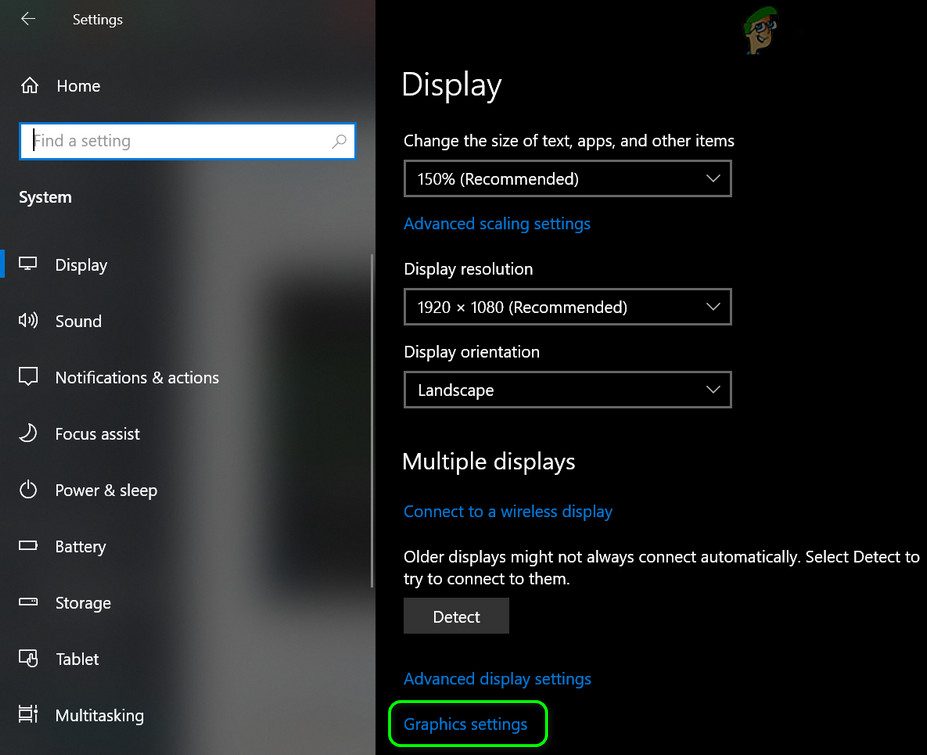
- Hit the Windows key and open Settings.
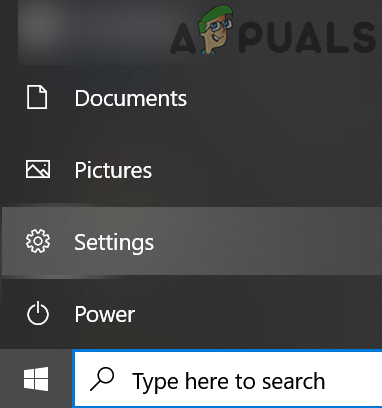
Open Settings of Your System - Now open System and then (in the left pane) select Display.
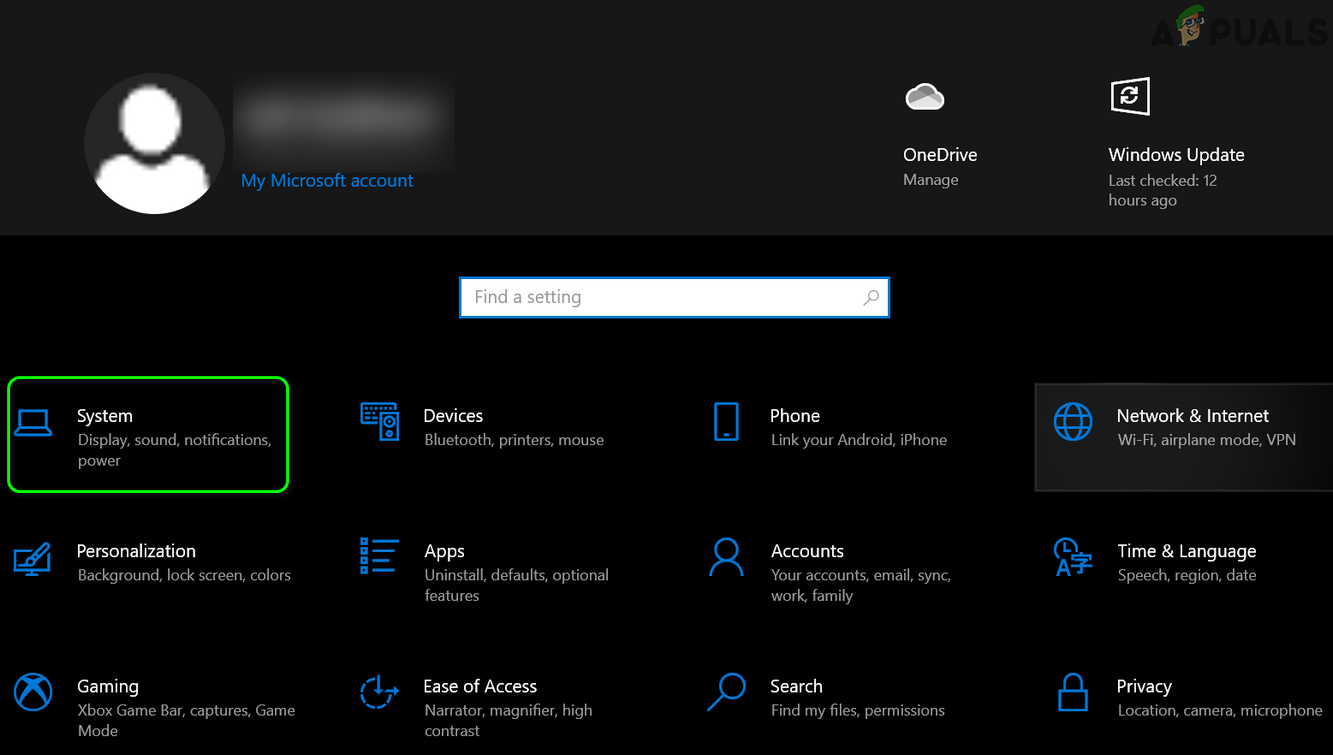
Open System in Windows Settings - Then, in the right pane, scroll down till the end and click on Graphics Settings.
Open Graphics Settings in Display - Now toggle the switch of Variable Refresh Rate to the off position and reboot your PC.
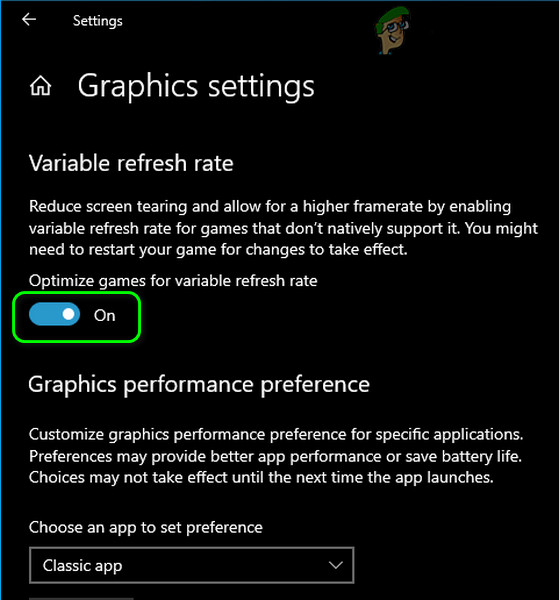
Disable Variable Refresh Rate - Upon reboot, check if the system is clear of the Event ID 65 error.
Solution 3: Disable Focus Assist and Notifications
Focus Assist helps users in using the system without interception or playing the game without notifications. But this feature may hinder the operation of full-screen applications/games and thus trigger the Event ID 65. In this context, disabling the Focus Assist may solve the problem.
- Click on the Action Center icon (near the right of the system’s clock) and then right-click on the Focus Assist.
- Now select Go to Settings and then disable the option of When I Am Using an App in Full-Screen Mode (under Automatic Rules).
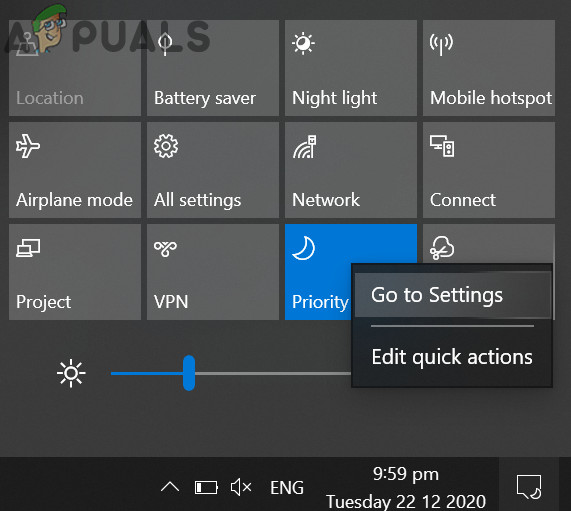
Go To Settings of Focus Assist - Now reboot your PC and check if the runtime error is resolved.
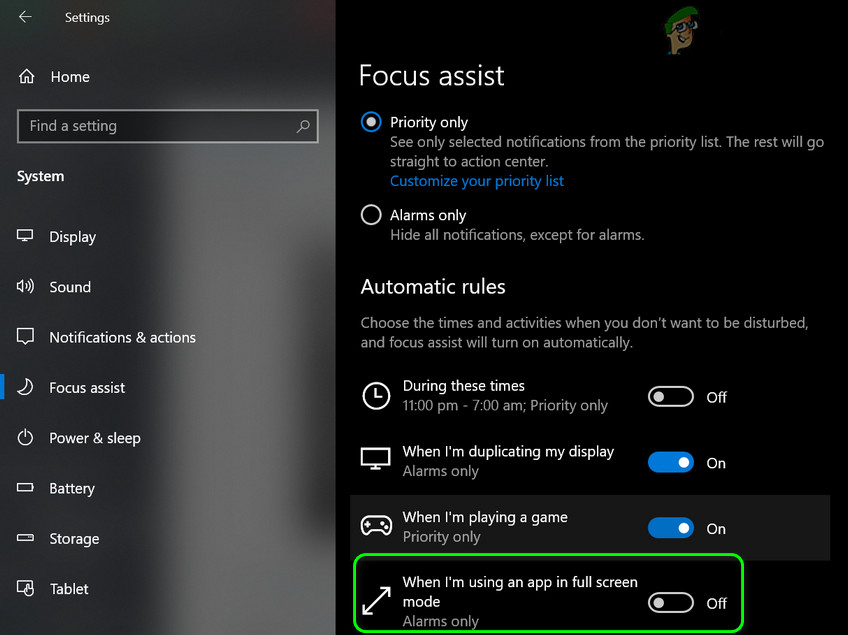
Disable When I Am Using an App in Full-Screen Mode - If not, then open the Focus Assist Settings (steps 1 to 2) and disable all the options under Automatic Rules.
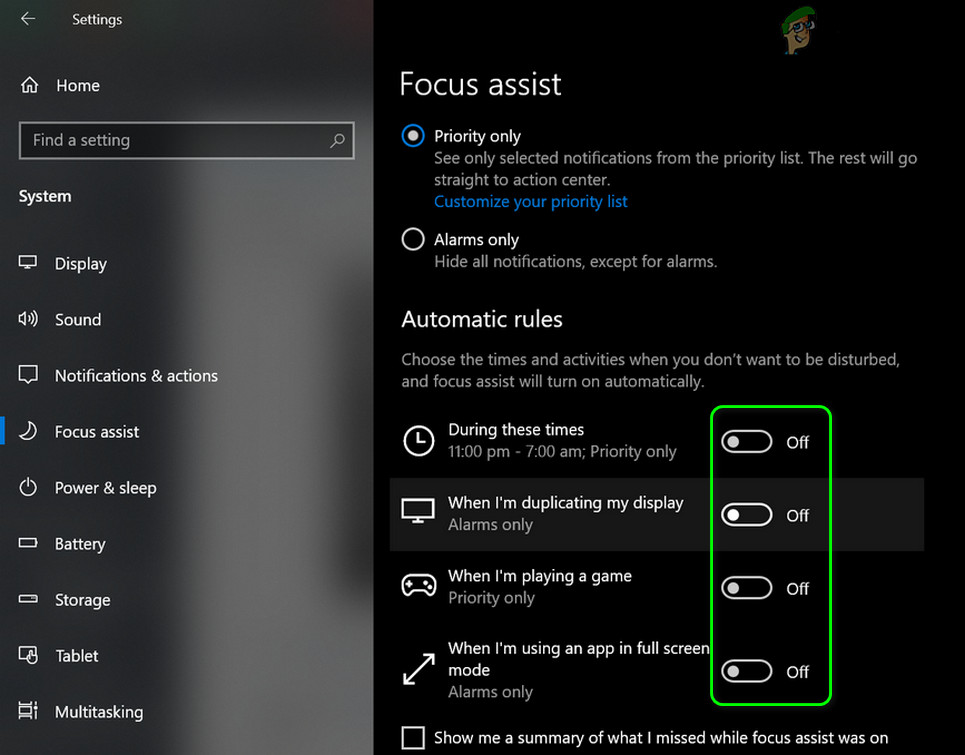
Disable Automatic Rules of Focus Assist - Now reboot your PC and check if the Event 65 issue is resolved.
- If the issue reoccurs, then disable Focus Assist and check if the issue is resolved.
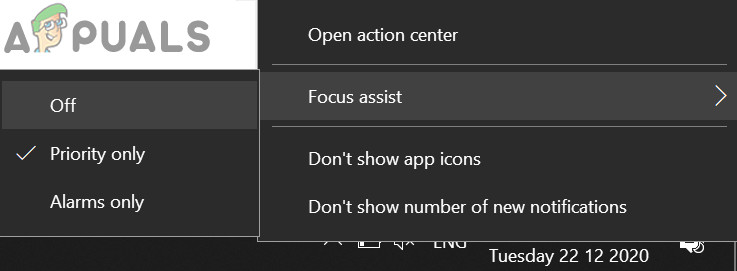
Disable Focus Assist - If the issue is still there, then click on the Action Center icon and select Manage Notifications (on the top of the Action Center window).
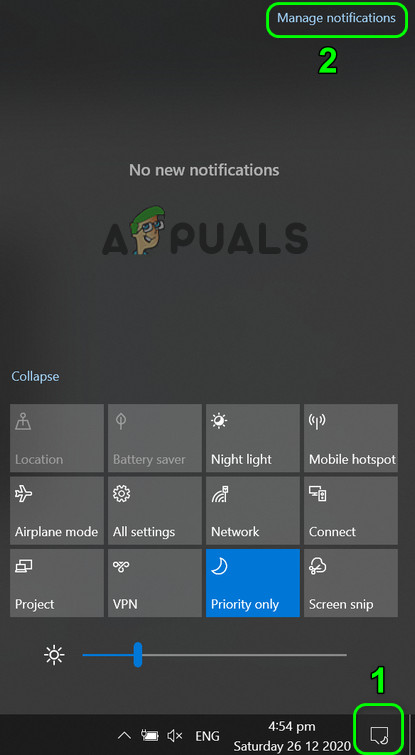
Open Manage Notifications - Then disable “Get Notifications from Apps and Other Senders” (under Notifications).
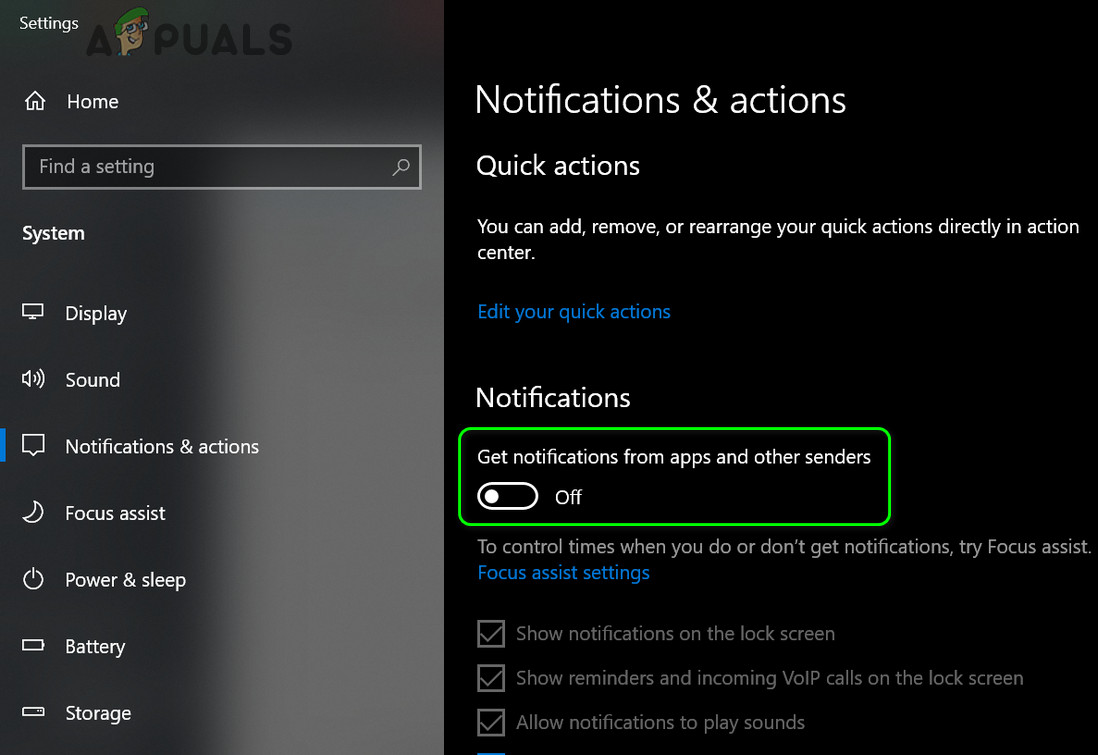
Disable Get Notifications from Apps and Other Senders - Now reboot your PC and check if it is clear of the Event 65 error.
Solution 4: Remove/Disable the Tasks from the Task Scheduler
You may get the Event ID 65 error if a task defined in the Task Scheduler is triggering the behavior. In this case, removing/disabling the tasks from the Task Scheduler may solve the problem.
- Hit the Windows key and in the Windows Search bar, type Task Scheduler. Then select the Task Scheduler.
Open the Task Scheduler - Now select the Task Scheduler Library and in the right pane of the window, right-click on MicrosoftEdgeupdatetaskmachineUA and select Disable.
- Repeat the same to disable MicrosoftEdgeupdatetaskmachineCore, GoogleUpdateTaskMachineUA, GoogleUpdateTaskMachineCore, and for any task that belongs to the CCleaner application.
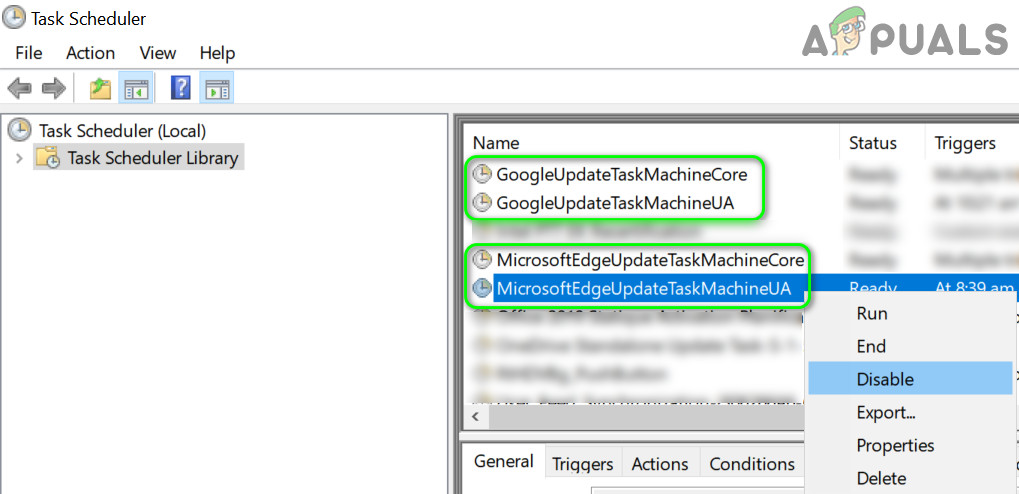
Stop Edge and Google Update Tasks in the Task Scheduler - Now reboot your PC and check if the system is clear of Event 65.
- If not, then check if disabling all the scheduled/running tasks solves the issue. If so, then enable the tasks one by one till you find the problematic one.
Solution 5: Perform SFC and DISM Scan
You may encounter the event ID 65 if the files essential for your OS are corrupt. In this context, performing SFC and DISM scans may clear the corruption and thus solve the problem.
- Perform an SFC scan (this may take some time to complete) and then check if the issue is resolved.
- If not, then check if performing a DISM scan resolves the issue.
Solution 6: Reinstall the Visual C++ Redistributable
Many applications/games use the Visual C++ Redistributable to complete their runtime. You may encounter the AppModel-Runtime error at hand if the installation of Visual C++ Redistributable is corrupt. In this context, reinstallation of the Visual C++ may solve the problem.
- Hit the Windows key and open Settings.
- Then open Apps and expand Microsoft Visual C ++ Redistributable. You may see more than one installation, if so, then expand anyone of the installations (but do not forget to note down the versions installed as you may need them while reinstalling).
- Now click on Uninstall and then confirm to uninstall Visual C++ Redistributable.
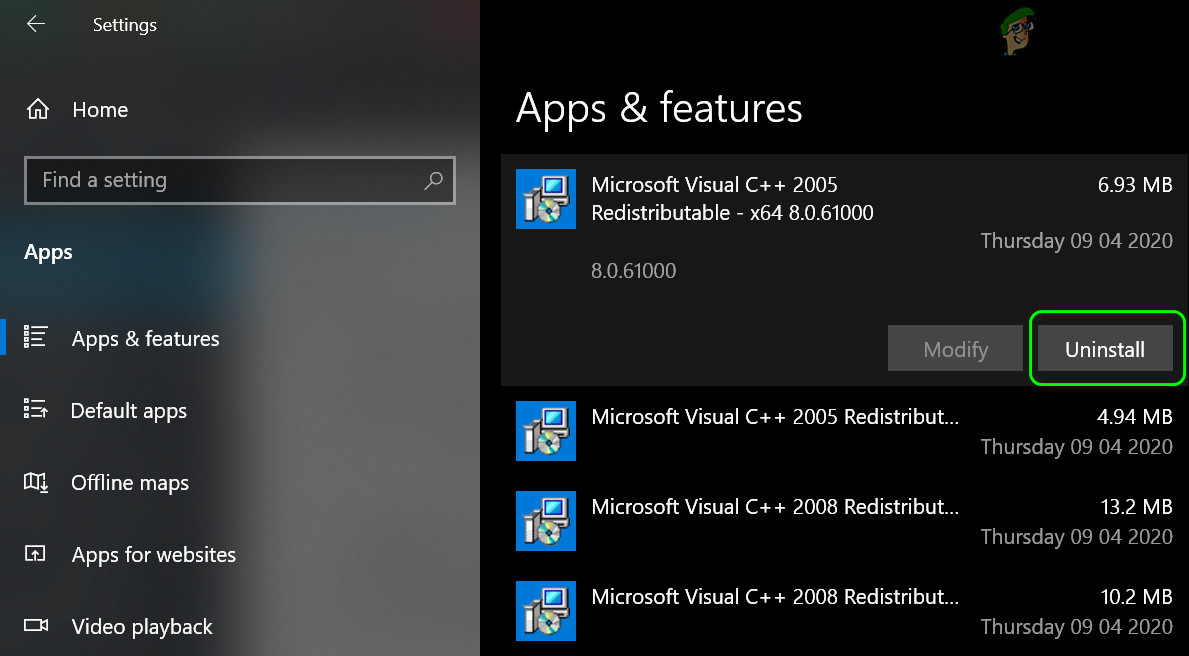
Uninstall Microsoft Visual C ++ - Then wait for the completion of uninstallation of the Visual C ++ and repeat the same to remove all versions of the Visual C++.
- Now reboot your PC and then reinstall Visual C++.
- After reinstalling the Visual C++, check if the runtime error is resolved.
Solution 7: Remove the Windows 10 Update
If the issue started after a Windows 10 update (reported by many users), then uninstalling the Windows 10 buggy updates or reverting to an older version of Windows may solve the problem.
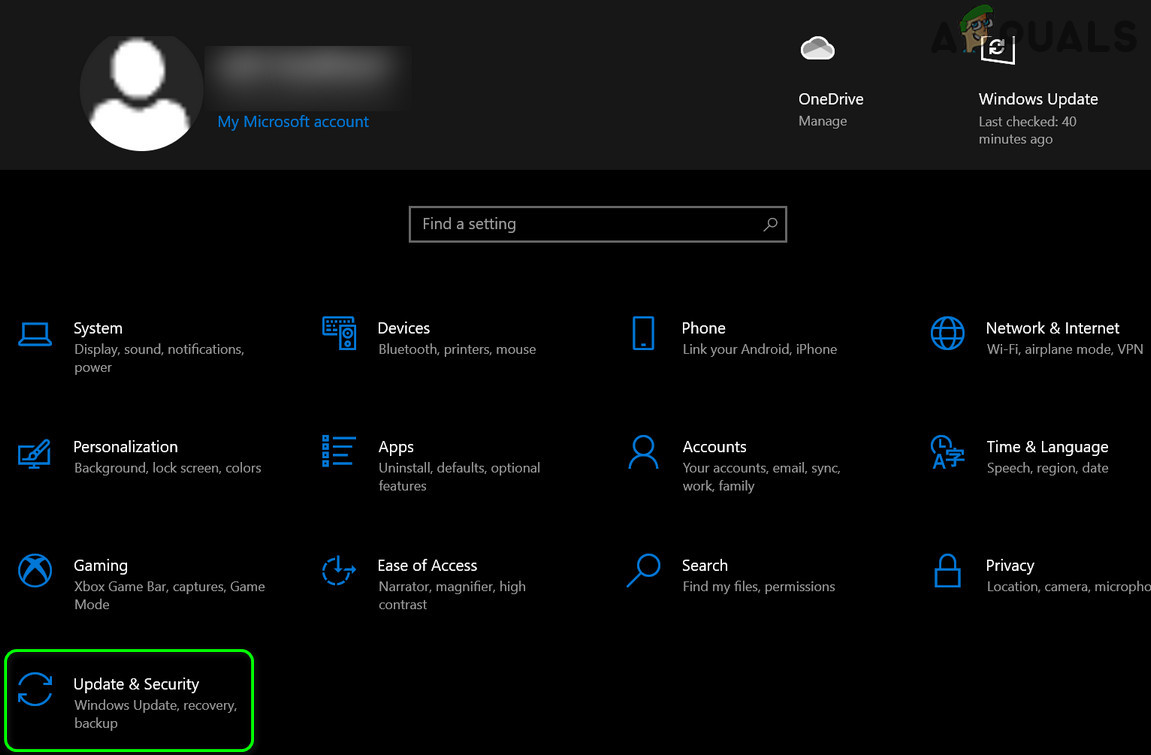
- Hit the Windows key and open Settings.
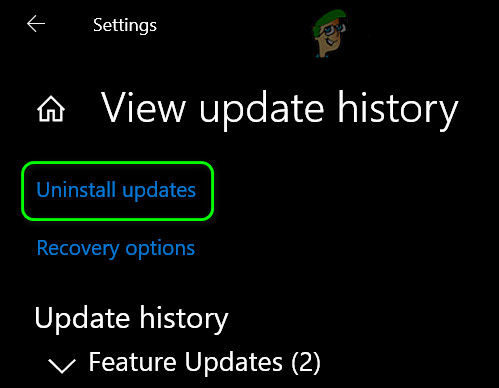
- Now open Update & Security and, in the right half, select View Update History.
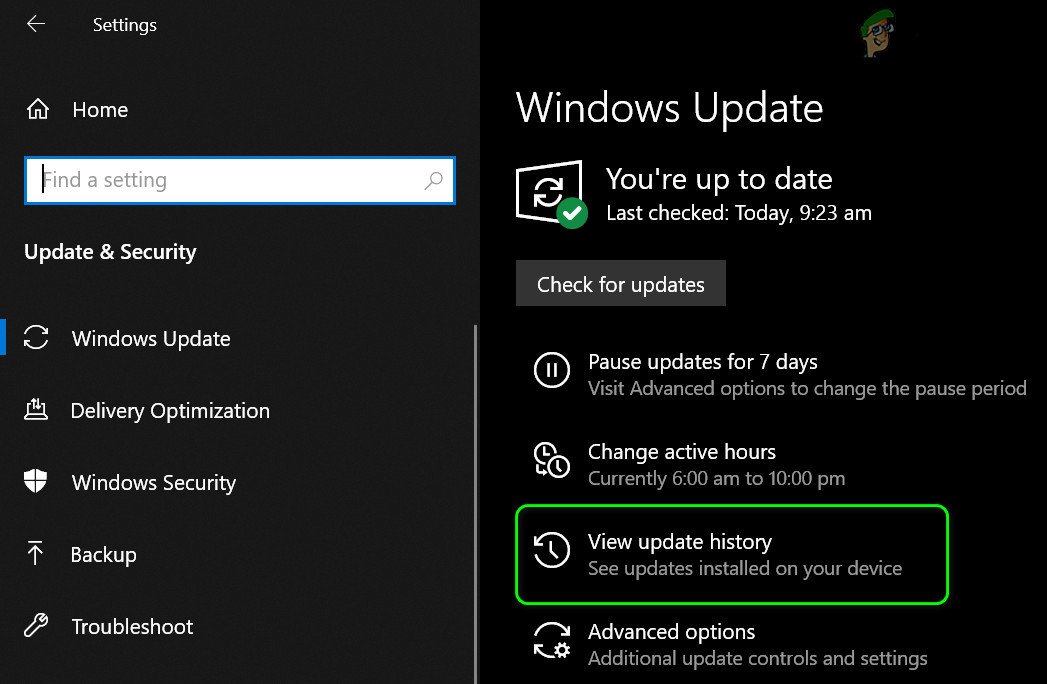
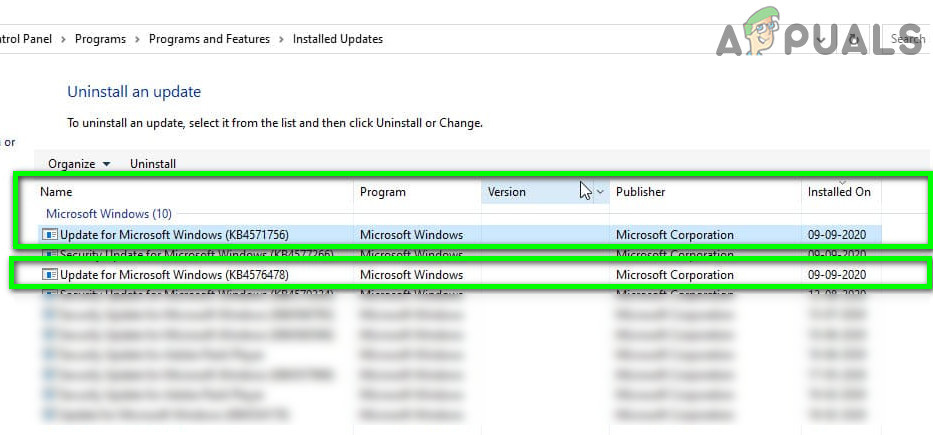
View Update History of Your System - Then click on Uninstall Updates and then select the update causing the issue. The KB4571756 & KB4576478 updates are reported to create the issue.
Open Uninstall Updates - Now click on Uninstall and wait for the removal of the update (repeat the same for all the problematic updates).
Uninstall KB4571756 & KB4576478 updates - Then open Update & Security (if the issue started to occur after a feature update of Windows 10) and then, in the left half of the window, click on Recovery.
Open Update & Security - Then, under Go Back to the Previous Version of Windows, click on Get Started.
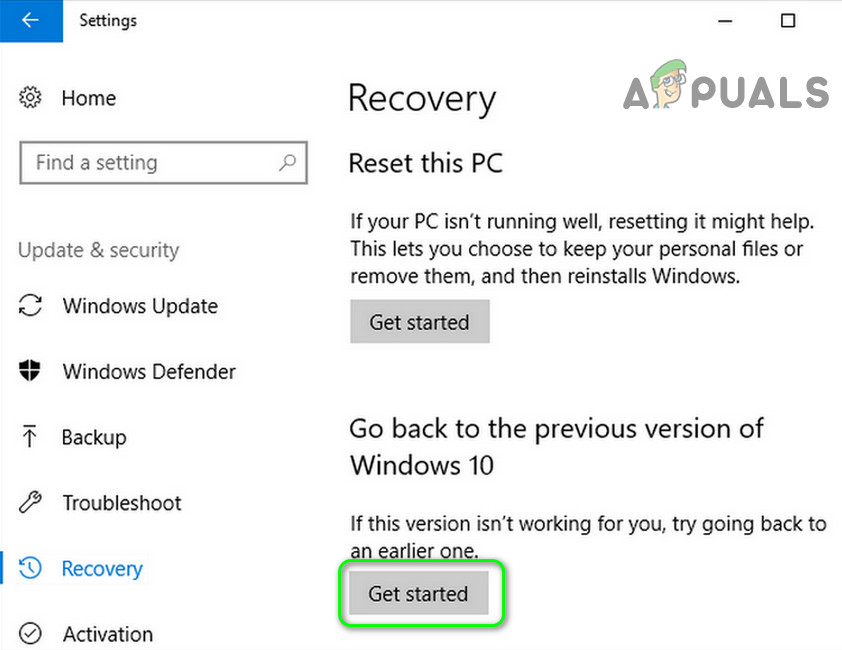
Go Back to the Previous Version of Windows 10 - Now wait for the completion of the revert process and then check if the Event ID 65 issue is resolved.
If so, then you may try to update again but after trying the following steps:
- Press the Windows key and in the Windows Search box, type Command Prompt. Then, in the results shown, right-click on the Command Prompt and choose Run as Administrator.
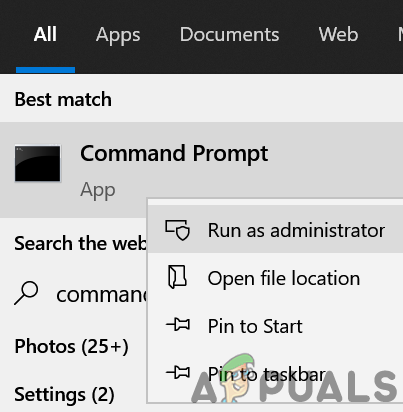
Open Command Prompt as Administrator - Then execute the following one by one (make sure to press the enter key after each cmdlet):
net stop wuauserv

net stop cryptSvc

net stop bits

net stop msiserver

Ren C:\Windows\SoftwareDistribution SoftwareDistribution.old

Ren C:\Windows\System32\catroot2 Catroot2.old

net start wuauserv

net start cryptSvc

net start bits

net start msiserver
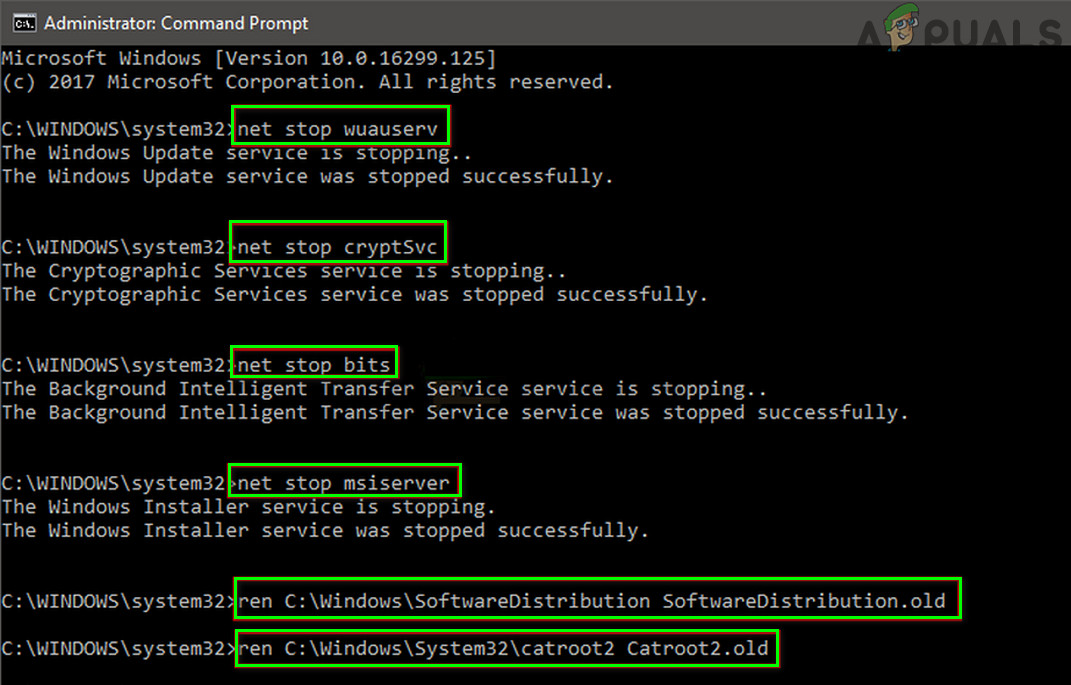
Stop the Services Related To Update & Rename the Software Distribution and Catroot2 Folders - Now update the Windows again and check if the AppModel issue is resolved.
Solution 8: Revert, Update or Reinstall the Graphics Driver
You may encounter the error under discussion if the graphics driver of your system is outdated, corrupt, or incompatible (after a driver update). In this context, updating, reinstalling, or reverting to the older version of the graphics driver may solve the problem.
- Rollback the Graphics driver to an older version and check if the Event ID 65 error is resolved.
- If not, update the graphics driver of your system to the latest release and check if the system is clear of the AppModel error.
If reverting or updating the graphics driver did not solve your issue, then you may have to reinstall the graphics driver.
- Launch a web browser and navigate to the website of the graphics card manufacturer.
- Then download the latest driver as per your graphics card and system’s architecture.
- Again, download a clean-up utility like Display Driver Uninstaller (DDU) and boot your system into the Safe Mode.
- Now launch the Quick Access menu by right-clicking the Windows button and then select Device Manager.
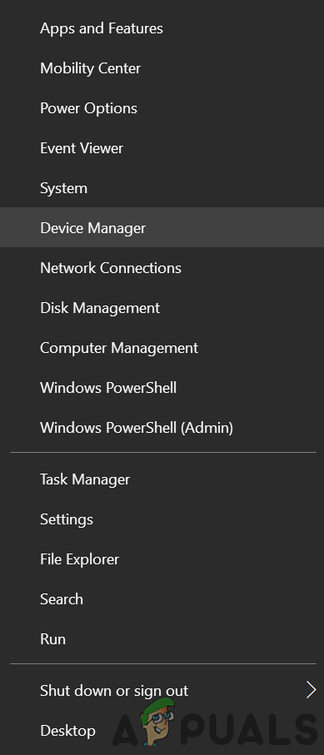
Open Device Manager - Now expand the Display Adapters and right-click on your graphics card.
- Then select Uninstall Device and check-mark “Delete the Driver Software for This Device”.
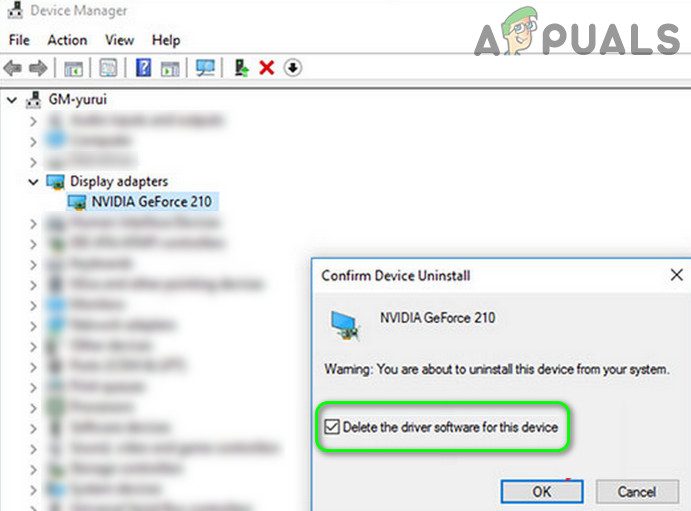
Uninstall Graphics Driver and Delete its Driver Software - Now click on Uninstall and then wait for the uninstallation of the graphics driver.
- Then launch the DDU utility (downloaded at step 3) and remove any traces of the display driver.
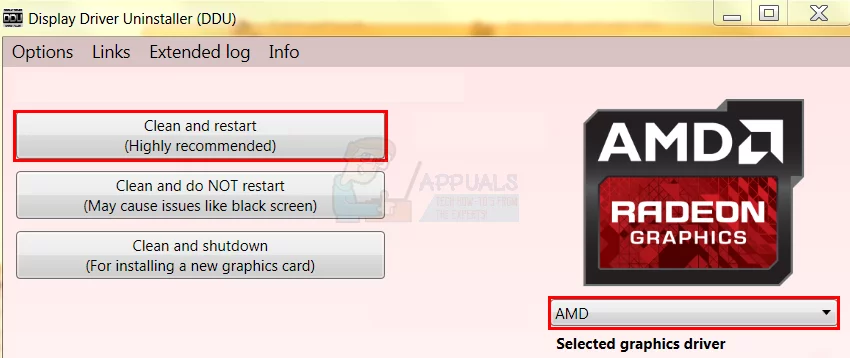
Remove Traces of the Graphics Driver Using DDU - Now boot your system into normal mode and install the downloaded driver (at step 2) with administrative privileges but make sure to disable the USB-C driver during the install process.
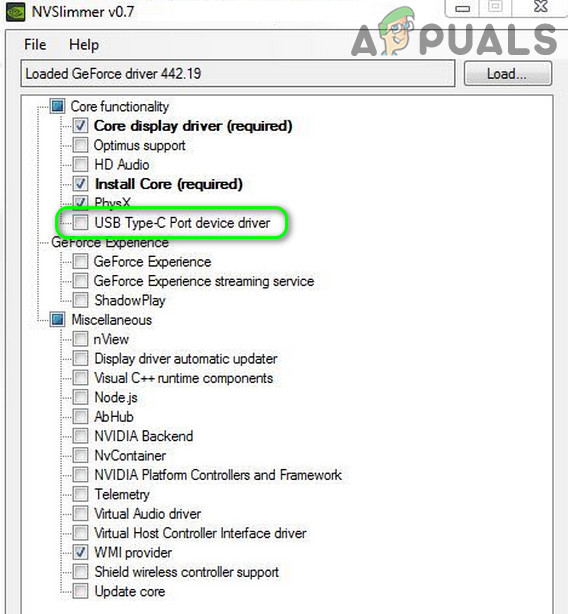
Reinstall Graphics Card Driver Without USB Type C Driver - Then check if the Event ID 65 issue is resolved.
- If that does not resolve the issue, then repeat the above process but this time try to use an older version of the driver and check if that sorts out the issue. If so, then you may have to disable updating of that driver.

Solution 9: Edit the BIOS Options
You may get the Event ID 65 if the BIOS of your system is outdated or not properly configured. In this context, updating or properly configuring the BIOS options may solve the problem.
Warning:
Proceed at your own risk and with extreme caution as updating/editing the system’s BIOS requires a certain level of proficiency and if done wrong, you may brick your system and cause everlasting damage to your data.
- Update the system’s BIOS to the latest build and check if the Event ID 65 issue is resolved.
- If not, press the Windows key and type Power & Sleep Settings. Then select Power & Sleep Settings.
Open Power & Sleep Settings - Now, click on Additional Power Settings (in the right pane) and then click on Choose What the Power Buttons Do.

Open Additional Power Settings - Then click on Change Settings That Are Currently Unavailable & uncheck the option of Turn on Fast Startup.
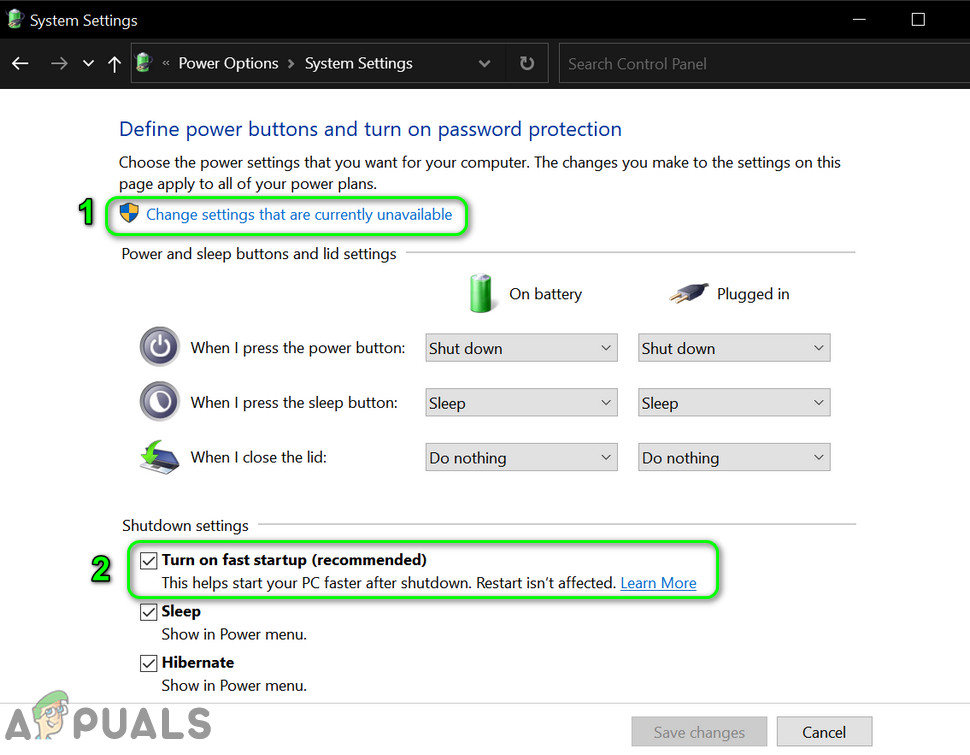
Disable Fast Startup - Now save your changes and boot your system into BIOS.
- Then enable XMP and set the Ram (DDR4) voltage to 1.4 Volts (be very careful as setting a value higher than that may harm your system).
- Now disable Spread Spectrum and hopefully, the AppModel issue is resolved.
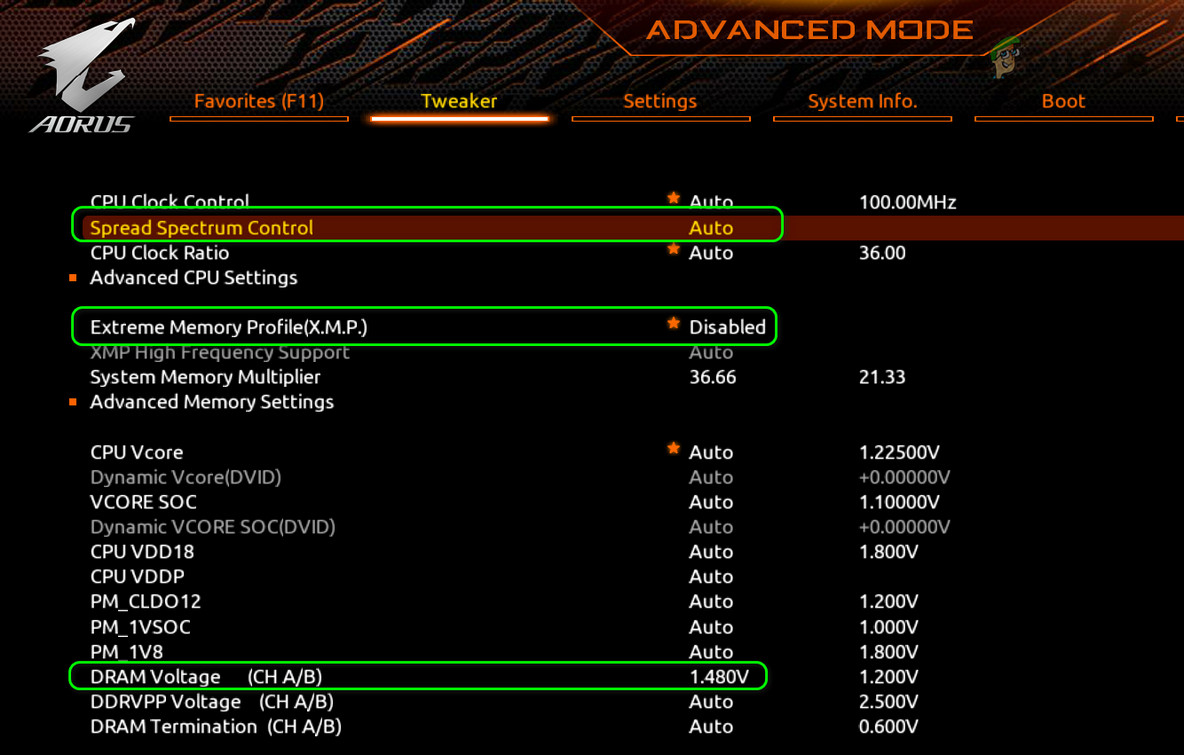
Enable XMP, Disable Speed Spectrum and Set the Ram Voltage to 1.4
If the issue is still there, then check if performing a clean install of Windows solves the issue. If not, then you may have to live with it (if it is not causing serious issues for you) or get your system checked for any hardware issues (like a faulty graphics card or processor).


