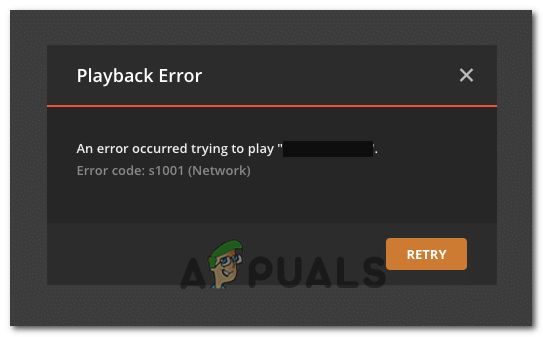
[FIX] ‘Error code: S1001 (Network)’ in Plex Media Player
The Error Code S1001 (network) appears inside the Plex Media Player whenever the player needs to transcode something. This problem occurs with both 4k content, Full HD content, and when trying to downsample from 1080p to 480p.
As it turns out, several different scenarios might end up causing this particular problem inside Plex Media Player. Here are a few potential culprits:
- Plex Server Inconsistency – One of the most common instances that will trigger this error is a bad update that ended up creating an inconsistency with your Plex server. If this scenario is applicable, you should be able to fix the problem by reinstalling your plex server along with every associated dependency.
- Custom URLs inside the Extras menu – As it turns out, this problem is known to occur in instances where users have previously populated the Movie pre-roll video box inside the Extras menu of your Plex server menu. In this case, clearing the links from the Movie Pre-roll video box should fix the problem for good.
- Corrupt Plex Server Database – Under certain circumstances, this problem can also appear due to corrupted entries in your Plex server database that’s stored locally. To fix this problem, you’ll need to run a series of Command Prompt commands to use the repair function.
- 3rd party Antivirus or Firewall interference – In case you’re using a 3rd party firewall or antivirus, it’s possible that false-positive regarding your Plex Media server interrupts the connection prematurely. In this case, you need to disable the real-time protection or uninstall the overprotective suite.
Method 1: Reinstalling the Plex Server
One of the most common instances that will spawn this error is a bad update released sometime in July 2019. If you haven’t updated your Plex version since or you recently installed an older build from that period, chances are this is what’s causing the error code: s1001 (network).
Note: Since then, Plex has released a hotfix for this problem, so newer versions should not cause the same type of behavior.
If this scenario is applicable, you should be able to fix this problem by reinstalling the Plex server. This will eliminate any remnant problems left behind by previous updates.
If you want to go forward with this procedure, follow the instructions below to completely uninstall the Plex Media Server and reinstall the newest version cleanly:
- Press Windows key + R to open up a Run dialog box. Next, type ‘appwiz.cpl’ inside the text box, then press Enter to open up the Programs and Features menu.

Type appwiz.cpl and Press Enter to Open Installed Programs List - Once you’re inside the Programs and Features menu, scroll down through the list of installed programs and locate the entry associated with Plex Media Server. When you see it, right-click on it and choose Uninstall from the newly appeared context menu.
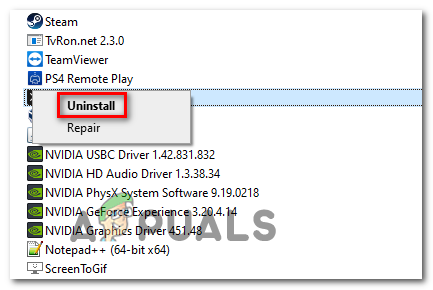
Uninstalling Plex Media Player - Inside the uninstallation screen, follow the on-screen instructions to complete the uninstallation process.
- Press Windows key + R to open up another Run dialog box. Inside the text box, type ‘regedit’ and press Enter to open the Registry Editor utility.

Running the Registry Editor Note: When you’re prompted by the User Account Control prompt, click Yes to grant administrative privileges to the Registry Editor.
- Inside the Registry Editor, use the menu on the left to navigate to the following location:
HKEY_CURRENT_USER\Software\
- Once you get there, right-click on the Plex, Inc. key, and choose Delete from the newly appeared context menu.

Deleting the registry folder for Plex - One the registry key associated with Plex has been deleted, close the Registry Editor and press Windows key + R to open up a another Run dialog box. This time, paste the following command inside the text box and press Enter to access the hidden appdata folder (hidden by default):
%LOCALAPPDATA% - Inside the App Data > Local folder, scroll down through the list of folders and locate the folder named Plex Media Server. When you see it, right-click on it and choose Delete from the newly appeared context menu.

Deleting the App Data server of Plex - Once the folder is removed, you have essentially removed every component of your previous Plex installation. Now, restart your computer to complete the operation and wait for for the next startup to complete.
- After your computer boots back up, visit the Plex Media Server download page and download the latest version of Plex Media Server for Windows.
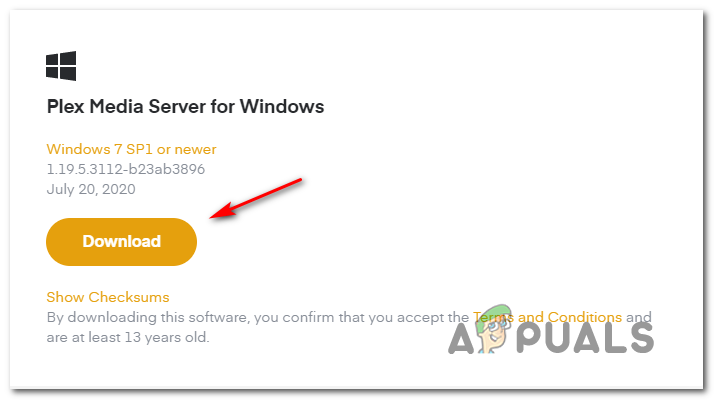
Downloading the latest version of Plex Media Server - Once the download is complete, double-click on the installation executable click Install and follow the on-screen prompts to complete the installation.

Reinstalling the Plex Media Server Note: When you’re prompted by the UAC (User Account Control prompt), click Yes to grant administrative privileges.
- Follow the remaining prompts to connect to your Plex server, then restart your computer one final time to complete the installation and see if the Error code s1001 (network) is now fixed.
In case reinstalling the Plex Media Server didn’t fix the issue for you, move down to the next potential fix below.
Method 2: Removing Custom URLs from the Extras menu
In case the method above didn’t work for you, it’s possible that the problem is being caused by one or more custom URLs that are saved inside the Settings > Extras menu. However, if your Plex account is brand new, this fix will not be applicable since there’s no chance of any custom URLs blocking the streaming job.
Several affected users have confirmed that the issue was resolved after they removed every custom URL inside the Movie pre-roll video. If this scenario is applicable, follow the instructions below to clear the custom URLs from the Extras menu in your Plex server account settings:
- Access your Plex server from your default browser and log in with your account.
- Once you’re inside, click on your account icon (top-right corner), then click on Account from the newly appeared context menu.
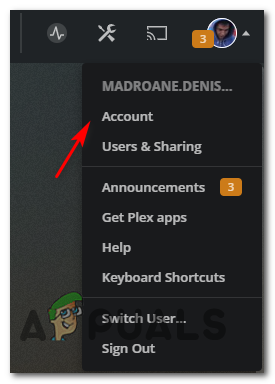
Accessing the Account settings of your Plex server - Next, use the menu on the left side to scroll down to the Settings sub-menu, then click on Extras.
- Inside the Extras menu, move over to the right-hand section and clear the box named Movie pre-roll video.
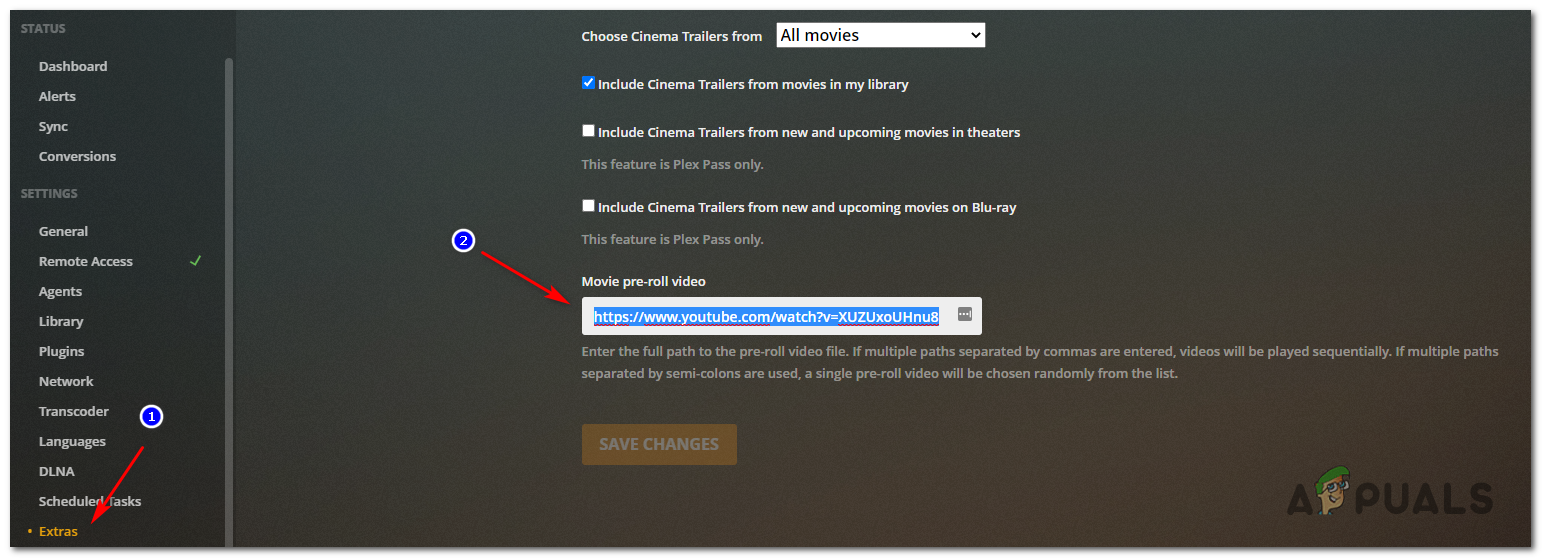
Accessing the Movie Pre Roll Video - Finally, click on Save Changes to complete the operation.
- Repeat the action that was previously causing the problem and see if the issue is now resolved.
In case the same Error code s1001 (network) is still occurring, move down to the next potential fix below.
Method 3: Repairing the Corrupt Plex Database
If none of the fixes above have worked for you, you should start considering that you might be dealing with a corrupt database. In this case, you should be able to fix the problem by using an elevated Command Prompt to repair your corrupted Plex database and fix the Error code s1001 (network).
Keep in mind that the repair procedure will use SQLite3 tools and dependencies and WIndows doesn’t have this installed by default. So before proceeding with the instructions below, install the latest version of SQLite3 from the official download page.
If this scenario is applicable,e follow the instructions below to initiate a database repair on your Plex database server:
- Start by ensuring that the Plex Media Server is completely shut down.
- Press Windows key + R to open up a Run dialog box. Next, type ‘cmd’ inside the text box and press Ctrl + Shift + Enter to open up an elevated Command Prompt. When prompted by the UAC (User Account Control), click Yes to grant administrative privileges.

Running the Command Prompt - Inside the elevated Command Prompt, type the following commands in order and press Enter after each one to navigate to the location of your database and initiate the repair:
cd "%LOCALAPPDATA%\Plex Media Server\Plug-in Support\Databases"copy com.plexapp.plugins.library.db com.plexapp.plugins.library.db.original sqlite3 com.plexapp.plugins.library.db "DROP index 'index_title_sort_naturalsort'" sqlite3 com.plexapp.plugins.library.db "DELETE from schema_migrations where version='20180501000000'" sqlite3 com.plexapp.plugins.library.db .dump > dump.sql del com.plexapp.plugins.library.db sqlite3 com.plexapp.plugins.library.db < dump.sqlNote: You might receive several returns that look like errors when running some of these commands. But don’t worry about them cause they are to be expected and they won’t affect anything.
- Once every command above has been processed successfully, close the elevated Command Prompt and restart your computer.
- After the next startup is complete, repeat the action that was previously causing the Error code s1001 (network) and see if the problem is resolved.
In case the same problem is still occurring even after you successfully repaired the Plex database, move down to the final potential fix below.
Method 4: Disabling 3rd Party Interference (if applicable)
If none of the potential fixes above have worked for you and you’re using a 3rd party security suite, it’s possible that your Plex Media server is being treated as a potential security thread which ends up interrupting the correction.
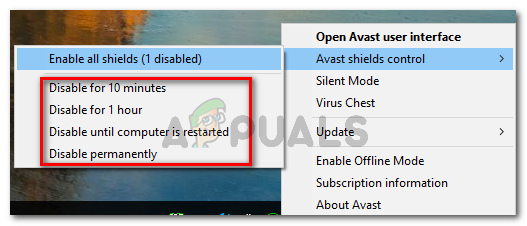
In this case, you should start by disabling the real-time protection of your 3rd party Antivirus or Firewall. With most 3rd party security suite, you can do this directly from the tray-bar icon of your antivirus.
Note: Keep in mind that if you’re using a 3rd party firewall, disabling the real-time protection will not be enough since the same restrictions and security rules will remain in place even after you disable the real-time protection feature.
If you’re using a 3rd party security suite with a firewall component, follow the instructions below to uninstall it temporarily and see if this fixes the server issue in Plex Movie Player:
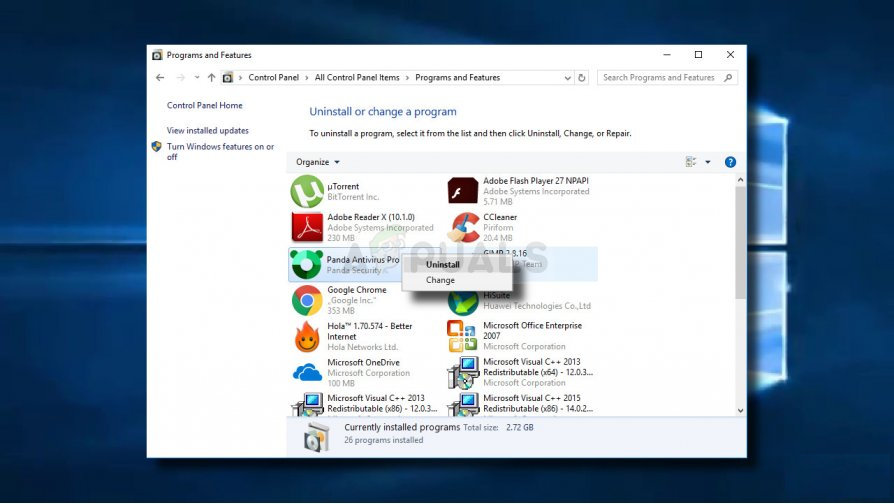
- Press Windows key + R to open up a Run dialog box. Inside the Run dialog box, type ‘appwiz.cpl’ inside the text box and press Enter to open up the Programs and Features menu.

Type appwiz.cpl and Press Enter To Open Installed Programs Page - Inside the Programs and Features menu, scroll down through the list of installed applications and locate your 3rd party security suite. When you see it, right-click on it and choose Uninstall from the context menu.
Uninstalling antivirus tool Note: If you want to be extra thorough, you can also remove any remnant files left behind by your antivirus installation.
- Follow the on-screen prompts to complete the uninstallation, then restart your computer and see if the problem is resolved at the next computer startup.