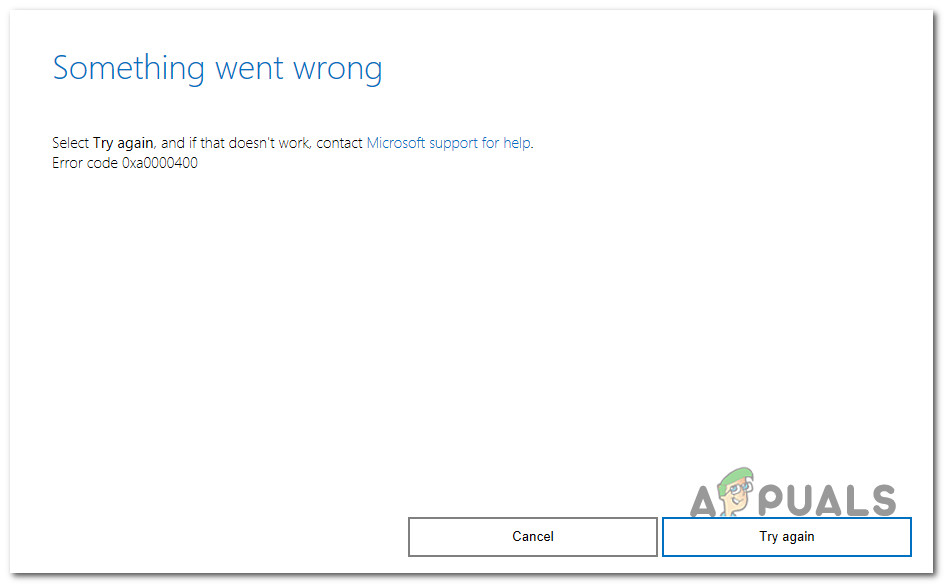
How to Fix ‘Error Code: 0xa0000400’ When Upgrading to Windows 11
A lot of Windows users wanting to upgrade to Windows 11 using the Windows 11 Installation Assistant are being stopped in their tracks by the 0xa0000400 error. This is reported to occur across a wide variety of different configurations, but the issue seems to be much more prevalent on workstations.
After looking at dozens of different user reports, it’s clear that this error has a couple of different causes that might be responsible for this error while attempting to use the Windows Upgrade Assistant utility to install Windows 11.
Here’s a shortlist of potential scenarios that might cause this issue:
- Conflict with Virtual Box or VMWare tool – If you have either Virtual Box or VMWare tool installed on your older Windows version, you’ll need to take the time and uninstall the utility altogether before using the Windows Update Assistant to upgrade to Windows 11. In this case, the error is most likely occurring due to a conflict between Virtual Box or VMWare and the Hyper-V functionality.
- Windows Upgrade Assistant glitch – Ironically for a utility that was developed for the sole purpose of upgrading older Windows operating systems to Windows 11, the Windows Upgrade Assistant has the least success in doing so. A lot of users that faced this issue while using the WUA utility have finally managed to complete the upgrading process by upgrading directly by mounting a compatible Windows 11 ISO or by using the Media Creation Tool.
- License key is affecting the Workstation upgrade – If you’re experiencing this issue while attempting to upgrade a workstation machine to Windows 11, chances are you will be able to avoid the error by changing the current license key to a generic PRO equivalent.
Now that you are familiar with every potential scenario that might be responsible for this error, let’s get to the part where we help you fix the issue.
Below you’ll find four different methods that other users finding themselves in a similar situation have successfully used to get to the bottom of this issue.
Uninstall Virtual Box / VMWare (if applicable)
As it turns out, one of the most commonly encountered causes that will cause the 0xa0000400 error when using the Windows Upgrade Assistant is a conflict between Hyper-V and the proprietary virtualization technologies present with Virtual Box and VMware.
In case you’re trying to upgrade to Windows 11 and you have Virtual Box or VMWare installed on your older Windows versions, the first thing you should do is installed the conflicting software to make sure the upgrading process is successful.
Note: After the upgrade to Windows 11 process is complete, you can easily re-install the virtualization software that you’re using.
If this scenario is applicable, follow the instructions below for instructions to get rid of the 3rd party virtualization software that is conflicting with the Windows Upgrade Assistant:
- Press Windows key + R to open up a Run dialog box. Next, type ‘appwiz.cpl’ inside the text box and press Ctrl + Shift + Enter to open up the Programs and Features menu with admin access.
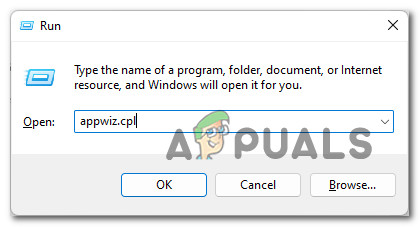
Opening up the Programs and Features menu - When you’re prompted by the User Account Control (UAC), click on Yes to grant admin access.
- Once you’re inside the Programs and Features menu, scroll down through the list of installed programs and locate VMware or Virtual Box (depending on the conflicting software that you want to uninstall).
- After you manage to find the entry associated with the conflicting software, right-click on it and choose Uninstall from the context menu.
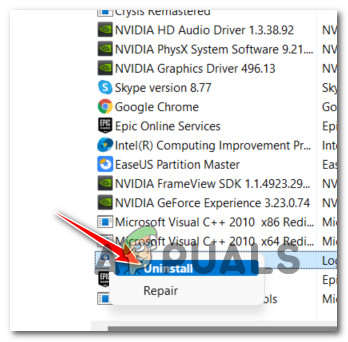
Uninstall VMware or Virtual Box - Inside the Uninstallation screen, follow the on-screen instructions to complete the uninstallation process.
- After the conflicting software (allegedly) has been uninstalled, open the Windows Upgrade Assistant tool once again and see if you are now able to upgrade to Windows 11 without encountering the same 0xa0000400.
In case this method is not applicable in your case or you’ve already tried to uninstall the conflicting software but the same error is still popping up, move down to the next potential fix below.
Perform the Upgrade from mounted Windows 11 ISO
If the first method was not applicable, the next thing you should try is to complete the upgrade to Windows 11 by downloading and mounting a compatible Windows 11 ISO.
As of now, WUA (Windows Upgrade Assistant) is still a very buggy utility and should be avoided. You’ll better off just mounting an official Windows 11 ISO and performing the upgrade directly by opening setup.exe on the root location of the ISO.
This method is confirmed to work by a lot of users that we’re previously encountering the 0xa0000400 error while attempting to use the Windows Upgrade Assistant.
Here is the exact process that they followed in order to bypass the 0xa0000400 error when upgrading to Windows 11:
- Open your default browser, then visit the official download page of Windows 11.
- Once you’re inside the correct page, scroll down to the Download Windows 11 Disk Image (ISO) section, then select Windows 11 using the Select Download button.
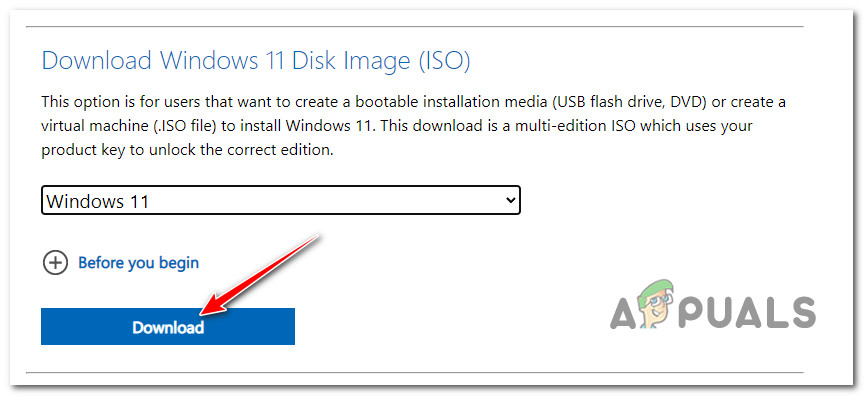
Downloading the Windows 11 ISO - Next, click on the Download button and wait for the selection to be registered.
- From the next prompt that just appeared, use the drop-down menu to select your preferred language before finally clicking on Confirm.
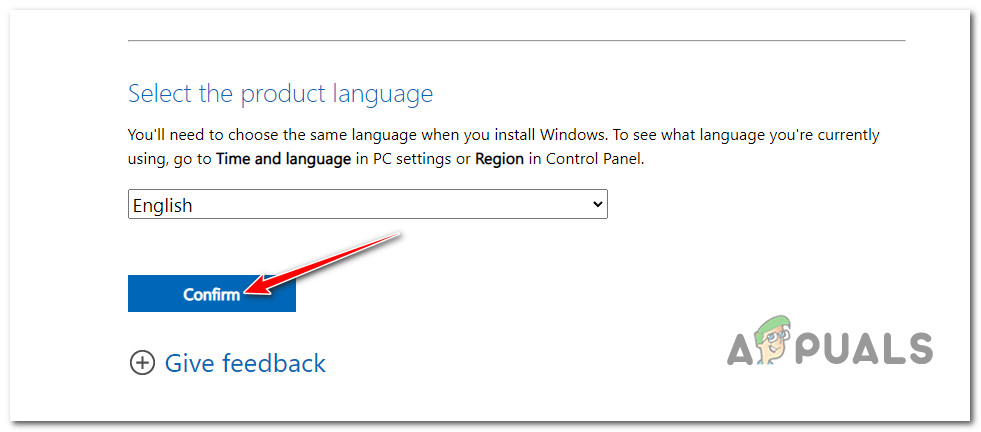
Download the Windows 11 ISO - Finally, click on the new Windows 11 English ISO Button that just appeared to confirm the download.
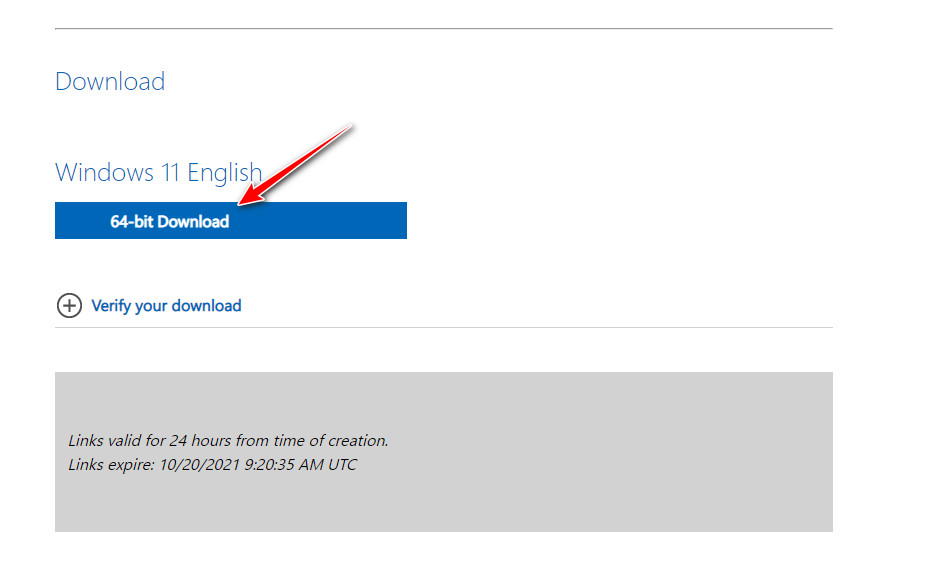
Download the newest ISO version Note: Keep in mind that this download link will only be available for 24 hours after you click on the download button.
- Wait until the ISO is locally downloaded, then simply double-click on the .iso file to mount it locally.
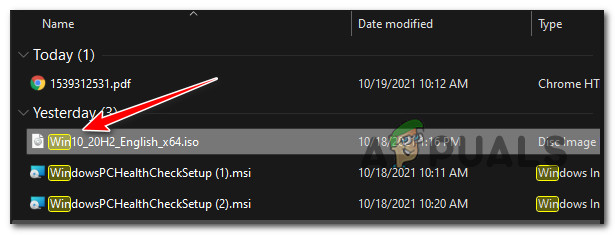
Opening up the Windows 11 ISO Note: There’s no need to use any 3rd party tools like Daemon Tools to mount this ISO as every recent Windows version has ISO mounting capabilities natively.
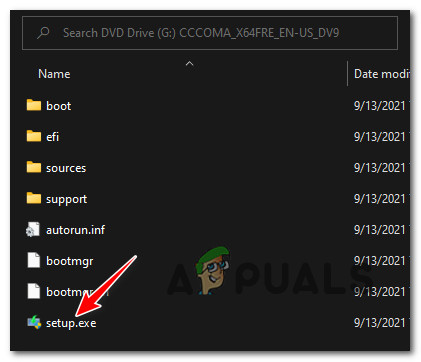
- Once the ISO is mounted locally, open File Explorer and double-click on the virtual drive that just appeared.
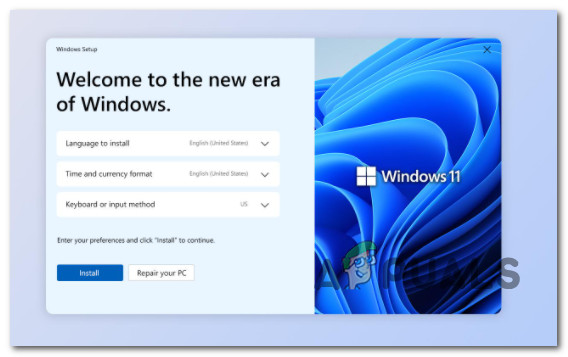
- Once you’re inside the root location of Windows 11’s ISO, double-click on setup.exe, then click Yes when you’re prompted by the User Account Control.
Accessing the Setup screen - Once you’re inside the Setup screen of Windows 11, select the Download upgrades, drivers, and optional features (recommended), then follow the remaining instructions to complete the upgrade to Windows 11.
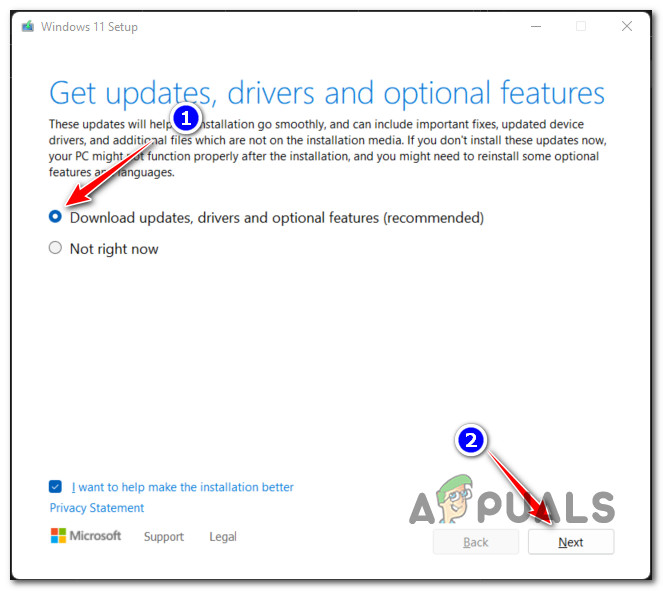
Installing Windows 11 from ISO
If this method didn’t work in your case, or you’re looking for a different method move down to the next potential fix below.
Use the Media Creation tool to Upgrade
If the method above (mounting a Windows 11 ISO file directly) did not work in your case, you can always use the MCT (Media Creation Tool) to burn a DVD or turn any flash drive (over 8 GB) into a compatible Windows 11 installation media.
After you do this, you can change the boot order accordingly and perform the upgrading procedure directly from your flash drive.
Prerequisites: On top of an Internet connection, you need a blank DVD disk of at least 8GB and a DVD Burner or a flash drive of at least 8 GB of available storage.
If you meet one of these requirements and you are prepared to go this route, follow the instructions below to use the Media Creation tool to upgrade to Windows 11 and avoid the 0xa0000400 error:
- Open your favorite browser and visit the Windows 11 download page.
- Once you’re inside the Windows 11 Download page, scroll down to the Create Windows 11 Installation Media section, then click on the Download Now button.
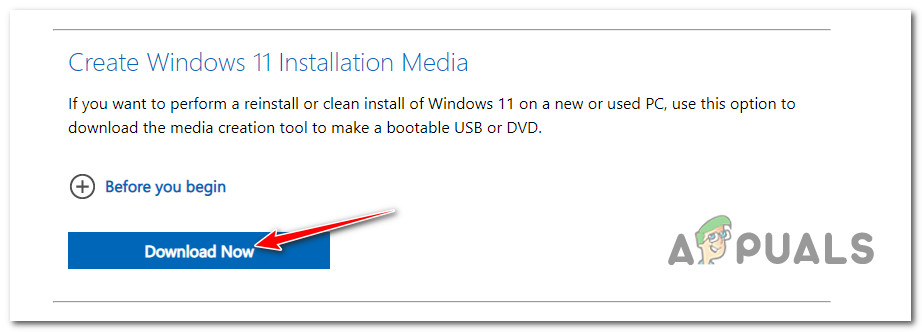
Downloading the Windows 12 MTU - Wait until the executable is downloaded locally, then double-click on it.
- When prompted by the User Account Control window, click Yes to grant admin access.
- Inside the Windows 11 Installation Media creator tool, accept the License Agreement first, then select the edition of Windows 11 that you want to create an installation media for.
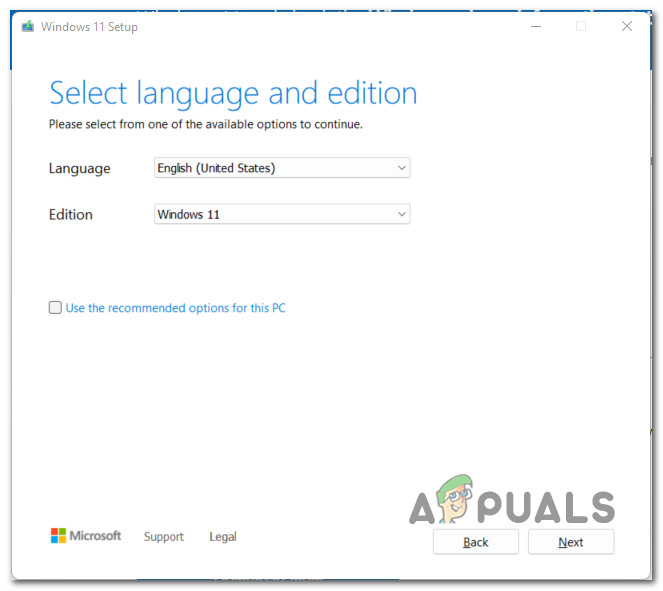
Creating the Windows Installation media - At the next screen, select USB flash drive or ISO file – depending on if you want to create a flash drive or DVD installation media of Windows 11.
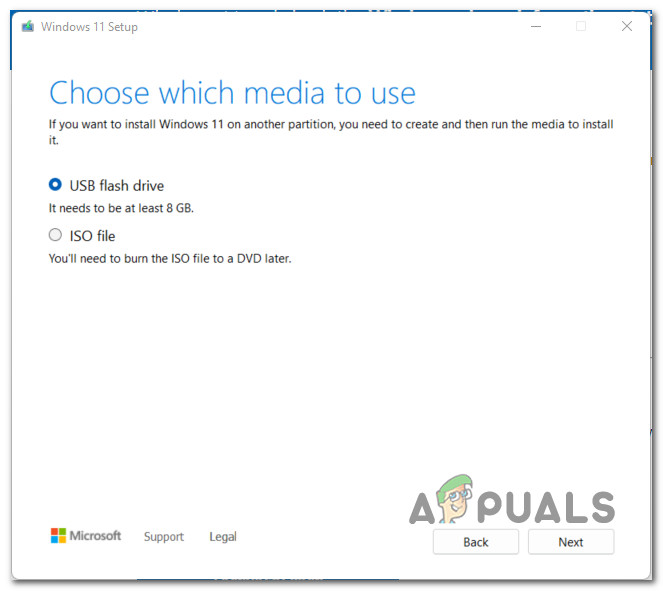
Choose the type of Installation Media you want to install - Follow the remaining prompts to complete the creation of the Windows 11 installation media, then reboot your PC and insert the DVD or plug in your flash drive to perform the upgrade to Windows 11.
Upgrading to Windows 11 using an installation media Note: Keep in mind that in case you opted for creating a USB flash drive, you will likely need to change the boot order from UEFI or BIOS settings to ensure that your PC boots from the flash drive and not from your HDD or SSD.
If this method is not applicable in your case, move down to the next potential fix below.
Change license key to PRO version (Only for Workstations)
If you’re encountering this issue while attempting to upgrade a workstation to Windows 11, you should ensure that you’re using a PRO license key before attempting to initiate the upgrade.
Just to be clear, you don’t need to buy a new PRO license just for the sake of being able to upgrade – you can simply make the switch to a generic Windows PRO license key prior to initiating the upgrade.
If the upgrade is successful, you can then revert back to your regular license key.
Follow the instructions below to change the license key to PRO:
- Press Windows key + I to open up the Windows Settings screen.
- Once you’re inside the Settings screen, click on Update & Security from the list of available options.
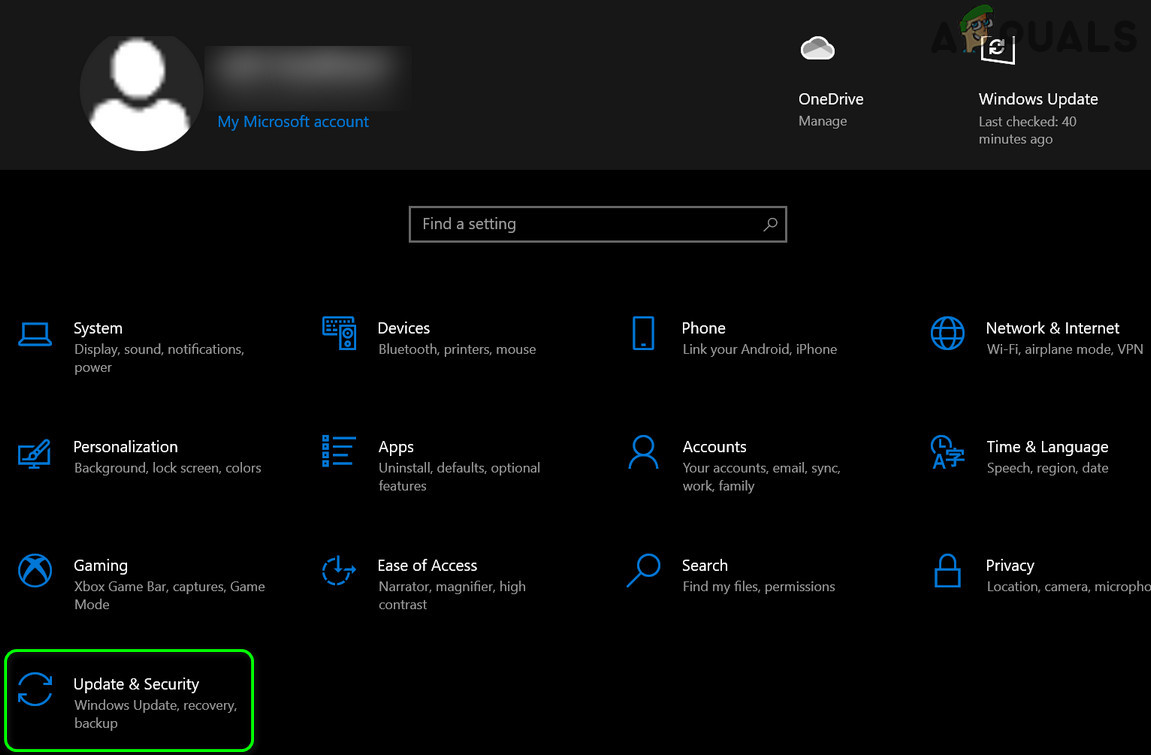
Accessing the Update & Security menu - Next, click on Activation from the list of available options, then click on the Change Product key hyperlink and insert one of the following generic PRO keys (depending on your particular version):
Windows 10 Pro -  NF6HC-QH89W-F8WYV-WWXV4-WFG6P

Windows 10 PRO N - NH7W7-BMC3R-4W9XT-94B6D-TCQG3

Windows 10 PRO Education - 8PTT6-RNW4C-6V7J2-C2D3X-MHBPB

Windows 10 Pro Education N -  GJTYN-HDMQY-FRR76-HVGC7-QPF8P
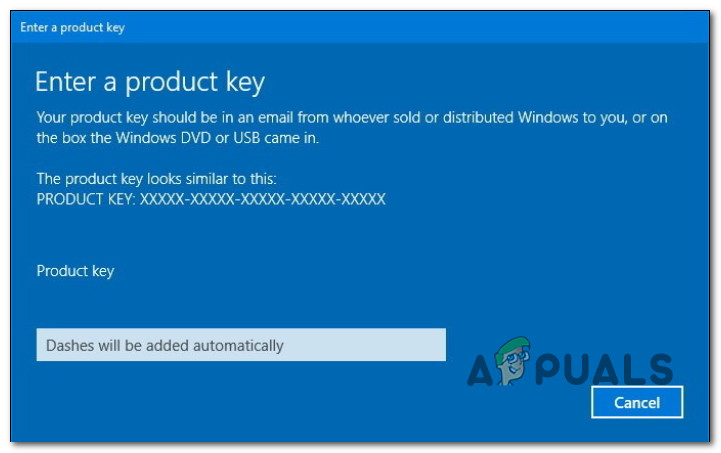
Adding the product key - After the product key has been changed, retry the upgrade to Windows 11 and see if the operation now completes without the same 0xa0000400.
Note: If the upgrade to Windows 11 is successful, you can return to your previous license key using the same procedure shown above (steps are almost identical on Windows 11)


