How to Fix “Error Code: 0x8007007f” on Windows 11 Installation Assistant?
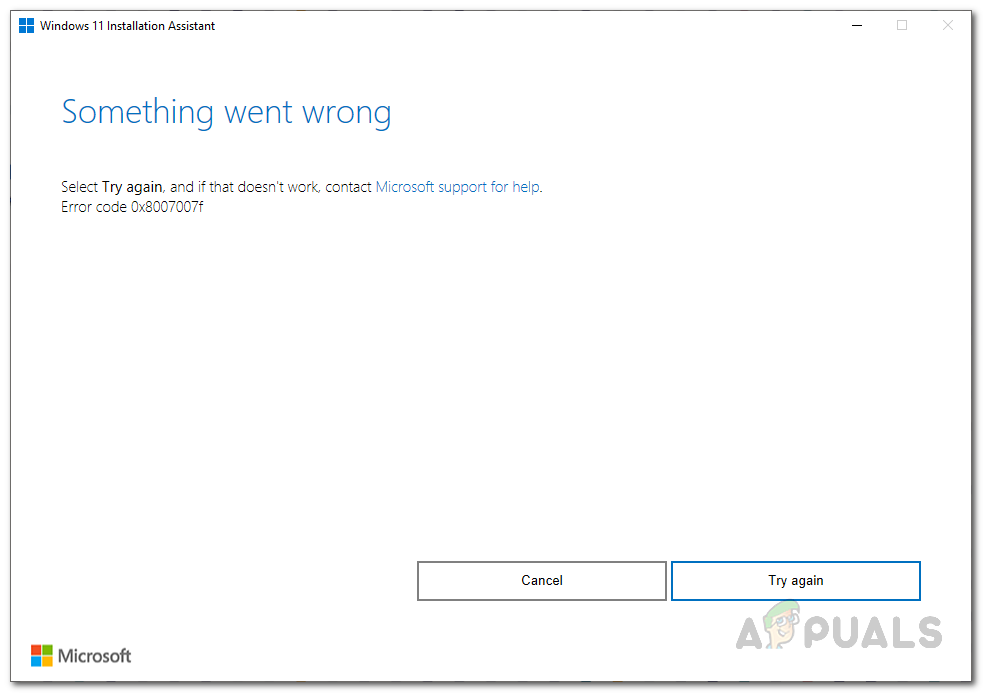
While upgrading to the new Windows 11 using the Windows 11 Installation Assistant, users come across an annoying “Something went wrong” message accompanied with the 0x8007007f error code. There are a few reasons this error code can appear which includes not enough system storage or insufficient permissions of the installation assistant. As Windows 11 was released officially today for everyone, it is quite normal for users to want to upgrade to the Windows 10 successor. We also stumbled upon this error code while performing an upgrade so you don’t have to worry about it as we will take you through the process of fixing this via different methods.
As it turns out, some users are able to upgrade to Windows 11 via the Windows Settings app. However, not everyone is offered the upgrade just yet as Microsoft is periodically making it available to everyone despite it being officially launched today. This is to make sure that everything goes and the new operating system remains bugs free. In such a case, users have to resort to the Windows 11 Installation Assistant to forcefully upgrade to the operating system. In addition to that, a clean Windows 11 install is also an option that some might consider, however, we would not really recommend that as in that case you will have to format your system partition which means backing up important data and extra work.
The error code in question, like we mentioned, can be triggered due to a number of reasons and before we show you how to resolve the issue, let us first go through the possible causes so that you are able to establish a better understanding of the problem in question. With that said, let us get started.
- Not Enough Storage — The first reason that you may come across the error code in question is when you do not have enough free space on your system drive. The system drive is where Windows is installed and this is where the Windows 11 will be installed naturally. If you are low on space, the error code will arise in which case you will have to free up some space.
- Outdated GPU Drivers — In some cases, the problem can also arise when you have outdated graphics drivers installed on your system. In such a scenario, you will have to simply update your graphics drivers before running the Windows 11 Installation Assistant again.
- Insufficient Permissions — In addition to that, if you are running the Windows 11 Installation Assistant without administrative privileges, that can also cause the problem to appear. This can happen when a third-party service or application is interfering with the installation process. To resolve this, you will have to simply run the installation assistant as an admin.
- Corrupted System Files — Another reason that the error code mentioned above might come up is when you have corrupted system files on your computer. In such a scenario, you will have to repair your damaged system files by running an SFC scan and then try to upgrade to Windows 11.
Now that we have gone through the possible list of causes that may result in the error code, we can get right into the different solutions that are available to circumvent the problem in question. So, without further ado, let us dive in.
Run Windows 11 Installation Assistant as an Admin
The first thing that you should do when you come across the error code in question is to run the Windows 11 Installation Assistant as an administrator. Like we have mentioned, the problem can sometimes occur when a third party application on your computer is interfering with the upgrade process. This can often be an antivirus software that you have installed on your system or any other application. We would recommend disabling your antivirus software while running the installation assistant to see if that fixes the problem. After that, when you run the installation assistant with administrative privileges, the third party services in the background won’t be able to intervene and the installation will be able to go smoothly. This is what fixed the issue on our end as it has for several others users too. Follow the instructions down below to run Windows 11 Installation Assistant as an admin:
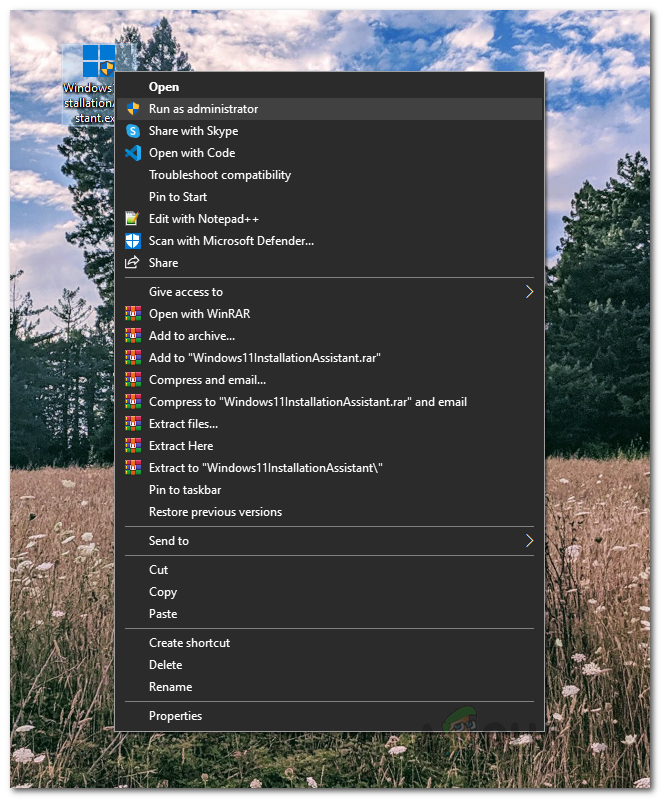
- First of all, navigate to where the Windows 11 Installation Assistant is located.
- Once you have found it, right-click on it and then from the drop-down menu, choose the Run as administrator option.
Running Windows 11 Installation Media as an Admin - If you are prompted with a follow up UAC dialog box, click Yes.
- Use the installation assistant to see if the error still appears.
Turn on User Account Control
If running the installation assistant as an administrator does not fix the problem for you, it might be due to the fact that User Account Control (UAC) is turned off on your computer. UAC is basically a security feature that prevents your computer from malware by running the applications without administrative privileges unless they are authorized by an administrator to run with admin access. You can easily turn on UAC via the Control Panel. To do this, follow the instructions given down below:
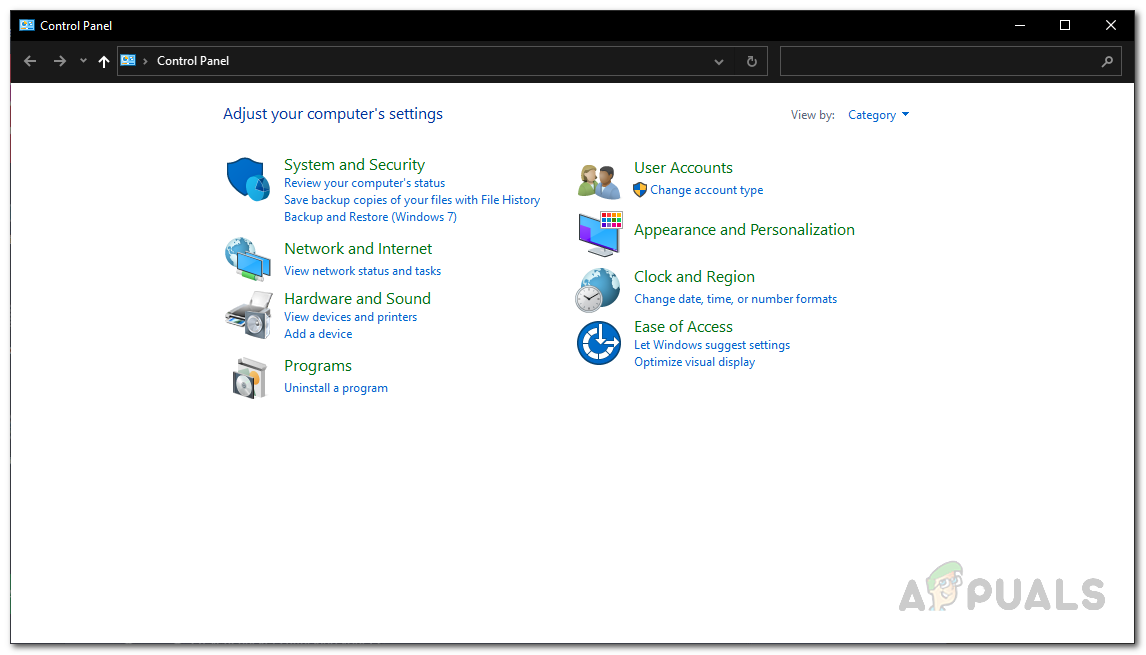
- First of all, open up the Control Panel by searching for it in the Start Menu.
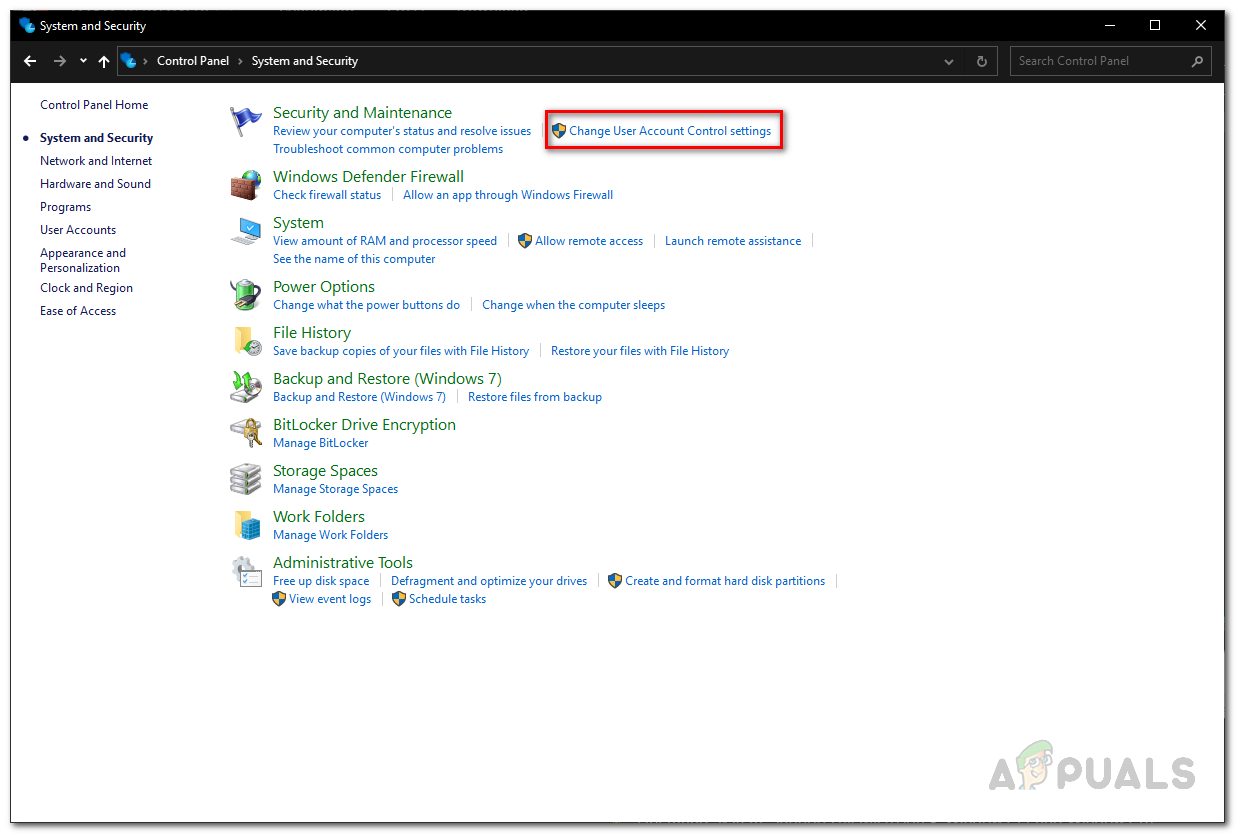
- On the Control Panel window, click on the System and Security option.
Control Panel - Then, on the System and Security screen, click on the Change User Account Control settings option provided.
Opening User Account Control Settings - Finally, adjust the slider provided and make sure it is at least on the third level starting from the bottom.
- After doing that, click the OK button and then on the follow up UAC dialog box, click Yes.
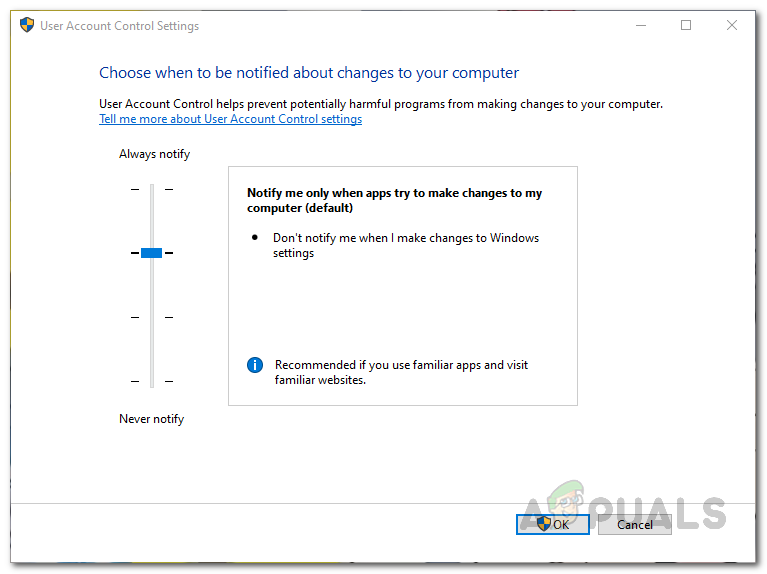
Enabling User Account Control - Once you have done that, go ahead and open up the Windows 11 Installation Assistant and see if the error is still there.
Free up Space on System Partition
As we have mentioned, one of the reasons that you may come across the error code mentioned above can be due to insufficient storage on your system drive. This is important as the installation assistant will download the Windows 11 on your system drive and then install it on the same partition. Therefore, if you are low on space on your system drive, the error might come up. Windows 11 requires you to have at least 64 GB free space. However, we recommend having at least 100 GB free just to be on the free side.
In order to free up some space on your system drive which is usually C, you can use the Disk Cleanup utility in Windows.
Update Graphics Drivers
As it turns out, another reason due to which you may encounter the error code in question is when you have outdated graphics drivers. Using obsolete graphics drivers is never a good idea and it is really important to ensure that you are running the latest version available. In case your graphics drivers are outdated, you will have to uninstall them from the Device Manager and then download the latest version available for your graphics card from the manufacturer’s website, be it NVIDIA or AMD. To do this, follow the instructions given down below:
- First of all, open up the Start Menu and search for Device Manager. Open it up.
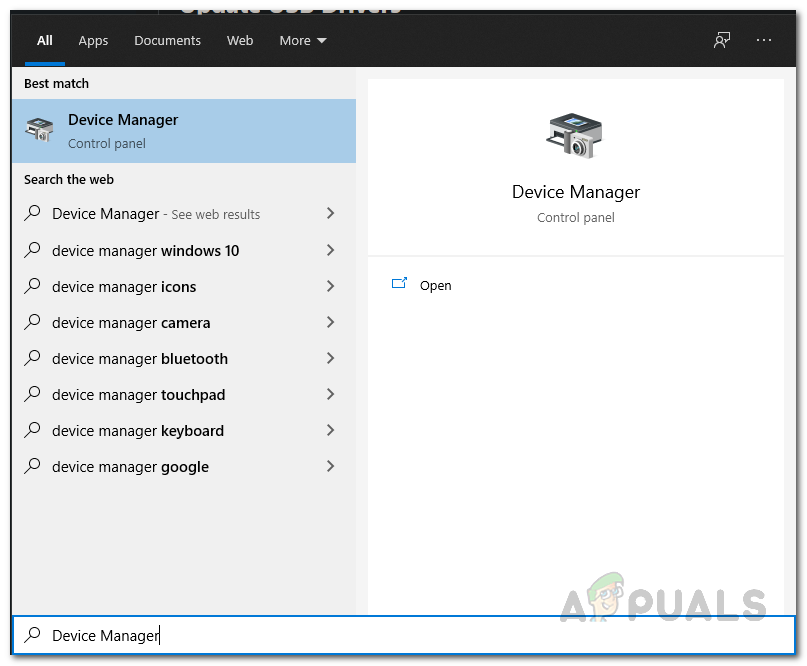
Opening Device Manager - On the Device Manager window, expand the Display adapters list.
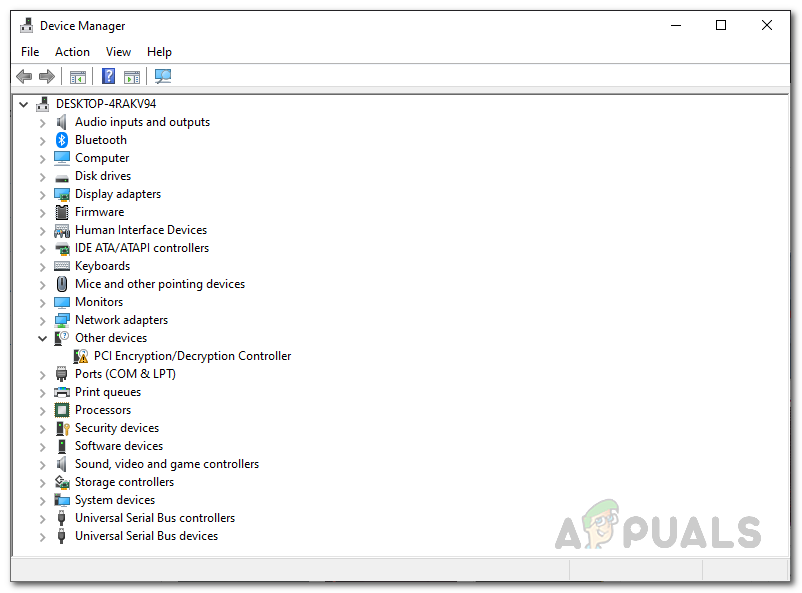
Device Manager - From there, right-click on your graphics drivers and from the drop down menu, choose Uninstall device.
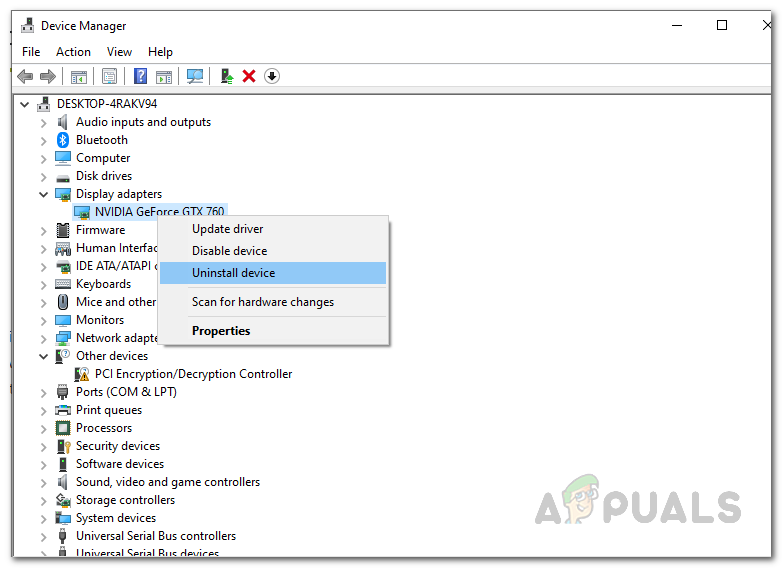
Uninstalling Graphics Drivers - Once you have uninstalled your graphics drivers, go ahead and download the latest drivers available for your GPU from your manufacturer’s website.
- Install the drivers on your computer and then perform a system restart.
- Once your computer boots up again, run the Windows 11 Installation Assistant and then see if the error code still persists.
Perform SFC Scan
In some cases, the problem can also be triggered by damaged or corrupted system files. If this is applicable, you will have to perform an SFC scan on your computer to repair the damaged files. SFC or System File Checker is a built-in Windows utility that will validate your system files and then try to repair them if any files are missing. In addition to that, we will be following it up with using the DISM utility also known as Deployment Image Servicing and Management to repair any corruptions. To do this, follow the instructions down below:
- First of all, you will have to open up an elevated command prompt. To do that, open up the Start Menu and search for cmd. Right-click on the result shown and from the drop down menu, choose Run as administrator.
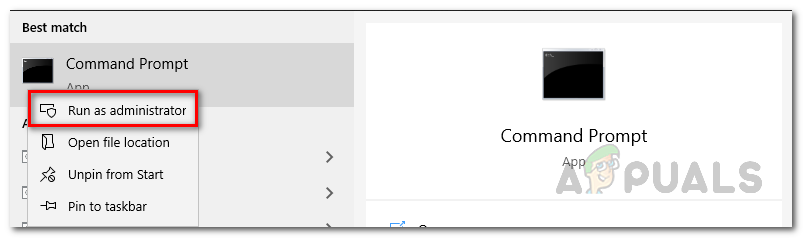
Running Command Prompt as an Admin - On the UAC dialog box, click the Yes button.
- When the command prompt is open, type in the following command and then hit the Enter key:
sfc /scannow
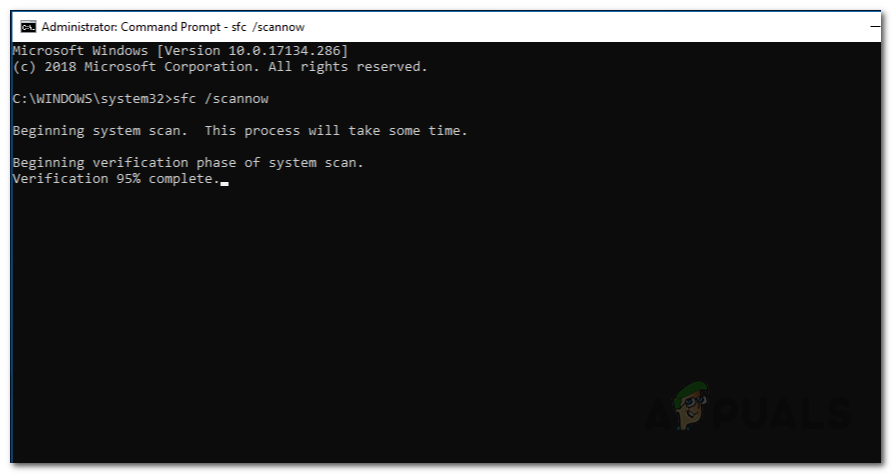
Running an SFC Scan - If there are any damaged files found, you will see a “Windows Resource Protection found corrupt files and successfully repaired them” message.
- To repair the corrupt system components, run the following command afterwards:
Dism /Online /Cleanup-Image /RestoreHealth
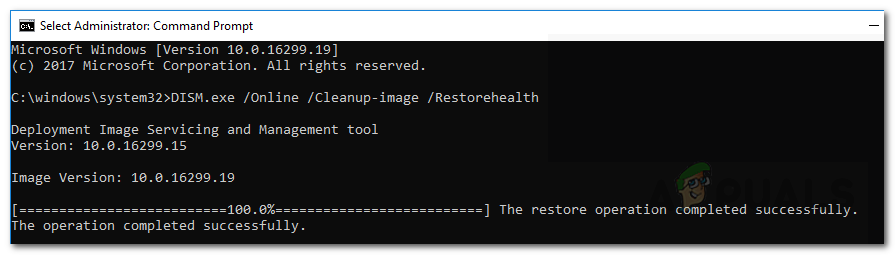
Repairing Corrupted System Components - Wait for it to finish and once completed, open up the Windows 11 Installation Assistant again. Check if the error code is still appearing.
Restore System Defaults via Third-Party Utility
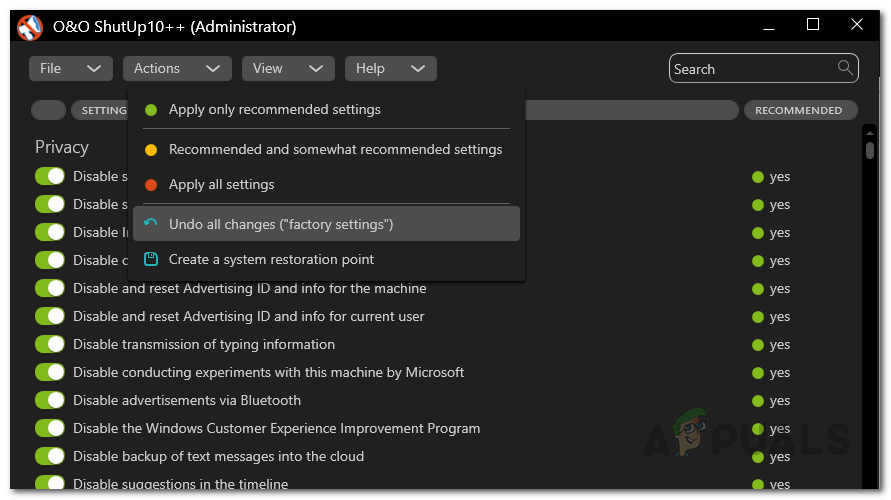
As it turns out, most of us try to remove bloatware from Windows after performing an install or an upgrade. In addition to that, to make it easy, various third-party tools are used to change system settings. A famous tool for this purpose is the O&O ShutUp10++. If you have used this to change your system settings, you might have to restore the system defaults via the same tool to resolve the error code that is being triggered. This has been reported by a user who was facing a similar issue and fixed by restoring the system defaults. To do this, follow the instructions given down below:
- First of all, run the O&O Shutup10++ tool on your computer.
- When the application is open, click on the Actions drop down menu and click on the Undo all changes (“factory settings”) option provided.
Undoing O&O Changes - Once you have done that, close the utility and then run the Windows 11 Installation Assistant. See if that fixes the problem.