Easy Fixes for Windows Update Error 8000FFF
The Error Code 8000FFF occurs when Windows 7 users attempt to install pending updates conventionally (through WU or WSUS). In most cases, the update that ends up triggering this error code is KB3212646.
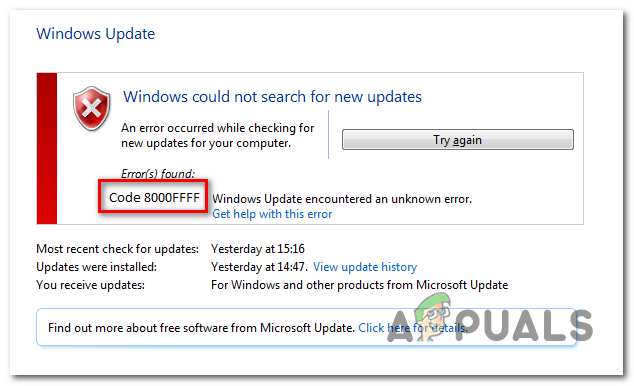
In most cases, this particular issue ends up being caused by a bug that Microsoft has since patched on Windows 7. To take advantage of it, simply run the Windows Update troubleshooter and apply the recommended fix.
In case the only update that fails with the Error Code 8000FFF is KB3212646 you can probably circumvent the error by downloading it manually using the Windows Update Catalog.
However, under some circumstances, the issue can occur due to some type of system file corruption. To resolve the issue in this case, you should either try to reset every WU component or fix corrupted instances via DISM or SFC.
Method 1. Running the Windows Update Troubleshooter
Since the issue is exclusive to Windows 7 and it’s mainly limited to a particular failing update (KB3212646), it’s only natural that Microsoft has already released a hotfix for this issue. But in order to take advantage of this Microsoft repair strategy, you’ll need to do it from the classic Control Panel menu by using the Windows Update Troubleshooter.
This utility has a collection of automated repair strategies that will be automatically deployed in a scenario that is already covered is discovered by the scanner. The Windows Update troubleshooter will start by looking for inconsistencies, then deploy the appropriate fixes if a common scenario is identified.
Here’s a quick guide on how to launch the Windows Update troubleshooter on Windows 7 in order to fix the 8000FFF error:
- Open up a Run dialog box by pressing Windows key + R. Next, type ‘control’ and press Enter to open up the Classic Control Panel interface.
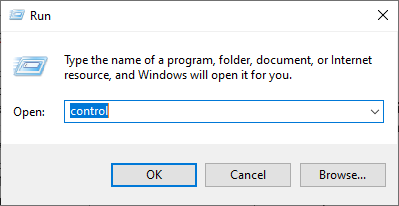
Accessing the Classic Control Panel interface - Once you arrive inside the classic Control Panel window, start by making sure of the search function (top-right corner) by searching for ‘troubleshoot’. After the results pop up, click on the Troubleshooting tab to expand the list of integrated troubleshooters.
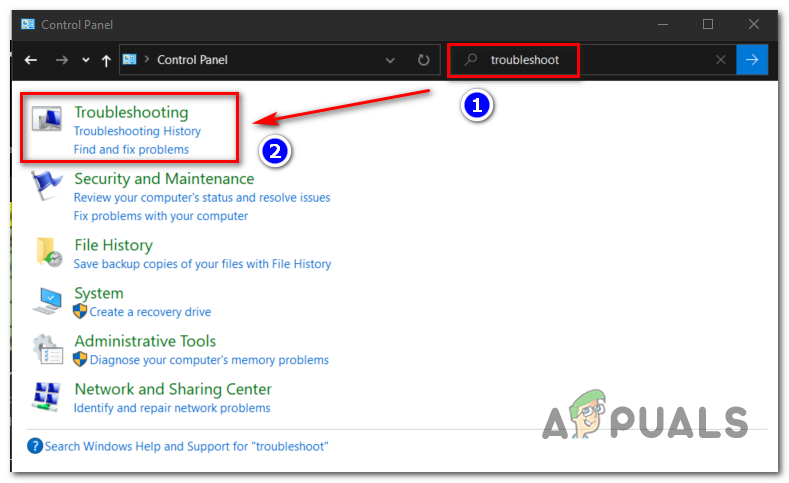
Accessing the classic troubleshooting men - Once you’re inside the Troubleshoot computer Problem screen, proceed by clicking on System and Security from the list of available options.
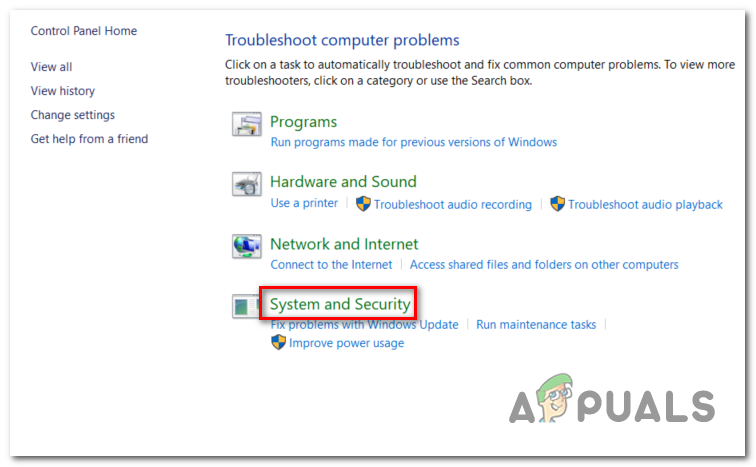
Accessing the System and Security Troubleshooting menu - Now that you’re finally inside the right Troubleshooting menu, click on Windows Update (under the Windows category)
- Now that you manage to open the correct troubleshooter, start by clicking on the Advanced button. At the first screen, start by checking the box associated with Apply repairs automatically.
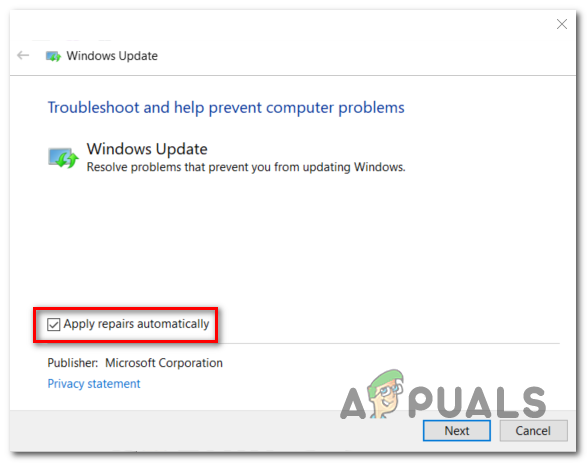
Configuring the Windows Update troubleshooter - Wait patiently until the initial scan is complete, then proceed by clicking on Apply this fix (in case the repair strategy isn’t applied automatically).

Apply this fix - Once the process is complete, you will be prompted to restart. In case this doesn’t happen, do a manual restart and attempt to install the update that was previously failing once the next startup is complete.
In case you’re still encountering the Error Code 8000FFF, move down to the next potential fix below.
Method 2: Reset every WU component
Another popular reason that might cause this particular issue is a Windows Update glitch that is effectively inhibiting WU’s ability to install new updates. Further evidence of this is if multiple different pending updates end up failing with the same 8000FFF error code.
Several affected users struggling with the same symptoms have managed to get the issue fixed by resetting every component associated with every involved dependency.
Here’s a quick guide on how to fix the 8000FFF error by resetting every Windows Update component manually via an elevated CMD prompt:
- Press Windows key + R to open up a Run dialog box. Next, type ‘cmd’ inside the text box, then press Ctrl + Shift + Enter to open up an elevated CMD Prompt. When you’re prompted by the UAC (User Account Control), click Yes to grant admin access.
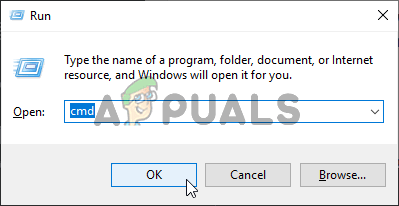
Running the Command Prompt - Once you’re inside the elevated CMD prompt, type the following commands in order and press Enter after each one to stop very essential WU service:
net stop wuauserv
net stop cryptSvc
net stop bits
net stop msiserver
Note: These commands will effectively stop the Windows Update, MSI Installer, Cryptographic, and BITS services.
- Once every essential service is disabled, run the following commands in the same window and press Enter after each one to rename the two folders use for Windows Update files (SoftwareDistribution and Catroot2):
ren C:\Windows\SoftwareDistribution SoftwareDistribution.old
ren C:\Windows\System32\catroot2 Catroot2.old
Note: SoftwareDistribution and Catroot2 are responsible for storing update files that are actively being used by the Windows Updating component. Since they cannot be deleted conventionally, we’ll rename them, which will end up forcing your OS to create new healthy folders that will take their place.
- After the two folders are deleted, type these final commands and press Enter after each command to restart the same services that we previously disabled at Step 2:
net start wuauserv
net start cryptSvc
net start bits
net start msiserver
- Once the services are restarted, attempt to install the update again and see if the problem is now resolved.
In case you’re still encountering the same Error Code 8000FFF, move down to the next potential fix below.
Method 3: Install KB3212646 manually
In case the Windows Update component is inaccessible due to a server issue or due to some corrupted dependencies, you might be able to circumvent the issue by downloading and installing the failing update manually.
Several affected users that we’re encountering the issue with the KB3212646 update have reported that they were finally able to fix the issue by using the Microsoft Update Catalog to find and install the missing update.
Here’s a quick guide on how to do this on your Windows 7 computer:
- Open your default browser and access this link (here) to access the web address of Microsoft Update Catalog.
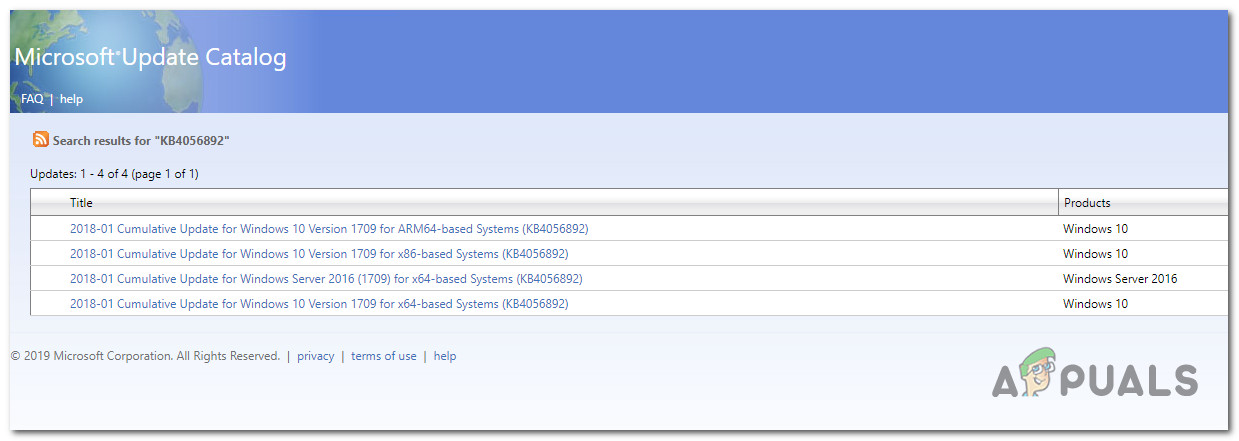
- Once you’re inside, use the search function in the top-right corner of the screen to search for the update that is failing. In our case, it’s KB3212646.

Searching for the update that you want to install manually - When the result list is populated, look for the appropriate driver, keeping in mind your CPU architecture and the Windows version that you’re using.
Choosing the right Windows Update - Once you manage to identify the correct update, click on the Download button associated with it and wait for the process to complete.
- Once the download is complete, navigate to the location where you downloaded it, right-click on the .inf file and choose Install from the newly appeared context menu.
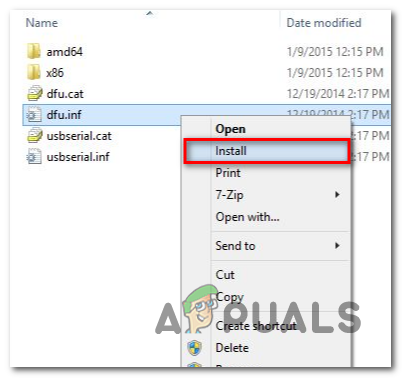
Installing the Inf driver - Follow the on-screen instructions to complete the installation, then restart your computer and see if the problem is resolved at the next system startup.
In case you’re still encountering the Error Code 8000FFF, move down to the final potential fix below.
Method 4: Running SFC and DISM scans
Another possible reason why you might see the Error Code 8000FFF is some type of System File Corruption. It’s entirely possible that a file inconsistency ends up affecting a critical Windows Update process.
If this scenario is applicable, you should be able to fix the issue by running a couple of system utilities capable of dealing with corrupted system files. When it comes to doing this, both DISM (Deployment Image Servicing and Management) and SFC (System File Checker) are equipped to heal your corrupted system files.
Note: If your DISM utility doesn’t work, here’s how to fix it.
The only difference is, the approach is different. DISM relies heavily on WU (Windows Update) to download healthy files that will be used to replace corrupted instances, while SFC uses a locally cached archive to swap bad files with healthy ones.
We recommend that you run both utilities in quick succession in order to improve your chances of dealing with the issue that’s causing the Error Code 8000FFF.
Here’s a quick guide on running both DISM and SFC utilities from an elevated CMD prompt:
- Press Windows key + R to open up a Run dialog box. Next, type ‘cmd’ inside the text box, then press Crl + Shift + Enter to open up a Command Prompt with admin privileges.

Type “cmd” into the Run dialog Note: When you are prompted by the UAC (User Account Control), click Yes to grant administrative privileges
- Inside the elevated CMD prompt, type or paste the following commands in order and press Enter after each one to initiate a DISM scan & repair:
Dism.exe /online /cleanup-image /restorehealth
Dism.exe /online /cleanup-image /scanhealth
Note: DISM uses a sub-component of Windows Update in order to download healthy copies that will later be used to replace corrupted instances. Because of this, it’s important to ensure that you are connected to a reliable network before initiating these commands. The first command (scanhealth) will make the utility to analyze your files, while the second (restorehealth) will proceed to replace corrupted files with healthy equivalents.
- Once the operation is completed, close the elevated CMD window and restart your computer.
- After the next startup is complete, follow step 1 all over again to open up another elevated Command Prompt. Once you’re back inside a CMD window, type the following command to initiate an SFC scan:
sfc /scannow
Note: Depending on your disk type and size, this procedure might end up taking several hours. But no matter how long it takes, do not interrupt the scan before it’s finished. Doing so exposes your system to logical errors that might end up creating logical errors
- After the scan is finished, restart your computer once again and see if the problem is fixed at the next system startup


