Error 0x80073D01 Installing or Uninstalling Windows 10 Store Apps
Some Windows 10 users are always encountering the 0x80073d01 error when attempting to install or uninstall a UWP (Universal Windows Platform) app via the Windows Store.
After investigating this particular issue thoroughly, it turns out that there are several different common scenarios that might be triggering this error code whenever you want to install or uninstall a UWP app. Here’s a list of likely culprits:
- Applocker interference – As it turns out, a fairly common instance that will trigger this error is interference caused by Applocker. In this case, you should be able to fix the issue by temporarily disabling AppLocker while the installation or uninstallation of the problematic UWP update is complete.
- Common Windows Store Cache glitch – According to some affected users, this issue can also be caused by some type of Windows Store glitch that is preventing new installations from being fully registered. IN this case, running the Windows Apps Troubleshooter and applying the recommended fix should allow you to fix the issue. If this doesn’t resolve the issue, you also have the option to clear the store cache manually.
Now that you are familiar with every potential problem that might trigger this error, here’s a list of methods that other affected users have been successfully using to resolve the 0x80073d01 error and install or uninstall apps normally:
1. Disabling Applocker (if applicable)
As it turns out, you can expect to see this error code if you have previously enabled AppLocker on the affected computer.
Note: AppLocker is an application whitelisting technology that allows the user to restrict which programs can execute and which are prohibited to do so (under various circumstances).
While this is a great tool that will allow you to achieve full control over your apps, it can also conflict with the installation, uninstallation, and rendering of apps if you don’t really know what you’re doing.
Fortunately, there’s a simple way of confirming if the issue is indeed caused by Applocker or not:
- Press Windows key + R to open up a Run dialog box. Next, type ‘cmd’ inside the text box and press Ctrl + Shift + Enter to open up an elevated Command Prompt. When you are prompted by the UAC (User Account Control), click Yes to grant admin access.
Opening a CMD prompt - Inside the elevated CMD prompt, type the following command and press Enter to check if the issue is caused by Applocker:
powershell -ExecutionPolicy Unrestricted Add-AppxPackage -DisableDevelopmentMode -Register $Env:SystemRoot\WinStore\AppxManifest.xml
- If running this command returns an error similar to “Add-AppxPackage : Deployment failed with HRESULT: 0x80073D01”, you’ve just concluded that the problem is actually caused by Applocker.
Note: If the command was processed successfully, it’s clear that AppLocker is not responsible for this issue – In this case, skip the next steps below and move directly to fix number 2.
If you got the 0x80073D01 when running the commands above, follow the instructions below to effectively disable AppLocker in order to avoid the error altogether:
- Press Windows key + R to open up a Run dialog box. Next, type ‘gpedit.msc’ inside the text box, then press Enter to open up the Local Group Policy Editor. At the UAC (User Account Control), click Yes to grant admin access.
Opening the Local Group Policy Editor - Inside the Local Group Policy Editor, use the menu on the left to expand on the Application Control Policies menu, then click on AppLocker.
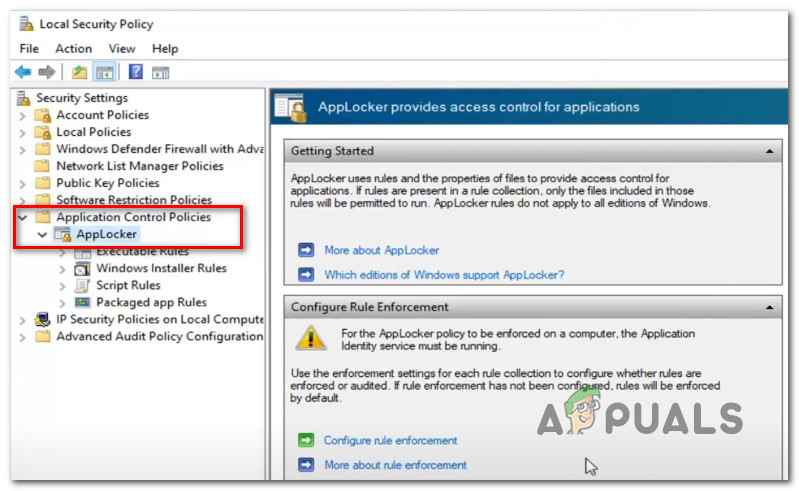
Opening the AppLocker policy - Next, from the AppLocker menu, click on Packaged app Rules, then move over to the right-hand pane.
- Once you get to the right-pane, simply right-click any Applocker rules that are currently in place and choose Delete from the context menu.
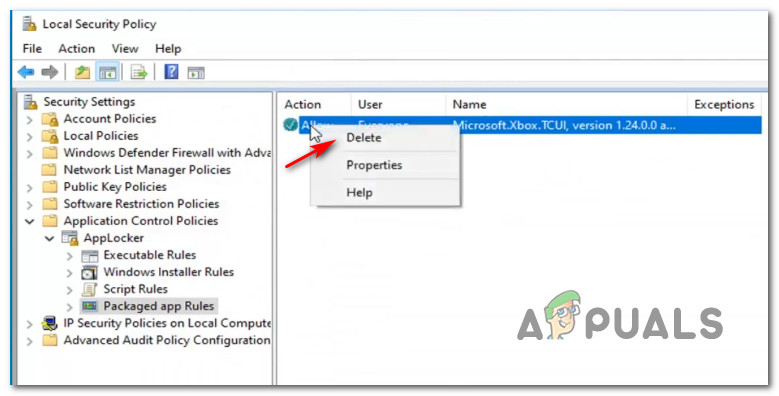
Deleting the Applocker rule - Now that the Applocker has been effectively disabled, go back and repeat the installing or uninstalling operation that was triggering the 0x80073d01 previously.
Note: In case the operation is successful and you want to re-enforce the Aplocker rules you had previously, return to the Packaged app Rules path inside Local Security policy. - From the context menu that just appeared, click on Create New Rule.
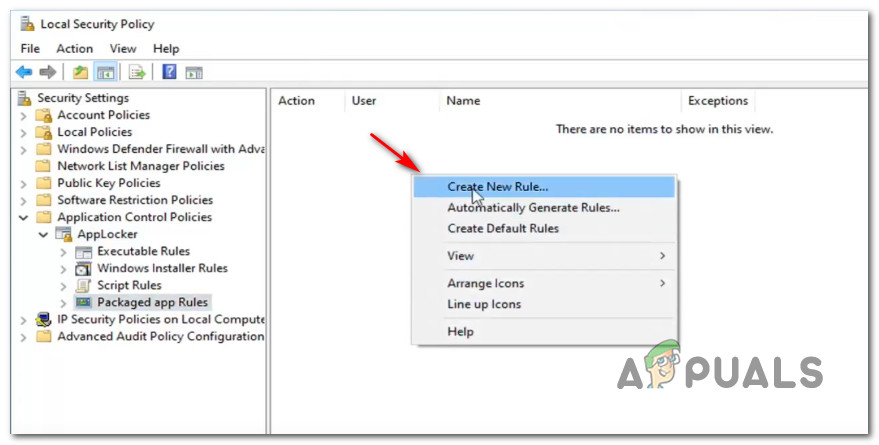
Creating a new Rules - At the first Create Packaged app Rules, click on the Next button at the first prompt as well as the second (on the Publisher tab).
- Once you get to the Publisher section, check the Use an installed packaged app as a reference, then click on Select.
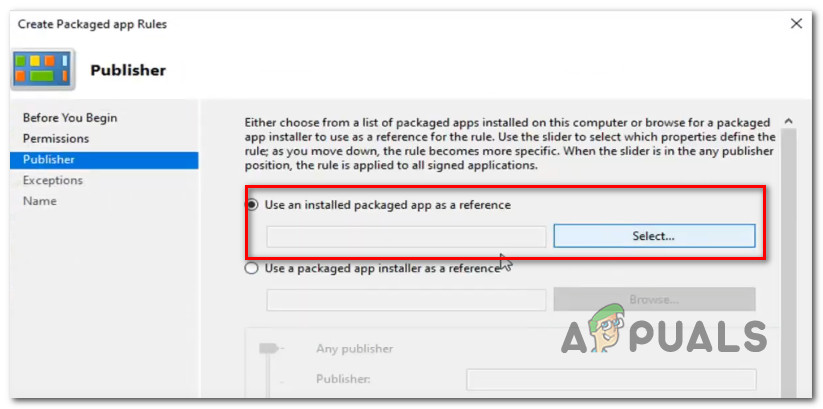
Using an installed package - Set your exceptions, permissions and name the rule however you want before hitting Save and enforcing the rule once again.
In case this method didn’t work for your or this scenario was not applicable, move down to the next potential fix below.
2. Running the Windows Apps Troubleshooter
If you previously made sure that Applocker is not causing the 0x80073d01 error, the next thing you should investigate is if this particular issue is related to an inconsistency with a built-in UWP (Universal Windows Platform) app like Windows Photos or Windows Movies & TV.
The best way to do this is to run the Windows App Troubleshooter and applying the recommended fix.
This is a utility that contains a series of generic automated fixes that will be effective for a variety of different errors including the 0x80073d01 error.
Several affected users have reported that new instances of the error have stopped appearing after running the Windows App Troubleshooter and applying the recommended fix.
If you’re looking for specific instructions on how to deploy this particular fix, follow the instructions below:
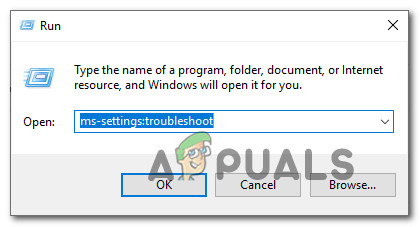
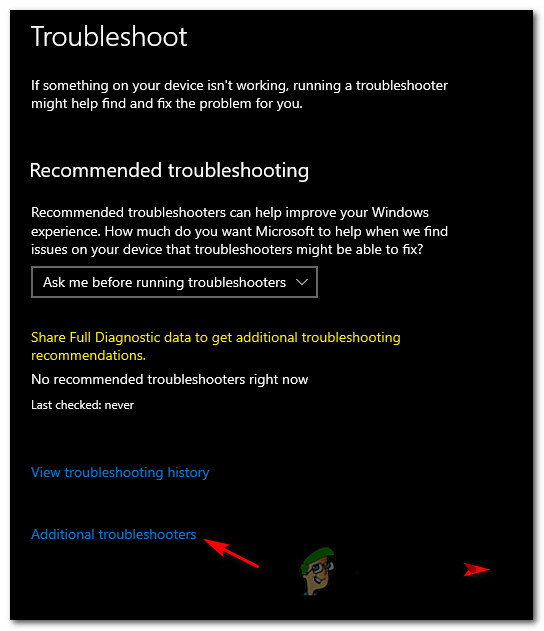
- Start by pressing the Windows key + R to open up a Run dialog box. Next, type ”ms-settings:troubleshoot” inside the text box and press Enter to open up the Troubleshooting tab of the Settings menu.
Opening the Troubleshooting app - At the first Troubleshoot window, click on Additional Troubleshooters at the bottom of the screen.
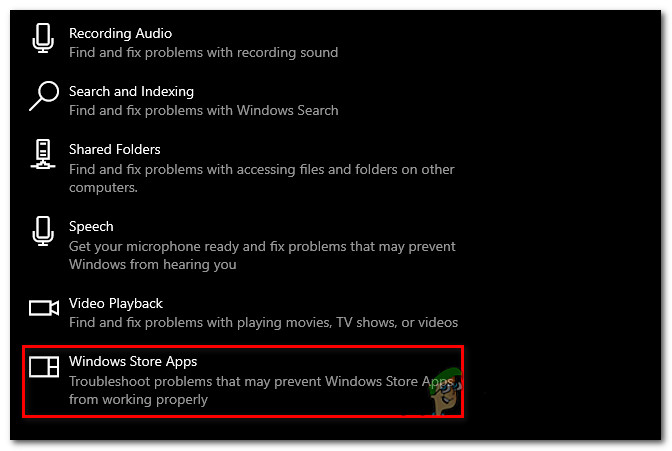
Opening the Additional Troubleshooting tabs - Once you’re inside the screen with every Windows 10 troubleshooter, the Find and Fix other problems section. Next, click on Windows Store Apps and click on the Run the Troubleshooter to open up the utility.
Opening the Windows Store Apps - Once you’re inside the Windows Store Apps utility, wait patiently until the initial scan is complete. If a viable repair strategy is found, follow the on-screen prompts to apply the recommended fix (depending on the issue that you’re dealing with). Click on Apply this fix to apply the recommended fix.
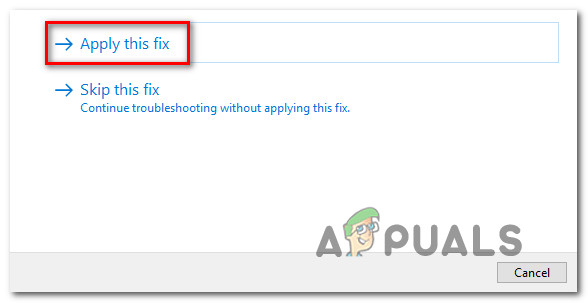
Applying the Fix Note: Depending on the problem that is identified, you might need to do a series of manual adjustments.
- Once the fix is successfully applied, restart your computer and see if the problem is resolved once the next startup is complete.
In case you’re still finding new instances of the ‘AppModel Runtime Error 0x490‘ error, move to the next potential fix below.
3. Resetting the Windows Store Cache
According to a lot of user reports encountering the 0x80073d01 when attempting to install or uninstall a Windows Store app, the issue is almost always related to some kind of corrupted Windows Store Cache.
If you feel like this scenario is applicable, the next thing you should do to fix the issue is to reset the Windows Store cache.
Note: This operation will not delete any application data – All it does is it removes any cached data related to UWP (Universal Windows Platform) applications.
To perform a reset of the Windows Store Cache, press Windows key + R to open up a Run dialog box. Next, type ‘wsreset.exe’ and press Ctrl + Shift + Enter to perform this action with admin access.
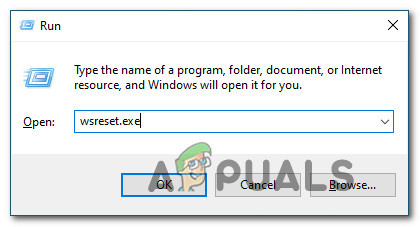
Note: After you initiate this operation, you’ll see a CMD prompt named wsreset.exe. Next, wait until the window auto-closes – That’s your cue that the cached data has been cleared.
Once the operation is complete, restart your computer and see if you’re able to complete the installation or the uninstallation of store apps without seeing the 0x80073d01.


