Fix the ERR_CONNECTION_CLOSED Error in Any Browser or Device (Step-by-Step Guide)
Can't Connect to the Internet? Here's How to Fix the ERR_CONNECTION_CLOSED Error
 Reviewed by Kamil Anwar
Google Chrome is one of the most popular Internet browsers up to date and it offers a great performance for high-end PCs. It also works well on weaker PCs but its RAM consumption is a major issue for computers with less than 3 GB of RAM, especially if you have a lot of open tabs in an instance.
The browser is constantly being updated by Google and they work to bring you a synced experience when you use your Google Account so that all devices share the same history. Let’s take a look at this particular error called err_connection closed, this is one of most requested error by users having problems with chrome browser.
What is the ERR_CONNECTION_CLOSED Error and What Causes it?
The err_connection_closed is usually caused by a variety of factors, including misconfigured network devices, blocking connections, or incorrect settings. To fix this error, you can try a number of measures, such as flushing the DNS cache, resetting network settings, or using a VPN service. You can also try disabling chrome extensions, checking for malware, or updating your browser. Additionally, it is important to ensure that your device and network settings are properly configured and optimized.
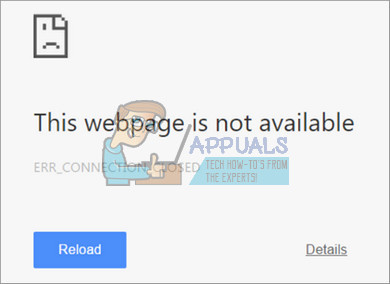
The err_connection_closed occurs in Windows while using Chrome underneath the message saying “This webpage is not available”. However, after trying several different pages, you will get the same result or the lack of it. The first thing you might think is that your Internet connection is causing the problem but most people who were struggling with this issue have reported that other browsers such as Microsoft Edge and Mozilla Firefox are working just fine.
This means that the problem is with Google Chrome and that is why we decided to provide a couple of different solutions to this problem. Make sure you try all of them before giving up!
But before moving on with the solutions, switch off your network equipment for 1 minute and then power on. If you are using any proxy/VPN, then disable it.
If another computer/device can be used on the network, then try to visit the problematic website on that other device to make sure that the site is not down or blocked from the ISP. You may switch to another network (if no other network is available then use your mobile phone’s hotspot) to check if the site can be accessed. Also, visit downdetector.com to check if the site is down.
Also, either try to use Chrome in Incognito mode or use Chrome without extensions. Moreover, make sure that Google Chrome is updated to the latest build.
1. Change Chrome Settings
The first solution is the one recommended by a lot of experts on Google and the one that has solved many people’s issues. That is why it is recommended that you try this solution before anything else.
- Clear your browsing data in Chrome by visiting by clicking on the three vertical dots in the top right corner. After that, click on the “More tools” option and then “Clear browsing data”.
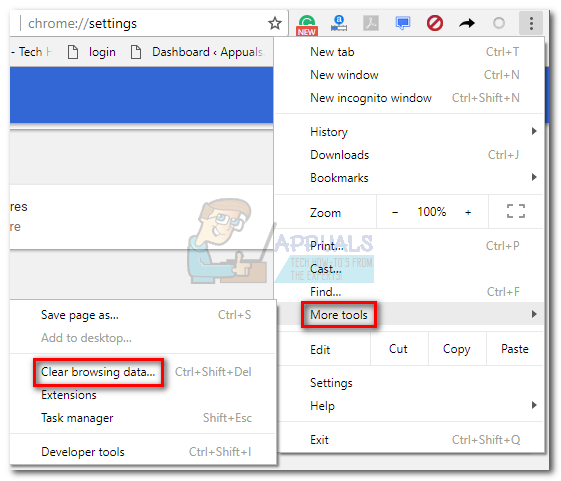
Select More Tools and Then Click on Clear Browsing Data - To clear everything, select “the beginning of time” option as the time setting and select what types of data you wish to delete.
We recommend resetting chrome cache and cookies.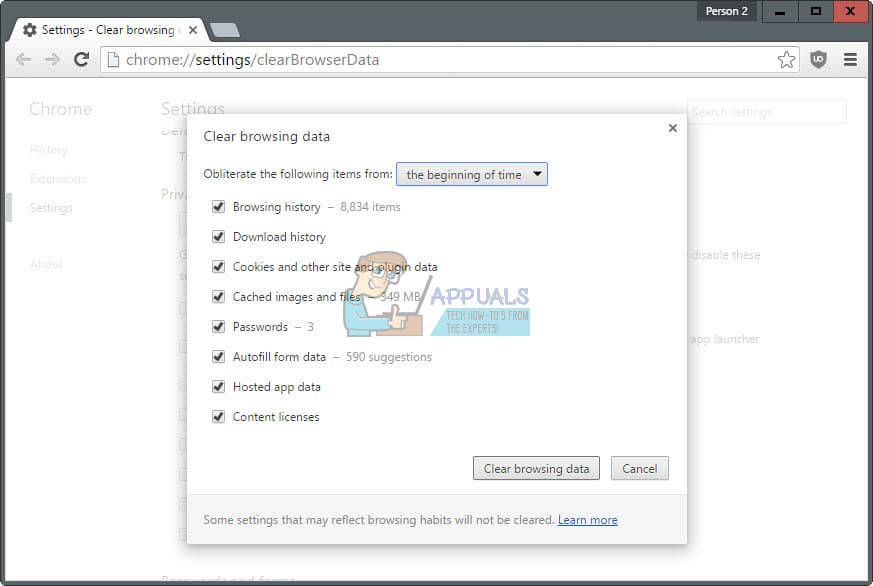
Clear browsing data - Make sure you restart your computer afterward and unplug your DSL Internet cable or turn your Wi-FI adapter on and off before proceeding.
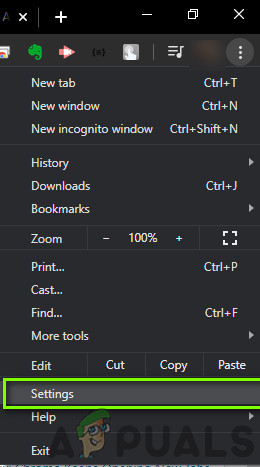
- To get rid of all cookies, again click on the three dots and select Settings.
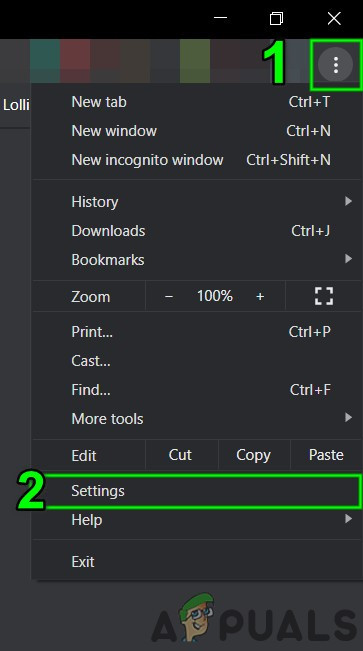
Open Chrome Settings - Scroll down to the bottom and expand the Advanced settings and then click on Privacy and Security.
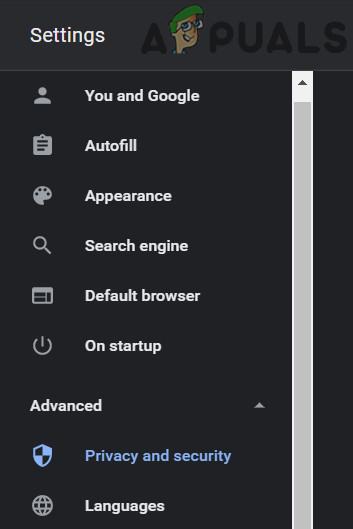
Open Privacy and Security Settings - Now Open Site settings and then click on Cookies and Site Data.
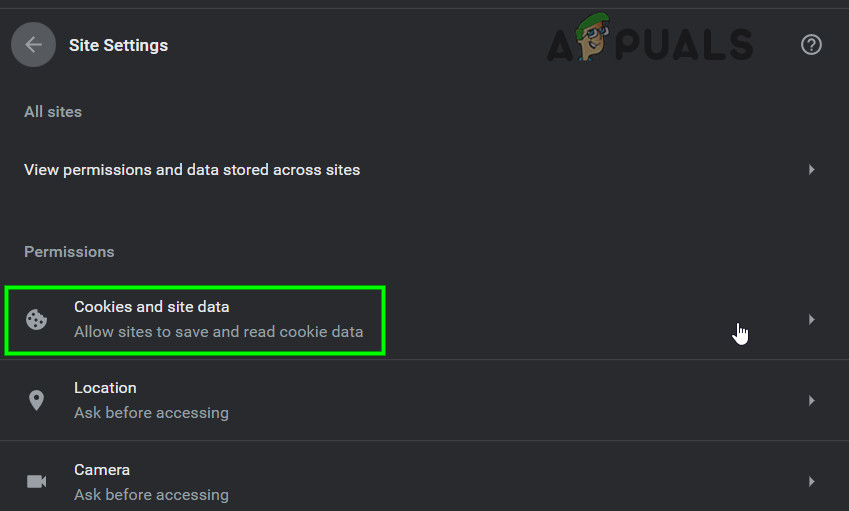
Open Cookies and Site Data - Now you will see a list of all cookies that remained after you have already deleted them in Step 1. Delete either all cookies or just the ones related to the websites that aren’t working.
- Restart your computer again and check if the problem is solved.
2. Winsock Reset Using Command Prompt
Command Prompt is your friend when it comes to problems like this because all you need to do is follow these instructions and copy the correct commands from this article to your own Command Prompt. It saves a lot of time.
- Type “Command Prompt” in your Search box, right-click on it and select Run as administrator.
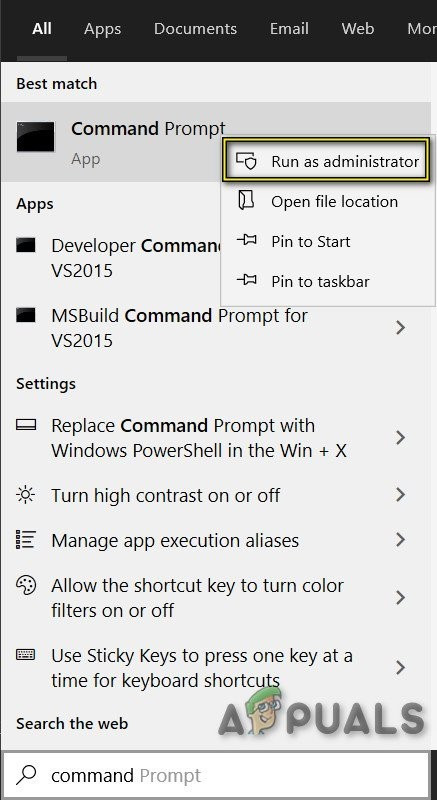
Run Command Prompt as Administrator - The command below is the first one you should try and it should solve your problem immediately. Make sure you restart your computer after running this one and check whether the problem is solved.
netsh winsock reset
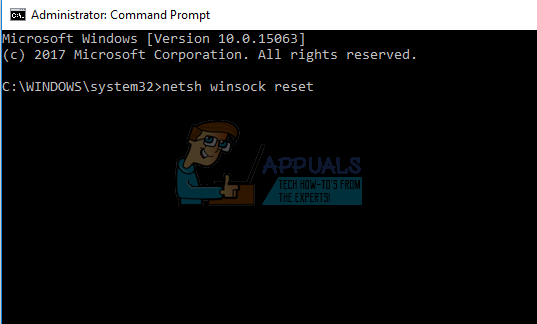
Run netsh winsock reset Command - The following commands should be typed one by one and in the same order as we list them out and press enter. Again, restart your computer after the process finishes.
ipconfig /release

ipconfig /renew

ipconfig /flushdns

ipconfig /registerdns
If these commands fail to fix your problems, you might need to tweak some of the DNS address related issues. Make sure to screenshot the original settings so that you can revert to them if something goes wrong.
- Type “Network and Sharing Center” in your Search box or right-click on the network icon on the taskbar and select “Open Network and Internet Settings”.
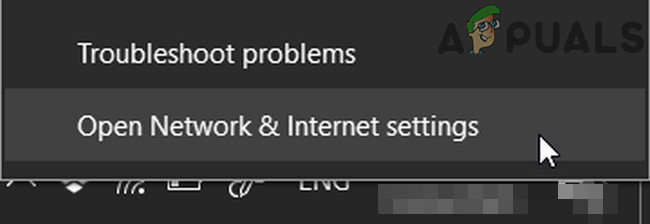
Open Network and Internet Settings - Click on the Change Adapter Options.
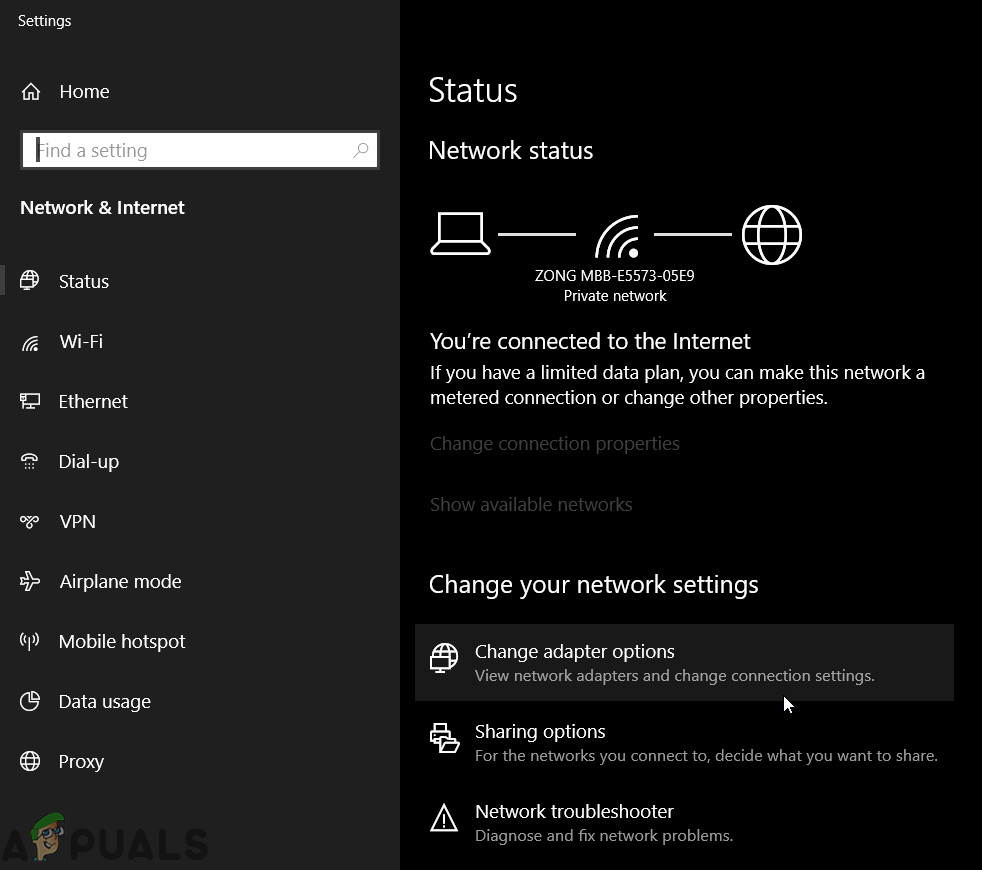
Change Adapter Options - Now, right-click connection you are using to access the internet and select “Properties”.
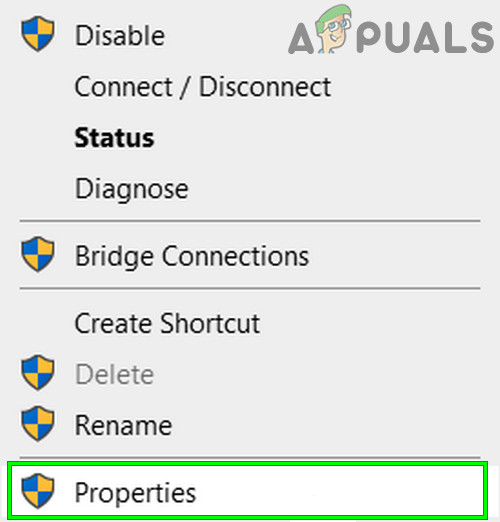
Open Connection Properties - Navigate to the Internet Protocol Version 4 (TCP/IPv4) and click on “Properties” again.
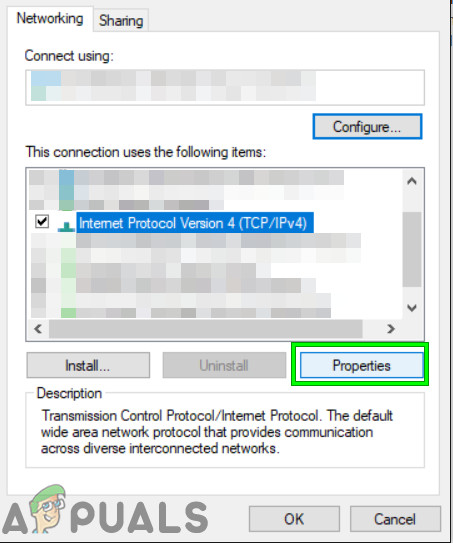
Open Properties of IPv4 - Click on the “Use the following DNS server addresses” radio button and type the 8. 8. 8. 8 as the Preferred DNS server and 8. 8. 4. 4 as the Alternate DNS server. (Google DNS server)
- Keep the “Validate settings upon exit” option checked and click OK.

3. Scan Your Computer for Malware
Malicious software can affect both your Internet connection and any apps you may have installed in the meantime. Some users have reported that their computers were infected when they started receiving the issue and they managed to fix this by getting rid of the malware.
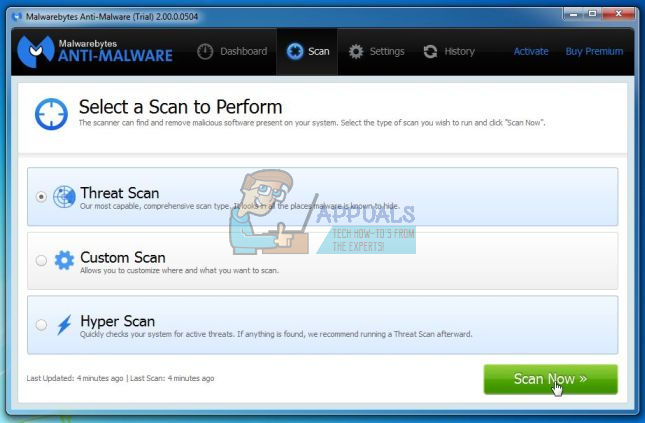
We recommend you use Malwarebytes Anti-Malware (MBAM) since this tool is free and effective
- Download it from this site.
- Run the executable file to install MBAM.
- Launch the antivirus.
- Locate Settings on the left side of the screen and go to the Protection tab.
- Toggle the Scan for rootkits option on to search for everything that may be causing issues with Chrome.
- Scan your computer with a Threat Scan.
Solution 4: Disable Antivirus/Firewall
Antivirus/firewall are the most important security applications in protecting your computer against threats. However, sometimes, these applications can interfere in the legitimate operation of a genuine application and can cause the current Chrome error.
The Firewall/Antivirus marks quarantine Chrome (known as a false positive) and doesn’t let the communications to get through. This is a very common occurrence and is usually patched a few days after its discovered by developers. To rule this possibility out, temporarily disable the antivirus or disable the firewall.
Solution 5: Disable Data Saver/Lite Mode (Mobile)
If you are using Chrome on a mobile device, then disabling the data saver may solve the problem. The like/data saver mode tries to cut down on traffic by blocking unnecessary traffic which isn’t required or using a cached version of it (mostly related to styling). However, there are reports that these modes also disrupt the operation of Chrome as well. For illustration purposes, we will use Android. You may follow instructions as per your device.
- Open Chrome and click on three dots. Then click on Settings.
Chrome Settings - Now scroll down to find Lite Mode and then tap on it.

Open Lite Mode Settings - Now in the Lite Mode settings, toggle the switch to off to close the Lite Mode.

Disable Lite Mode
Alternative Solutions
Some users have reported that they have fixed the issue simply by resetting Google Chrome.
- Click on the three vertical dots to access the menu.
- Open Settings >> Advanced >> Reset & Clean Up>> Reset.
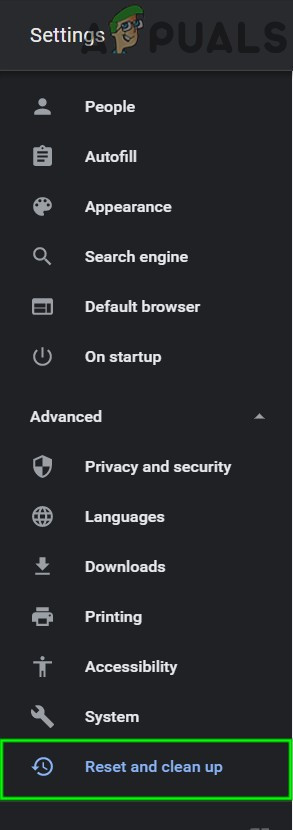
Click Reset and clean up in Chrome Advanced Settings - Restart your computer and check whether the issue is fixed.
Moreover, make sure your time and date settings are correct because Chrome and Google will simply refuse to work unless your time and date are not matching your location. Simply right-click on the time showing at the taskbar and select Adjust date/time. Use the Set time automatically option.
If nothing has worked for you, then uninstall Chrome and then reinstall it.
Use our PowerShell Script to Fix the ERR_CONNECTION_CLOSED Error in Windows 10/11
This script uses a WebRequest object to test the connection to the specified website through the public proxy server. The Proxy property of the WebRequest object is set to the system default proxy (which should be your public proxy server), and the Credentials property is set to the default credentials for the current user.
To run this script:
- Open a text editor (such as Notepad) and paste the script into a new file.
- Save the file with a .ps1 extension (for example, ping_website.ps1) in a location of your choice.
- Open PowerShell (you can search for it in the Start menu or press Windows+R and type powershell).
- Change to the directory where the script is saved. You can do this by typing cd <directory> where <directory> is the path to the folder where the script is saved.
- Type .\ping_website.ps1 (replacing ping_website.ps1 with the name of your script) and press Enter to run the script.
- The script will execute and output the results in the PowerShell console.
Note: Before running the script, make sure to replace the website and proxy variables with the website you want to check and your public proxy server and port, respectively.
Also, depending on your system’s security settings, you may need to adjust your PowerShell execution policy to allow running scripts. You can do this by opening PowerShell as an administrator and running the command Set-ExecutionPolicy RemoteSigned. This will allow you to run local scripts that are signed by a trusted publisher.
$website = "example.com" # Replace with the website you want to check
$maxTimeout = 5000 # Maximum timeout for the ping command (in milliseconds)
$proxy = "http://your-public-proxy-server:port" # Replace with your public proxy server and port

$ping = New-Object System.Net.NetworkInformation.Ping
$pingReply = $ping.Send($website, $maxTimeout)

if ($pingReply.Status -eq "Success") {
Write-Host "$website is reachable directly."
} elseif ($pingReply.Status -eq "TimedOut") {
Write-Host "$website is not responding directly."
} else {
Write-Host "An error occurred while pinging $website directly: $($pingReply.Status.ToString())"
}

# Use the proxy to test the connection
$webRequest = [System.Net.WebRequest]::Create("http://$website")
$webRequest.Proxy = [System.Net.WebRequest]::GetSystemWebProxy()
$webRequest.Proxy.Credentials = [System.Net.CredentialCache]::DefaultCredentials

try {
$webResponse = $webRequest.GetResponse()
Write-Host "$website is reachable through the proxy."
} catch [System.Net.WebException] {
Write-Host "$website is not responding through the proxy."
}
To use this script, replace “example.com” with the website you want to check, adjust the maxTimeout variable as needed to control the maximum timeout for the ping command (in milliseconds), and replace “your-public-proxy-server” and “port” with the hostname and port number of your public proxy server.
Note that the WebRequest object uses the HTTP protocol by default, so if the website you’re testing uses HTTPS, you may need to modify the script to use the HttpWebRequest class and set the UseDefaultCredentials and ServerCertificateValidationCallback properties to handle SSL/TLS certificate errors.
There are many public proxy servers available to be used on the internet.
Reviewed by Kamil Anwar
Thanks, the “netsh winsock reset” did the trick for me.