How to Fix Destiny 2 Error Code ‘Olive’
Some Destiny 2 players are getting random disconnects with the error code ‘Olive. The majority of users affected by this problem report that they see this error code after being kicked out of an online game.
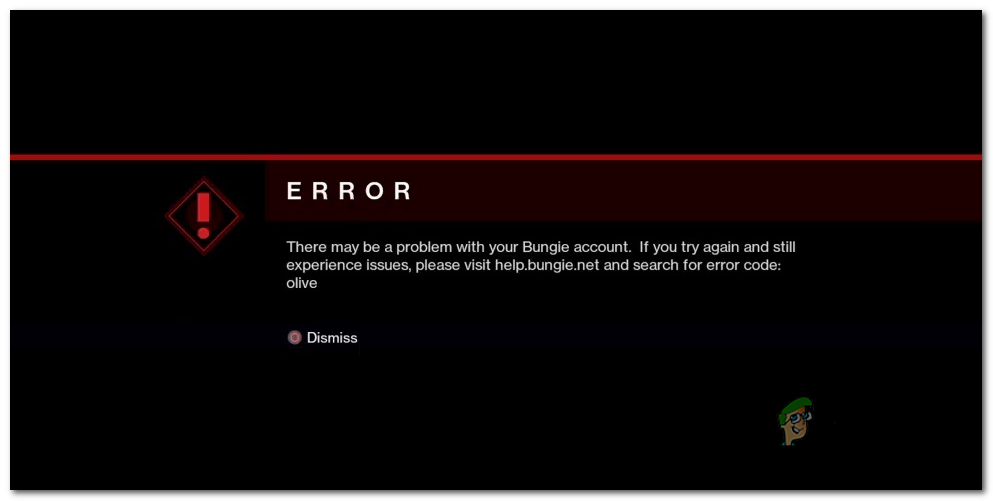
After investigating this particular issue, it turns out that there are several different instances that might be responsible for the partition of this issue:
- Destiny 2 server issue – Before you try any other type of fix, you should start by ensuring that the game developer is not currently dealing with some kind of underlying server issue. To do this, you can check the Destiny 2 status page, check for official announcements, and use services like Outage. Report seeing if other users are reporting the same problem. In case you’re indeed dealing with a server issue, there is nothing you can do to fix the issue other than wait for the involved developers to fix the problem.
- Bungie account is not connected – According to some affected users, this problem can also occur in instances where no Bungie account is currently connected. To resolve the issue, create & validate your Bungie account before trying to join an online game.
- Glitch facilitated by long idle period – If you’re in the habit of leaving your game in idle mode for long periods of time, you can expect to see this problem when attempting to join an online game after you spend more than half an hour in the game’s lobby. To resolve this problem, all you have to do is restart the game conventionally on PC or hard reset your console.
- Battle.Net leftover data – As you probably know, Bungie has moved the game from Battle.Net to Steam, and this ended up causing a myriad of errors, including this one. To resolve the problem in this case, you will need to uninstall the game along with the old launcher and clear any cache folder that might hold game data before reinstalling the game from steam.
Method 1: Checking for a Server Issue
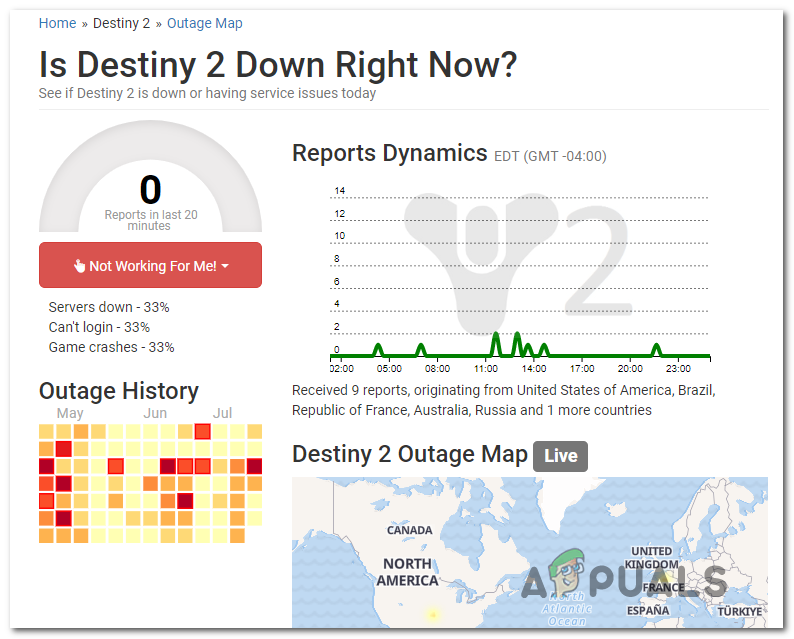
Before trying out any other fix that was confirmed to work by an affected user, you should begin this troubleshooting guide by investigating whether other Destiny 2 users in your area are also encountering the same problem.
Keep in mind that this particular error code is typically associated with some kind of server issue, so it’s highly recommended that you start by investigating whether you’re actually dealing with a widespread error.
To check for this instance, you can use services like Outage.Report and DownDetector to see if other users in your area are reporting the same issue as you’re facing it.
Even if you uncover no evidence of issues related to Destiny 2 servers, you should take a look at the status page of Destiny 2 and visit Bungie’s official Twitter Destiny 2 support account to see if they are any official announcements regarding the server issue.
If the investigations you just performed haven’t revealed any evidence of a server issue, move down to the next potential fix below.
Method 2: Connect with a Bungie account
Often times, the ‘Olive’ error code in Destiny 2 is associated with an instance in which the user is not connected with a Bungie account. Several affected users that were also encountering this issue have confirmed that the problem was resolved after they connected with a valid Bungie account.
So if you haven’t done this already, restart Destiny 2 and follow through when asked to set up a Bungie account. After you do this and validate your account, join an online game, and see if the problem is resolved.
If you already set up your Bungie account, move down to the next potential fix below.
Method 3: Restarting the PC / Console
If you didn’t try this already, you should start this troubleshooting guide by going for a simple platform restart. This is confirmed to be effective on both Windows and current-gen consoles (Xbox One and PlayStation 4).
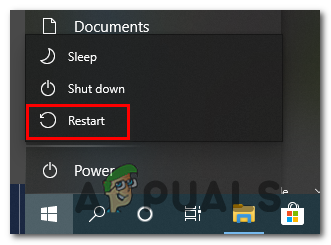
On PC, simply close the game and use the Windows button to click on Power > Restart, then wait for the next startup to complete before launching the game once again.
On consoles, a restart is not sufficient since it both PlayStation 4 and Xbox One will preserve some temp files that aren’t cleared with a regular restart. So if you’re encountering the issue on a console, the proper procedure is to go for a power cycling procedure. Follow the guide applicable to your console of choice:
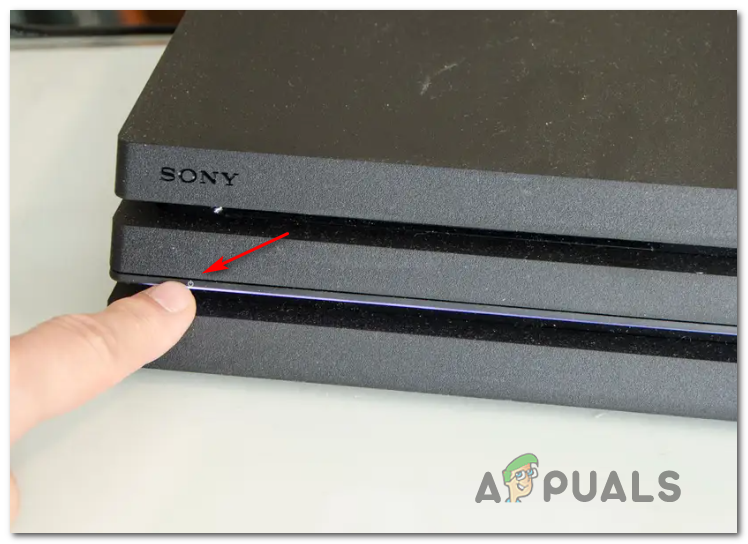
A. Power cycling your Playstation 4 console
- Start by making your that your console is in idle mode (not in hibernation). Next, press and hold the power button (on your console) and keep I pressed until the console shuts off completely.
- When you hear the second beep and you can hear the fans turning off, let go of the power button.
Power cycling Ps4 - After your console no longer shows signs of life, go ahead and unplug the power cord from the power outlet and wait for 30 seconds or more to ensure that the power capacitors are completely drained.
- Once this period passes, restore power and start your console once again, wait for the initial startup to complete then launch Destiny 2 and see I the problem is now resolved.
B. Power cycle your Xbox One console
- Ensure that your console is not in idle mode before pressing the Xbox button (on your console) and keep it pressed for about 0 seconds or until you see the front LEDs turning off.

Performing a hard reset on Xbox One - Once your console is shut down completely, let go of the power button, then unplug the power cable from the power outlet and wait for a full minute to ensure that the power capacitors are completely drained.
Unplugging the power cord from the socket - Once this time period has passed, restore power to your console and start it back up to see if the problem has been resolved.
In case you’re still seeing the ‘Olive’ error code after being disconnected from a Destiny 2 online game, move down to the next potential fix below.
Method 4: Reinstalling Destiny 2 (PC Only)
If you’re encountering this problem on a PC (after Destiny 2 completed the move from Battle.Net to Steam) it’s possible that you’re seeing this error due to some leftover files left behind by the old installation.
If this scenario is applicable, you should try uninstalling the Battle.Net version of Destiny 2 and clear the cache data of Battle.Net before reinstalling the game from Steam.
To make the whole process easier for you, we’ve put together a step-by-step guide that will walk you through the whole thing. Here’s what you need to do:
- Open up a Run dialog box by pressing Windows key + R. Next, type ‘appwiz.cpl’ inside the text box, then press Enter to open up the Programs & Features menu.

Type appwiz.cpl and Press Enter to Open Installed Programs List - Once you’re inside the Programs & features menu, scroll down through the list of installed applications and locate Destiny 2. When you see it, right-click on it and choose Uninstall from the context menu.
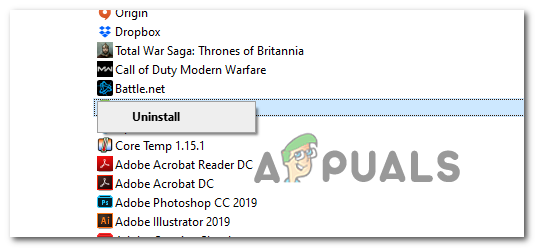
Uninstalling Destiny 2 - Once you’re inside the uninstallation screen, follow the on-screen instructions to complete the uninstallation.
- After the operation is finished, return to the Programs & Features page and repeat the uninstallation procedure with Battle.Net also.
- Once both entities are uninstalled, open another Run box again (press Windows key + R) type ‘ %PROGRAMDATA%\Battle.net’ and press Enter to navigate to the location instantly.
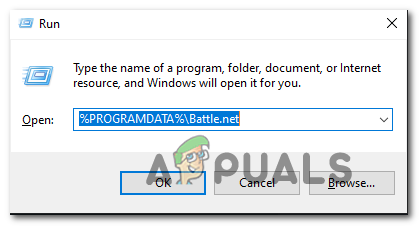
Accessing the cached data folder of Battle.net - When you’re inside the Cache folder of Battle.net, hit the back button, then right-click on the Battle.net folder and choose Delete from the context menu to get rid of any leftover files that might still cause issues.
- Repeat step 5 and 6 with the remaining cached files and delete every folder until there is no remnant file that might cause this problem:
%APPDATA%\Battle.net
%LOCALAPPDATA%\Battle.net
%APPDATA%\Bungie\DestinyPC
- Once every relevant folder is deleted, restart your computer, then download Steam, then take ownership of Destiny 2 and see if the Olive error code is still occurring after the game is installed properly.


