How to Fix Destiny 2 Error Code ‘Lettuce’
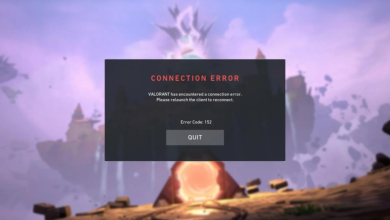
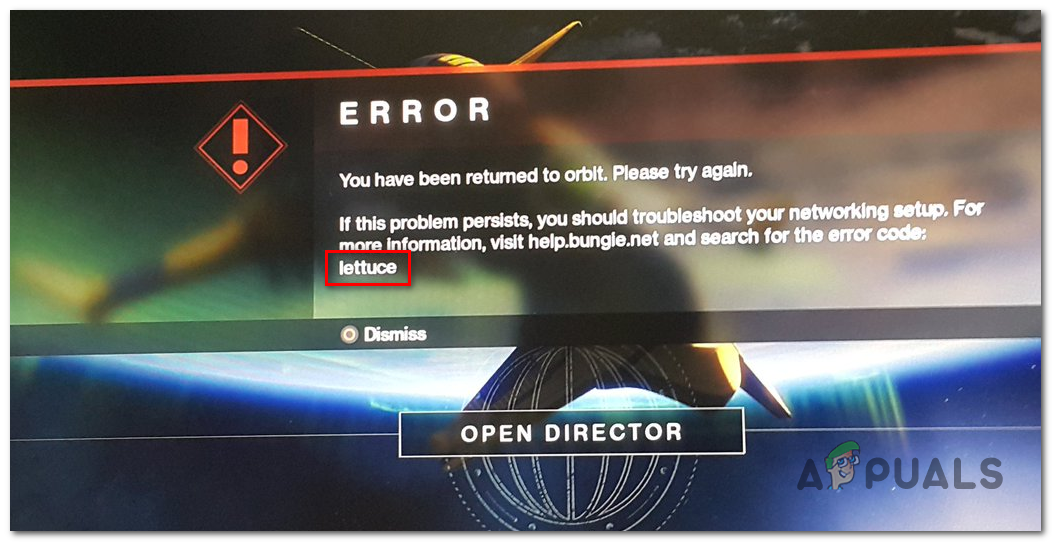
The Error Code ‘Lettuce‘ is encountered after Destiny 2 players get disconnected from the game server. In most cases, affected users are saying that this disconnect comes after the game loads without any NPCs.
As it turns out, there are multiple different causes that will ultimately spawn this error code:
- Idling glitch on PC – If you’re encountering this issue on PC after handing around in player areas, chances are you’re dealing with a common glitch that is exclusive to the Windows platform. In this case, the only fix is to restart the game and reconnect with the game server.
- Router IP / TCP inconsistency – In case you’re using a router with limited bandwidth, it’s possible that you’re seeing this problem due to the fact that your network device is being overbooked with data transfers that it can’t handle. In this case, remove the number of connected devices and reboot or reset the router that’s currently in charge of facilitated Internet access.
- Destiny 2 conflict with GameFirst application – As it’s been reported by some affected users, this particular error code can also be caused by a conflict between the game server facilitator and bloatware pushed by ASUS (Game first). If this scenario is applicable, you should be able to fix the problem by uninstalling the utility following the official channels.
- Technicolor and Thompson inconsistency – If you’re using a Thompson or Technicolor router, it’s likely that you’re seeing this problem due to a Telnet inconsistency that can be resolved by unbending a port range that’s being responsible for this problem.
Method 1: Restart the Game
As it turns out, Destiny 2 has a tendency of triggering weird errors whenever you spend too much time in the menus idling. This problem is also encountered on consoles (Ps4 and Xbox One) but it’s way more frequent on PC.
Several affected users struggling with the same problem have confirmed that they managed to fix this problem by restarting the game in order to force the engine to reinitialize everything.
If this scenario is applicable, restart the game conventionally (by closing Destiny 2 and opening it up again) and see if the problem is resolved. You can do this on consoles too, but make sure to close the game completely rather than exiting the dashboard and putting the game in the background.
If restarting the game didn’t work for you, move down to the next potential fix below.
Method 2: Restarting and Resetting your Router
If a simple restart of the game didn’t work, the next step should be to turn your attention towards a network inconsistency. In case you’re using a router with limited bandwidth and you have more than 3-4 devices connected to your home network, it’s possible that a network inconsistency is causing the game servers to terminate your connection – this is most likely the result of a data flood that your router can’t handle.
In this case, you should start with a simple router restart. This procedure allows your computer to refresh the Internet connection and allocate new TCP / IP values which will eliminate the majority of superficial issues.
To perform a simple router reboot, either press the power button on the pack or physically unplug the power cable from the power outlet and wait for a full minute to ensure that te power capacitors are completely drained.
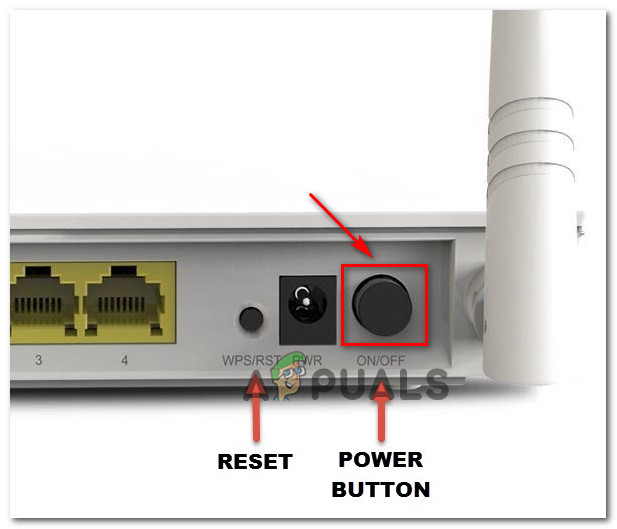
If the issue is still not resolved, you should consider going for a router reset. But keep in mind that this operation will reset any custom credentials you might have previously established for your router settings and essentially return your router settings to their factory state. This means that any forwarded ports, booked devices, and whitelisted entities will also be forgotten.
If you want to go for a router reset, use a sharp object (like a small screwdriver or a toothpick) to reach the reset button on the back of your router. Once you are able to reach it, press it and keep it pressed for about 10 seconds or until you see the front LEDs all flashing at the same time.
Once you see this behavior, wait for the internet connection to be established. Depending on your ISP, you might need to validate your ISP credentials once again.
After Internet access is back, open up Destiny 2 again and see if the Lettuce error code is resolved.
In case the same problem is still appearing, move down to the next potential fix below.
Method 3: Uninstalling GameFirst (If applicable)
If you’re using an ASUS computer (or at least an ASUS motherboard, it’s possible that you’re seeing the ‘lettuce’ error due to a software conflict between destiny 2 and GameFirst (proprietary ASUS program).
GameFirst is a service offering easy a wide range of free-to-play multiplayer games for PC users. Unfortunately, it also tends to conflict with Destiny 2.
If this scenario is applicable and you have the GameFirst program installed on your computer, you should be able to resolve the problem by uninstalling the game. This fix was confirmed to work by a lot of affected users encountering the same error message.
To do this, follow the instructions outlined in the steps below:
- Press Windows key + R to open up a Run dialog box. Inside the text box, type ‘appwiz.cpl’ and press Enter to open up the Programs and Features menu.

Type appwiz.cpl and Press Enter to Open Installed Programs List - Inside the Programs and Features screen, scroll down through the list of installed applications and locate the entry associated with GameFirst.
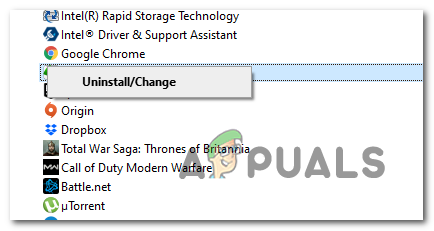
Uninstalling the GameFirst utility - Inside the uninstallation screen, follow the instructions on the next screens to complete the uninstallation, then start your computer and launch Destiny 2 at the next startup to see if the problem is now resolved.
In case you’re still facing the lettuce error code in Destiny 2m move down to the next potential fix below.
Method 4: Applying the fix for Technicolor and Thomson routers (if applicable)
If you’re using a Thomson or Technicolor router, you’re unfortunate enough to suffer from a bug that’s been around since the Destiny 2 servers first came online in 2017.
As it turns out, these router manufacturers are unable to handle automatic port forwarding for Destiny 2 even if UPnP is enabled. If this scenario is applicable, you should be able to resolve the issue by unbinding a series of ports that are being used by Destiny 2 and enabling the Telnet protocol from the Windows Features menu.
If this method is compatible with your particular setup (you have a Technicolor or Thomson router), follow the instructions to enforce the fix:
- Press Windows key + R to open up a Run dialog box. Inside the run dialog box, type ‘appwiz.cpl’ and press Enter to open up the Programs and Features menu.
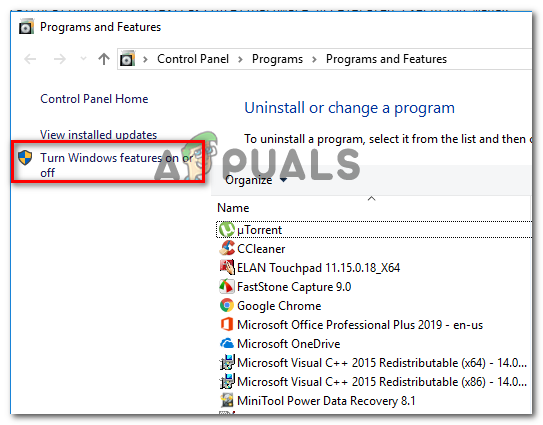
Type appwiz.cpl and Press Enter to Open Installed Programs List - Inside the Programs and Features menu, use the menu on the left to click on Turn Windows Features on or off. If you’re prompted by the UAC (User Account Control), click Yes to grant administrative privileges.
Accessing the Windows Features screen - Inside the Windows Features menu, scroll down through the list of Windows features and click on the box associated with Telnet Client to enable it. Next, click Ok to save the changes.

Enabling the Telnet client protocol - Wait for the operation to complete, then restart your computer and wait for the next startup to complete.
- After the next computer startup is complete, press Windows key + R to open up a Run dialog box. Inside the run box, type ‘cmd’ and press Ctrl + Shift + Enter to open un an elevated CMD prompt.
Running Command Prompt with admin access Note: When prompted by the User Account Control window, click Yes to grant admin access.
- Inside the elevated CMD prompt, type the following command and press Enter:
telnet RouterIP
Note: Keep in mind that *RouterIP* is just a placeholder that you’ll need to replace with the IP address of your router. If you don’t know it, here’s a quick guide on finding your router’s address form any device.
- Next, insert your router credentials when asked. If you don’t know your router credentials, either try the default values (admin for user and password) or search online for the default credentials according to your router model.
- Once you are successfully connected, type the following command and press Enter:
connection bindlist
- Once you get the list of ports, see if port range 3074 or the range starting with 3074 is among the list that the query just returned.
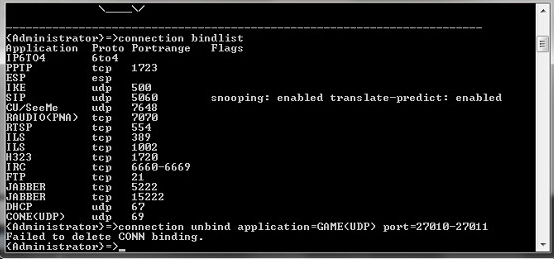
Connection Bindlist - If the range is 3074 if present, type the following command and press Enter:
connection unbind application=CONE(UDP) port=3074
Note: IN case tyou see a port range (e.g. 3074 – 3668), type the following command instead:
connection unbind application=CONE(UDP) port=*PortRange*
Note: *Portrange* is just a placeholder – Replace it with the range that includes the 3074 port.
- Close the elevated Command Prompt and restart both your computer and your router before opening Destiny 2 again to see if the problem is now resolved.