How to Fix Telnet is not Recognized
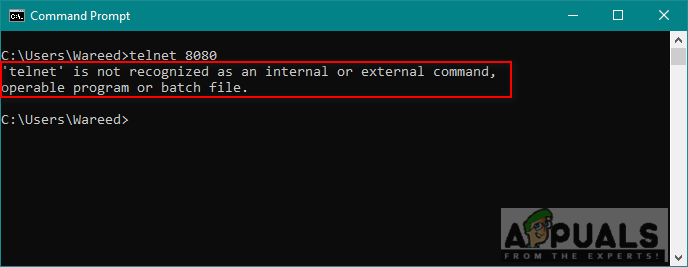
Telnet (short for TELetype NETwork) is one of the remote login protocols on the internet. Through Telnet, you can easily access another user’s computer remotely. However, when users try to use any Telnet command, they get an error “telnet is not recognized” or “telnet: command not found“. In this article, we will discuss this particular error and provide some verified solutions.
What is Causing the Telnet is not Recognized Error?
The error message indicates that Telnet is not installed on your system. You cannot use commands for a specific software or utility which is not installed on your system. Simply the command not found means there is no result for what you are trying to access or call through command.
Method 1: Enabling the Telnet Executable in Windows
Some of the features are disabled on Windows because it will slow down the performance of the system. Telnet is disabled by default in Windows. However, it is really easy to enable it from the control panel on your system by following the steps below:
- Hold Windows key and Press R to open Run, then type “appwiz.cpl” and Enter.
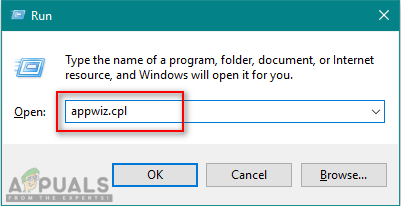
Opening Programs and Features - Click on Turn Windows feature on or off in the left bar.
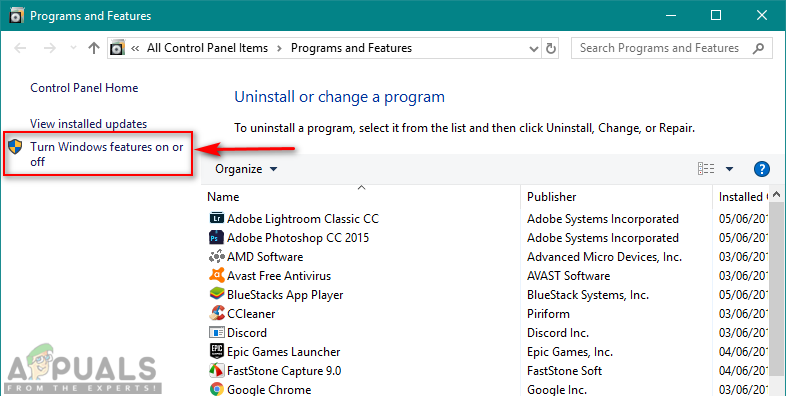
Opening Turn Windows features on or off option - Find Telnet Client in the list and tick it to install, then click OK.
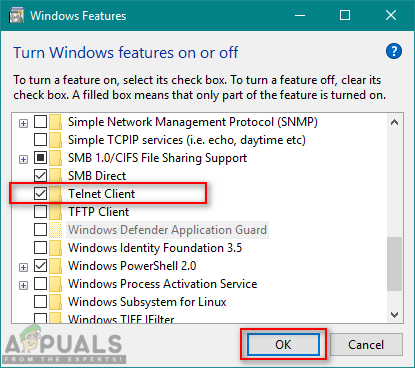
Enabling/Installing Telnet feature - Now go try the Telnet command again in command prompt.
Method 2: Installing Telnet through Command Prompt in Windows
You can also install Telnet by using a single command in command prompt. Many users were unable to install Telnet by using the control panel method and this worked for them.
- Hold Windows key and Press S to open search function, then type “cmd” to search.
- Right-click on Command Prompt and choose Run as administrator (or you can just press Shift+Ctrl+Enter keys together while command prompt is highlighted).

Opening command prompt as an administrator - Type the following command and Enter:
dism /online /Enable-Feature /FeatureName:TelnetClient
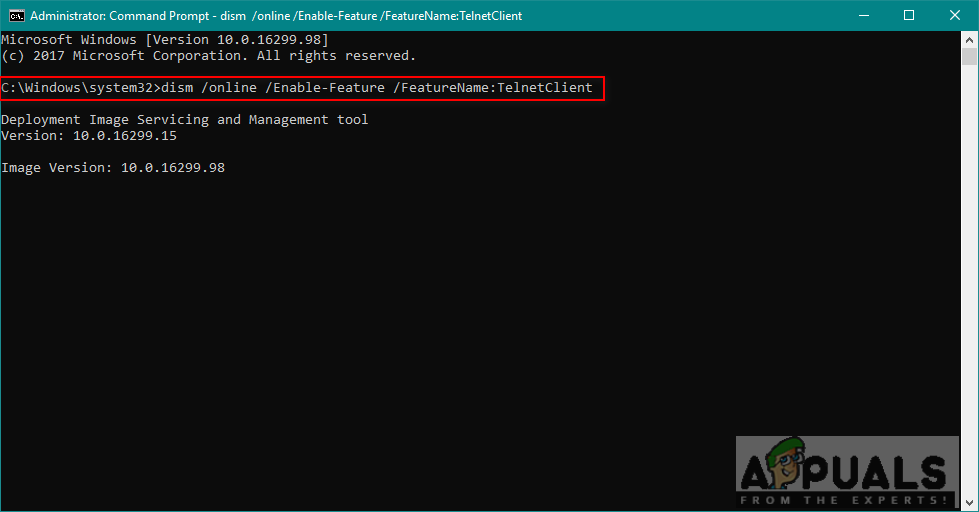
Command to install telnet - It will take few minutes for enabling the feature and after completing you will see a message for successful operation.
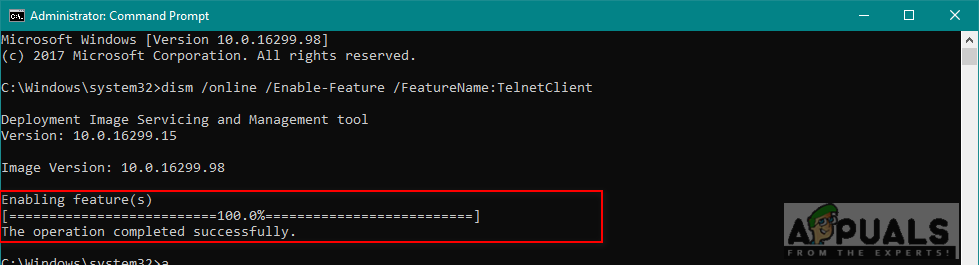
Telnet successfully installed
Method 3: Installing Telnet for macOS
To install Telnet in macOS you must have homebrew installed on your system. Because of this, we have divided this method into two steps. If you already have homebrew installed then skip step 1 and directly apply step 2 to install Telnet.
Step 1: Installing Homebrew on macOS
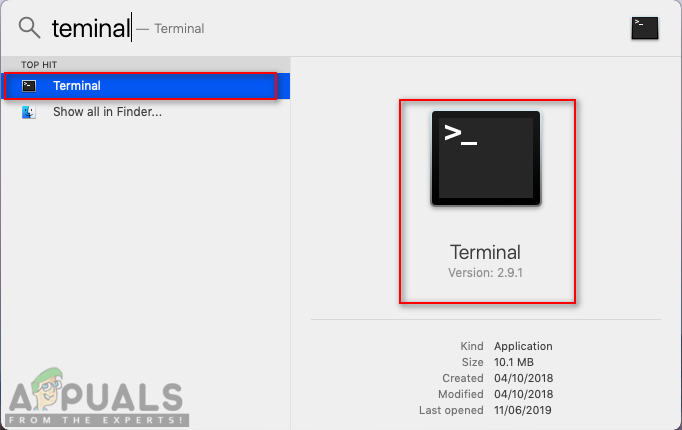
- Hold Command key and Press Space to open spotlight, then type Terminal and Enter.
Opening Terminal - Type the following command to install Homebrew on macOS:
/usr/bin/ruby -e "$(curl -fsSL https://raw.githubusercontent.com/Homebrew/install/master/install)"
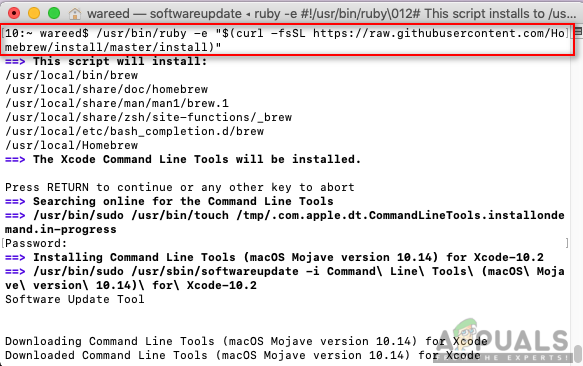
Installing homebrew - It will ask Return (Enter) key and password for confirmation.
- Once it is installed, you will see a message like the one shown below:
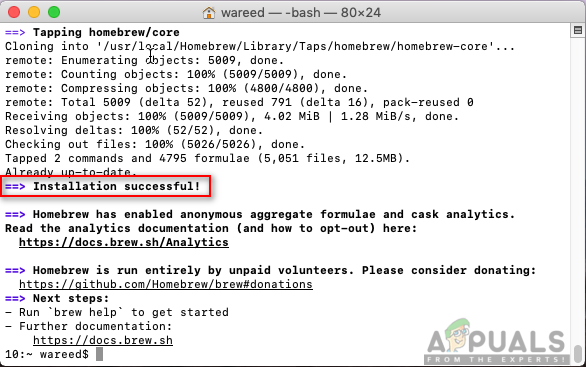
Successfully installed message
Step 2: Installing Telnet through Homebrew
- Hold Command key and Press Space to open spotlight, then type Terminal and Enter.
Opening Terminal - Type the following command to install Telnet on macOS:
brew install telnet
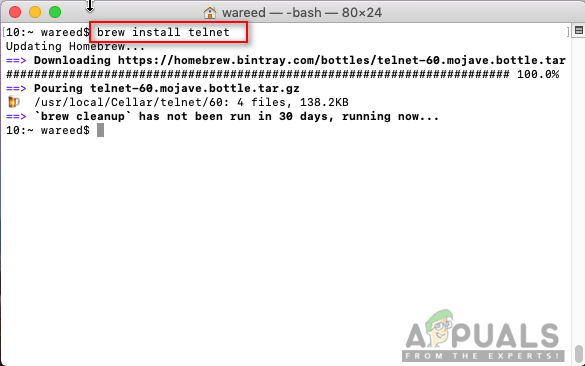
Installing telnet on macOS - Homebrew will download and install Telnet. Then you can easily run any Telnet command without any errors.
Method 4: Alternatives of Telnet
Telnet is not safe, your login data is transmitted in plaintext and anyone can steal your credentials with Wireshark in no time. So using SSH as an alternative will be a better choice to get good experience and safe usage. These are some of the worth mentioning alternatives as stated below:
PuTTy: PuTTy is terminal emulation software that runs on Microsoft Windows. It allows you to connect to remote server and provides a platform to execute your commands on the server. It supports both SSH and Telnet protocols.
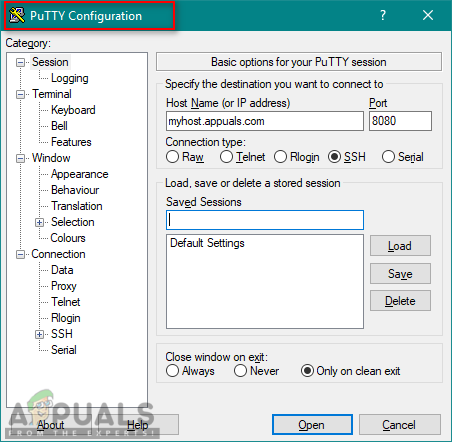
Download Link: PuTTy
TeraTerm: TeraTerm (or Tera Term) is a free open-source terminal emulator program that emulates different types of computer terminals. It supports SSH 1 & 2, Telnet and serial port connections.
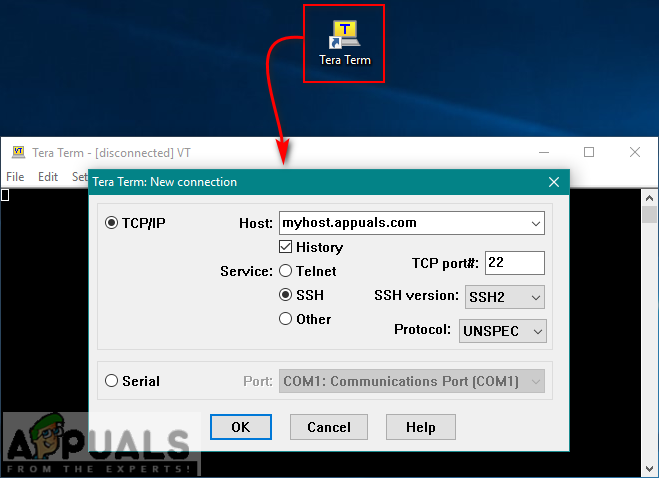
Download Link: TeraTerm
ZOC: ZOC is a powerful and professional SSH, Telnet client and terminal emulator for Windows and macOS. It has some special features like hex view, REXX scripting but its not free.

Download Link: ZOC


