How to Customize Access Denied Message on Windows?
Whenever users try to access files that aren’t allowed to load, the users will get an access denied message with a reason. An administrator can manage the permissions of specific files and applications for other standard users. A standard user account will get an access denied message for unable to access those files or applications. Windows have an additional setting that can let the administrators customize the access denied message for other users. They can also include a link for requesting access to the following files/applications.
We also included the Registry Editor method since Windows Home edition users will not have the Local Group Policy Editor on their systems.

Customizing Access Denied Message
The default access denied message will just hint about why the user can not access the program or folder. However, the owner can further provide additional text and assistance link to the access denied message. By doing this you can let the user know who they should contact and why the access is not allowed in your own words. It also provides additional options for the access denied message that users can use to help the standard users.
The following setting used in the below methods is supported on at least Windows 8, Windows RT, or Windows Server 2012.
Method 1: Customizing Access Denied Message by Using Group Policy Editor
The setting with all the options already available is in the Local Group Policy Editor. Users can just open it and modify the settings according to their needs. The customized message can be written any way the users want it to be. Follow the below steps to configure this setting:
If your system doesn’t have the Local Group Policy Editor, then skip to method 2 directly.
- Open a Run dialog on your system by pressing Windows + R keys together. Type “gpedit.msc” in the Run dialog and press the Enter key to open the Local Group Policy Editor.
Note: Choose the Yes button for UAC (User Account Control) prompt.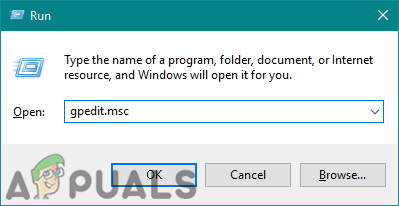
Opening Local Group Policy Editor - In the Local Group Policy Editor, navigate to the following path:
Computer Configuration\ Administrative Templates\ System\ Access-Denied Assistance
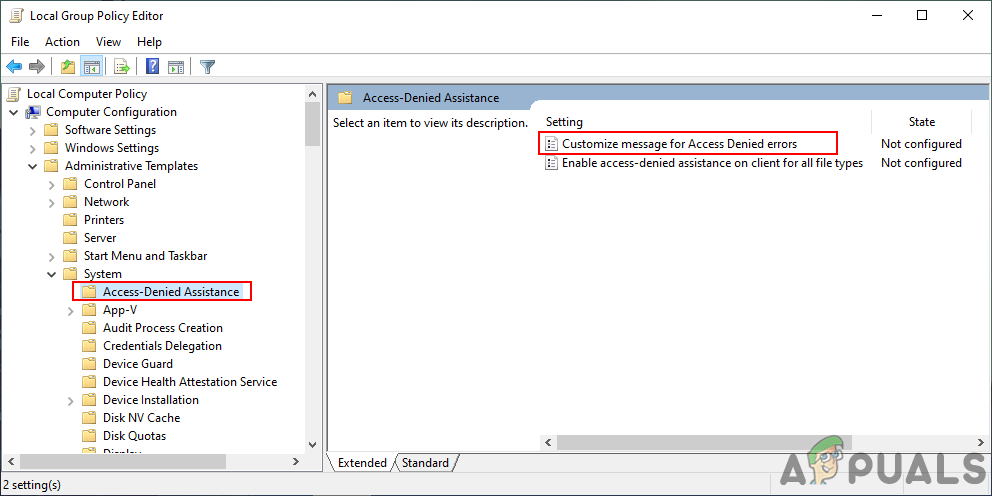
Opening the path - After that, double-click on the “Customize message for Access Denied errors” setting. A new window will open up, modify the toggle from Not Configured to Enabled. Then set the custom message for the users who will get access denied.
Note: You can also enable request assistance to the users that will allow them to send an email to the owner for requesting access. There are also additional settings for the email that the real owner will get. Adjust them according to your needs.
Writing a customized message and modifying other options - Click the Apply/Ok button to apply the changes. As a result, standard users will see the customized message.
Method 2: Customizing Access Denied Message by Using Registry Editor
This customization comes with a number of additional options. All the options were already available in the Local Group Policy Editor; however, they are not already existing in the Registry Editor. Therefore, users need to create each value by themselves to set it up. There are many additional options, so each one will require a specific value and value data for it. Follow the below steps to check it out:
Note: The value data 1 in the following steps is for Enabled/True Value and 0 is for Disabled/False Value. So set the value according to your needs by reading the steps.
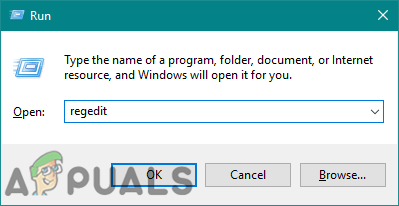
- Hold the Windows key and press R to open a Run dialog. Type “regedit” in the box and press Enter to open Registry Editor. Also, make sure to choose Yes for the User Account Control prompt.
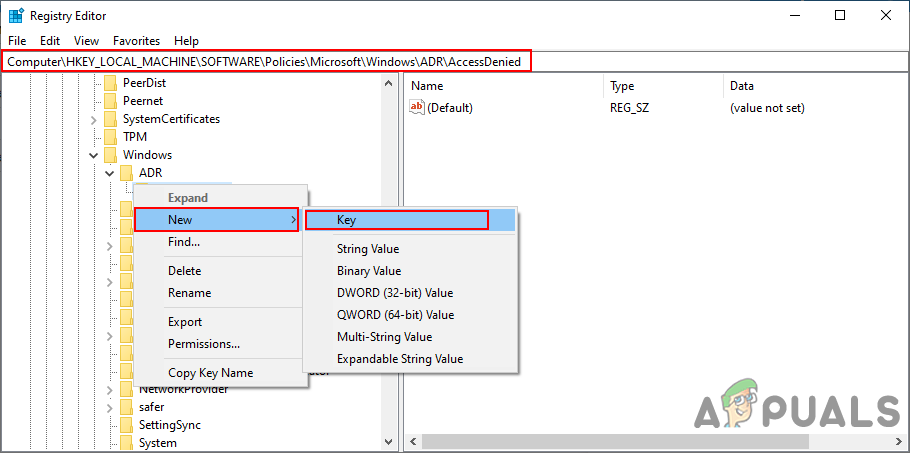
Opening the Registry Editor - Navigate to the following path in the left pane of Registry Editor:
HKEY_LOCAL_MACHINE\SOFTWARE\Policies\Microsoft\Windows\ADR\AccessDenied
- Some of the keys may be missing, so just create it by right-clicking on the key that is available and choosing New > Key option. In our case, “ADR” and then “AccessDenied” were the two keys missing.
Creating the missing keys - The first value that will be required is “Enabled“. You can create it by right-clicking on the right pane and choosing New > DWORD (32-bit Value). Double-click on it, set data value 1 for enable.

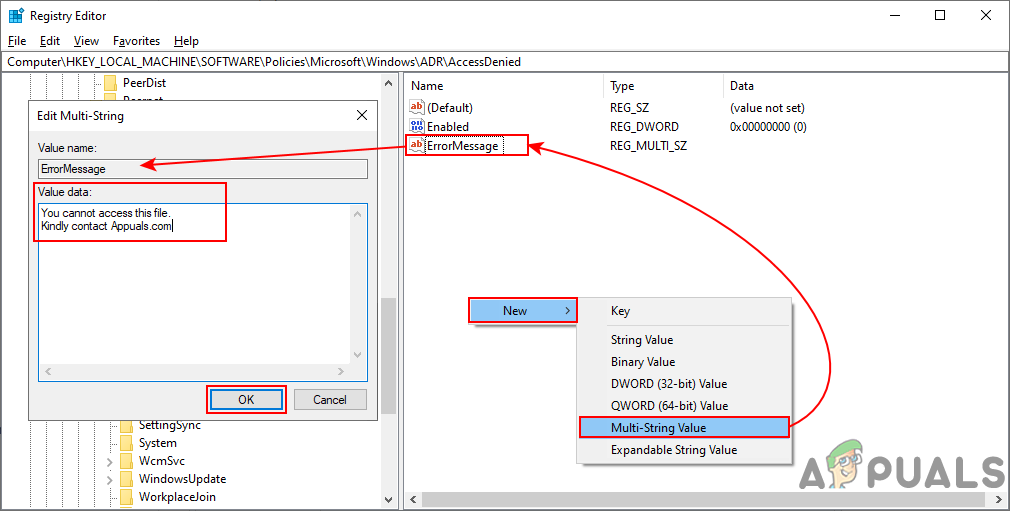
Creating Enabled value - Right-click again to choose New > Multi-String Value and name it “ErrorMessage“. Double-click on it and write your customized message in it.
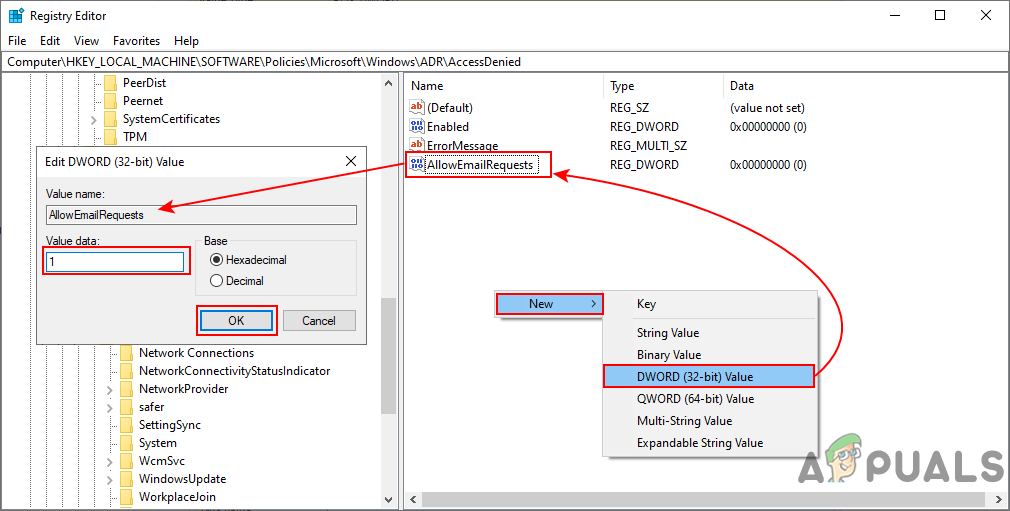
Writing a customized message - To enable request assistance, you can create value by right-clicking on the right pane and choosing New > DWORD (32-bit Value). Name it as “AllowEmailRequests” and change the value data to 1.
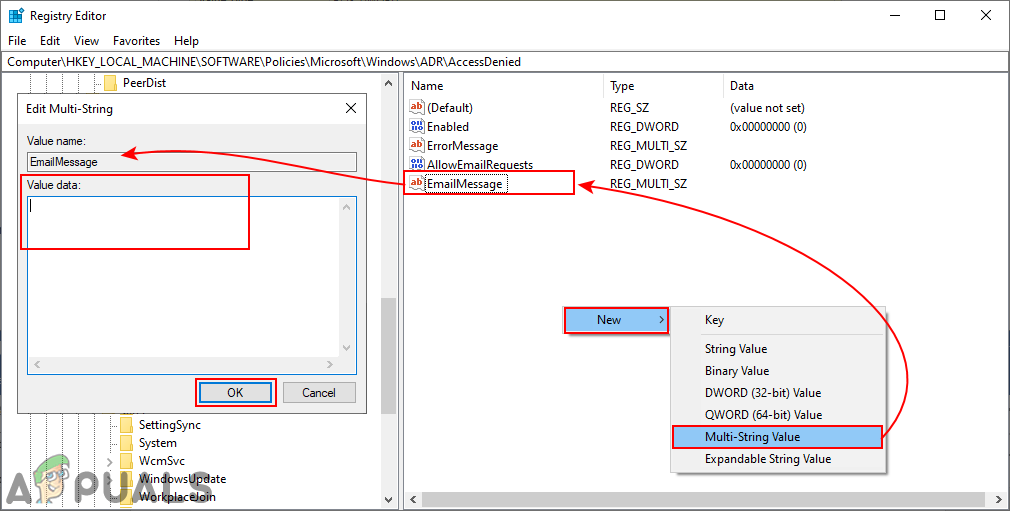
Creating allow email requests value - For adding the text to the end of the email, you can create another value by choosing New > Multi-String Value. Name it as “EmailMessage” and add the text in it as you want.
Value for Email Message - To add email recipients, users can create multiple values. You can create two value by choosing the same New > DWORD (32-bit Value) options. For folder owner, you can name it “PutDataOwnerOnTo” and change the value data to 1. For server administrator name it “PutAdminOnTo” and change value data to 1.

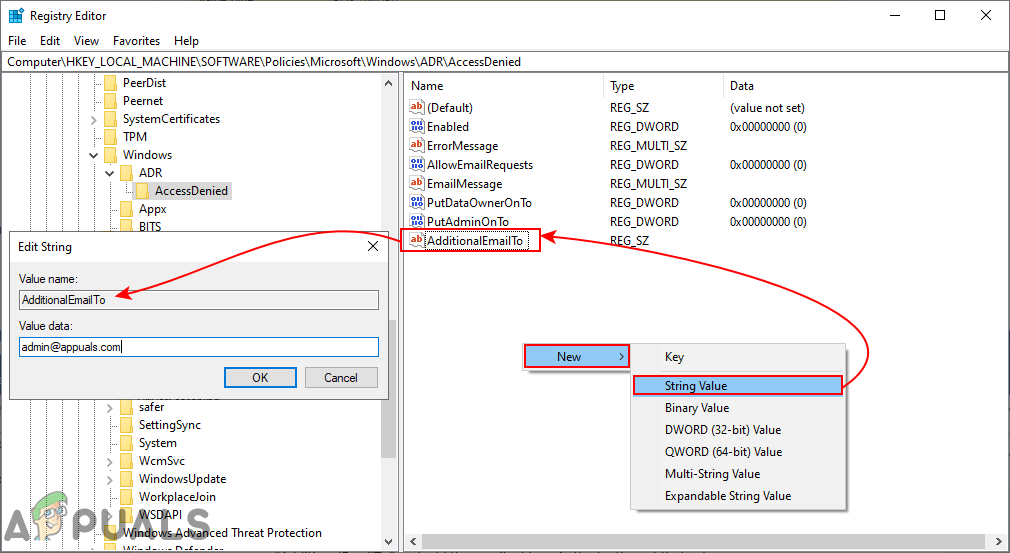
Adding owner and admin as email recipients - For additional recipients, create a string value by choosing New > String Value. Name it as “AdditionalEmailTo” and add the email address in the textbox of that value.
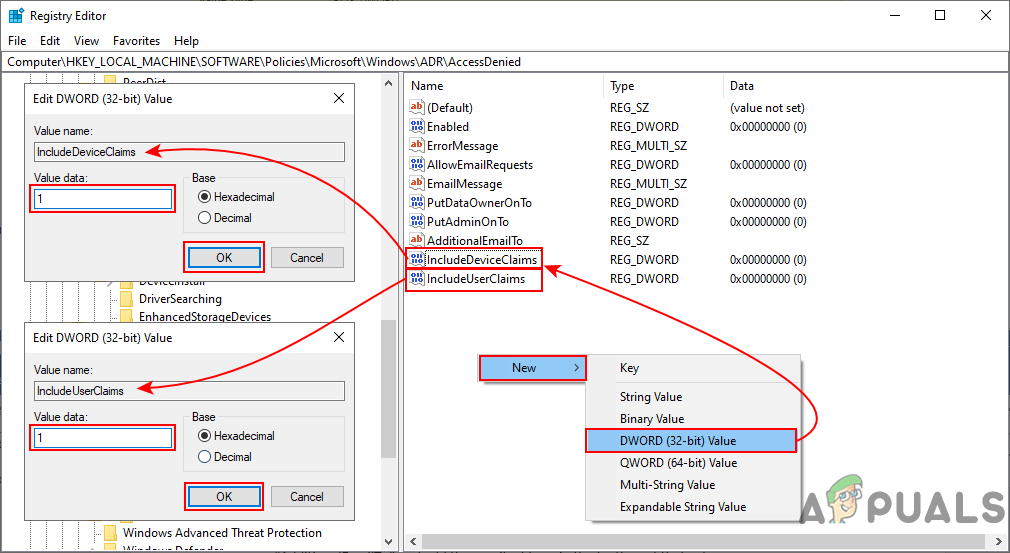
Adding additional email recipients - Further, you can create more values for email settings. You can create two more values by choosing the New > DWORD (32-bit Value) option. For including device claims in email, name the value as “IncludeDeviceClaims” and set value data to 1. For including user claims in email, name the value as “IncludeUserClaims” and set value data to 1.
More value for email settings - Lastly, you can also create value for log emails in the application and services event log. Create it by choosing New > DWORD (32-bit Value) option, name it as “GenerateLog” and set value data to 1.
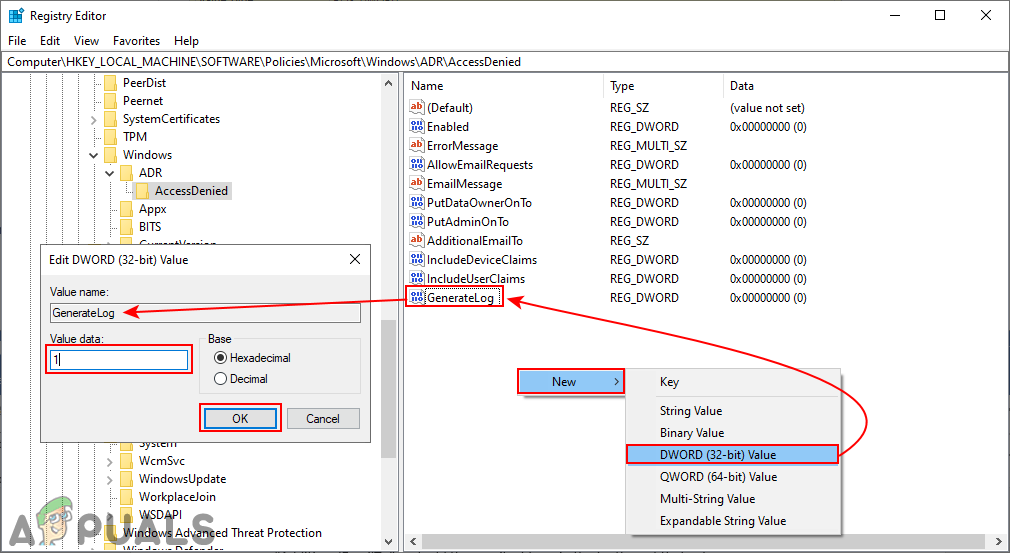
Value for generating log