How to Fix ‘Location is not available’ Error When Accessing Certain Partitions
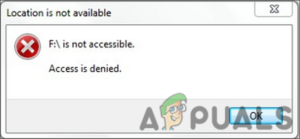
Recently, users have reported that they cannot access certain partitions in drives in their Windows operating system. In some cases, the partition is visible in File Explorer, while users cannot locate it in others.
There can be several reasons behind this issue, such as a corruption error within the drive itself. In this guide, we will walk you through the troubleshooting methods you can try to fix this problem for good. The solutions listed below are according to the causes of the issue, so we recommend you go through them first to see what might result in the error in your case.
1. Run a CHKDSK Scan
The first thing that you should do after running into an error related to the drives is run a CHKDSK scan using the Command Prompt.
During Chkdsk, disk space and disk usage are examined, and a specific status report is provided for each file system. You will find a list of file system errors in the status report, which you can then resolve manually or through the chkdsk utility.
Here is how you can run the CHKDSK scan:
- Type cmd in Windows search and click on Run as administrator.
- Click Yes in the User Account Control prompt.
- Alternatively, you can also launch a Run dialog by pressing Win + R keys.
- Type cmd in the text field of Run and press Ctrl + Shift + Enter to open Command Prompt with administrative privileges.
- Once in the Command Prompt window, type the command mentioned below and hit Enter to execute it. When executing this command, the CHKDSK utility will scan for problems without changing anything.
chkdsk
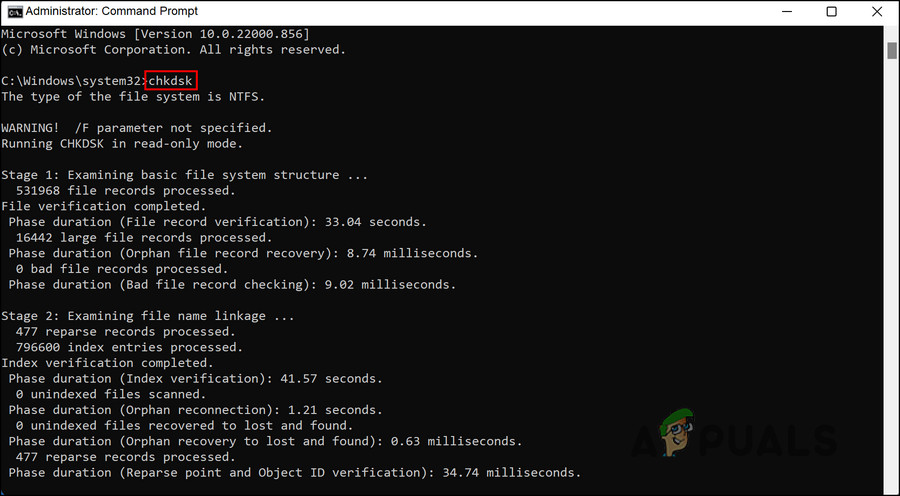
Run the CHKDSK command - If you want to run the CHKDSK scan on a drive other than the C drive, then execute the following command. Replace D with the letter of the targeted drive.
chkdsk D: /f
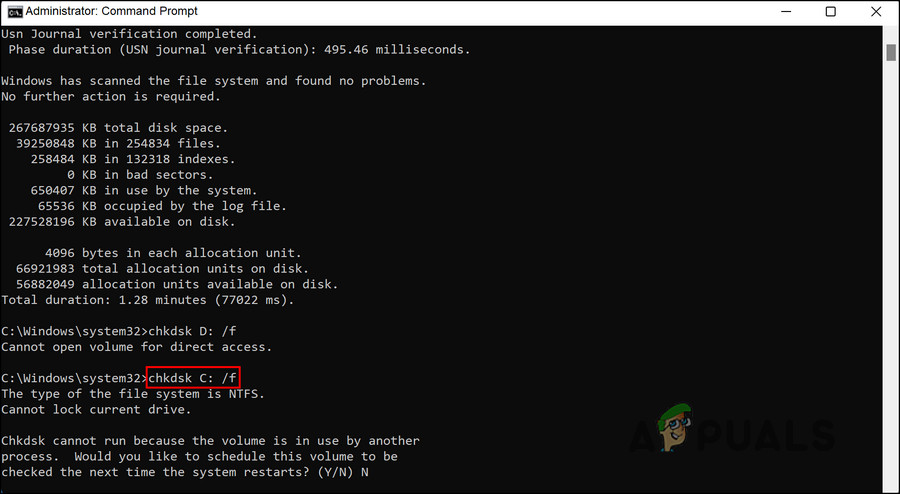
Execute the entered command
Now, wait for the commands to execute and then check the results. You can check for the relevant solutions online if any issues are identified. If no problem is identified with your disk, you can proceed with the next troubleshooting method below.
2. Make Sure You Have Access to the Partition
If you are trying to access the partition of a drive you do not have access to, you can also run into the error.
If this happens, here is how you can give yourself the required access:
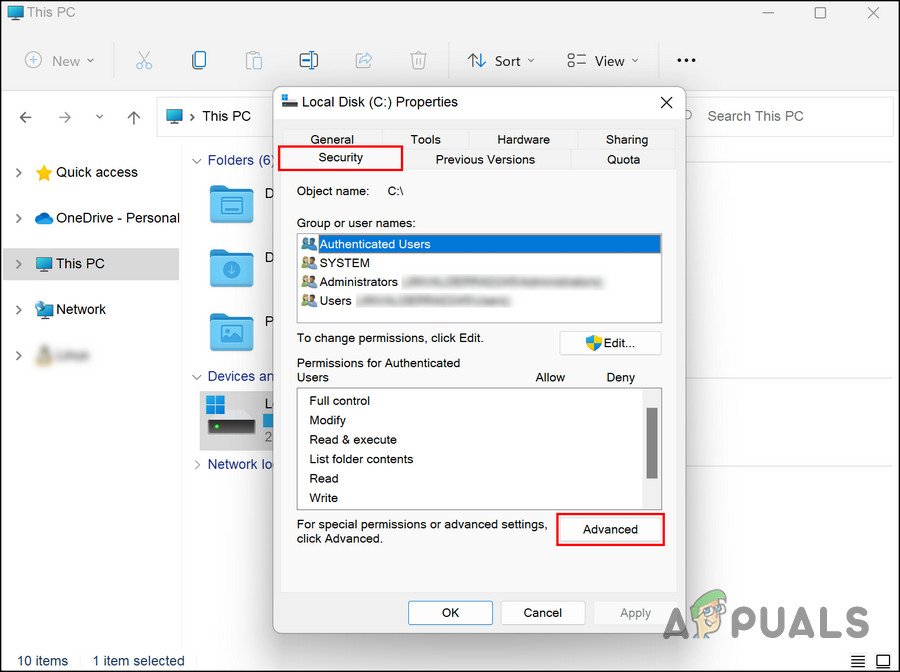
- Right-click on the targeted drive and choose Properties from the context menu.
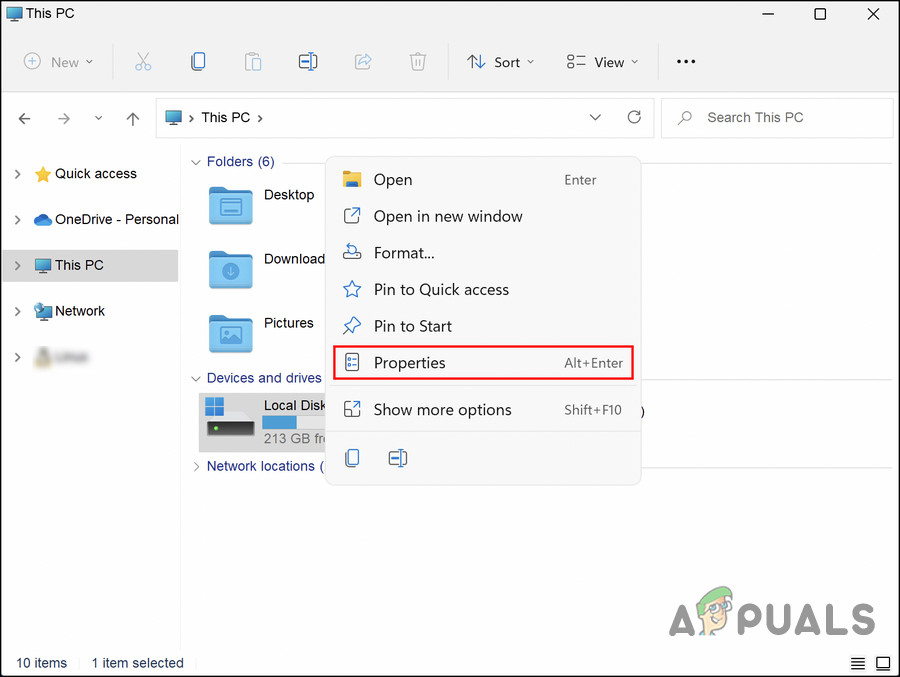
Choose Properties from the context menu - In the following window, head to the Security tab and click on the Advanced button.
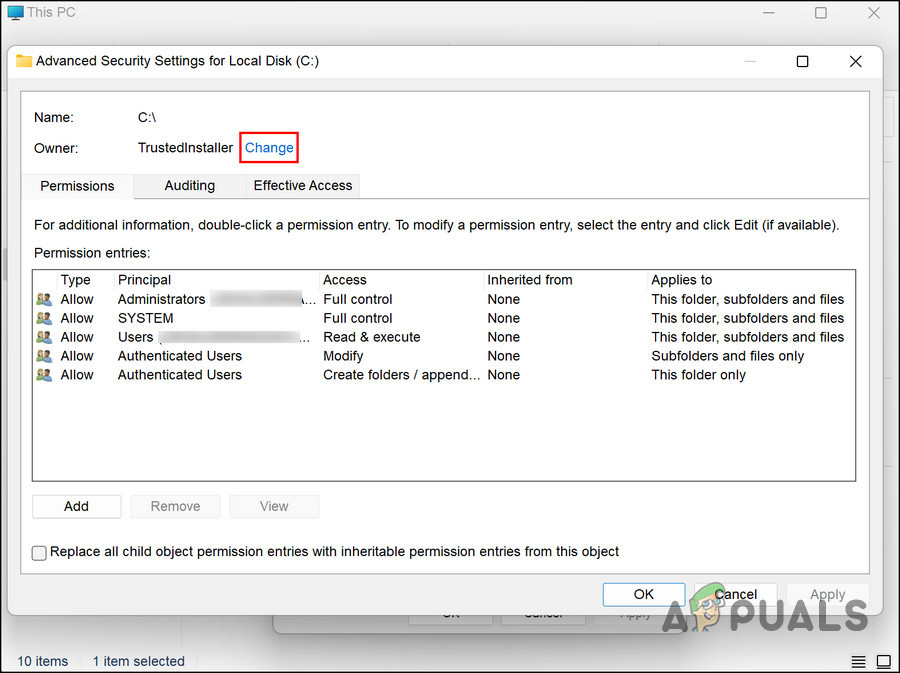
Click on the Advanced button - Next, click on Edit and select the Change hyperlink.
Click on the Change hyperlink - In the Select User or Group dialogue, enter your username and click Check Name > Modify the ownership.
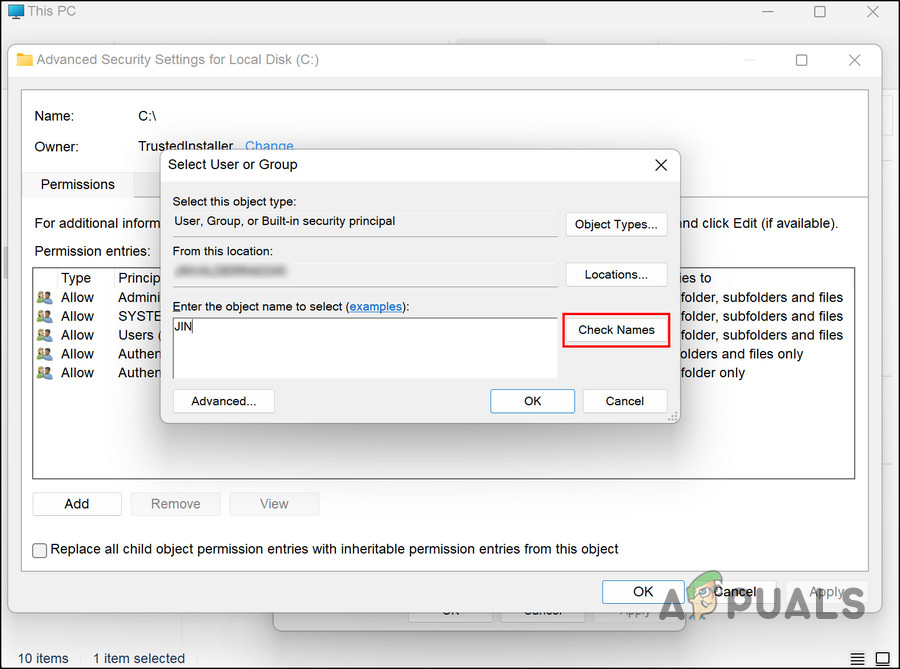
Click on the Check Names button
Once done, check if you can now access the targeted partition successfully.
3. Restore the System to a Previous Point
In Windows, when the system starts to act up, and you cannot find a solution or simply do not have enough time, you can revert the system to a previous point where it was working perfectly fine.
This is done using the System Restore utility, which creates restore points in Windows now and then, especially when performing critical operations like installing a system update. If anything goes wrong, you can pick up a restore point and revert your system to that point within a few clicks.
This method will show you how to use this utility to resolve the problem. Before you proceed, ensure that this feature is enabled on your computer. Otherwise, you will not be able to use it.
Here is all that you need to do:
- Press Win + R to open Run.
- Type control in the text field of Run and hit Enter.
- Select Create a restore point in the Control Panel window.
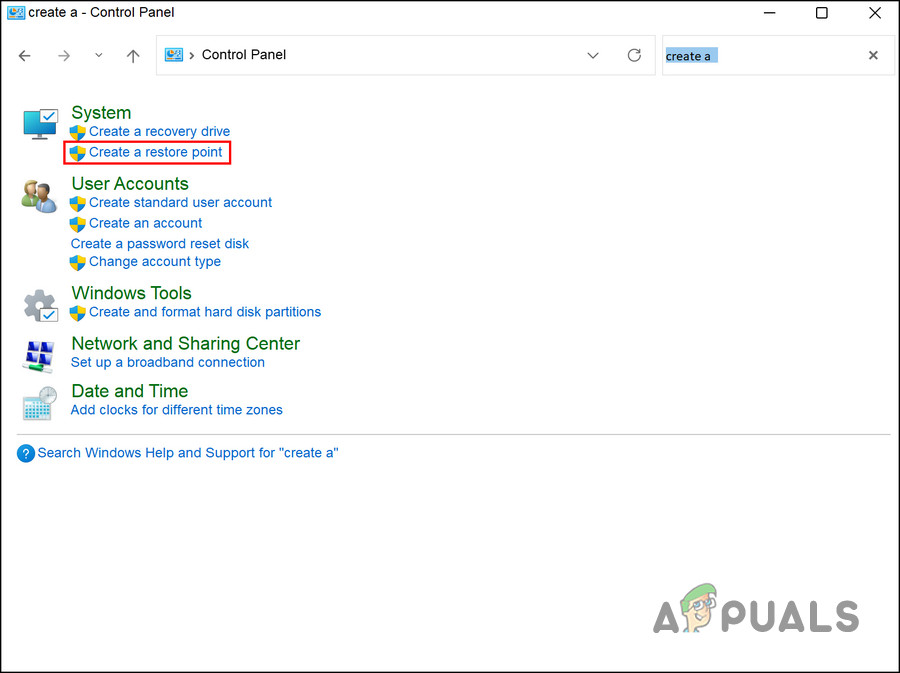
Click on the Create a restore point option - Click on System Restore and then hit Next.
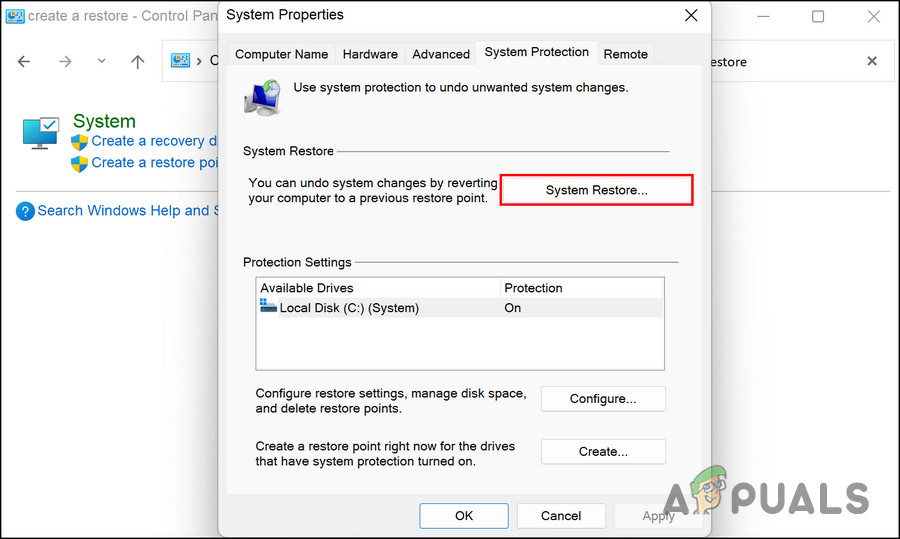
Click on the System Restore button - This window should display a list of restore points created on your system. Click on the most recent one and hit Next.
- Wait for the changes to implement, and then check if you can use the partition now without any problems.
4. Delete the Partition
Another thing that you can do is delete the targeted partition and create a new one. This, however, is only recommended if that partition does not contain any important files, as you may lose them during the process.
If you wish to proceed, here is all that you need to do:
- Type cmd in Windows search and click on Run as administrator.
- Click Yes in the User Account Control prompt.
- Now, type the command mentioned below in the Command Prompt and hit Enter to execute it.
Diskpart.exe
- Next, execute the following commands one by one:
disk management
rescan
- Type list disk and hit Enter. This will list down all the disks available.
- To select a disk, type the command below. Make sure you replace the x with the letter of the targeted disk.
select disk X
- To view its partition, execute the following command:
list partition
- Execute the following command to choose the faulty partition. Replace X with the letter of the targeted partition:
select partition X
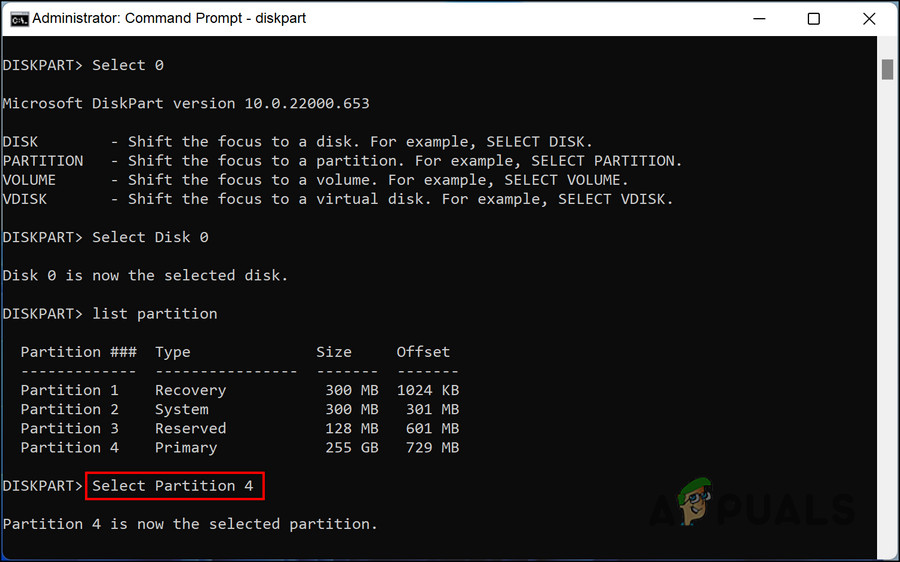
Execute the Select Partition 4 command - Finally, execute the command below to delete the partition:
delete partition override
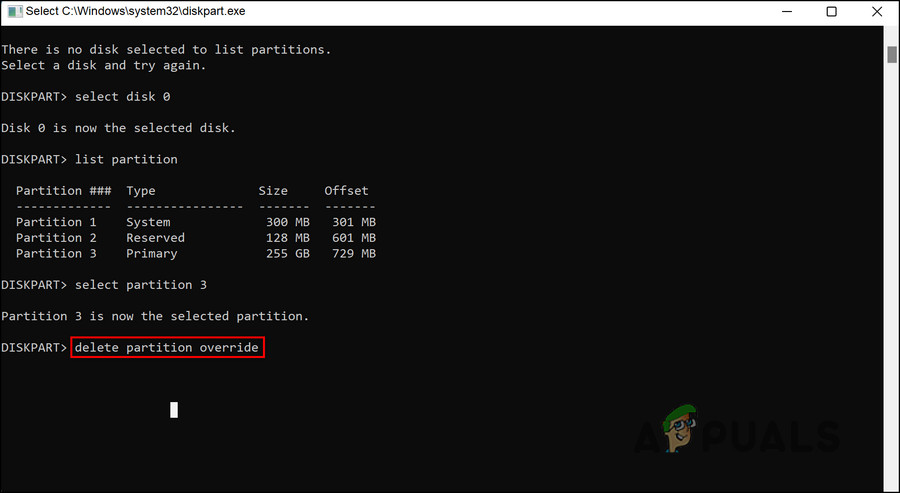
Remove the partition
Once done, restart your PC. You can now create a new partition and check if it works fine.
If the issue persists after following all the suggested troubleshooting methods, we recommend you contact the official Microsoft support team and report the issue to them. They will be able to identify what is causing the problem and then suggest a fix accordingly.


