Troubleshoot Counter-Strike 2 Crashing Issues in Windows
Counter-Strike 2 crashes can occur due to various reasons including, but not limited to, the graphics drivers installed on your system, the interference of third-party programs with the game files, insufficient permissions to run in the Windows environment, and more.
In some instances, the issue can also arise due to any overclocked components on your system, from XMP profiles for your memory to CPU/GPU overclocks. In this article, we will take you through a number of methods that you can use to resolve Counter-Strike 2 crashes on your computer.
1. Disable In-Game Overlays
The first thing you should do when starting to troubleshoot the crashes with Counter-Strike 2 is to disable any third-party in-game overlays. In-game overlays are becoming more common as they allow you to access the programs while playing the game.
However, in order to display the in-game overlay, the third-party applications have to interfere with the game files which can sometimes lead to crashes. This can also be complimented by the fact that Counter-Strike 2 is a new game at the moment and such issues are not unlikely to occur.
As such, you will have to disable any third-party in-game overlays on your system. We will show you how to do this for Discord and GeForce Experience, two very famous programs nowadays. However, if you have any other programs that offer an in-game overlay, ensure to disable them too.
Follow the instructions below to do this.
Discord
- Start by opening the Discord client on your system.
- Click on the settings icon next to your username.
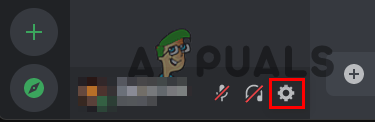
Navigating to Discord Settings - After that, on the left-hand side, switch to the Game Overlay tab.
- There, use the Enable in-game overlay slider to turn it off.

Disabling In-Game Overlay
GeForce Experience
- First, open GeForce Experience on your computer.
- Navigate to the Settings menu by clicking the gear icon in the top-right corner.
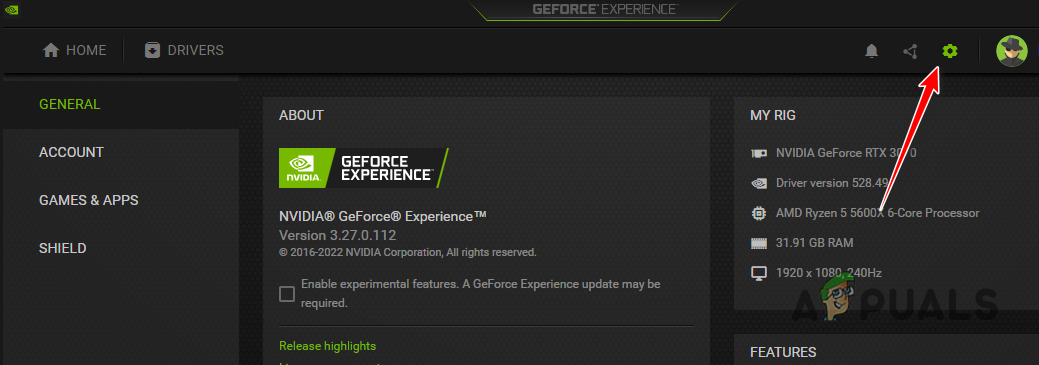
Navigating to GeForce Experience Settings - On the General tab, use the In-Game Overlay slider to turn off the overlay.
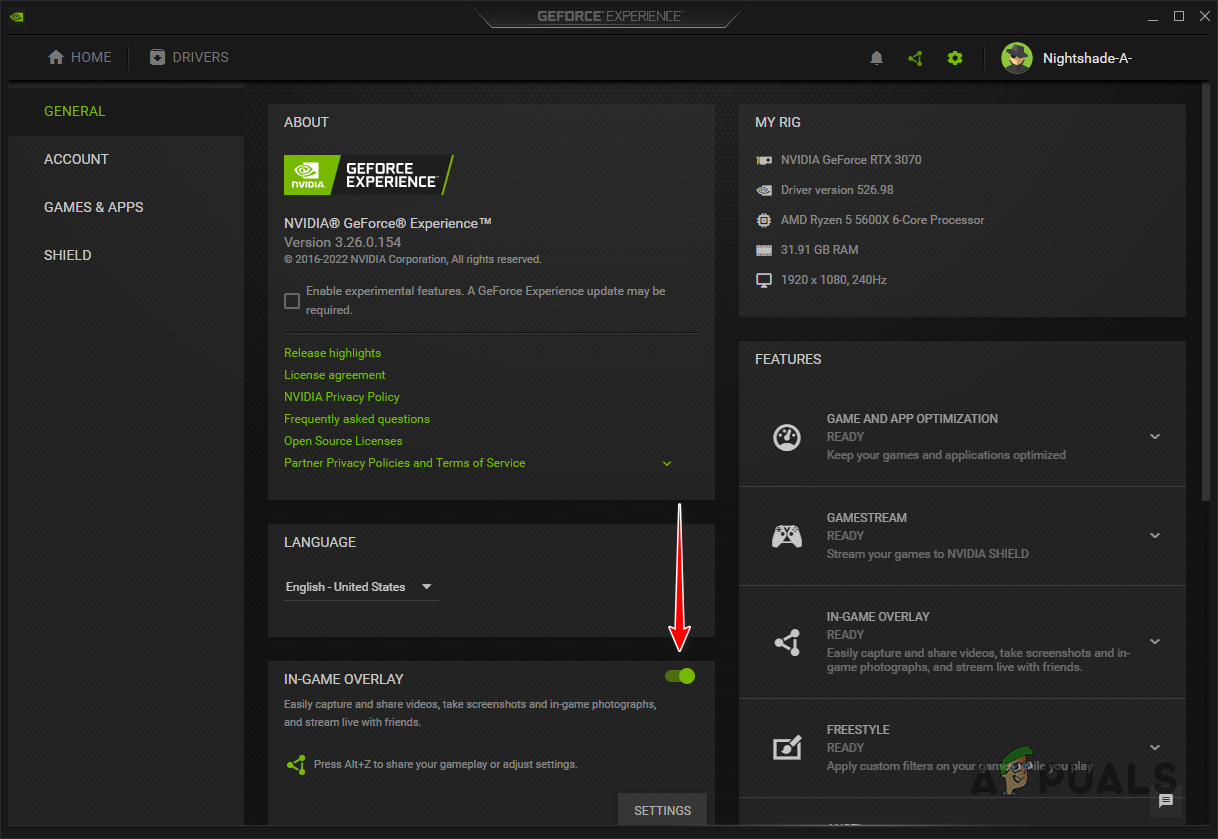
Disabling In-Game Overlay
2. Run the Game as Admin
Another potential cause of the Counter-Strike 2 crashes can be the insufficient permissions of the game process in your Windows environment. This can happen when the process does not have the required permissions to run in your current environment, causing it to crash.
In such a scenario, you can resolve the issue by running the game with administrative privileges. To do this, you will have to run Steam with admin permissions. In addition, you can also change the Counter-Strike 2 executable properties to force it to run with admin privileges every time.
Follow the instructions below to do this:
- First, close Steam on your system.
- Open the Start Menu and search for Steam. Click on the Run as administrator option.
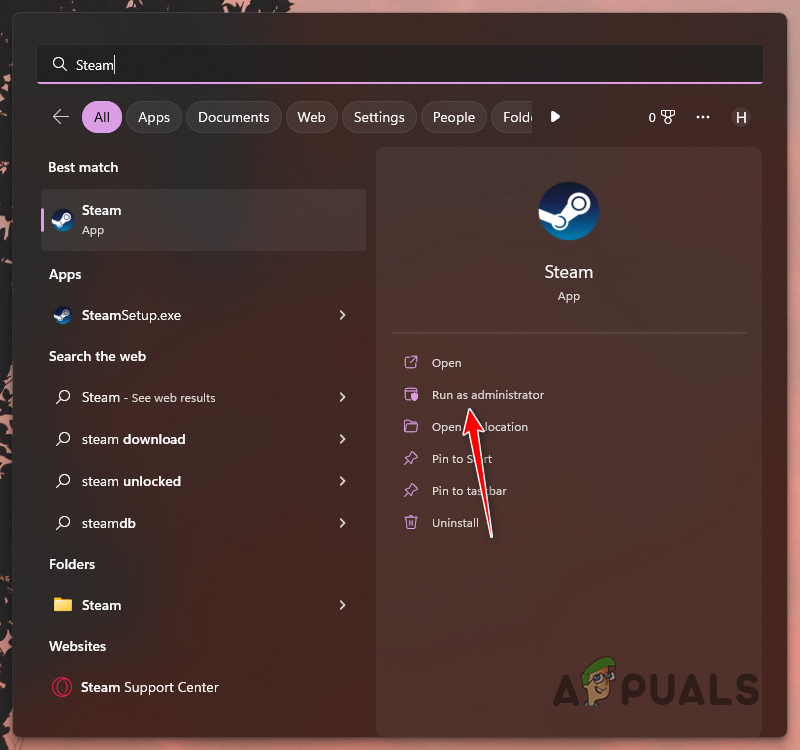
Opening Steam as Admin - After Steam launches, navigate to your Library. Right-click on the game and choose the Manage > Browse Local Files option.
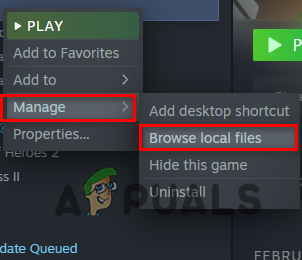
Navigating to the Installation Directory - This will open a File Explorer window in the installation directory of the game. Right-click on cs2.exe and choose Properties from the drop-down menu.
- On the Properties window, navigate to the Compatibility tab.
- There, tick the Run as an administrator checkbox.
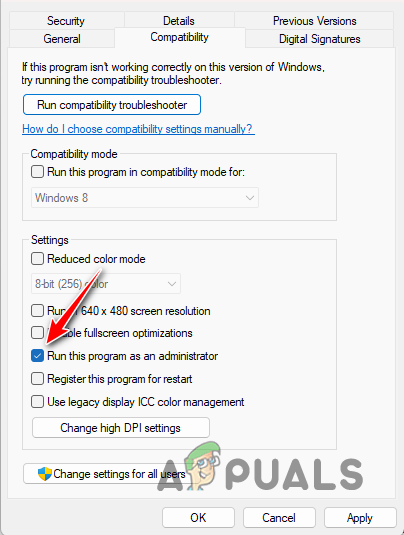
Running Game as Admin - Click Apply and hit OK.
- Finally, open the game via Steam to see if the issue persists.
3. Update Graphics Drivers
In some scenarios, the crashes can be caused by the graphics drivers installed on your computer. This happens when the drivers are either obsolete or damaged due to a recent update. If this case is applicable, you will have to update the graphics drivers on your computer.
Graphics drivers play a vital role especially when it comes to gaming on your computer. This is because the drivers are used to communicate with the graphics card installed on your motherboard. To update your graphics drivers, you will have to completely uninstall them using the Display Driver Uninstaller (DDU) utility.
Follow the instructions below to do this:
- First, download the latest version of DDU from the official website here.
- Extract the downloaded file to any location on your computer.
- After that, navigate to the extracted folder and open the Display Driver Uninstaller.exe file.
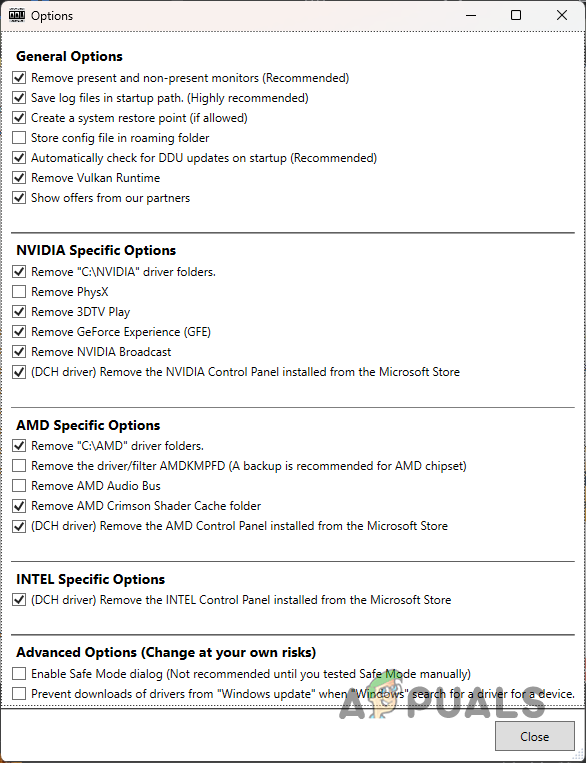
- Once DDU launches, you will be shown the General Options window. Click on the Continue option to proceed.
DDU General Options - Choose GPU from the Select device type drop-down menu.
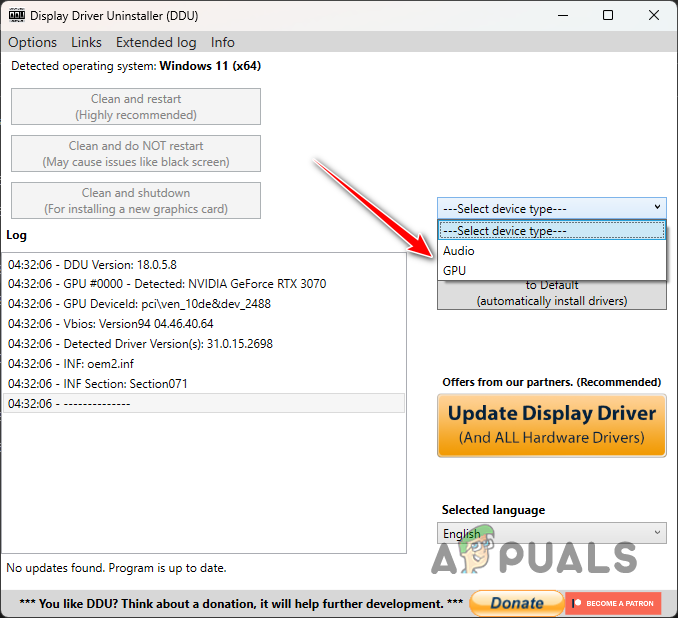
Selecting Device Type - Follow this up by selecting your graphics card’s manufacturer from the Select device drop-down menu.
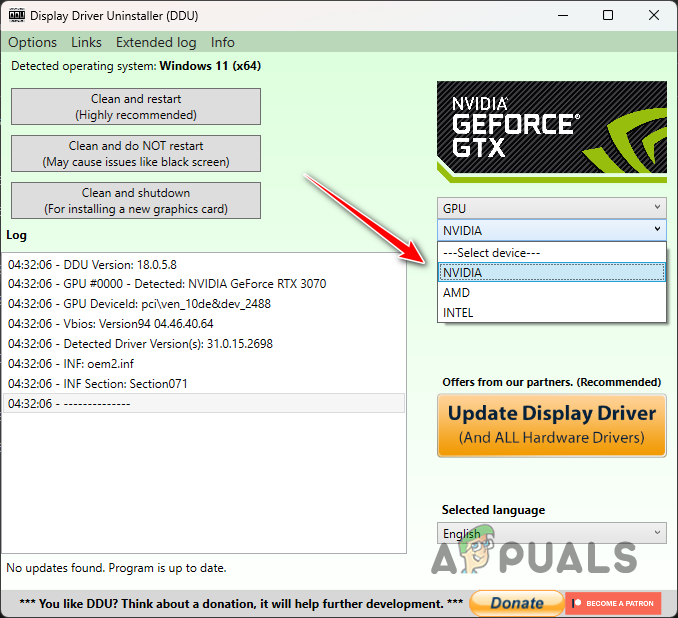
Selecting Graphics Card Brand - Finally, click the Clean and restart option to uninstall your graphics drivers.
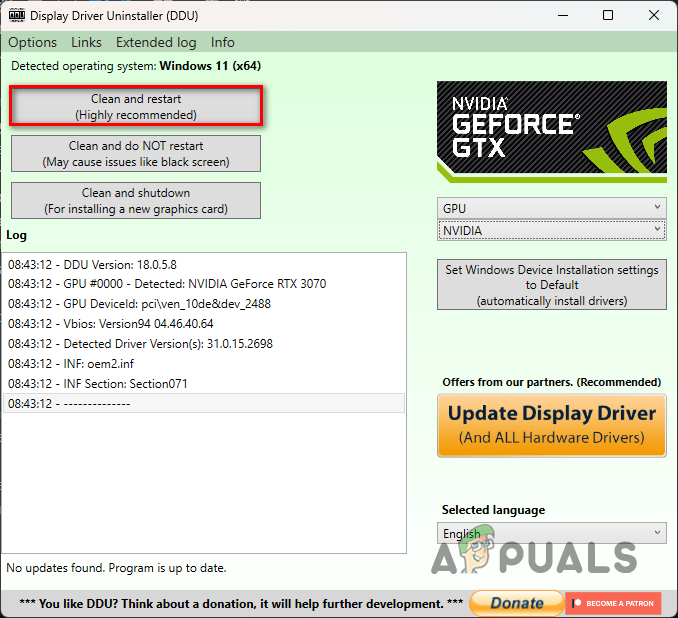
Uninstalling Graphics Drivers - After your PC boots, navigate to your graphics card’s manufacturer’s website and download the latest version of drivers available.
- Install the latest drivers on your computer.
- Once you do that, open Counter-Strike 2 to see if the issue persists.
4. Repair Game Files
The game files on your computer can also be another cause of the crashes. This happens when you are either missing specific game files or the game files have been damaged. In such a scenario, you will need to repair the game files to fix the issue.
This can be done via the Verify integrity of game files feature on Steam. This allows Steam to scan the game files on your computer and download any missing game files or repair damaged and corrupted files, if any.
To do this, follow the instructions below:
- First, open the Steam client on your computer.
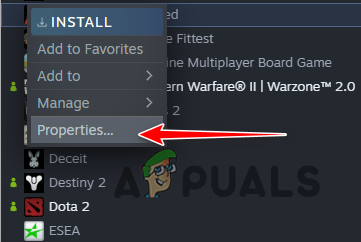
- Navigate to the Library and right-click on the game. Choose Properties from the drop-down menu.
Navigating to Game Properties - On the Properties window, navigate to the Local Files tab.
- There, click on the Verify integrity of game files option.

Verifying the Integrity of Game Files - Wait for the game files to be scanned and repaired.
- Once it is done, open the game to see if the crashes persist.
5. Perform a Clean Boot
The interference of third-party programs running in the background is a common cause of game crashes. In most cases, there are background services of the various programs installed on your computer. These services can sometimes interfere with the game process which can cause it to crash.
A common culprit, in this scenario, can be the third-party security program running on your system. However, there can be other programs in the background which can result in a similar issue. In such a scenario, you will have to perform a clean boot.
Clean boot allows you to start the computer with only the required Windows services running in the background. If the game runs fine in a clean boot, it will be evident that the issue is caused by a third-party program.
If this case is applicable, you can enable the services one by one to find the culprit. Follow the instructions below to perform a clean boot:
- First, open the Run dialog box by pressing the Windows key + R on your keyboard.
- In the Run dialog box, type in msconfig and hit Enter.
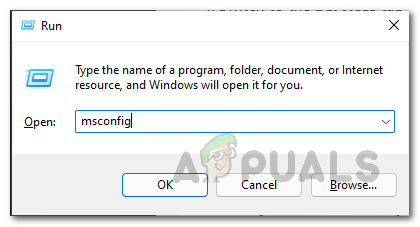
Opening System Configuration - This will open a System Configuration window.
- Switch to the Services tab and tick the Hide all Microsoft services checkbox.
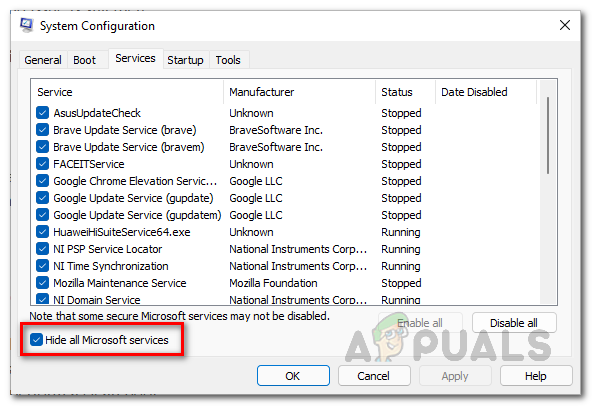
Hiding Microsoft Services - After that, click on the Disable all button and hit Apply.
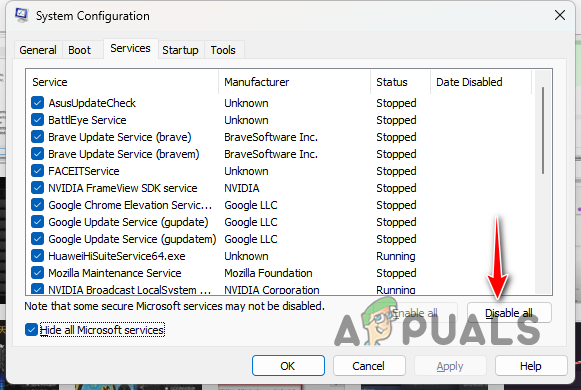
Disabling Third-Party Services - Once you do that, switch to the Startup tab. There, click on the Open Task Manager option.
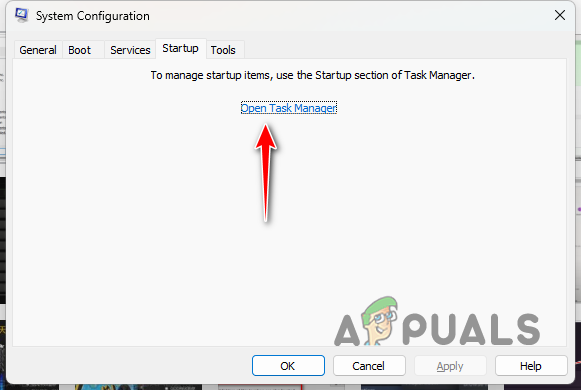
System Configuration Startup Tab - On the Task Manager window, select the programs one by one and click Disable.
Disabling Third-Party Apps on Startup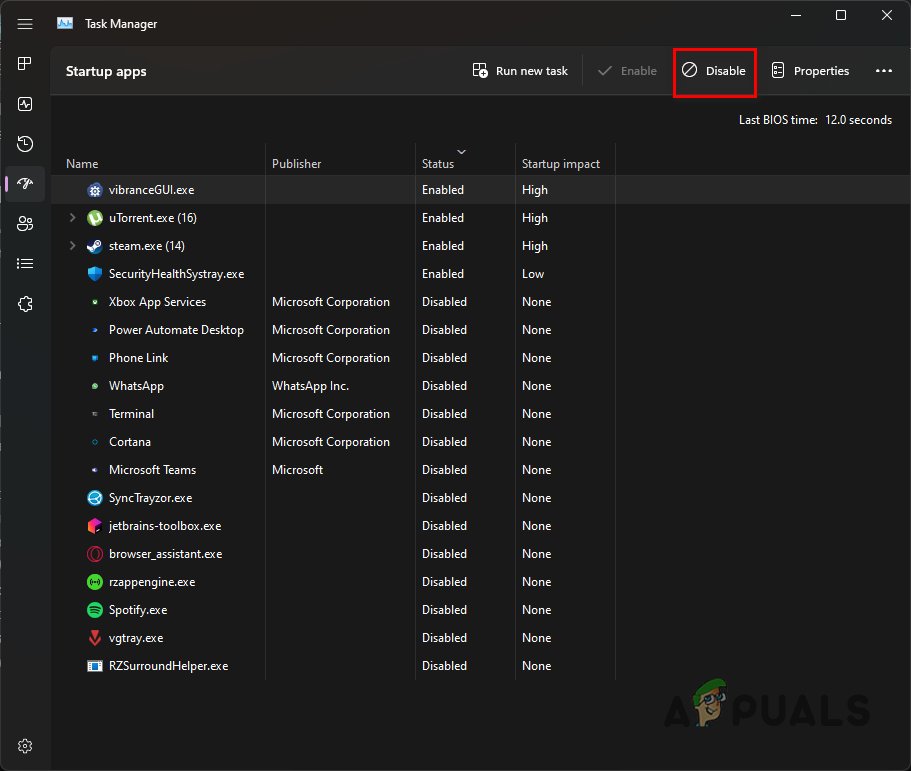
- Finally, restart your computer.
- After your PC boots up, open Steam and play the game. See if the issue occurs.
6. Remove Overclocks
Overclocking can be very beneficial when it is done correctly. This is because it allows you to take advantage of the dormant performance of your hardware, resulting in the better overall performance of your computer. However, there are some instances where overclocking can lead you to a disadvantage.
This happens when specific games crash due to the overclocked components. This scenario is quite typical and it can occur every now and then, especially with newer games. Therefore, if you have overclocked any components on your computer, we recommend removing the overclock to see if that resolves the issue.
This includes the overclocking profile you have enabled in your BIOS for the system memory.


