[FIX] Could not Reconnect All Network Drives
Mapped drives are something really convenient as it lets you use drives across a network. When you map the drives, an option is provided known as Reconnect at sign-in that saves you from the trouble of mapping the drives every time you log in. What it does is it maps the drives automatically at startup. Normally, you would think this is a great neat little feature that saves you time, however, there are cases where it becomes a nuisance.
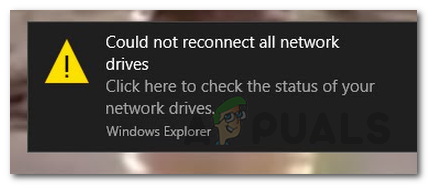
The error message Could not reconnect all network drives that appear whenever you power on your system. Why is this caused? It seems to be due to two main reasons. First, the mapped drives are not available which means that might be failing or have been disconnected. Secondly, the problem is that when your Windows 10 sign-ins, there is a slight delay before the network is available. However, the system tries to map the drives before the network is available which as a result causes the issue.
As it turns out, there are multiple ways that you can actually solve this problem. There are scripts that actually resolve the issue for you and all you have to do it is make them during startup. For this, you can either use the startup folder or use the Task Scheduler feature. So, without any further delay, let us get started.
Method 1: Make Windows wait for Network
Like we have mentioned, the problem seems to occur when the system attempts to map the network drives before it is even available. Therefore, the first thing that you should do is make the Windows wait for the network before it tries to map the drives. For this, we will have to change the local group policy a bit.
Follow the instructions below to do so:
- First of all, press the Windows key + R to open up the Run dialog box.
- Then, type gpedit.msc and press Enter. This will bring up the Local Group Policy Editor.
- In the Local Group Policy Editor, make your way to the following location:
Computer Configuration > Administrative Templates > System > Logon
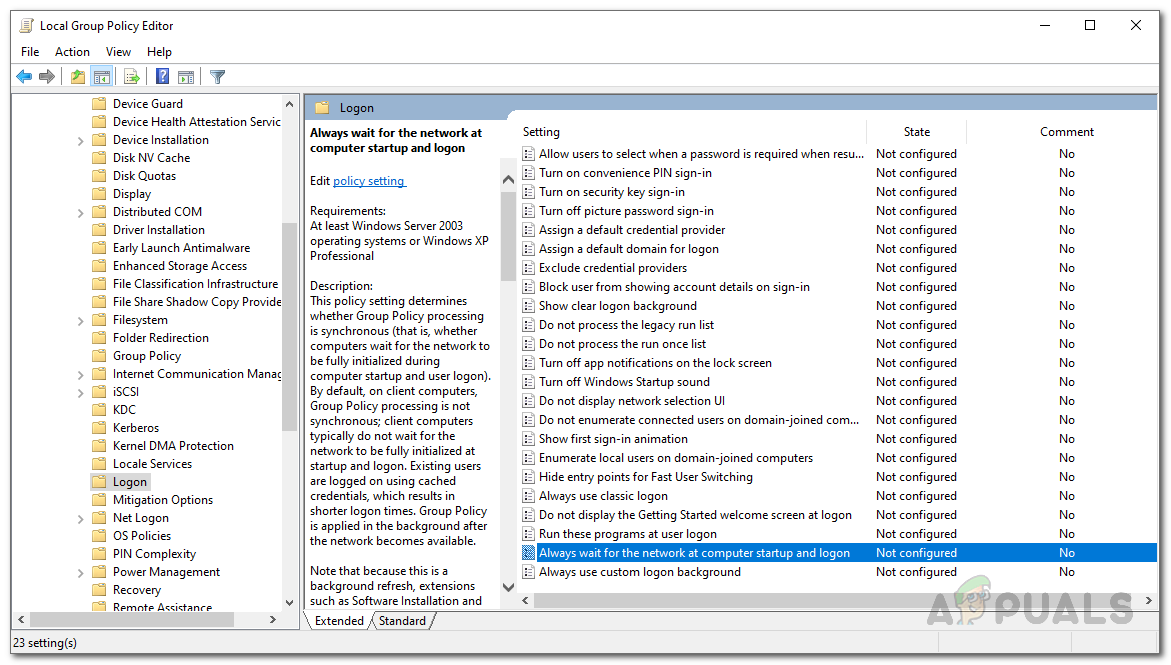
GPEDIT Logon - After that, on the right-hand side, find the Always wait for the network at computer startup and logon policy. Double-click on it to edit it.
- Select Enabled and then hit Apply. Finally, click OK.
- Reboot your system to save the changes and see if the problem persists.
Method 2: Using Scripts at Start-Up
If the above method does not fix the issue for you, you can create scripts that will run at startup to map the drives for you and resolve the issue. We’ll provide scripts both for the Command Prompt or Powershell. You need to have both as the cmd script refers to the Powershell script.
Command Prompt
Follow the below instructions to create the script for command prompt:
- First of all, open up Notepad.
- Then, copy and paste the script provided below in the text file.
PowerShell -Command "Set-ExecutionPolicy -Scope CurrentUser Unrestricted" >> "%TEMP%\StartupLog.txt" 2>&1

PowerShell -File "%SystemDrive%\Scripts\MapDrives.ps1" >> "%TEMP%\StartupLog.txt" 2>&1
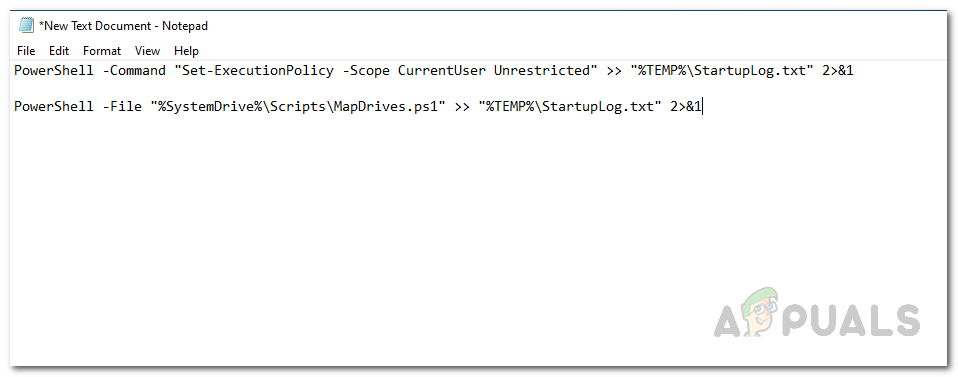
- Save this file as cmd anywhere you like.
Powershell
For the Powershell script, follow the instructions below:
- Open up Notepad once again.
- Now, copy the following script and paste it in the newly created notepad file:
   $i=3

    while($True){

    $error.clear()

    $MappedDrives = Get-SmbMapping |where -property Status -Value Unavailable -EQ | select LocalPath,RemotePath

    foreach( $MappedDrive in $MappedDrives)

    {

        try {

            New-SmbMapping -LocalPath $MappedDrive.LocalPath -RemotePath $MappedDrive.RemotePath -Persistent $True

        } catch {

            Write-Host "There was an error mapping $MappedDrive.RemotePath to $MappedDrive.LocalPath"

        }

    }

    $i = $i - 1

    if($error.Count -eq 0 -Or $i -eq 0) {break}

    Start-Sleep -Seconds 30

} 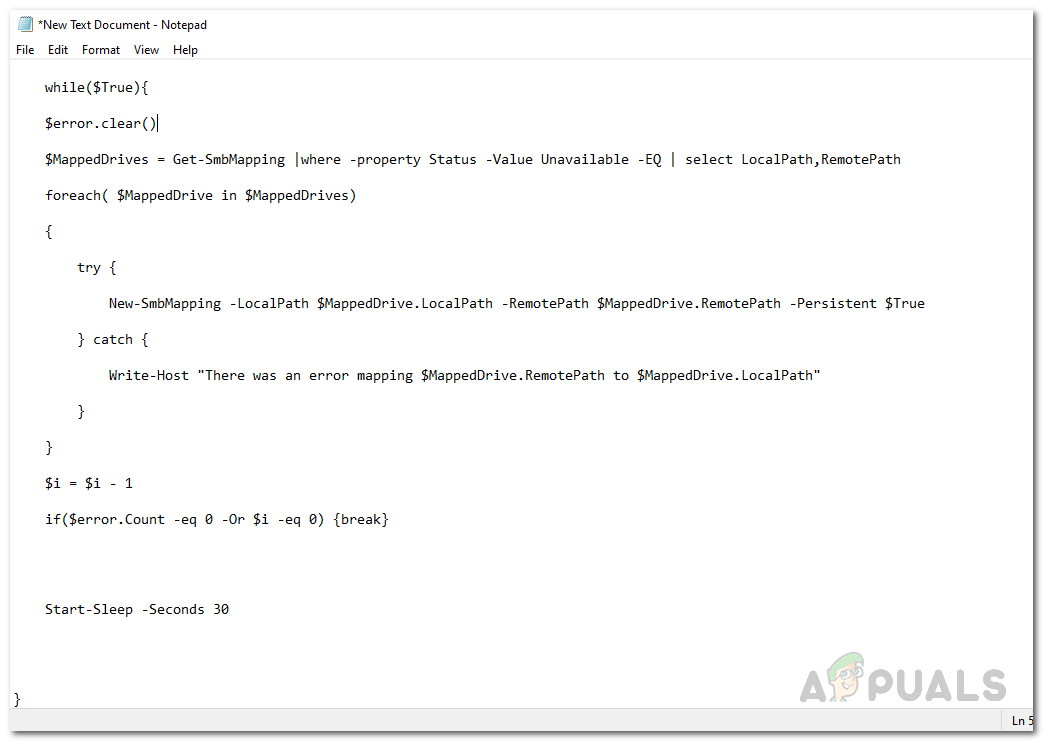
- Save this file as MapDrives.ps1. It is important that you use the name provided.
Now that we have created the scripts, you can use the StartUp folder to keep your network drives connected. This will run the script on StartUp so you won’t have to worry about the error or anything. Follow the instructions below to do so:
- Open up the File Explorer and navigate to the following path: %ProgramData%\Microsoft\Windows\Start Menu\Programs\StartUp
- Once you are in the StartUp folder, copy the cmd script that you created to this folder.

StartUp Folder - After that, go to your system drive and create a folder called Scripts.
- Once you have created the folder, paste the Powershell script in there.
- Finally, reboot your system and you should be able to see the mapped drives without any issues.
Method 3: Using Task Scheduler
If you do not want to use the StartUp folder, you have an alternative to use the Task Scheduler. Here, you will have to schedule a task that will run on startup which will basically execute the scripts that we have created already. To do this, follow the instructions below:
- First of all, you have to create a Scripts folder in your system and paste the Powershell script there.
- After that, open up Task Scheduler by searching for it in the Start menu.
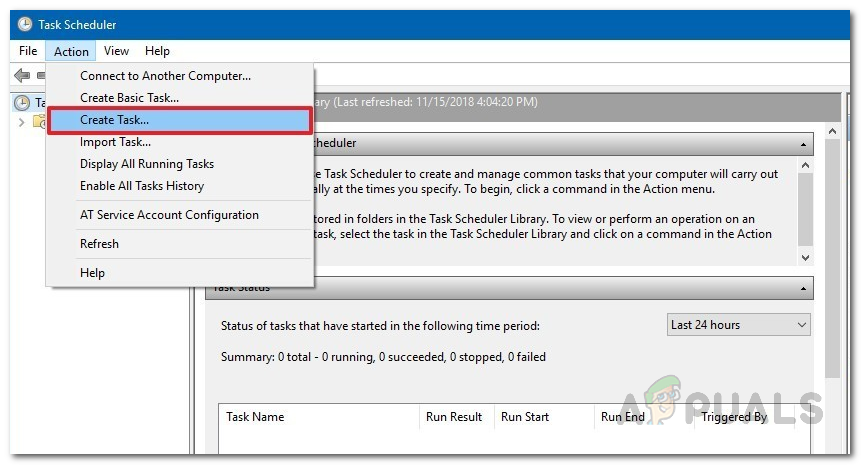
- Once you have launched the Task Scheduler, you will have to create a task. To do so, click on the Action drop-down menu and then click the Create Task option.
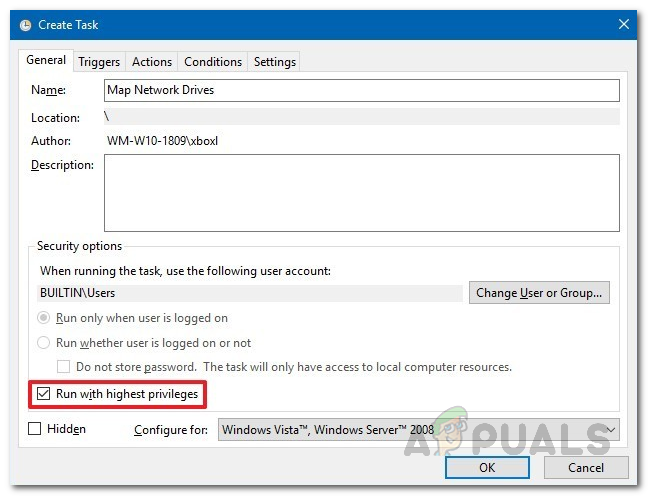
Task Scheduler - In the General tab, give the task a name such as Script for Mapping Drives or anything you like.
- After that, click on the Change User or Group button. On the new window, you have to select a local group or a user. Once done, click the OK button.
- Once you have done, check the Run with highest privileges option.
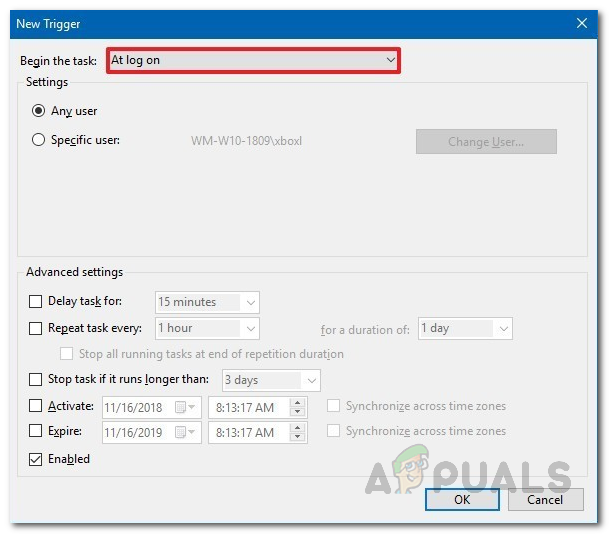
Creating Task - Now, click on the Triggers tab and then hit the New button.
- For the Begin the task option, choose the At log on option from the drop-down menu. After that, click on the OK button.
Task Trigger - Now, switch to the Actions tab and then hit the New button again.
- Select Start a program from the Action drop-down menu and then type Powershell.exe for the Program/script box.
- Enter the following commands for the Add arguments box:
-windowsstyle hidden -command .\MapDrives.ps1 >> %TEMP%\StartupLog.txt 2>&1
- For Start in, you have to type the location of the PowerShell script that we created. Enter the following location:
%SystemDrive%\Scripts\
- Click the OK button to close the New Action window.
- Now, once you have done that, switch to the Conditions tab.
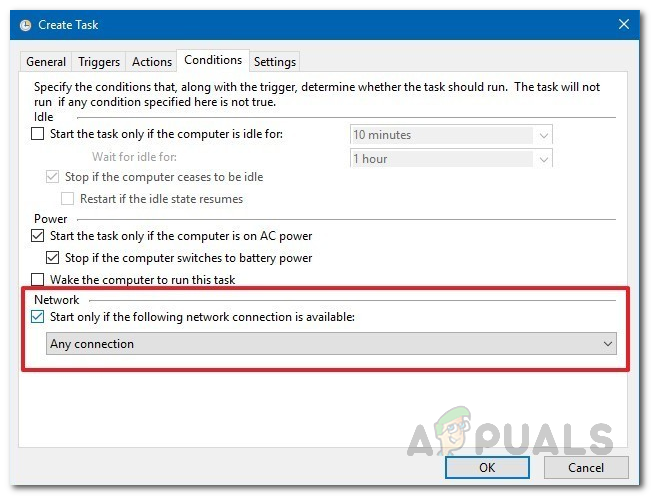
Task Conditions - Under Network, make sure the Start only if the following network connection is available option is checked.
- From the drop-down menu, select the Any connection option and then click the OK button.
Method 4: Install the KB4469342 Update
Another way of fixing the error would be to install the patch that has been released by Windows to. Your system might be lacking the said update which is causing the issue. To install the update, do the following:
- Make your way to the Windows Update Catalog.
- Search for the KB4469342 update and then download the update for your system.
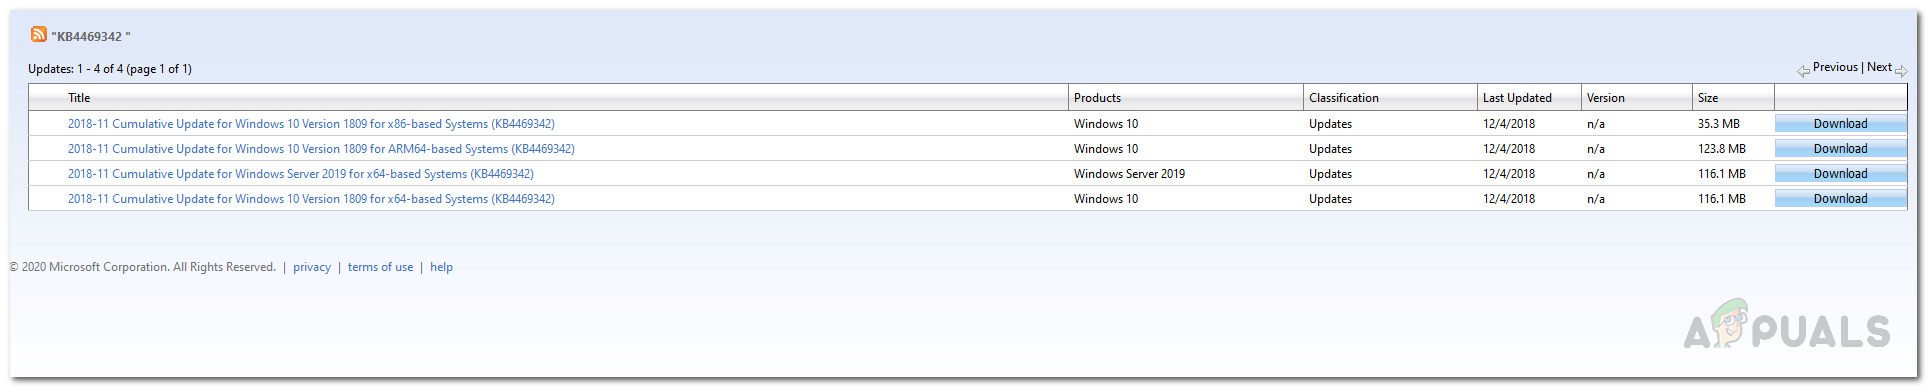
Windows Update Catalog - Once downloaded, run the update to install it.
- Finally, reboot your system to see if the issue has been fixed.


