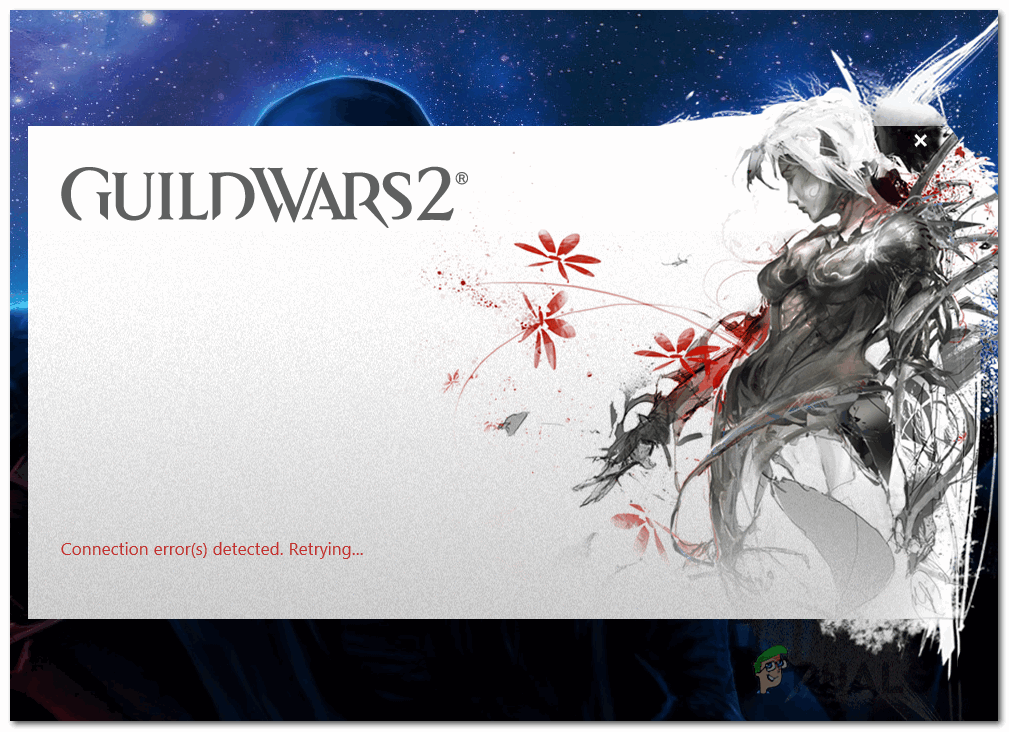
How to Fix ‘Connection Error Detected’ in Guild Wars 2
The ‘Connection Error Detected‘ issue is encountered by Windows users whenever they try to open the Guild Wars launcher in normal mode or in repair mode. The problem is confirmed to appear on Windows 7, Windows 8.1, and Windows 10.
After investigating the issue thoroughly, it turns out that there are several different causes that might end up causing this issue:
- Guild Wars 2 Installer is blocked – If you downloaded a modified version of Guild Wars 2, chances are the main executable is blocked so Windows refuses to grant it full permissions. If you see this error while trying to install the game, proceed by seeing if the executable is actually blocked (and if it is, unblock it).
- Ports 80 and 443 are blocked – This game mainly relies on 2 main ports to communicate with the mega server. Unless these two are open, you can expect to see this error at every attempt to retrieve the newest game version. In this case, you can fix the issue by enabling UPnP or by forwarding the 2 required ports manually.
- Firewall interference – However, these same two ports (80 and 443) can be actually blocked by your firewall solution. If this scenario is applicable, you can establish whitelisting rules specifically for these 2 ports or uninstall the problematic 3rd party suite.
- DNS Inconsistency – As some affected users have confirmed, this problem can also be facilitated by an inconsistency originating in your DNS (Domain Name System). In this case, you can fix the problem either by flushing the current DNS or making the switch to Google’s DNS.
- Corrupted game cache – Under certain circumstances, this problem can also occur due to some type of corrupted data that found it’s way inside the cache folder of Guild Wars 2. In this case, you can navigate to this folder using File Explorer and clear its contents to fix the problem.
Method 1: Unblocking the Guild Wars 2 installer
As it turns out, you might expect to see this error if you’re trying to install an older version of Guild Wars 2 that was downloaded from a 3rd party source (not from the official download page). If this scenario is applicable, chances are the problem occurs due to the fact that the installation file (Gw2Setup.exe) is blocked by default, so the process cannot complete successfully.
Some affected users facing the same problem have confirmed that the issue was resolved after they renamed the setup file, then went into the Properties menu and unblock the file.
If you’re not sure on how to do this, follow the instructions below:
- Open File Explorer and navigate to the location where you’re currently holding the Gw2Setup.exe.
- Once you’re there, right-click on the executable, choose Rename, and name the file Gw2.exe.
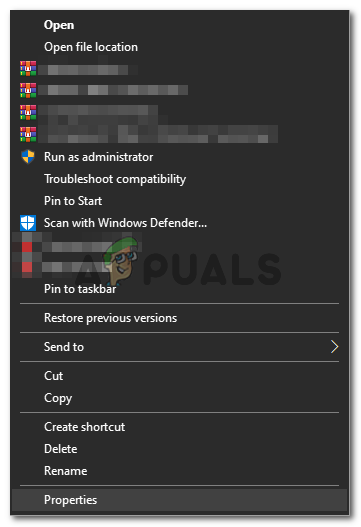
- After the file is successfully renamed, right-click on the file once again, then choose Properties from the context menu.
Right-clicking and selecting “Properties”. - Once you’re inside the Properties screen, click on the General tab from the horizontal menu at the top.
- Next, go to the Security section, then click on the Unblock button the unblock the executable.
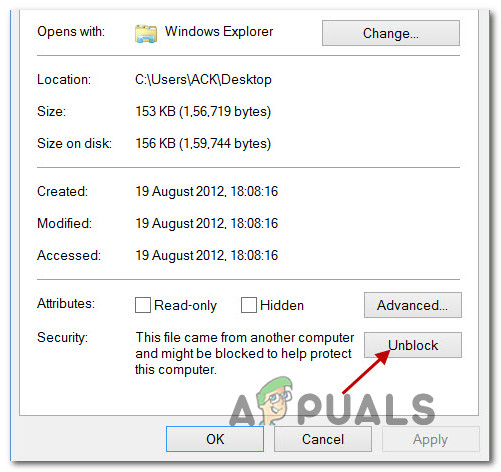
Unblocking the file - Click Apply to save the changes, then launch the installer again and see if you can install & launch the game without encountering the same ‘Connection Error Detected‘ issue.
In case the same problem is still occurring, move down to the next potential fix below.
Method 2: Forwarding the Port used by the Game
As it turns out, you might also encounter this error code due to the fact that the ports that the game launcher actively uses are blocked, so communications with the game’s mega server are stopped.
If this scenario is applicable, there’s a high chance that the problem is occurring at a network level – Your router is likely not allowing client port 80 and client port 443 to communicate with Guild Wars 2 server.
In this case, you can resolve the problem in two different ways:
A. If you’re using a newer router, you should be able to fix the problem automatically by going into your router settings and enabling Universal Plug and Play (UPnP). This will ensure that your router is allowed to open required ports automatically for games and other applications that will require it.
B. If your router doesn’t support UPnP, you will need to forward the ports automatically via the Port Forwarding menu in your router settings. In this case, follow the instructions below for step-by-step instructions on forwarding the 80 and 443 ports:
- Open your default browser and type one of the following generic IP addresses directly into the navigation bar and press Enter to access your router settings:
192.168.0.1
192.168.1.1
Note: One of these generic IP addresses should allow you to get to the login screen of your router. In case you have previously modified the address to a custom one, you will need to find the IP address of your router.
- Once you arrive at the initial login screen, type the custom login credentials if you previously established them. In case it’s the first time you’re visiting this page, try the default credentials – admin as user and 1234 as password.

Accessing your router settings Note: If these generic credentials don’t work, search online for the equivalents specific to your router model.
- Once you have successfully signed in to your router settings, access the Advanced menu, then look for an option named NAT Forwarding or Port forwarding.
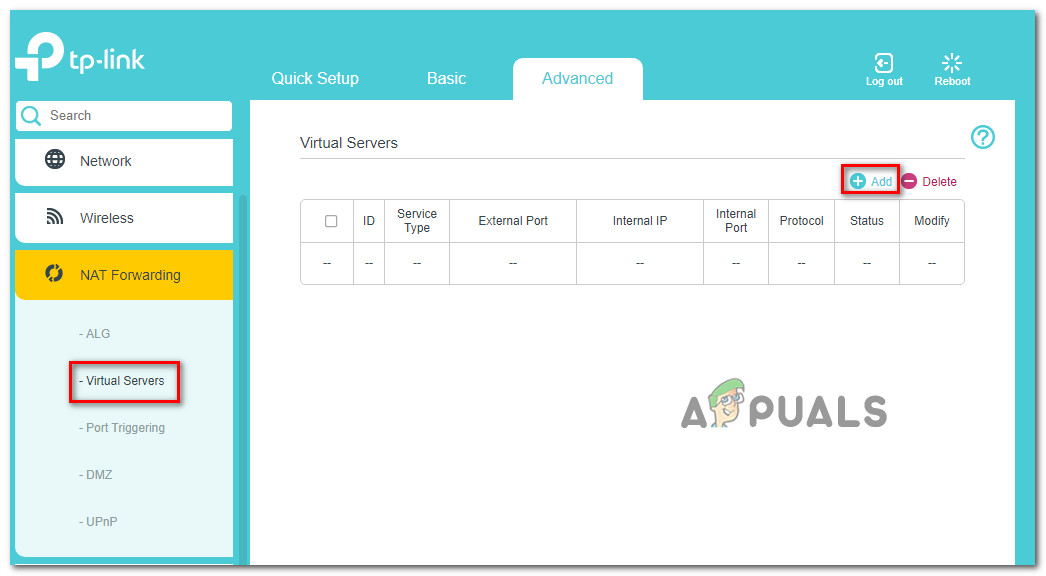
Adding ports to the Forwarding list Note: The exact names and locations of these menus will be different depending on the on your router manufacturer.
- Next, look for an option that allows you to open the ports manually, then ensure that both client port 80 and client port 443 are successfully opened before saving the modifications.
- After you save the modifications, restart your router and the computer you’re using to play Guild Wars 2 and see if the problem is now fixed.
In the event that the 2 ports are already opened or UPnP is enabled, move down to the next potential fix below.
Method 3: Whitelisting game’s executable in your Firewall (if applicable
If you’ve previously made sure that your router is not actively blocking the ports used by Guild Wars 2, the next logical potential culprit is your Firewall. Depending on the game’s version and if you’re running a modified executable or not, your firewall might detect suspicious activity and block the two vital ports that Guild Wars 2 uses – port 80 and port 443.
Of course, if you’re using a 3rd party firewall, the steps of doing so are specific to each program. In this case, search online for specific instructions.
On the other hand, if you’re using the native precision suite (Windows Defender + Windows Firewall), you will be able to fix the problem by accessing the settings menu of Windows firewall and whitelisting the game’s launcher along with the two ports that it’s actively using.
To do this, follow the instructions below:
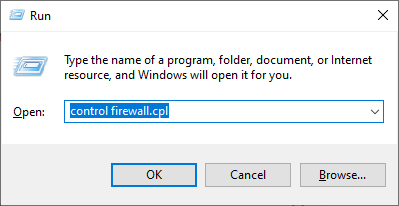
- Press Windows key + R to open up a Run dialog box. Next, type ‘control firewall.cpl’ and press Enter to open up the Windows Firewall interference.
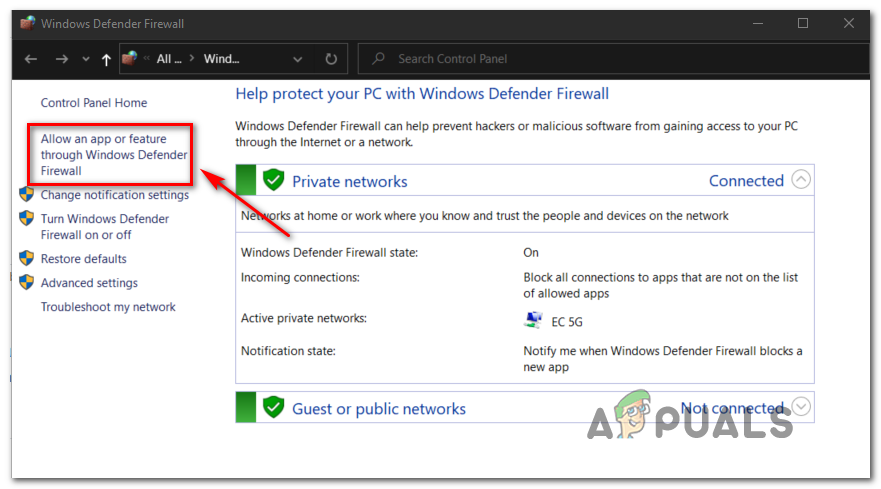
Accessing the Windows Defender Firewall - Once you’re inside the main menu of Windows Defender Firewall, use the menu on the left to click on Allow an app or feature through Windows Defender firewall.
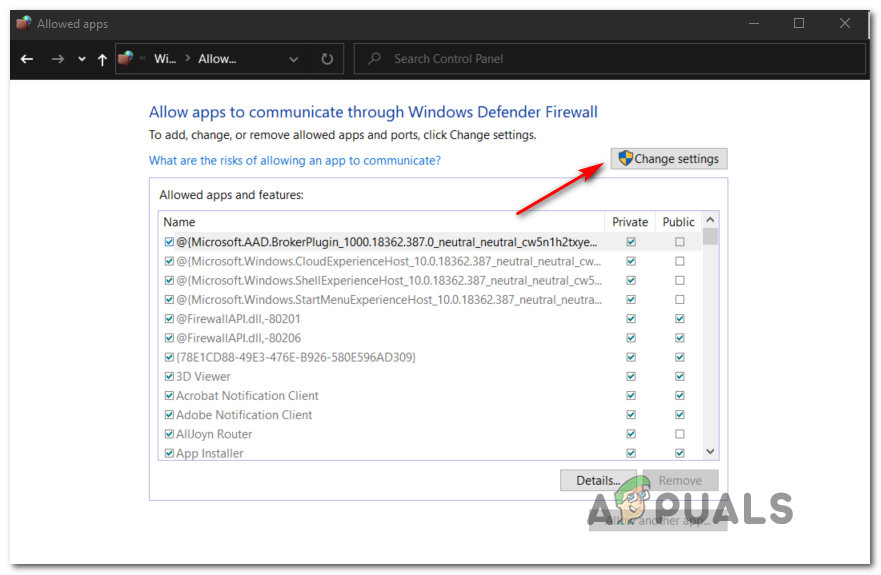
Allowing an app or feature through Windows Defender - Next, once you’re finally inside the applied apps menu, click on Change settings button, then click Yes at the User Account Control prompt.
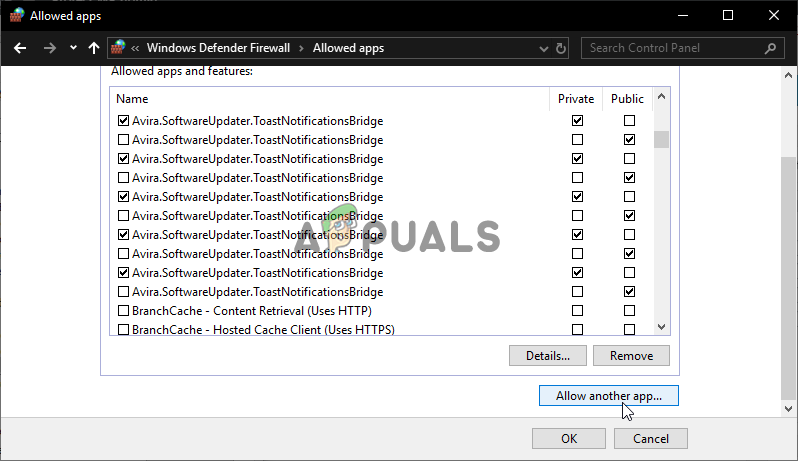
Changing the Settings of the Allowed Items in Windows Firewall - Once the list becomes editable, go under it and click on Allow another app, then click on Browser and navigate to the location of the Guild Wars 2 executable.
Allow another app - After you finally manage to add the main Guild Wars 2 executable to the list of Allowed apps, ensure that the checkboxes for Private and Public are both checked before clicking Ok to save the change.
- Next, close all windows and follow step 1 again to return to the initial firewall menu. But this time, click on Advanced Settings from the menu on the left. When you see the UAC (User Account Control) prompt, click Yes to grant admin access.
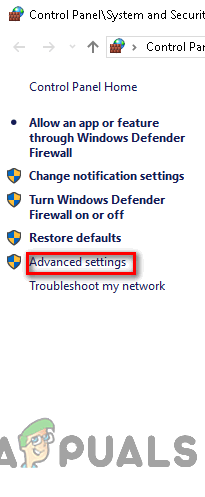
Click on advance settings option to open firewall rules - Once you’re finally inside the advanced settings of your firewall, click on Inbound Rules from the menu on the left, then click on New Rule.
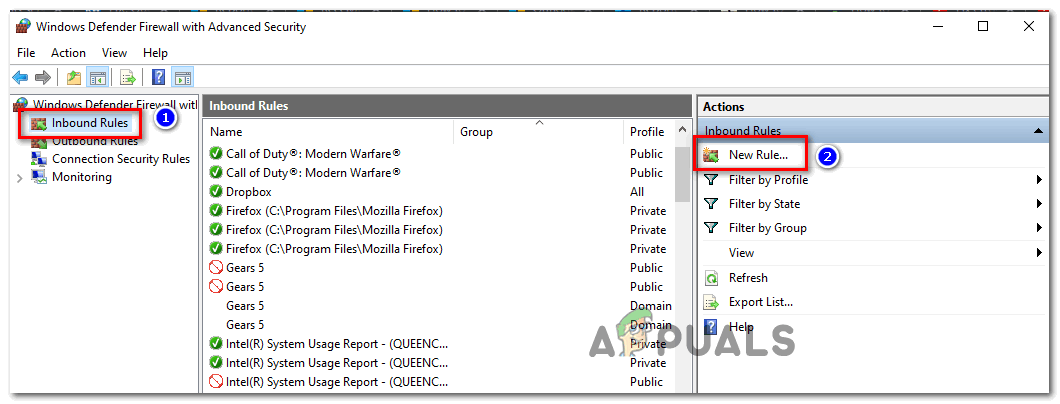
Creating New Rules in Windows Firewall - Inside the New Inbound Rule Wizard, select Port when asked to select the Rule Type, then click Next once again.
- Next, choose TCP, then choose Specific local ports toggle and paste the following ports before clicking Next once again:
80
443
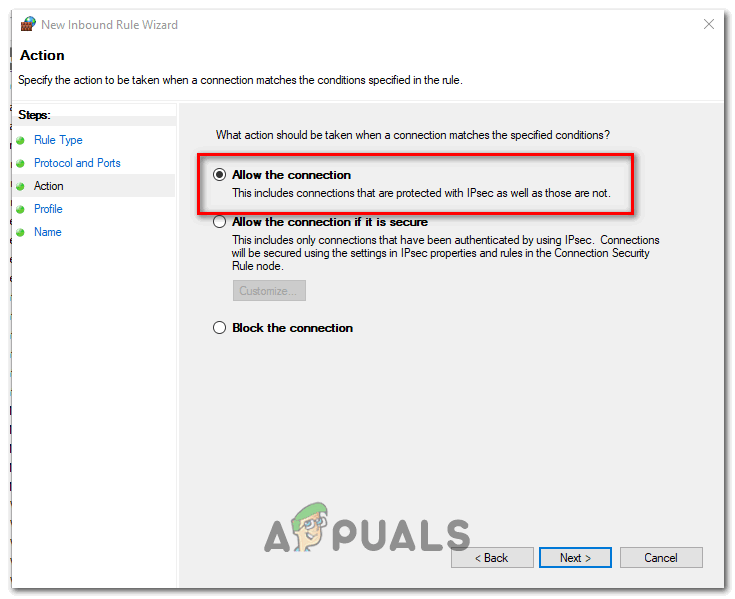
- Next, you should land directly into the Action prompt. Once inside, click on Allow the connection and click next.
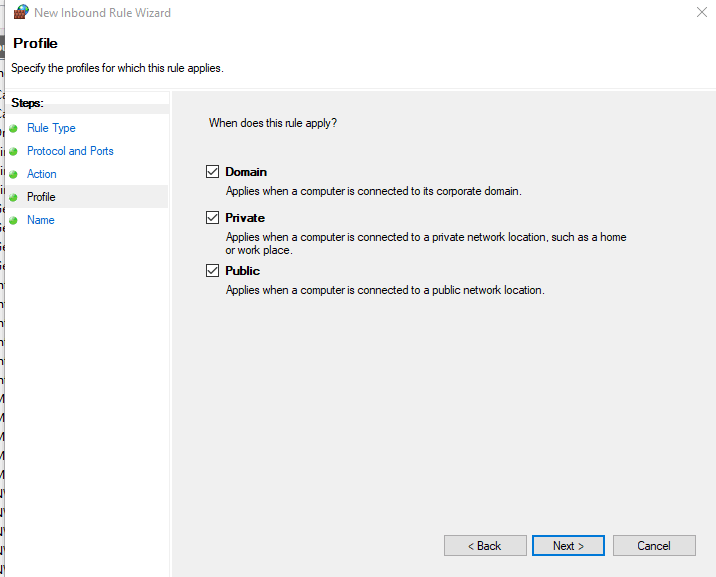
Allowing the connection - At the Profile step, check the boxes associated with Domain, Private and Public before clicking on Next once again.
Enforcing the rule on various network types - Set a new name for the rule you’ve just created, then click on Finish to save the changes.
- Reboot your computer, then see if the problem is fixed at the next computer startup.
In case this scenario is applicable or you’re using a 3rd party firewall, move down to the next potential fix below.
Method 4: Uninstalling Firewall Solution (if applicable)
In case you’re using a 3rd party suite and you whitelisting the ports and game’s executable isn’t an option, the best course of action is to uninstall the 3rd party suite temporarily and see if the problem with Guild Wars 2 stops occurring.
Keep in mind that disabling real-time protection is likely not enough since the same security rules will remain firmly in place even if the security suite is disabled. Several affected users have confirmed that the ‘Connection Error Detected‘ issue stopped occurring after the 3rd party firewall was uninstalled.
If this scenario seems like it could be applicable, follow the instructions below:
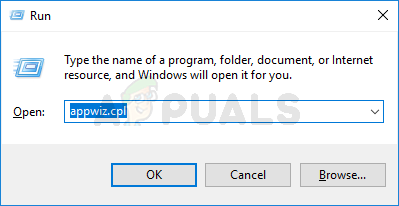
- Open up a Run dialog box by pressing Windows key + R. Next, type ‘appwiz.cpl’ inside the text box and press Enter to open up the Programs and Files menu.
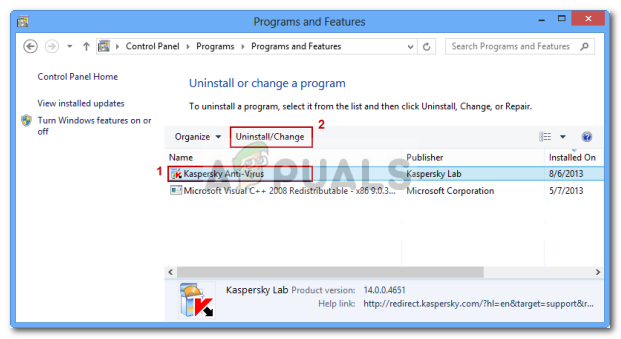
Type appwiz.cpl and Press Enter To Open Installed Programs Page - Inside the Programs and Features menu, scroll down through the list of installed applications and locate the 3rd party firewall that you’re trying to uninstall. Once you see it, right-click on it and choose Uninstall from the newly appeared context menu.
Uninstalling Antivirus Using Control Panel - At the uninstallation screen, follow the instructions to complete the process, then restart your computer.
- Once the next startup is complete, launch Guild Wars 2 once again and see if you’re still seeing the ‘Connection Error Detected‘ whenever you attempt to get to the main menu.
If the same problem persists, move down to the next potential fix below.
Method 5: Flush DNS
As it turns out, another fairly common instance that will cause this problem is a DNS (Domain Name System) inconsistency that ends up affecting communications between the client version of the game installed on your computer and the game’s server.
If you think this particular scenario can be applicable, you should attempt to use an elevated Command Prompt to clear the current DNS cache. Do this and see if this ends up fixing the Connection Error Detected prompt – several affected users have confirmed that this finally allowed to fix this problem.
Here’s what you need to do to reset your DNS Cache:
- Press Windows key + R to open up a Run dialog box. Next, type ‘cmd’ inside the text box and press Ctrl + Shift + Enter to open up an elevated Command prompt. When you are prompted by the UAC (User Account Control), click Yes to grant administrative privileges.

Running the Command Prompt - Once you’re inside the elevated CMD prompt, type the following command and press Enter to flush your DNS cache:
ipconfig/flushdns
Note: This operation will essentially remove all information that is currently stored in the DNS cache, forcing your router to assign new DNS information.
- Once you receive the confirmation message, close the elevated command prompt, and repeat the action that was previously causing the startup error in Guild Wars 2.
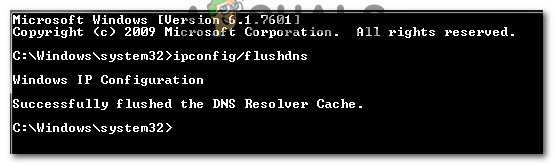
Example of a successfully flushed DNS Resolver Cache In case the same Connection Error prompt is still appearing at each and every attempt to launch the game, move down to the next potential fix below.
Method 6: Migrating to Google’s DNS
As it turns out, the ‘Connection Error Detected’ in Guild Wars 2 can also be the symptom of an underlying issue with the DNS (Domain Name Systems) that you’re network configuration currently uses. Several affected users have confirmed that they managed to fix the problem by migrating their default DNS to the Google equivalent.
If you want to enforce the same type of fix, follow the instructions below to migrate your default DNS to the Google’s equivalents:
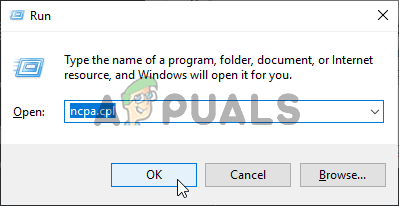
- Open up a Run dialog box by pressing Windows key + R. Next, type ‘ncpa.cpl’ and press Enter to open up the Network Connections window.
Running Network settings - After the previous command takes you directly to the Network Connections window, right-click on Wi-Fi (Wireless Network Connection) and choose Properties if you’re using a wireless connection. In case you’re using a wired connection, right-click on Ethernet (Local Area Connection) instead.
Opening the Properties screen of your network - Once you’re inside the dedicated Ethernet or Wi-Fi menu, go over to the Networking tab.
- Inside the Networking tab, go to the This connection uses the follwing items section, select the Internet Protocol Version 4 (TCP/IPv4) and then click on the Properties menu.
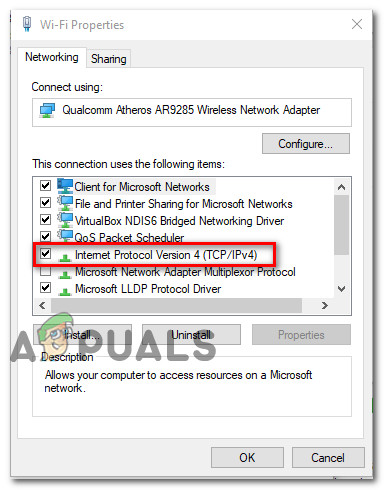
Accessing the Internet Protocol Version 4 settings - Inside the next menu, go to the General tab, then check the box associated with Use the following DNS server address.
- Once the DNS boxes become available, populate the Preferred DNS server and Alternate DNS server with the following values:
8.8.8.8
8.8.4.4
- Once you manage to modify the settings for TCP/IPv4, do the same thing for TCP/IPv6 by accessing the Internet Protocol Version 6 menu and setting the two values (Preferred DNS server and Alternate DNS server) to:
2001:4860:4860::8888
2001:4860:4860::8844
- Click Apply to save the changes. After you’ve done this, you have successfully made the switch to Google’s DNS.
- Restart your computer, then attempt to launch Guild Wars 2 once again and see if the problem is now fixed.
In case the same problem is still occurring, move down to the next potential fix below.
Method 7: Deleting the Roaming folder of Guild Wars 2
If none of the potential fixes above have worked for you, there’s a big chance that you’re actually dealing with some type of corruption issue that is being facilitated by some temporary file.
According to other users that were previously facing the same ‘Connection Error Detected‘, you might be able to fix this problem by navigating to the temporary folder that the Guild Wards 2 maintains (located by default in \AppData\Roaming) and clearing its contents.
If you’re unsure on how to do this, follow the instructions below:
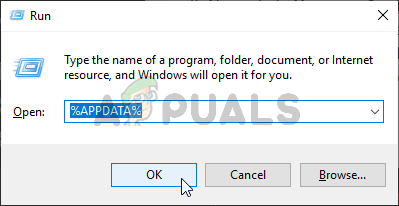
- Press Windows key + R to open up a Run dialog box. Next, type ‘%APPDATA%’ inside the text box, then press Enter to open up the AppData folder (this folder is hidden by default).
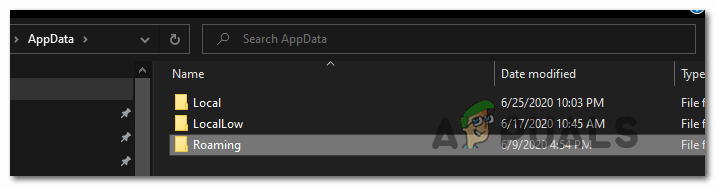
Opening AppData in the Run dialog box - Inside the AppData folder, double-click on the Roaming folder, then look for the Guild Wars 2 folder and open it.
Accessing the roaming folder - Once you’re inside the Guild Wars 2 folder, press Ctrl + A to select everything, then right-click on a selected item and choose to delete to clear the temporary folder.
Note: Keep in mind that this operation will end up clearing any custom settings that you previously established for Guild Wars 2. - Start the game once again and see if the problem is now fixed.
In case you’re still encountering the same error message, move down to the next potential fix below.


