How to Enable UPnP ‘Universal Plug n Play’?
UPnP is short for “Universal Plug and Play“. It is an architecture which allows wireless and wired connections to communicate with the internet with minimal configuration. If a device is connected on an operating system that supports the architecture, it will connect to the internet without any problem provided that UPnP has been enabled by the router.
Benefits of UPnP
There are many benefits for using UPnP on for your connection some of which are listed below:
- Port Forwarding: UPnP allows applications to forward ports automatically, this means that they don’t have to be forwarded manually and thus, it saves time.
- Gaming: During gaming, several ports have to be forwarded in order to create or even connect to a server. These ports are forwarded automatically if UPnP is enabled.
Drawbacks of UPnP
Unfortunately, in addition to many benefits, there is a flaw with the architecture and it has been listed below.
- Security Risk: Due to the open nature of the architecture it can be used by a malicious application/virus to affect the computer with malware. This raises many security risks especially for people using it on a public network which can easily be used to gain access to the user’s device. However, there generally isn’t a risk on a home network.
Now that you have a basic understanding of the risks involved in enabling the architecture, we will move on towards the method to enable and check it on different devices.
Enabling UPnP
First of all, the protocol needs to be enabled by your router’s homepage. Therefore, in this step, we will be enabling the protocol for the router. For that:
- Grab ahold of a computer and launch a browser.
- Type in your IP address in the address bar which in most cases is “192.168.0.1“. This is the IP address which is associated with your router (you can also check the backside of the router to get the IP address).
Note: Also try “192.168.1.1” and “192.168.1.2“.
Typing in the IP address for the router - Press “Enter” to navigate to the ISP’s login page.
- Enter the username and the password for your router.
Note: The user name is usually “admin” and password is usually “admin” or blank, unless they have been changed. - Click on the “Tools” tab and then the “Misc.” tab.
- Under the UPnP heading, check the “Enabled” box and click on “Apply”.

Checking the “Enabled” box for UPnP and pressing “OK” Note: This process varies from router to router and will not be the same for everyone. However, there is always an option to enable UPnP, you just need to find it in your settings for your router.
Enabling UPnP on Windows
After enabling UPnP from the router it also needs to enabled for Windows. Therefore, in this step, we will be enabling UPnP in Windows. For that:
- Press “Windows” + “R” to open the Run prompt.
- Type in “Control Panel” and press “Enter“.
- Click on the “Network and Internet Options” button and select the “Network and Sharing Center” option.
- Select the “Change Advanced Sharing Centre” option from the left pane.
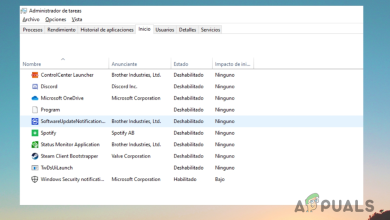
- Under the Network Discovery heading, check the “Turn on Network Discovery” option.
- UPnP has now been enabled for the Windows computer.
Turning on Network Discovery Windows
Enabling on Xbox
UPnP is automatically enabled on Xbox when you enable it from the router. In the following steps, we will be testing the NAT type to confirm that it is running in Open NAT which in turn means that UPnP is enabled. Follow the steps below to check:
- Open the “Settings” on your Xbox by pressing the menu button.
- Select the “Networks” tab and click on “Setup New Wireless Network” option.
- Under the troubleshooting heading, select the “Test NAT Type” option and it will automatically configure the device to run on an Open NAT.
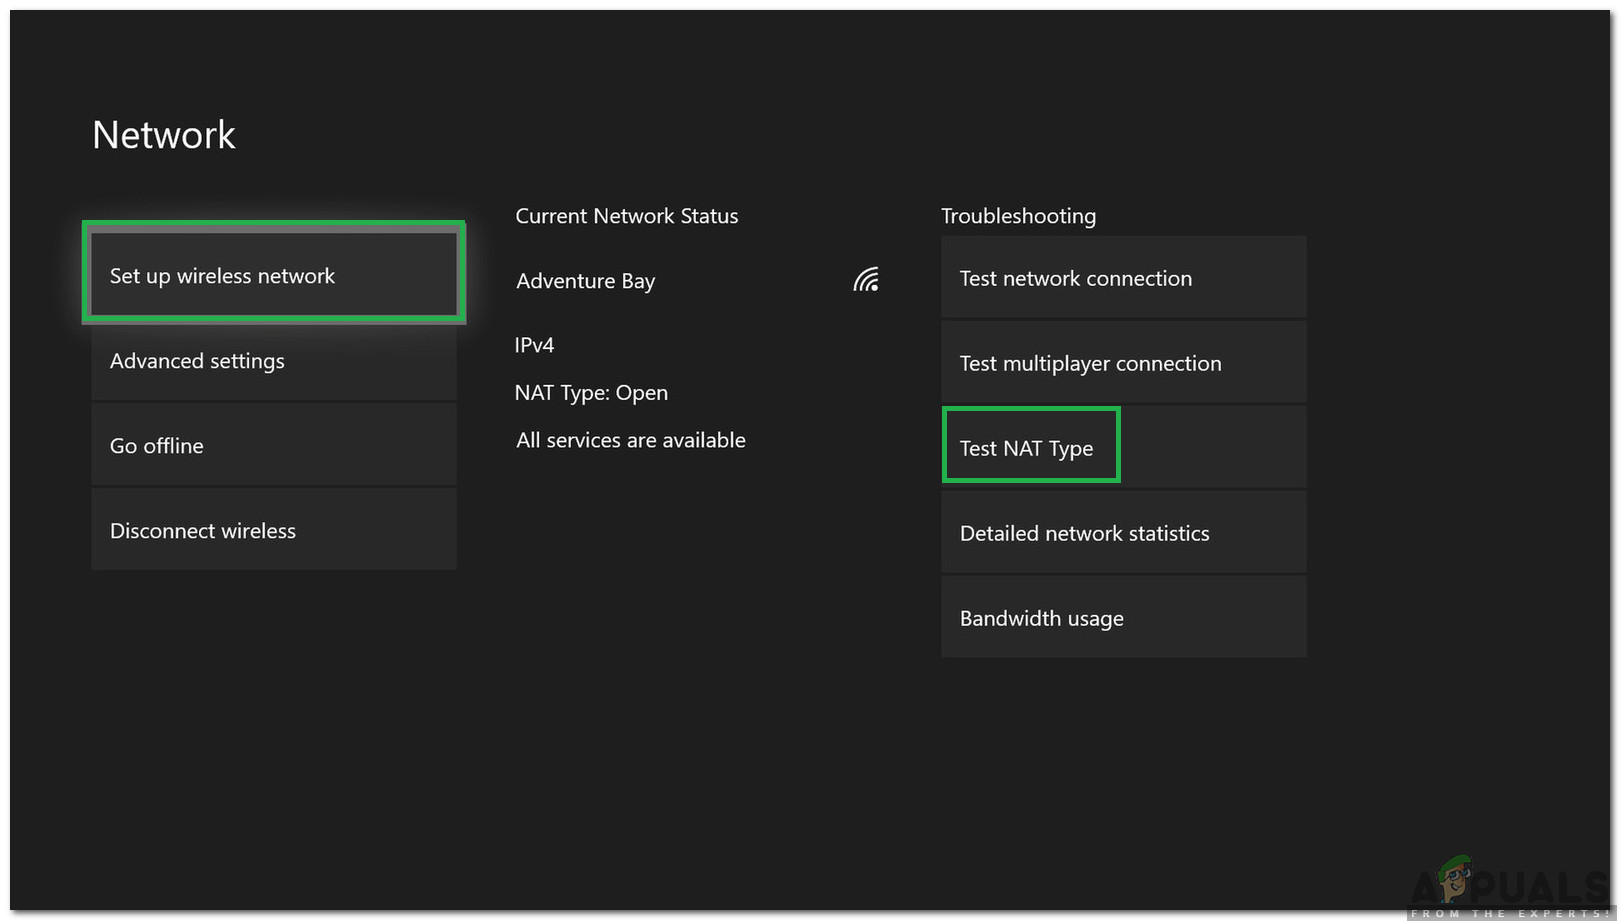
Selecting the “Setup Wireless Network” option and then clicking on “Test NAT Type” - This will enable UPnP for your console.
Enabling on PlayStation
Unlike the other consoles, PS4 doesn’t allow users to manually select NAT Type. Instead, it automatically detects and applies the network configuration settings. Therefore, it is recommended to completely power cycle your console after configuring the router as indicated above. It should automatically configure the console to run an Open NAT after detecting the router settings.