How to connect Xbox One liquid metal controller to PC
Xbox One liquid metal controller is a popular controller on the market nowadays. It has a very reliable connection thanks to the 9.8” cord it comes with. You can also plug in a compatible headset in the 3.5mm jack so you can easily chat while playing the game. This controller is cheap as compared to other controllers available out in the market.
When connecting this controller for the first time with your PC, you might encounter an error where Windows refuses to recognize the device. The controller shows as a connected device (with the name of Xbox One controller in device manager) but it shows there are no drivers installed.
There are several ways you can connect your controller with your PC i.e. with a wire, Bluetooth, and wirelessly. In order to connect them, you have to ensure that all the drivers are available and installed in your PC first. Follow the steps listed below.
Installing Drivers
For most of Windows 10 users, the drivers are already installed on their machines. However, you can still download them from here. This driver is meant for 64-bit machines.
Install the driver and click Next on every stage. After clicking on Finish, you can move on to the other steps on how to connect your Xbox One controller.
Connecting via USB
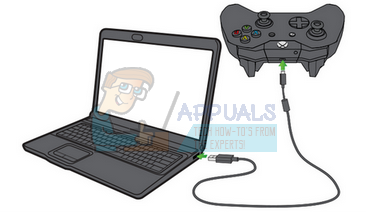
Connecting your Xbox via USB is the most effective way to connect the controller. The connection is very stable and you don’t have to worry about the controller getting disconnected time to time. Follow the steps mentioned below.
- Plug the USB cable into the front of the controller and the other end into your PC.
With the USB connections, you can easily connect around 8 wireless Xbox controllers at the same time. You can attach 4 controllers which have Xbox chat headsets attached and only 2 if the controllers have Xbox Stereo headsets.
- Now press Windows + R button to launch the run application. In the dialogue box, type “devmgmt.msc”. This will launch your computer’s device manager in front of you.
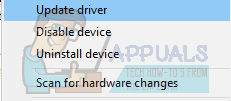
- Now locate your Xbox One controller from the list of devices connected to your PC. Once you have located it, right click on it and select the option which says “Update Driver”.
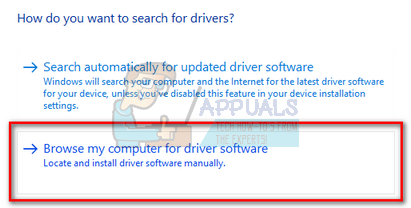
- After you click Update Driver, Windows will ask you if you want to add the driver manually or you want Windows to search for drivers automatically using the internet. Click on the second option (search for drivers manually).
- A new window will come forward where you will be asked to specify the location of the drivers. Select the option at the bottom of the screen which says “Let me pick from a list of available drivers on my computer”.
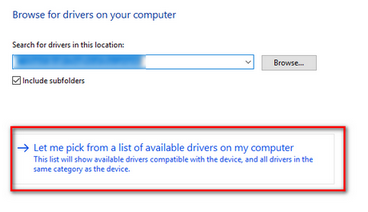
- Now windows will show all the installed drivers on your computer which are compatible with your device. Select the Xbox One controller driver which you just installed. Click Ok and your computer will detect the controllers.
Connecting Wirelessly
You can also connect your Xbox One controllers wirelessly. You have to make sure that your Xbox is discoverable and its wireless connectivity is turned on.
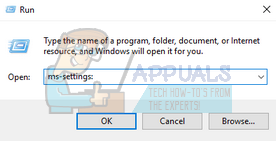
- Press the Windows + R button to launch the Run application. In the dialogue box type “ms-settings:”. This launch your computer’s settings in front of you.
- Once the settings are opened, select the option of Devices.

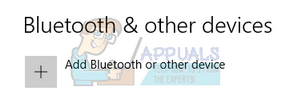
- Once the Devices menu is opened, click on the + sign which says “Add Bluetooth or other Device”.
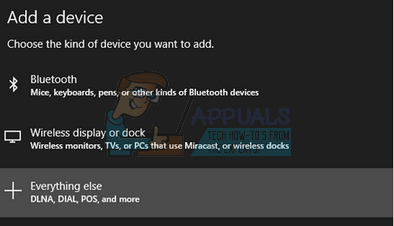
- A new window will pop up in front of you giving you the option of selecting the type of device you want to connect to. Select the last option which says “Everything else”.
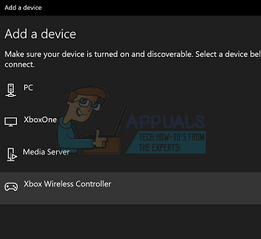
- Select the Xbox Wireless Controller from the list of options when you select Everything else.
- Now Windows will connect your controller with the system and within no time your controller will be playable.
Connecting via Bluetooth
You can easily connect your Xbox controller to your PC using Bluetooth.
- Start your Xbox controller by pressing the Xbox logo on the controller.
- Now press the controller bind button for three seconds and release.

- Press the Windows + R button to launch the Run application. In the dialogue box type “ms-settings:”. This launch your computer’s settings in front of you.
- Once the settings are opened, select the option of Devices.
- Once the Devices menu is opened, click on the + sign which says “Add Bluetooth or other Device”.
- Turn on your PC’s Bluetooth so it can connect to the controller without any problem.
- After your PC detects Xbox Controller, click it so they both can pair. Save changes and exit. Now your Xbox One controller is connected to your PC and you use it with ease.
Note: If your controller is unable to connect to your PC, you should see if your PC and the controller are compatible or not. You should also check if your Xbox One controller is updated enough. You can follow the steps listed below to update it accordingly.
Updating your Xbox controller
- Sign in to Xbox Live on your Xbox One console and install the update if you are prompted to.
- Plug in the small end of the USB into your controller and the other big end into the console.
- Instructions to install the update will come forward automatically. Follow the instructions and don’t disconnect while it is updating.
If you don’t receive any instructions, you can do it manually. Press the menu button and then select Settings. From the settings, select Devices and Accessories. Select the controller you are updating, select Update and click Continue.
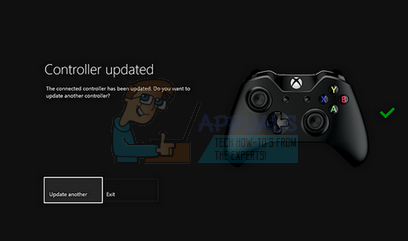
- When the update is complete, unplug the USB cable. If you have more than one controller available, you can also update them now one at a time. Select the option of Update Another and follow the steps once again.
- Press the Xbox button on your controller. Now your controller is up-to date and you can easily connect it to your PC as well.
You can also map your keyboard keys into any controller to have a great gameplay. There are much software available to do this job. You can an inside regarding all the mechanics involved easily using our guide. You can follow this guide from here.


Dude, this works with Windows 7? Because I need to download some driver but I can’t find it