Fix: COD: MW/Warzone Stuck on “Installing Shaders”
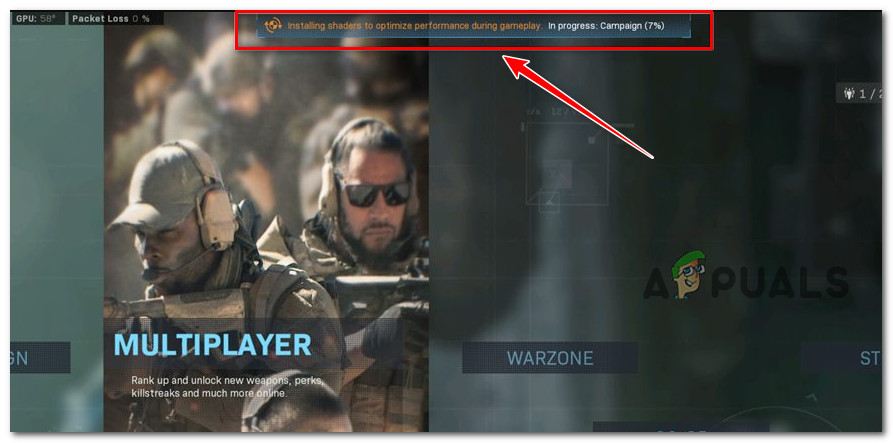
Some Call of Duty Modern Warfare & Call of Duty Warzone players are reporting that they continuously see the ‘Installing shaders to optimize performance during gameplay: In Progress‘ error once they launch the game and this issue prevents them from playing the game.
After investigating this issue, it turns out that this is an old issue that Activision is still failing to fix for old and new titles. However, after we’ve investigated the issue we realized that there are actually several different scenarios that might directly or indirectly cause this problem. Here’s a short list of culprits that you should be on the lookout for:
- Corrupted game installation – Oftentimes, this particular issue is rooted in some kind of corruption affecting the local installation of the game. In this case, you should be successful in fixing the issue by using the Battle.net launcher to perform a ‘Scan & Repair’ procedure on Call of Duty Modern Warfare or Call of Duty Warzone. If that doesn’t work, try reinstalling the game manually.
- Looping Shaders Installation – As it turns out, there is a game-breaking bug that ends up looping the installation of the shaders while the progress bar is stuck at ‘0%’. If this scenario is applicable, restarting the game won’t produce any effects. Instead, what you need to do is restart the shaders installation from the in-game menu.
- GPU driver inconsistency – According to some affected users, you can expect to deal with these issues in scenarios where there’s an underlying corruption affecting the GPU driver that is in use when playing the game. Other users dealing with the same kind of issue have confirmed that they managed to fix the issue completely by uninstalling the current GPU drivers using DDU, then reinstalling the latest compatible version using the specialized utility from Nvidia or AMD.
- Corrupted DirectX Shader Cache – As it turns out, this particular issue can also occur due to an issue originating from the DirectX Shader Cache. Several Call of Duty players that have been experiencing this issue has confirmed that they were able to fix the issue by deleting the DXCache prior to clearing the DirectX Shader cache via the disk Cleanup utility.
Now that we went over every potential reason why you can expect to deal with this issue, let’s go over a series of verified fixes that other affected users have successfully used to get to the bottom of this issue.
1. Repair the game installation
This particular problem is frequently caused by corruption that affects the game’s local installation. Using the Battle.net launcher to do a ‘Scan & Repair‘ operation on Call of Duty Modern Warfare or Call of Duty Warzone should solve the problem in this scenario.
After forcing the primary launcher (Battle.Net) to check the game files’ and dependencies’ integrity, several customers who were experiencing the same type of error have reported that the issue was completely fixed.
If you haven’t already tried this cure, adhere to the directions below for details on how to start a Warzone game repair process through the in-game Battle.Net settings:
- Verify that Call of Duty is shut down and not active in the background.
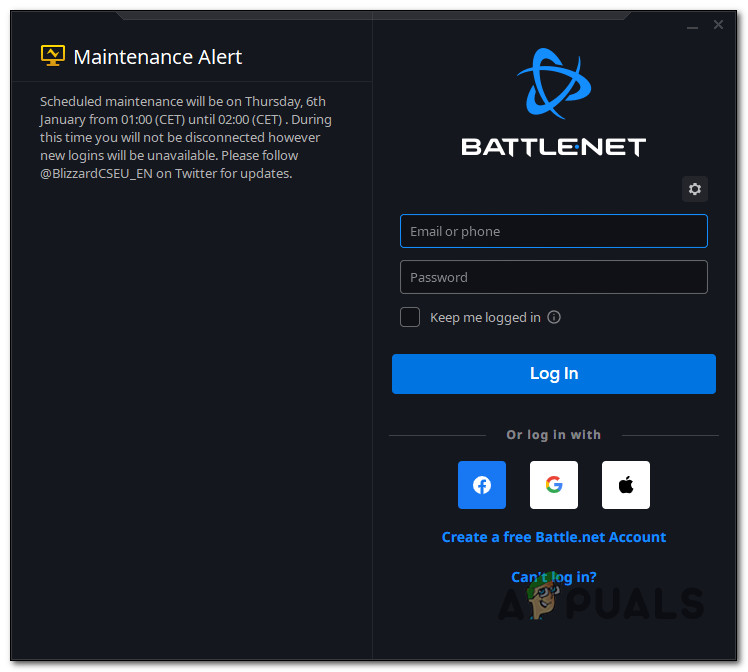
- Launch Battle.Net and log in using the user name and password associated with the game.
Access the Battle.net installation - Select the game by clicking on it in the left-hand area of the main Battle.Net interface.
- To check the file integrity and fix Call of Duty, click Settings (the gear symbol), then select Scan and Repair (from the context menu that just appeared).
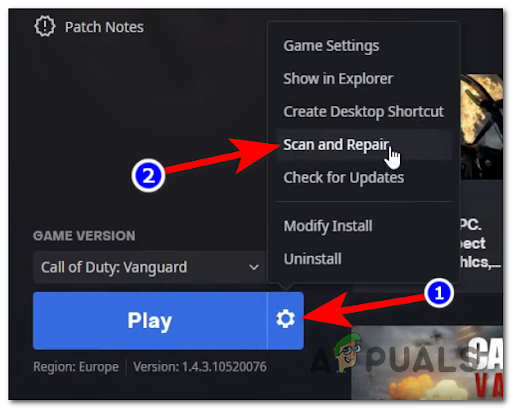
Scan and Repair Call of Duty - Confirm the operation at the subsequent prompt, then be patient while the scan and repair process is carried out.
- Restart the game after the procedure is finished to determine if the issue has been resolved.
If the issue persists, scroll down to the next possible solution below.
2. Restart the installation of the Shaders
It turns out that there is a fatal flaw that causes the installation of the shaders to loop while the progress indicator is frozen at 0%. If this situation applies, restarting the game will have no noticeable effects. Instead, you should use the in-game interface to restart the shaders installation.
It’s not unusual for this problem to be caused by a glitched shader cache that is causing the game to crash, according to some users that we’re also dealing with. Fortunately, you can quickly fix this problem by forcing a new Shader installation from the game’s Options menu.
Several users who have experienced the ‘Installing shaders to optimize performance during gameplay: In Progress’ error have attested to the effectiveness of this technique.
Follow the procedures below to delete & reinstall the Shaders Cache in Call of Duty: Warzone or Call of Duty: Modern Warfare if this scenario appears to apply to your specific circumstance:
- Start the game normally, then wait till the welcome screen appears.
- Select Warzone or Modern Warfare from the list of various game modes (depending on where you’re experiencing the issue), then wait for the game to start up.
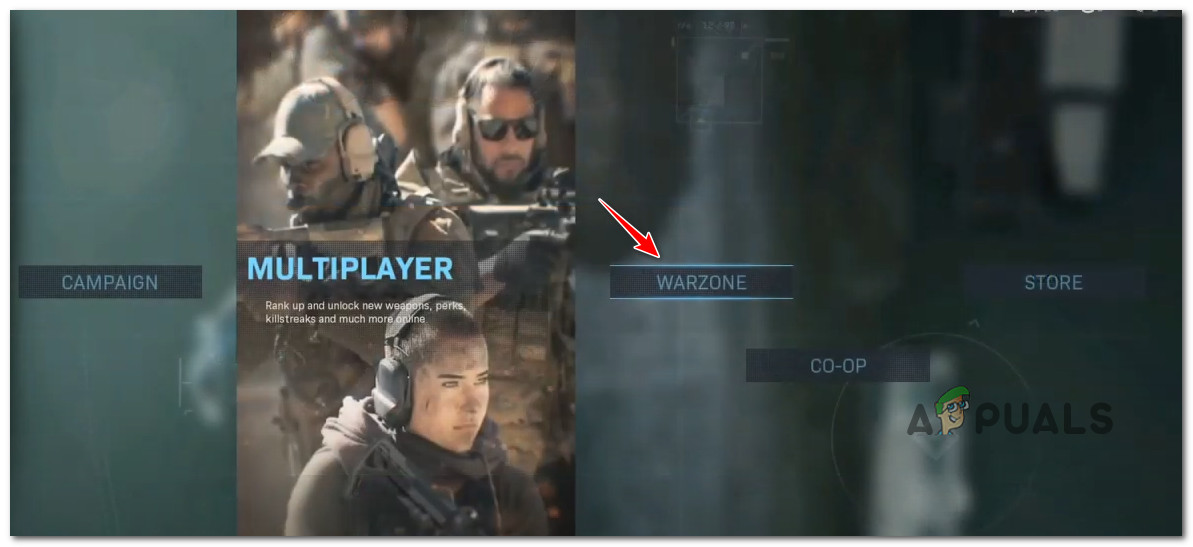
Accessing the Warzone mode - From the dedicated game screen, go to the Options screen. From there, choose the Graphics tab from the top-left horizontal ribbon menu.
- Next, locate the entry labeled Restart Shaders Installation by scrolling down the list of choices.
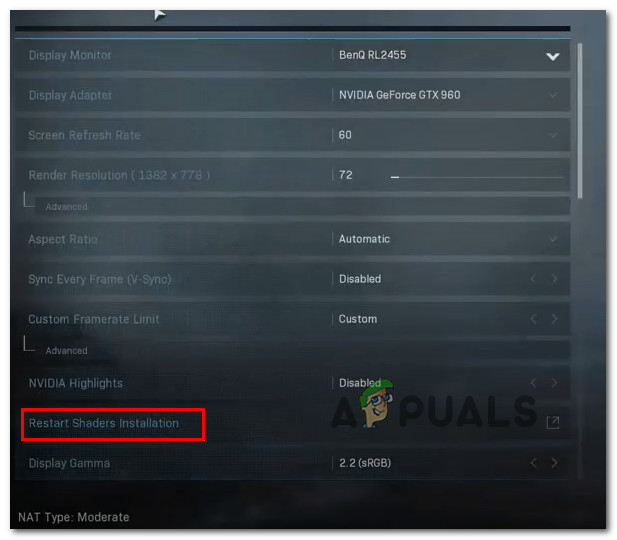
Restart the Shaders installation - Click Restart at the confirmation box and wait until the installation of the shaders is finished.
Note: If you’re not using a super-fast SSD, this process will likely take several minutes to complete and will get longer over time. - Launch Call of Duty once more to test if the issue has been fixed when the game shader installation is finished.
Move on to the suggested repair below if the issue is still not resolved.
3. Reinstall GPU driver
Some impacted customers claim that you should be prepared to cope with these problems when there is an underlying corruption impacting the GPU driver that is being used when playing the game.
By deleting the current GPU drivers using DDU and then reinstalling the most recent compatible version using the dedicated tool from Nvidia or AMD, other customers experiencing the same type of problem have proven that they were able to entirely fix the issue.
If this situation applies, removing your existing collection of GPU drivers and using the DDU (Display Driver Uninstaller) tool to remove any leftover GPU drivers before installing the most recent version that is compatible with your model should solve the issue.
Follow the guidelines below for detailed details on how to achieve this:
Note that the steps listed below apply to both AMD and Nvidia GPUs.
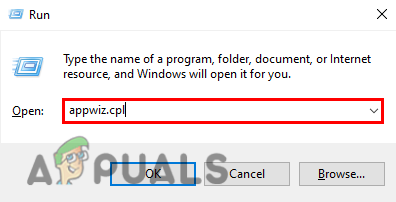
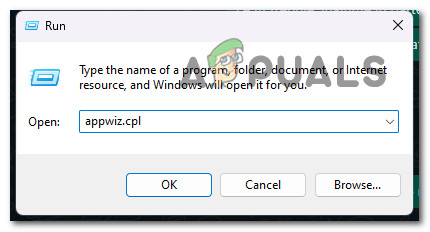
- First, open the Programs and Features by pressing Windows key + R to bring up the Run dialog box. Then, enter “appwiz.cpl” into the box that appears and click OK.
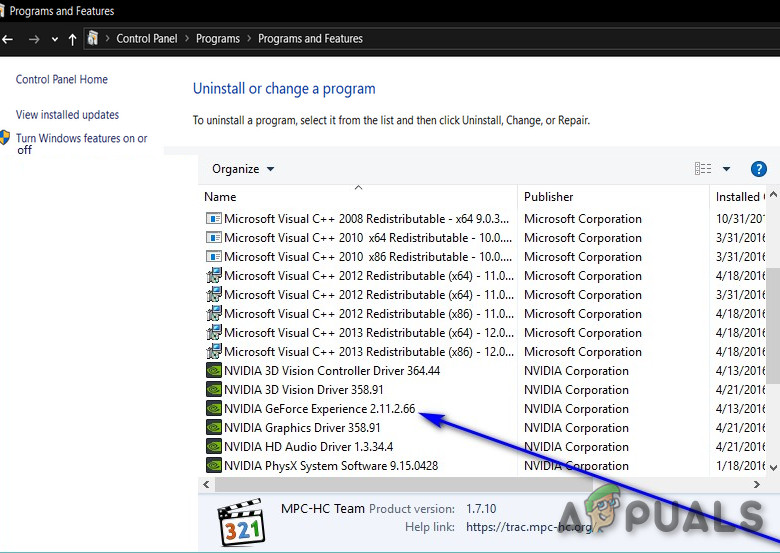
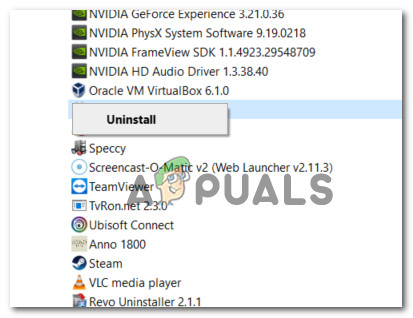
Open up the Programs and Features menu - Once you’re in the Programs and Features menu, browse the list of installed programs and remove everything made by Advanced Micro Devices or Nvidia Corporation, the makers of your GPU. You can do this by selecting Uninstall from the context menu when you right-click on the item.
Uninstall the GPU driver - Once you’ve reached the uninstallation screen, follow the prompts there to finish the procedure. Then, restart your computer.
Note: You can experience some screen flickering throughout this process. Remain calm; it’s entirely natural. - When your computer restarts, a set of universal GPU drivers will be used. The remaining GPU drivers must all be removed after that. To do this, go to the Display Driver Uninstaller download page and get the most recent version.
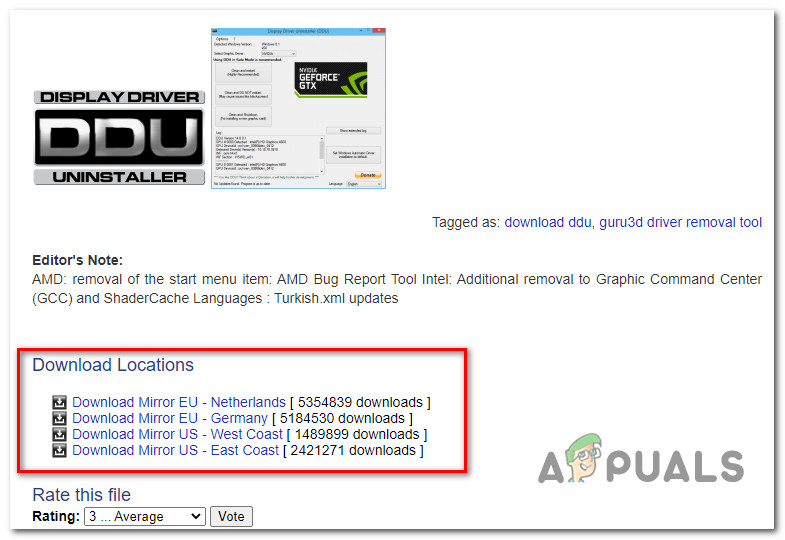
Download the latest version of DDU Note: It should be noted that this third-party freeware can thoroughly remove any GPU driver leftovers.
- After the download is finished, extract the DDU archive’s contents using a program like 7zip or Winzip.
- You must restart your computer in Safe Mode in order to use DDU efficiently. To accomplish this, follow the instructions on this page.
- After your computer has restarted, double-click on the DDU application you previously extracted, and when the UAC (User Account Control) prompt appears, select Yes.
- Select your GPU from the Select Device type drop-down option in the main Display Driver Uninstaller interface (right-hand section of the screen).
- After that, select Clean and restart to start the cleanup procedure.
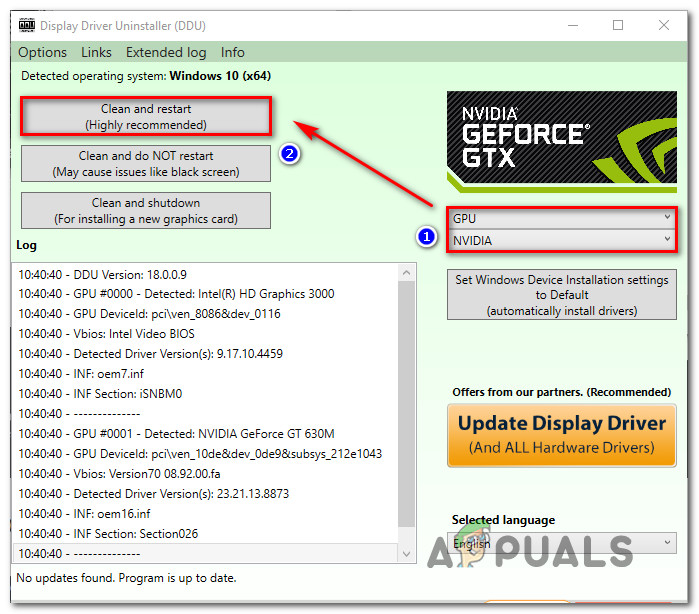
Clean and restart - After the procedure is finished, restart your computer to exit Save mode, then install the most recent GPU version that is compatible by using one of the specialized programs listed below:
AMD Adrenalin
Nvidia Experience - Install the most recent driver, restart once more, and check to see whether Call of Duty is still giving you the “Installing shaders to maximize performance during gameplay: In Progress” issue.
If the problem is still not fixed, move down to the next method below.
4. Clear the DirectX Shader Cache
It turns out that the DirectX Shader Cache may also be the cause of this specific problem. It has been proven by several Call of Duty gamers that they were able to resolve the problem by deleting the DXCache first and then emptying the DirectX Shader cache using the disk Cleanup software.
If none of the methods above have proven to be successful in your case, you should start by deleting the DX cache manually, then perform a complete cleanup in the DirectX Shader cache.
Note: As an optional but recommended step, you should also delete any config and ppsod.dat files present inside the players directory of Call of Duty.
For complete instructions on how to do this, follow the steps below:
- First things first, make sure that the game is not actively running in the background.
- Next, press Windows key + E to open File Explorer.
- Next, navigate to the following location:
C:\Users\<username>\AppData\Local\NVIDIA
Note: You can either navigate to this location manually or you can paste the path above directly into the navigation bar and press Enter to get there instantly. Keep in mind that <username> is simply a placeholder. Replace it with the actual username that you’re currently using for your Windows computer.
- Right-click on DXCache folder and choose Delete from the context menu.
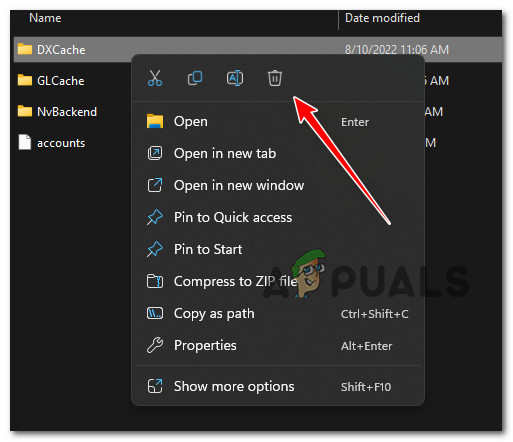
Delete the DirectX cache - Once the DirectX cache has been cleared, press Windows key + R to open up a Run dialog box.
- Inside the Run dialog box that just appeared, type ‘cleanmgr.exe’ and press Ctrl + Shift + Enter to open up the Disk Cleanup utility with admin access.
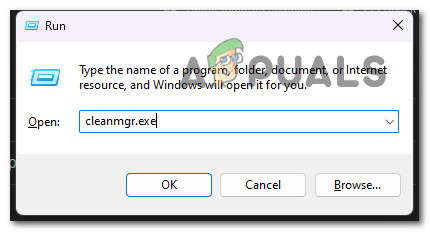
Open up the Cleanup Manager - When you’re prompted by the User Account Control (UAC), click Yes to grant admin access.
- On the first screen of Disk Cleanup, start by selecting the operating system drive.
Note: This is a requirement since the DirectX cache is always stored on the OS drive. - Once you’re finally inside the Disk Cleanup utility for your OS drive, go under Files to delete and check the checkbox associated with DirectX Shader Cache (while unchecking everything else).
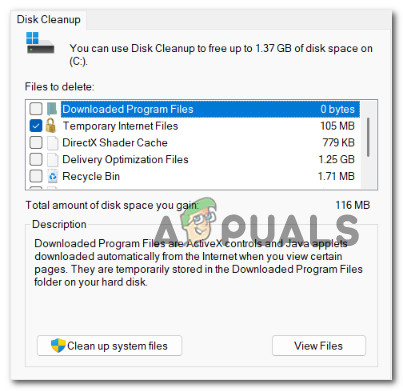
Configuring the Disk Cleanup utility - To start the operation, click on Clean up system files, confirm the operation, then wait for the operation to complete.
- Once the operation is completed, navigate to your game installation, access the players folder and delete any config or pssod.dat file that you find inside.
- Launch Call of Duty Modern Warfare or Call of Duty Warzone and see if the shaders bug has been fixed.
If the same kind of issue is still occurring, move down to the next method below.
5. Reinstall the game
The next step you should do is to perform a potential game file corruption issue investigation if none of the aforementioned fixes have worked for you.
Reinstalling the game, according to several users who were also unable to launch it, solved the issue for them.
The specific methods for reinstalling the game will, of course, vary depending on whether you’re trying to play Call of Duty: Modern Warfare or Call of Duty: Warzone on a desktop or laptop computer.
Fortunately, whether you’re playing on a console or a PC, our series of sub-guides will lead you through the process of reinstalling the game.
Reinstall Call of Duty to fix a corrupt game-file issue, and then follow the sub-guide that applies to your preferred platform:
5.1. Reinstall the game on your PC
Start by removing the game from the Programs and Features menu on a PC. This method should be chosen over doing an integrity check (repair install) via the game launcher because it will also delete any temporary files that might be causing the problem.
To reinstall Call of Duty, adhere to the directions below:
- To bring up the Run dialog box, press the Windows key + R. Then, enter “appwiz.cpl” to launch the Installed apps menu (on Windows 10 or earlier) or the Programs and Features menu (on Windows 11).
Open the Programs and Features menu - Once you’ve found the entry for the Call of Duty installation in the Programs and Features or Installed Apps menu, right-click on it (or click the action icon) and select Uninstall to remove the game.
Uninstall Call of Duty - After finishing the installation, reboot your computer and wait for the subsequent startup to finish before continuing.
- Log in to the game launcher where you presently possess the game, then reinstall COD by using the recommended official installers.
- Start the game to see if the issue has been resolved.
5.2 Reinstall the game on PlayStation 4
You must first uninstall the game from the Library menu on a Playstation 4 system before reinstalling it in the same place (but from a different tab).
The whole directions for achieving this are as follows:
- Swipe through the installed games on your PlayStation 4 system’s home screen and choose the Call of Duty title.
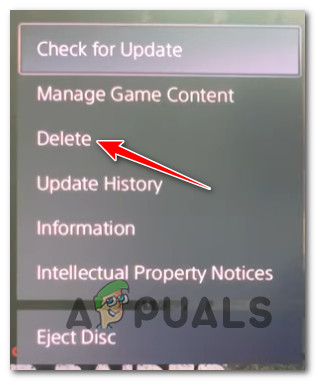
- Press the Options button on your controller while the game is selected, then choose Delete from the context menu that is just displayed.
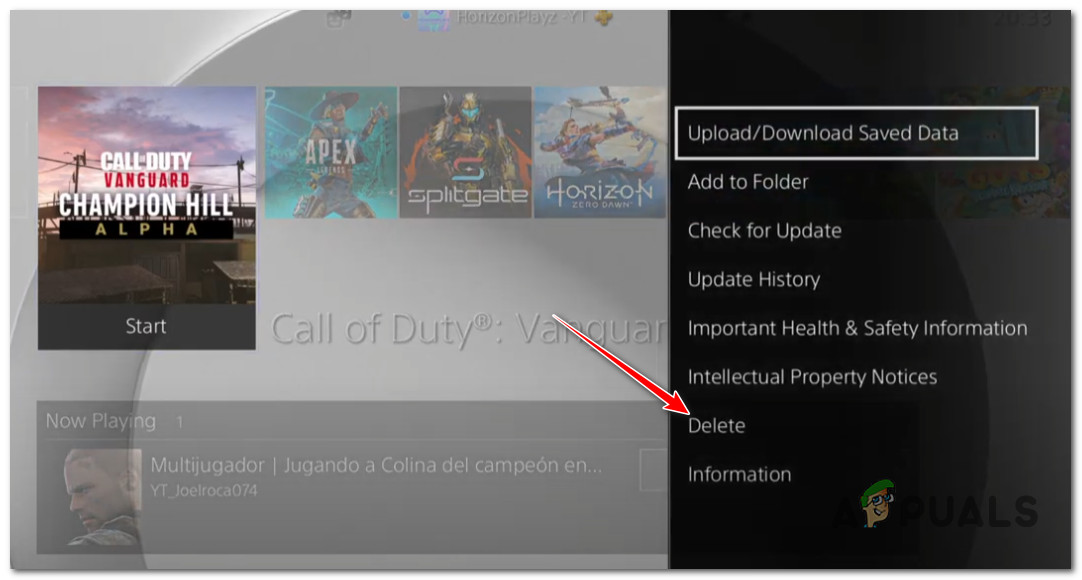
Delete the Call of Duty installation on Playstation 4 - After the game has been removed from your PlayStation 4 system and you are back on the home screen, use the left thumbstick on your controller to swipe left until you reach the Library menu. Select it once you’ve located it, then click the X button.
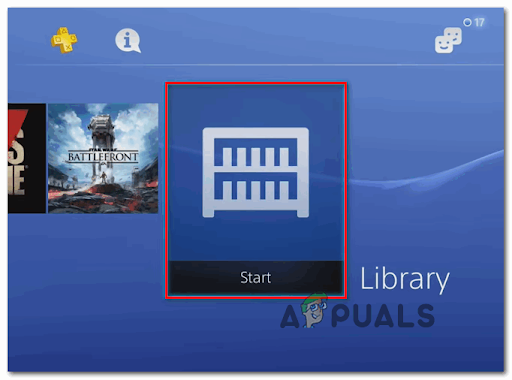
Accessing the Library menu - When you’re in the Library menu, choose Purchased from the vertical menu on the left, then navigate to the right-hand menu to choose the game you want to reinstall.
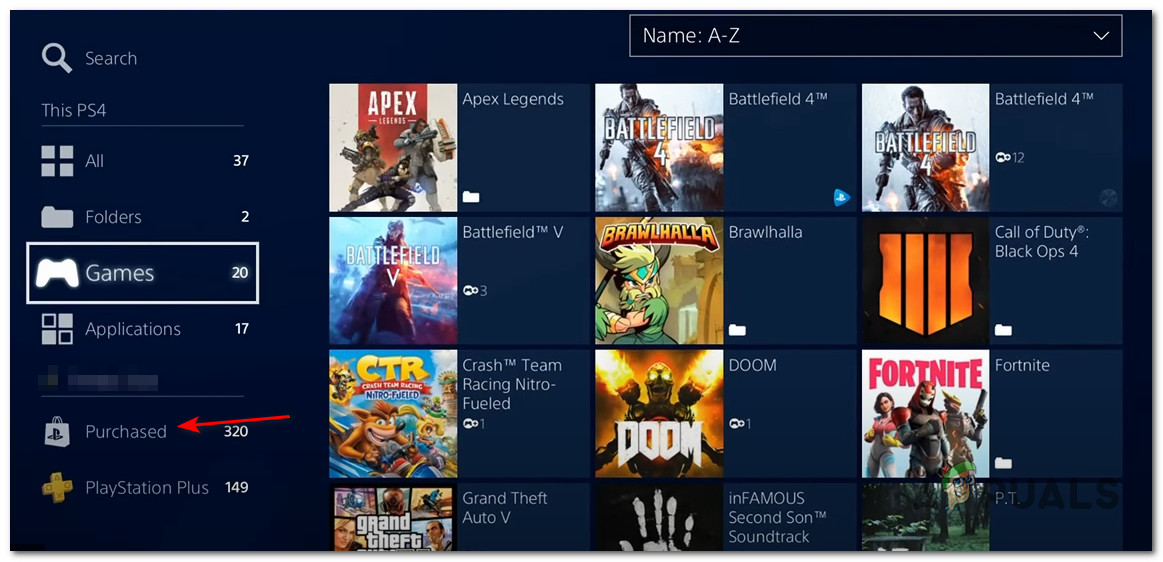
Reinstalling the game - After choosing Call of Duty from the list of options, use the Options key to bring up a context menu, where you may choose Download. Then, wait while the game is uninstalled.
- Try launching the game once more to see if the issue has been resolved.
5.3 Reinstall the game on Playstation 5
The procedures for uninstalling the game and reinstalling it will be very different from Playstation 4 because Sony updated the operating system for Playstation 5:
Reinstalling Call of Duty on the new Playstation 5 system is as follows:
- Select Call of Duty: Vanguard from the PlayStation 5 home screen using the left thumbstick or the arrow keys, then hit the Options button on your controller.
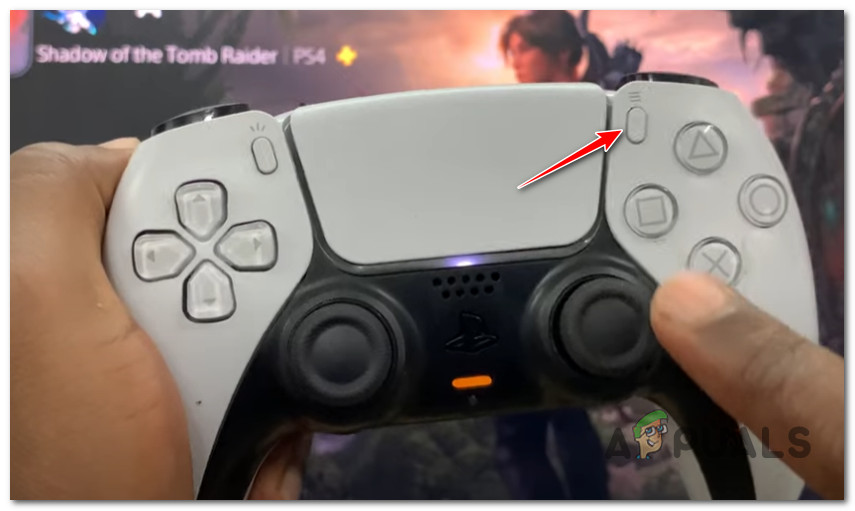
Press the Options menu - After that, choose to Delete from the context menu that just appears, then click “OK” to confirm your decision, and then watch as the game is uninstalled.
Delete Call of Duty on Playstation 5 - When center-aligned, the Call of Duty should be removed from the PlayStation 5.
- From your PS5 system’s home screen, go to the Game Library after the game has been successfully uninstalled.
- Next, locate and choose Call of Duty: Vanguard under Your Collection.
- Choose Download from the context menu that has just shown; the game will then start installing itself.

Downloading Call of Duty on Playstation 5 - Run COD once again to see if the issue has been resolved.
5.4. Reinstall the game on Xbox One and Xbox Series X
The instructions for reinstalling the game on Xbox One and Xbox Series X are nearly identical because both systems essentially share the same OS.
What you must do is as follows:
- Press the Xbox button on your controller, then choose My games & apps from the menu on the left.
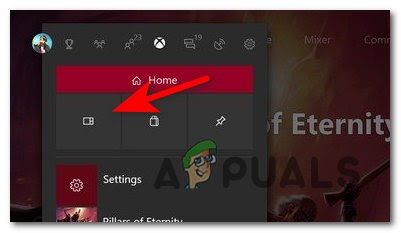
Access the My Apps & Games version - After that, choose the Games to menu option from the menu on the left and go through your library until you find the Call of Duty: Vanguard installation.
- To open the context menu when the game is selected, press the menu button on your controller.
- Open the Manage game and add-ons option from the context menu that just opened.
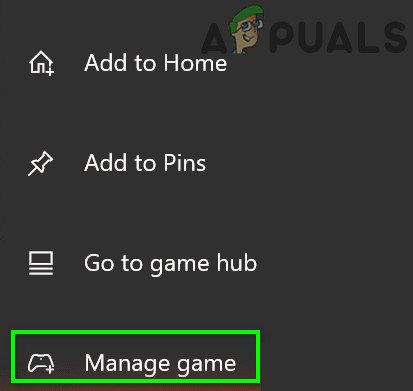
Managing the Game on Xbox - Select the Uninstall all option from the menu on the left of the following menu.
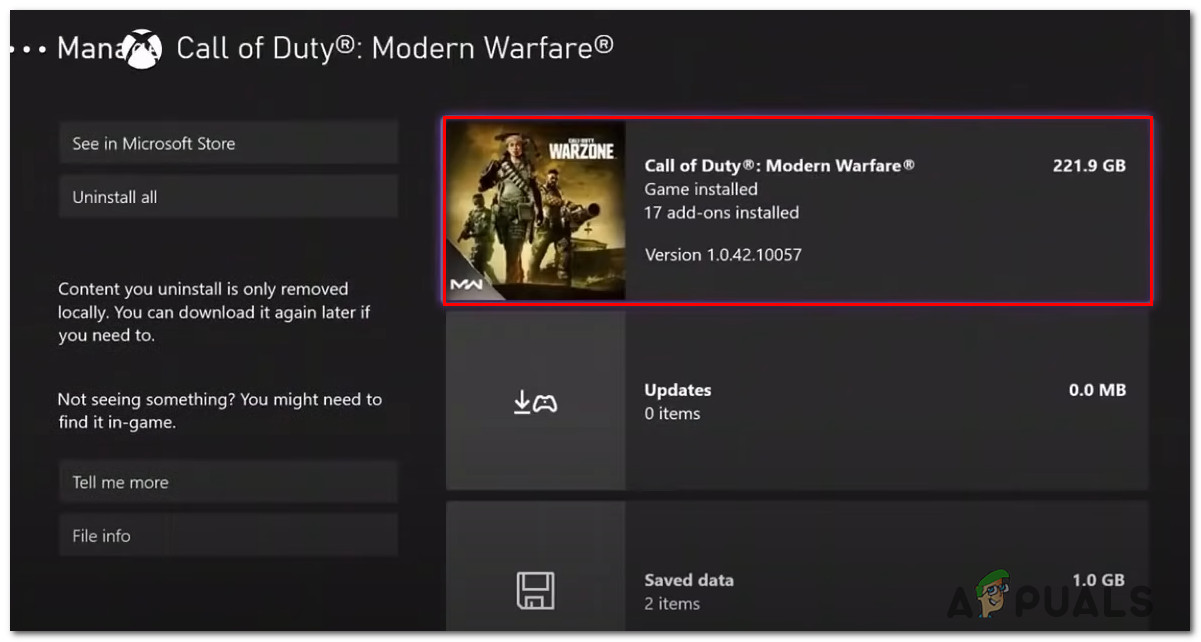
Uninstall Call of Duty Xbox - Once the operation has been confirmed, wait for it to be finished.
- After the game has been uninstalled, go to your Library on the home screen, select All-owned games, and then download Call of Duty again.
- Try launching the game again to see if the issue has been resolved.


