How to Clear the RAM Cache in Windows?
RAM itself does not have exclusive cache memory. Instead, it is created by multiple programs and applications on your computer. As you run these programs on your system, the cache file increases, making RAM cached. Since RAM does not store memory permanently, it remains in the RAM until it is active. Once you restart your system, the cache in your RAM is cleared. However, you don’t want to reboot your system just to clear your RAM’s cache.
We have prepared this guide to help you clear your RAM’s cache, making your system run faster without constantly restarting it.
Advantages of Clearing the RAM Cache:
There are many advantages to clearing your RAM cache; we have listed the most significant ones below for better understanding.
- Improved System Performance: Clearing the RAM cache can free up memory resources, which allows your system to run more smoothly and efficiently. This results in faster application loading times, smoother multitasking, and improved overall system responsiveness.
- Potential Troubleshooting: In some cases, clearing the RAM cache can help resolve certain software-related glitches. For example, if your thumbnails are not loading properly, it could be because your thumbnail cache might be corrupted. By clearing the cache, you can resolve such glitches, since Windows creates the RAM cache from scratch once it is removed.
- Updated Data: Clearing the cache ensures that you have the most up-to-date data when accessing websites or applications. That’s because, over time, the cached data can become outdated or corrupted. Once you clear the cache, the programs fetch newly available information, hence providing you with better and more accurate information.
- Privacy and Security: Clearing the cache can help protect your privacy and security by removing temporary files that may contain sensitive information. This is particularly important when using shared computers or public networks, as it reduces the risk of others accessing your personal data.
- Resource Allocation: Clearing the cache allows for better resource allocation within the system. By freeing up memory, you provide more room for other applications and processes to run smoothly without being hindered by limited available memory.
Disadvantages of Clearing the RAM Cache:
Don’t let these advantages obscure the bigger picture. While you may get a temporary performance boost in your system’s performance, is it really worth all the disadvantages that clearing this RAM cache brings with it?
- Temporary Slowdown: When you clear the RAM cache, the system may experience a temporary slowdown, as it needs to reload data from the disk into memory when the applications are accessed again. However, this slowdown is usually negligible and temporary, and the system’s performance typically stabilizes once the cache is rebuilt.
- Increased Resource Usage: Clearing the cache entails that applications will have to reload data from the disk into memory more frequently, resulting in increased disk and CPU usage. This can potentially lead to slower overall system performance, especially if the system has limited resources.
- Loss of Cached Data: The purpose of the cache is to store frequently accessed data for faster retrieval. When you clear the cache, you lose the benefit of having that data readily available. As a result, the system may need to fetch it from slower storage devices, such as a hard drive, causing potential delays in accessing the data.
- Delayed Application Startup: After clearing the cache, applications may take slightly longer to start up initially, as they need to retrieve data from the disk instead of accessing it quickly from the cache. This can be noticeable, especially for larger applications or those that rely heavily on cached data.
- Lower Efficiency for Cached Processes: Clearing the cache can have a negative impact on processes that rely heavily on cached data. For example, database applications or web browsers may experience decreased performance until the cache is rebuilt and data is recached.
Is it safe to clear cached RAM?
Yes. Clearing cached RAM is completely safe. The cache is a collection of temporary data that helps speed up access to frequently used applications and data. Clearing the cache does not remove essential system files or data; it merely eliminates the temporary copies stored in the cache. However, it is generally not necessary to do this frequently. Modern operating systems have efficient memory management systems that automatically handle memory allocation and cache management. Clearing the cache is typically recommended as a troubleshooting step or when experiencing specific performance issues.
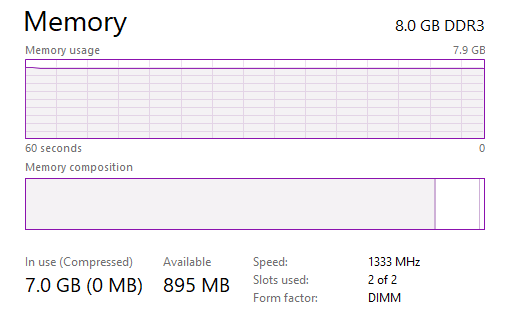
What happens when the RAM cache is full?
When your RAM cache is full, it indicates that the entire available cache is in use. This prevents you from making any space to store your data. Most of the time, your RAM cache becomes full when it can only store a fixed amount of data, which results in it gradually filling up over time and requiring you to clear it.
Does clearing RAM Cache increase computer speed?
Yes, clearing the RAM cache is more likely to increase your computer speed than any other method. It is by far the most effective way to boost your system’s speed, especially upon boot. This is because when your computer stops relying on the page files and the hard drive, it will perform faster.
Clearing the RAM cache can free up resources, which Windows can automatically dedicate to the program you are using. This makes your computer run smoothly and stably.
How do I clear my RAM cache?
Now that we know everything about clearing the RAM cache, here’s how to actually clear your RAM cache. There are many ways to clear your RAM cache. We have listed some of the most effective methods below.
Method 1. Delete Temporary Files
Upon running programs and files, they store temporary data in the RAM, which causes the RAM cache to increase. Therefore, deleting these files will help clear the RAM cache. Below, we have listed how you can delete the temporary files stored in the RAM:
- Press Win + R to open the Run command.
- Type “%tmp%” and click “OK” to open the temporary files folder.
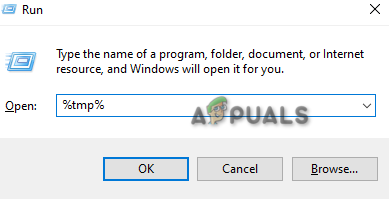
Opening tmp folder - Press Ctrl +A keys together to select all files in the folder.
- Press the Delete button to empty the folder.
- Type “temp” in the run command and click OK.
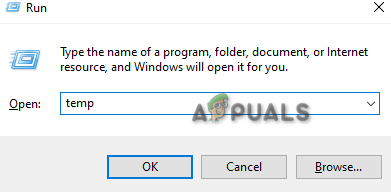
Opening temp folder - Delete all the content in this folder as well, using the same keys.
- Open the Windows Settings by pressing Win + I keys.
- Navigate to System > Storage.
- Click on the Temporary Files section and select “Remove Files” (Do not remove the Downloads folder).
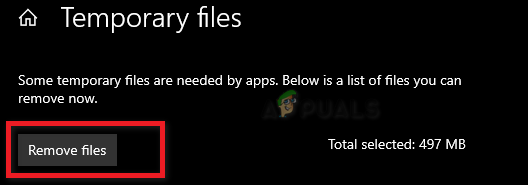
Removing temporary files - This will delete all the tempray files on your system and clear the RAM cache.
Method 2. Manually flush the cache
Windows has a feature that allows you to create a shortcut, which can be used to flush the cache in your RAM. Below is how you can manually flush the memory cache:
- Right-click on the Desktop Window and open the menu.
- Navigate to New > Shortcut.
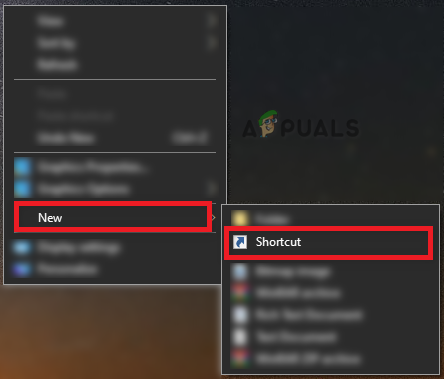
Creating new shortcut - Paste the following command into the location box under “Type the location of the item” and click Next:
%windir%\system32\rundll32.exe advapi32.dll,ProcessIdleTasks
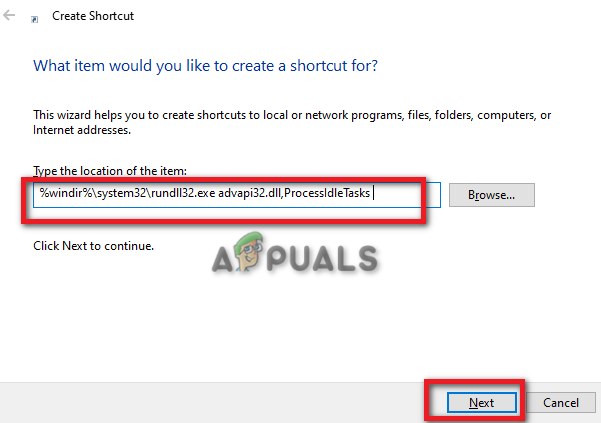
Typing location of item - Type the name of the shortcut as “Flush RAM Cache” and click Finish.
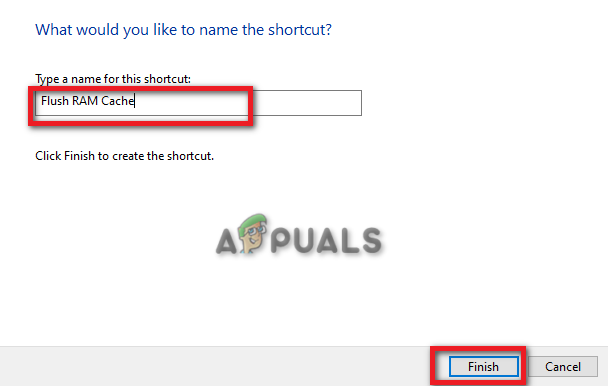
Typing name of shortcut - Double-click on the shortcut and run it to manually flush the RAM cache.
Method 3. Clear the paging files
Paging files refer to the data that is stored on the hard drive even after shutting down your system. Clearing them will help clear the RAM cache on the system, making your system perform faster. Below, we have provided instructions on how to clear paging files in Windows.
- Open the run command by pressing the Win +R keys.
- Type “regedit” and click OK to open the registry editor.
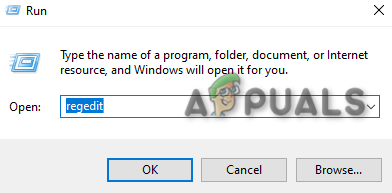
Opening registry editor - Open the following path in the registry editor:
HKEY_LOCAL_MACHINE/SYSTEM/CurrentControlSet/Control/Session Manager/ Memory Management - Right-click on the ClearPageFileAtShutdown REG DWORD.
- Click on the Modify option.
- Set the value from 0 to 1 under the ‘Value date.’
- Click OK to make the changes.
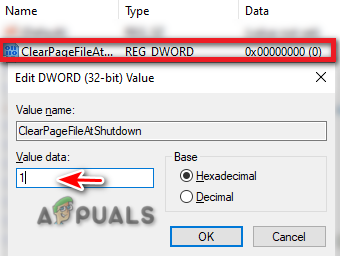
Modifying the registry key
Method 4. Create a .VBS Script
Since programs are known to store their individual data in RAM, it may take you a significant amount of time to determine which program is causing an increase in the RAM cache. Therefore, you can run a .VBS script to manually clear the RAM cache. However, before you run the script, you must close some programs that consume a high amount of memory. Follow the instructions below to run the .VBS script:
End high-memory-usage tasks.
- Press the Win +X keys together to open the secret start menu.
- Click on the “Task Manager” option.
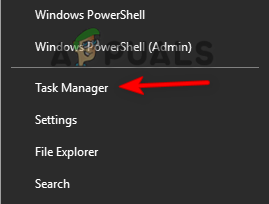
Opening the Task Manager - Open the Processes tab and click on the Memory option.
- Right-click on the unwanted applications with the highest memory usage (in this case, Google Chrome).
- Select the “End task” option to end the application.

Ending the task
- In the Task Manager, click on the “Startup” tab.
- Select the startup programs that you don’t need to start during boot.
- Right-click on them and select the “Disable” option.
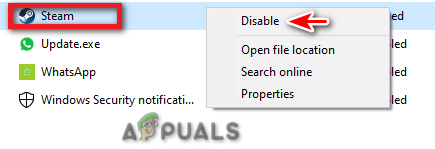
Disabling startup program
Running a .VBS script.
- Open the Performance tab on the Task Manager.
- Select the Memory slot.
- Note down the cached value listed under “Cached” (This indicates how much memory is being cached in your RAM).
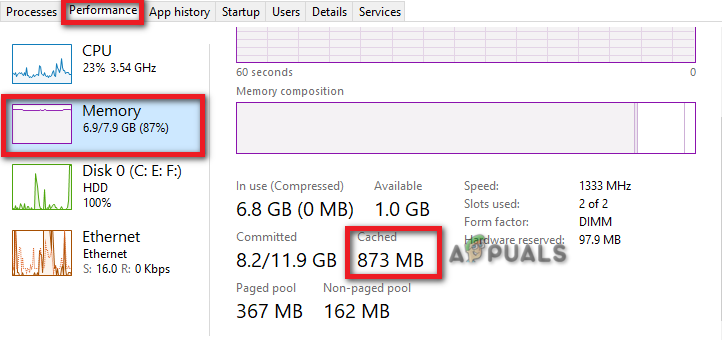
Finding cached value - Press Win +R to open the run command.
- Type “Notepad” and click OK.
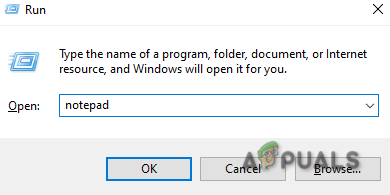
Opening the notepad - Type the following command into Notepad to free 500 MB of memory:
FreeMem = Space(500000000)
- Press Ctrl + S and save the command as a .vbs file.
- Double click on the saved .vbs file and run it.
- This will clear the RAM cache.
- Make sure to change the values in the command if you have a higher amount of cached data.
Method 5. Use the RamMap Tool
RamMap Tool is a Windows utility that helps clear unwanted RAM cache on your system. You can download and use this tool to clear RAM cache easily. Simply follow the steps below to see how you can use this tool on your computer:
- Go to the Official Microsoft website.
- Click on the “Download RamMap” option.
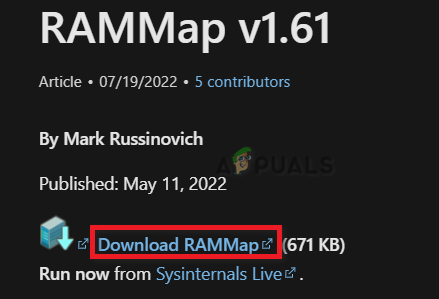
Downloading RamMap tool - Select the folder where you want to save the tool.
- Open the downloads page by pressing the Ctrl + J keys.
- Open the file location.
- Right-click on the zip file and extract it.
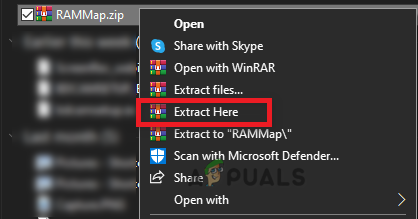
Extracting zip file - After extracting, double click on the RamMap.exe file.
- Click Agree to confirm the License Agreement.
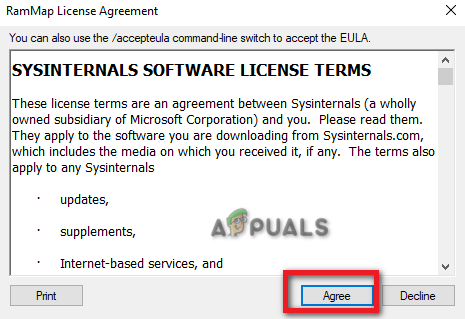
RamMap License agreement - After launching the RamMap tool, click on the Empty option above.
- Select Empty Standby List, Empty System Working Set and Empty Working Set.
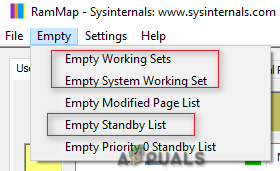
Clearing RAM cache on RamMap - Once done, it will clear the RAM cache on your system.
Method 6. Increase Page size or Virtual Memory
As a last resort, you can manually increase your virtual memory or page size by allocating a larger size. Below, we have provided step-by-step instructions for increasing your page size.
- Press the Win + R keys to open the Run command.
- Type “control panel” and click OK.
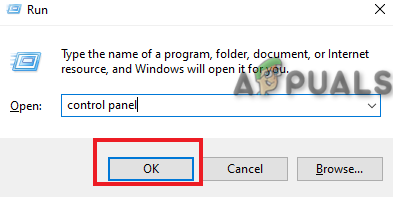
Opening the control panel - Click on the “View by” option and select “Large icons.
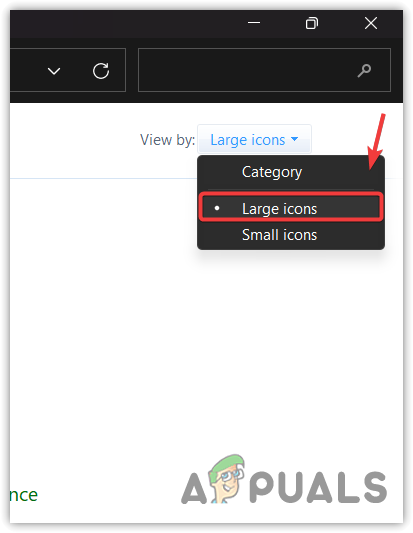
Changing View By to Large icons - Navigate to System > Advanced system settings.
- Select “Settings” under Performance.

Changing performance settings - Open the “Advanced” tab.
- Click “Change” under Virtual Memory.
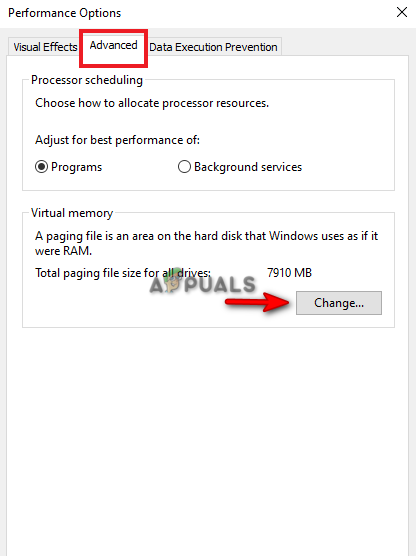
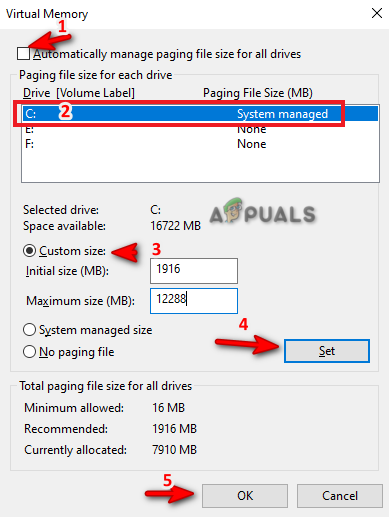
Changing virtual memory Note: If the “Currently allocated” virtual memory is larger than the “recommended” virtual memory then you must choose a custom size. - Uncheck the “Automatically manage paging file size” box.
- Select the default drive.
- Click on the “Custom size” box.
- Add the recommended virtual memory size in the “Initial size” slot (here, it is 1916).
- Add 1.5 times your RAM size in the “Maximum size” slot. (For 8 GB of RAM, input 8 * 1024 * 1.5).
- Click Set and OK to confirm the actions.
Setting custom memory size - Restart your computer.
In conclusion, clearing the RAM cache can have advantages in terms of improved system performance, but the temporary slowdown and impact on specific programs are generally minor. It is important to understand that clearing the cache is a temporary measure and does not substitute for other actions such as optimizing system settings, managing startup programs, or upgrading hardware components when necessary.


