Can’t play Minecraft Java Edition? Try these Solutions
Minecraft Java & bedrock edition not launching might be due to a faulty Java installation or an unstable launcher. The problem is faced at the game’s startup; before jumping straight into the solutions, we will discuss possible reasons for us facing this error to understand the issue.
What causes Minecraft: Java & Bedrock edition not to launch properly
There are a few reasons why we are facing difficulties launching Minecraft; here’s a brief outlook on what we think might be the chief issues at hand:
- Lack of administrative privileges- A lack of administrator privileges means the game might not have access to necessary services for smooth processing.
- Faulty Java installation- An unstable java installation could be the reason for our game not launching, or it might be due to an outdated java installation.
- Outdated display drivers- Having an older version of graphics drivers might be why you are facing this issue; it can be dealt with by simply updating your computer’s display drivers.
- Intervention from background applications- Applications running in the background might be causing an intervention with Minecraft’s smooth processing
1. Run as an administrator
Running the game as an administrator allows the game to access components of windows that it can not operate in user mode, and a lot of times, it solves problems such as the one we are facing. Follow these steps to run Minecraft as an administrator.
1.1 Create a Shortcut for Minecraft
To create a shortcut for Minecraft, follow these straightforward steps:
- Open the Xbox App.
- Right-Click on Minecraft.
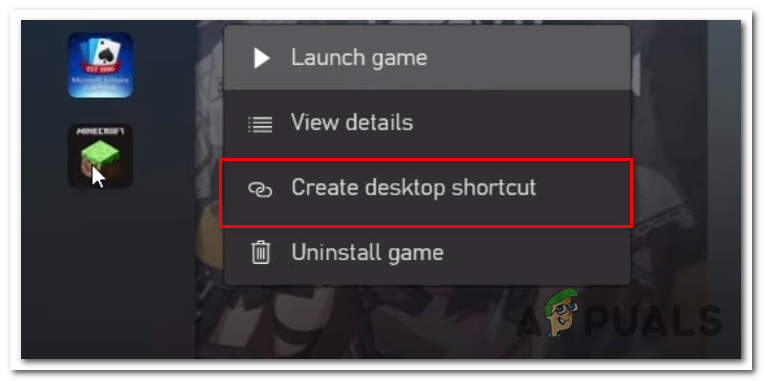
Creating Desktop shortcut for Minecraft - Click on Create a Desktop shortcut.
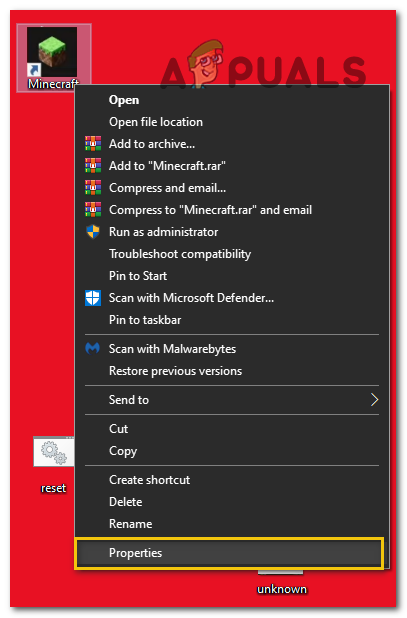
1.2 Run the game as an administrator
Once you have created a shortcut for Minecraft on desktop, head on over to it and follow these steps:
- Right-Click on the Minecraft Desktop shortcut.
- Click on Properties.
Running Minecraft as an administrator. - On the top menu bar, click on Compatibility.
- Make sure the check box Run this program as an administrator is checked
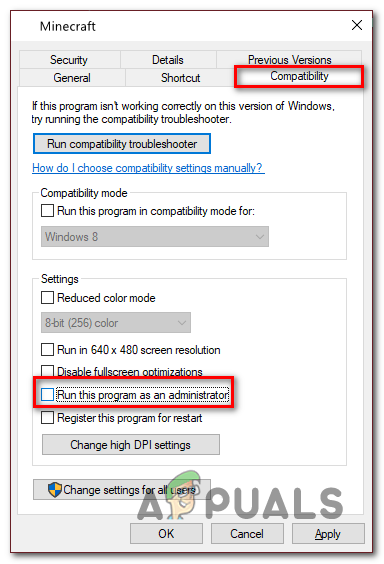
Running Minecraft as an administrator - Hit Apply and Ok.
- Try Launching Minecraft now.
If the problem presumes after running the game as an administrator, continue to the next step.
2. Install Latest Java
An unavailable or Unstable version of Java might be why your Minecraft isn’t functioning correctly.
2.1 Identify the version of Java
Before installing, let’s find out if your Java even needs an update. Follow these steps to find out:
- Press Windows Key to open the start menu
- In the search box, type in CMD.
- Open Command Prompt and paste the following command
java -showversion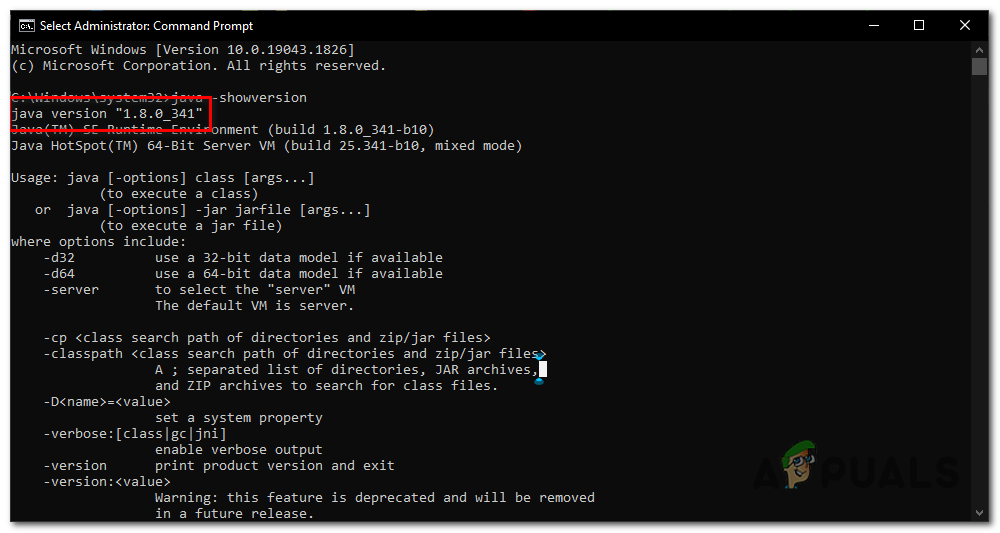
Checking Java version - If your Java version is over version 8, skip to method number 3.
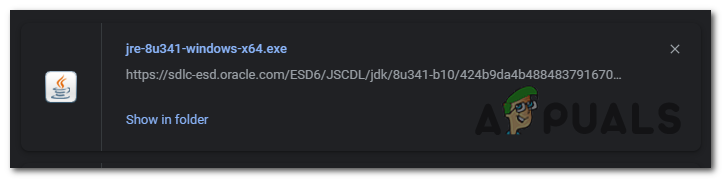
2.2 Installing the latest version of Java
Follow the below-mentioned steps to install the latest version of Java:
- Click here to download Java.
- Click on the Download button to initiate the downloading process.
- Click on the downloaded file to install Java.
Installing the latest Java - Click on the Install Button.
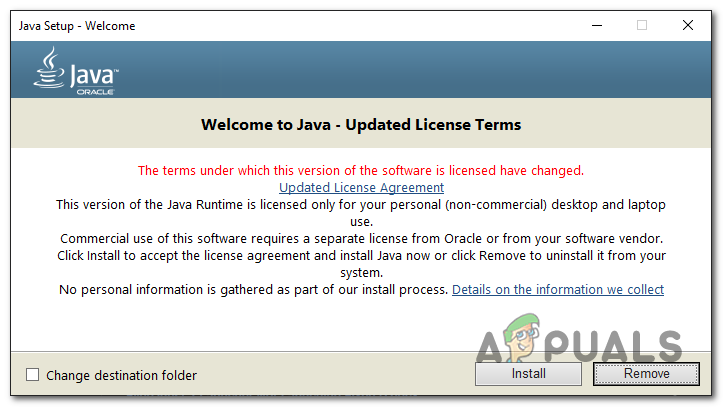
Installing the latest version of java - Let the installing process finish.
Once Java is installed, Restart your computer to let the changes take place. After the restart, try launching Minecraft. If the issue persists, continue to the next step.
3. Check the Date/time
Xbox saves game save data with the date and time linked to it. If you have an incorrect time set on your computer, it may create confusion with servers thus leading to failed processing of the game at launch. Follow these steps to set the correct date/time:
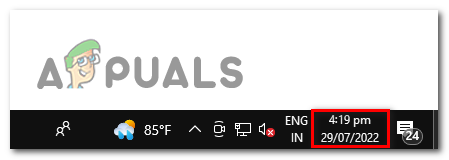
- Right-click on the highlighted part of the taskbar as shown in the image
Correcting date and time on windows 10 - Click on Adjust Date & Time.
- Toggle the Set time automatically switch to on.
- Toggle the Set time zone automatically switch to on.
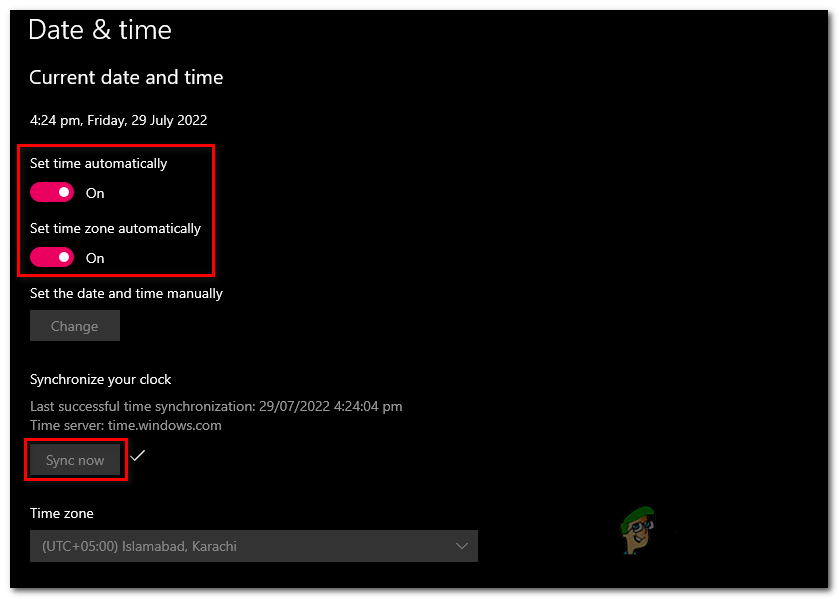
Correcting date and time on windows 10 - Click on sync now to finalize the process.
Now, try launching Minecraft. If the issue presumes, continue to the next step.
4. Reinstall Display drivers
Updating display drivers might resolve the issue for us. Follow these steps to perform a fresh reinstallation of your graphic drivers:
4.1 Uninstall Graphics Drivers
We’ll be using a Display driver uninstaller to completely remove our current graphics drivers as the normal built-in uninstallation feature reportedly leaves corrupt registry entries and residual files, which might be an issue in the future. Follow these steps to uninstall display drivers completely:
- Click here to download a Display driver uninstaller or DDU.
- Scroll down; under the Download locations heading, click on the server nearest to your graphical location for faster download speeds.

Download and install a display driver uninstaller - Once the file is downloaded, extract the contents of the downloaded .zip file to a new folder
- Head over to the extracted content folder and click on the DDU v18.0.5.1 application file.

Installing Display driver uninstaller - Click on Extract.

Installing Display driver uninstaller - Double-Click to open the newly created folder after the extraction process is done..
- Close the pop up window.
- Select your graphics card manufacturer in the right-panel of the DDU user interface.

Configuring Display driver uninstaller - Now, Click on the Clean and restart button on the top left side of the user interface.
4.2 Download and Install Display drivers
Download and install the latest available display drivers for your graphic card using the below-given links. Click on the bullet with your graphic card’s manufacturer name in it.
- Download Display drivers for AMD graphics cards.
- Download Display drivers for Nvidia graphics cards.
5. Use an older version of the Minecraft launcher
An older version of the Minecraft launcher means a version considered stable, tested to its core and has stood the test of time. We’ll install the Minecraft launcher made for windows 7/8; follow these straightforward steps to do so:
5.1 Uninstall Minecraft Launcher
Before installing another Minecraft launcher, we need to uninstall the previously installed variant on our computer. Follow these steps to uninstall the Minecraft launcher:
- Press the Windows key to open the start menu.
- In the search box type Minecraft to search for it
- Right-click on Minecraft and click on Uninstall.
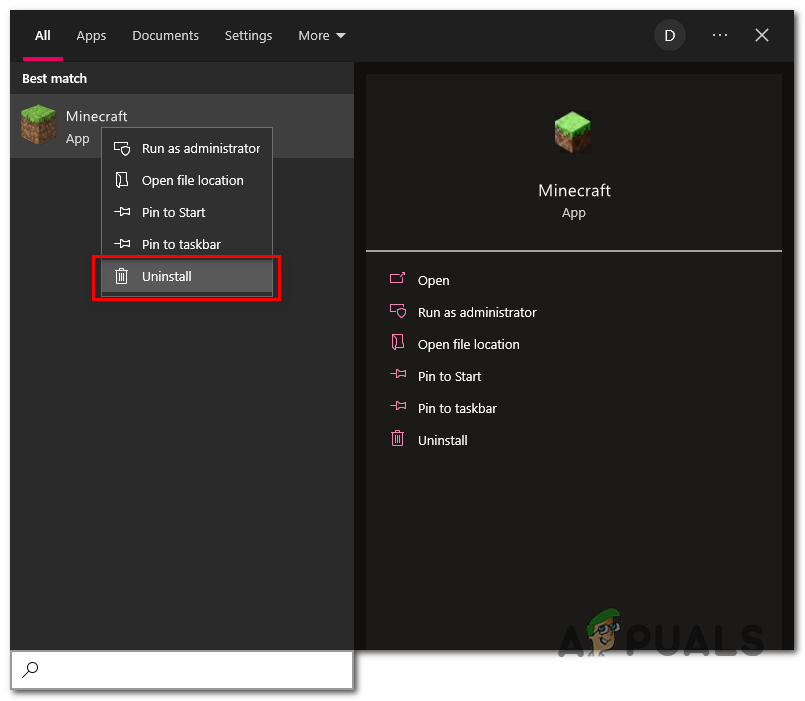
Uninstalling Minecraft launcher - Once uninstalled, continue to the next step.
5.2 Download and install Minecraft Launcher
- Click here to download the Minecraft launcher for Windows 7/8.
- Click on the Download launcher for windows 7/8.
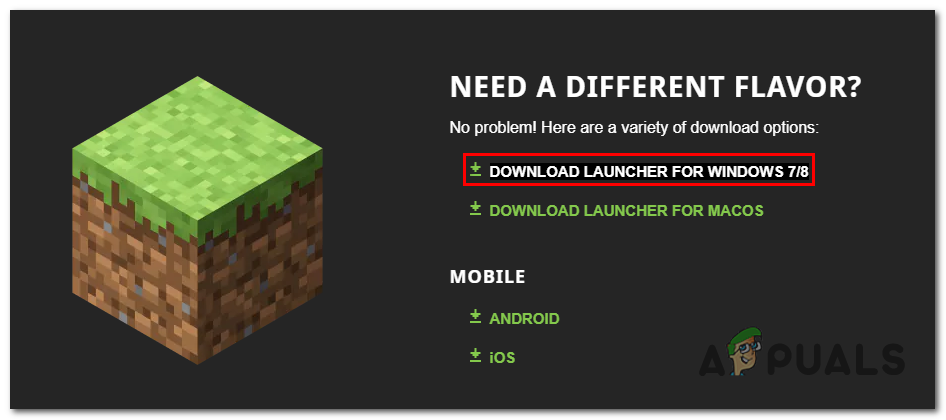
Downloading Minecraft launcher - Once Downloaded, Continue with the straightforward installation.
6. Delete any mods
If you are upgrading to java edition from an older version and your mods are still active, it is advised to delete mods to be on the safe side. The steps mentioned below are for windows computers but can also be applied to macOS. Here’s how to delete any installed mods on Minecraft.
- Press Windows + R key to open the run dialog box.
- In the typing field paste in the following text, which will redirect you to Minecraft’s root folder on your computer.
%appdata%\.minecraft\
Macos users should visit the following path "~/Library/Application Support/minecraft"
- In the folder it opened, Double-click to open the Mods folder.
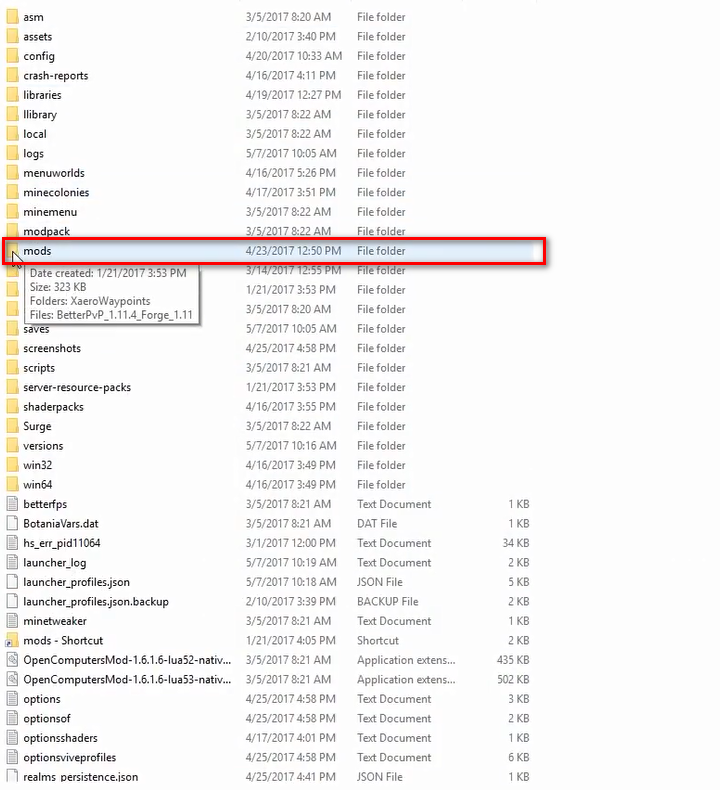
Deleting mods - Delete or move the folder’s content if you plan on using these mods in future.
- Once done, back out of this folder and try launching the game.
7. Update windows
This might be happening due to an unstable version of windows operating your computer, winodws update are straight-forward. Follow these steps to easily update your windows to the latest version.
- Press Windows key to open the start menu.
- In the start menu’s search box type Check for updates.
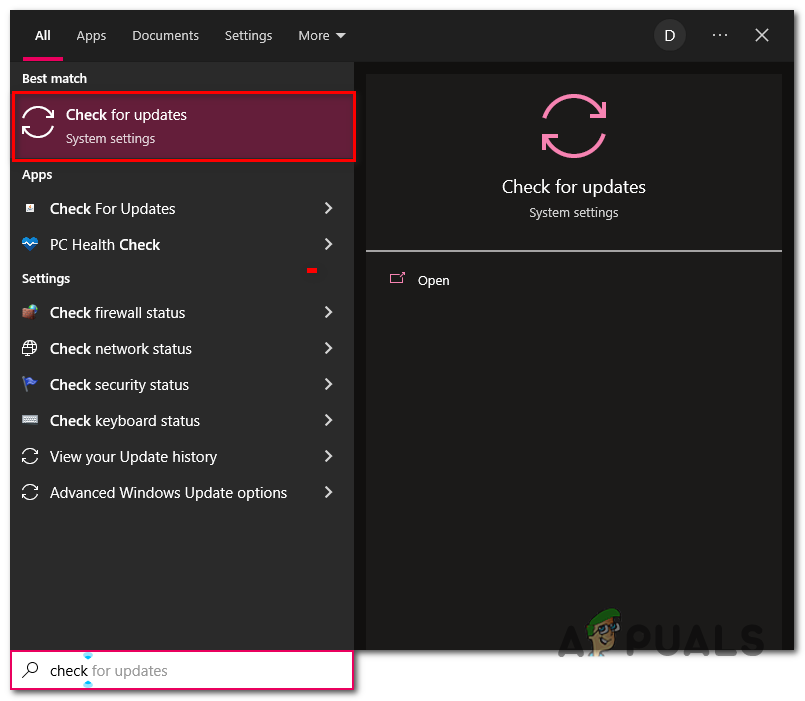
Updating windows - Click on Update Now.
- Let the windows automatically look for any updates and update it for you.
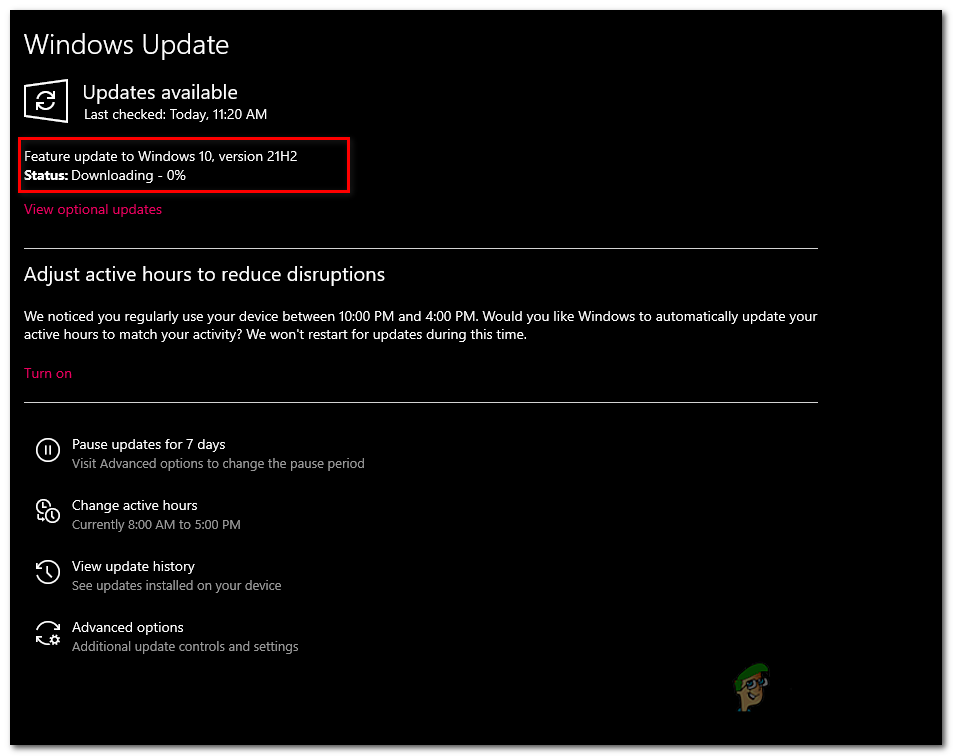
Updating Windows - Once updated, restart your computer.
Try launching the game once your computer has successfully restarted.
7. Reinstall Minecraft
If none of the above-mentioned steps have been of aid to you, maybe the problem resides with the application files of Minecraft. Application files may have gotten corrupt during the download process. This can be fixed by reinstalling Minecraft.


