Can’t Play the Current Song on Spotify? Try these methods
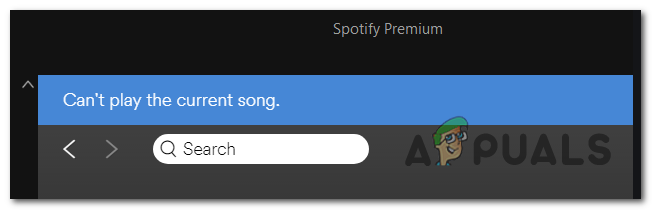
Some Spotify users have been encountering an issue while trying to play songs on the desktop version of Spotify, that reads “Can’t play the current song. As it turns out, the error message in question seems to be caused by only certain tracks as others play just fine. In addition to that, the problematic tracks work fine on the mobile version and even when using a browser. The problem in question can be caused by a number of things which include the entries in your hosts file as well as the offline song cache. In this article, we are going to show you how to resolve the mentioned error message so just follow through the guidelines that we are going to mention down below.
As it turns out, Spotify is the most popular audio streaming service provider and while the apps work just fine for the most part, there are scenarios where you can tumble upon issues such as the installation error 53. In any case, the reason that you are facing the error message mentioned above can vary depending on your scenario as there are different factors that can come into play. Thus, before we begin with the different methods that you can use to resolve the issue in question, let us first go through the various causes of the problem to establish a better understanding.
Now that we have gone through the possible list of causes, let us get started with the different methods that you can use to fix the issue in question.
Restart Headphones
The first thing that you should do when you encounter the problem in question is to restart your headphones. As it turns out, most of the users who came across this issue while using Bluetooth headphones or earbuds have reported that restarting their headphones fixes the problem for them. Upon restarting the Bluetooth headphones, the track starts playing without any issues. As such, if you are using a Bluetooth headset or earbuds as well, we would recommend restarting it to see if that resolves the issue.
Set Crossfade to 0
Another thing that can result in the problem in question is crossfade. In case you don’t know, a crossfade is essentially the smooth transition that occurs between two audio files. Thus, in this case, the transition between one track and another can be referred to as crossfade. As it turns out, sometimes the issue can be due to crossfade as stated above and as such, you will have to set it to 0. To do this, follow the instructions below:
- First of all, open up the Spotify app on your computer.
- Click on your name at the top right corner and from the drop-down menu, choose Settings.
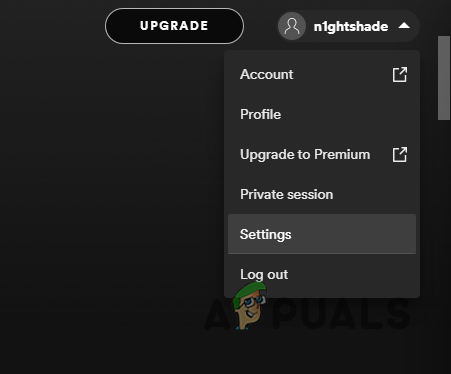
Navigating to Spotify Settings - Then, on the Settings screen, scroll all the way down and click Show Advanced Settings.
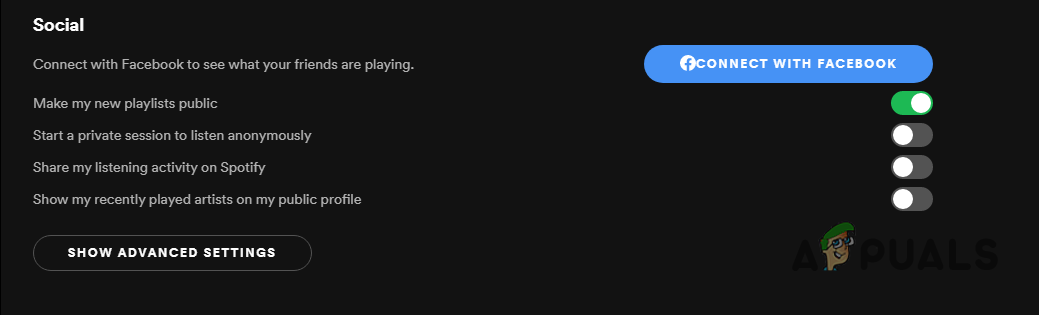
Spotify Advanced Settings - Now, under the Playback section, enable Crossfade in case it isn’t and move the slider provided to set the value to 0.
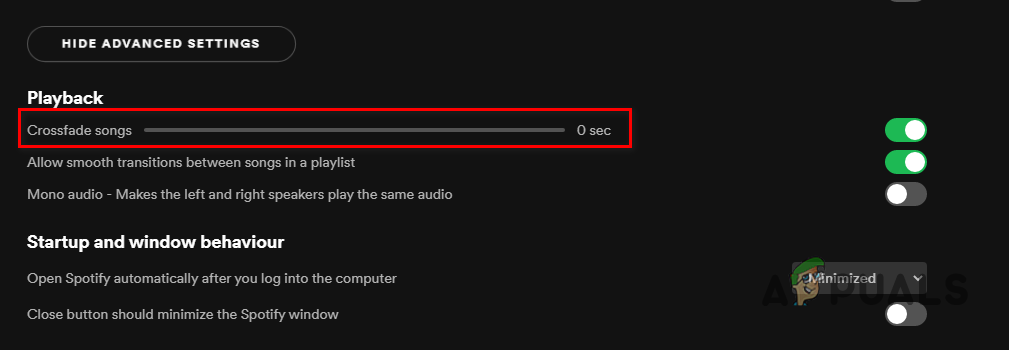
Spotify Crossfade - In case Crossfade is already enabled and set to 0, try disabling it instead.
- With that done, restart your Spotify app and see if the problem still occurs.
Clear Offline Song Cache
As it turns out, one of the reasons that the “Can’t play the current song” error message comes up is due to the offline song cache. When you are listening to music or podcasts on Spotify, certain parts of them are stored locally on your computer which helps with playing them back without any stutter. Now, when this cache is either corrupted or damaged, it can cause various issues such as the one mentioned above.
As such, to resolve the problem, you will have to clear out the offline song cache. To do this, follow the instructions that are given down below:
- To start off, open up the Spotify app on your system.
- At the top right corner, click on the drop-down arrow provided and then click Settings.
Navigating to Spotify Settings - On the Settings menu, go down and then click the Show Advanced Settings button.
Spotify Advanced Settings - Now, again scroll down and then under the Offline songs storage section, take note of the location provided.
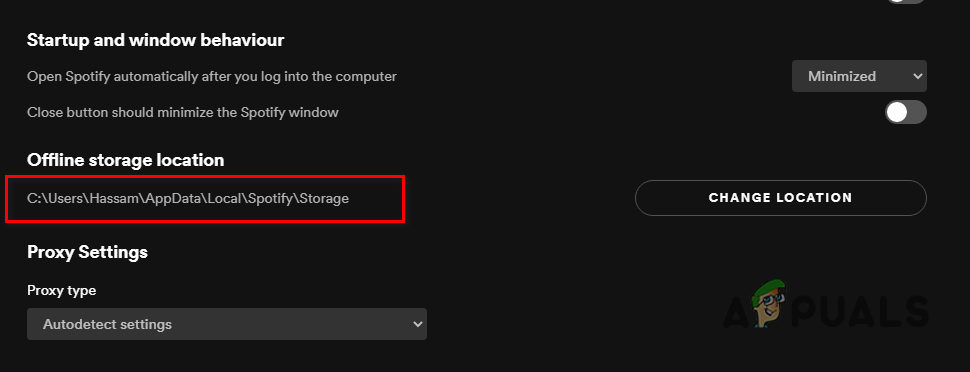
Spotify Offline Storage Location - With that done, open up File Explorer.

Opening up File Explorer - In the File Explorer window, navigate to the Offline songs storage location.
- Once you are there, press CTRL + A to select everything and then delete them.
- With that done, go ahead and restart Spotify. See if the problem is still there.
Change DNS Server
The DNS server that you are using on your system can also cause the error message in question. When this happens, you will have to change the DNS server that you are using by opting for a DNS server provided by Google or Cloudflare, the most famous ones. To do this, follow the provided instructions:
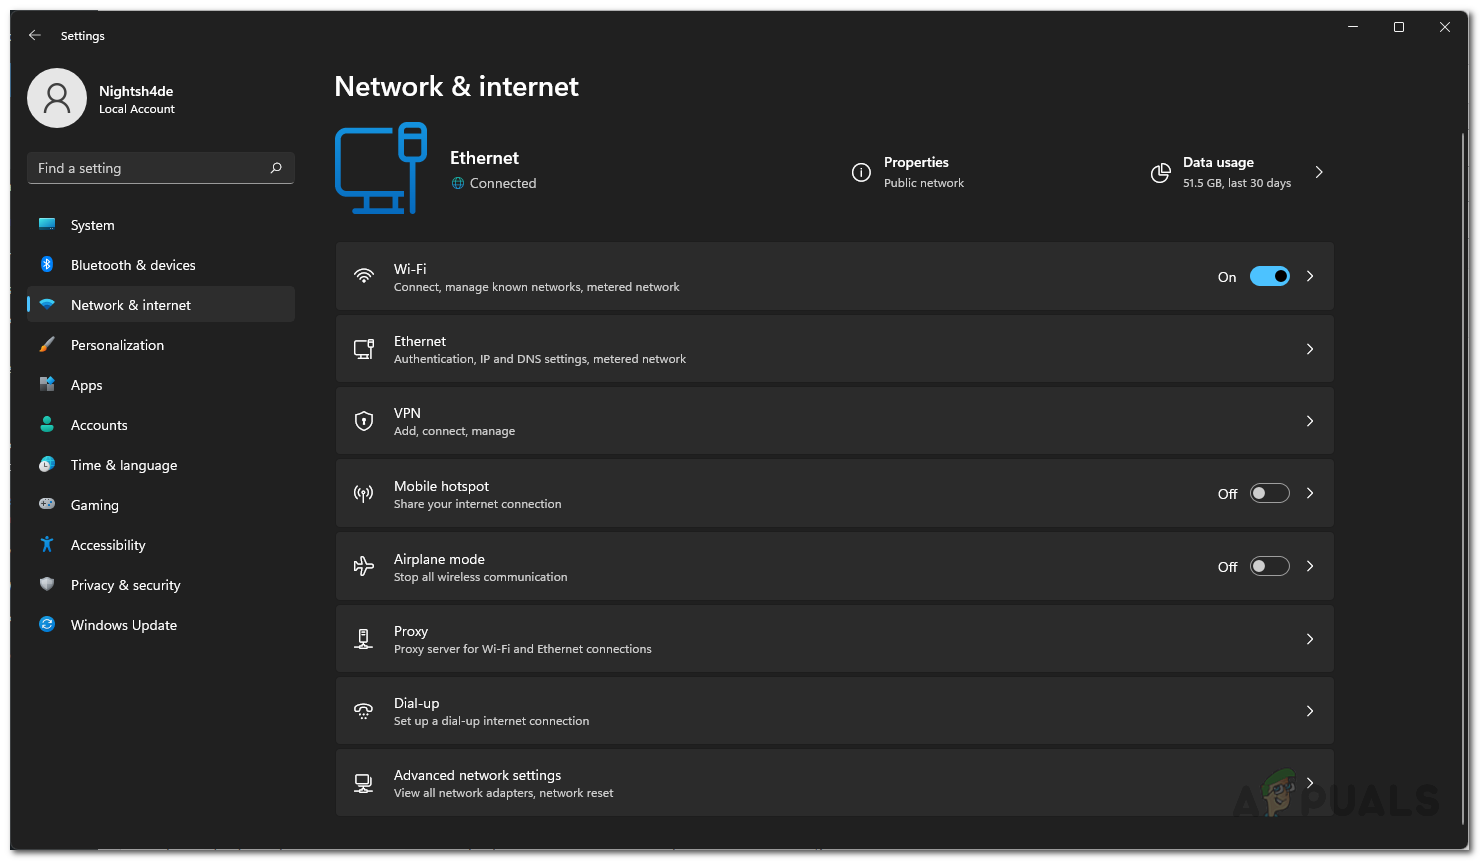
- First of all, on your taskbar, right-click on the network icon and from the menu, choose the Network and Internet settings option.

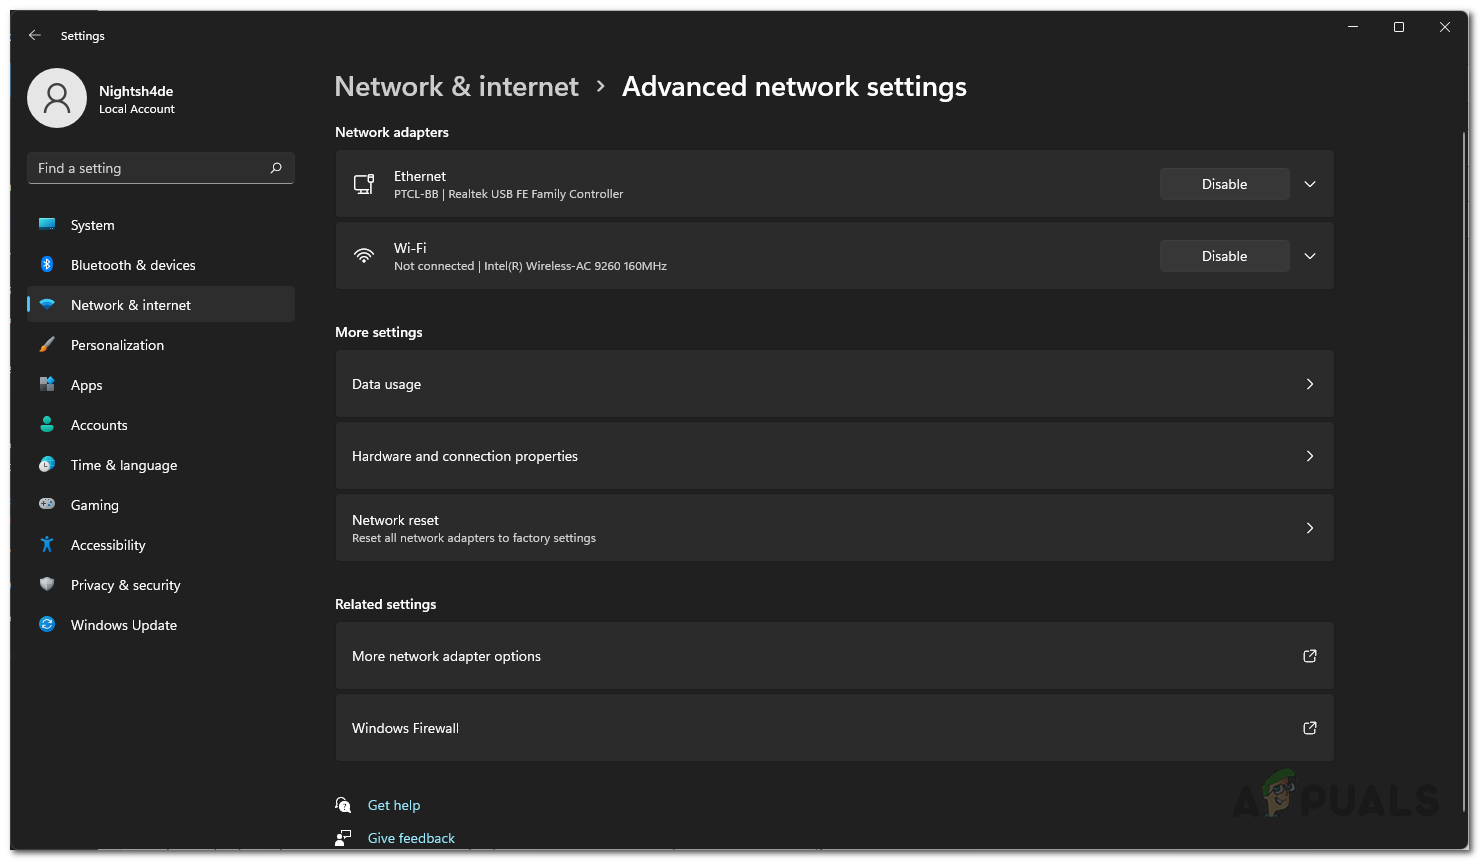
Opening up Network Settings - On the Network settings window, click on the Advanced network settings option.
Network Settings - Then, go ahead and click on the More network adapter options option.
Advanced Network Settings - With that done, right-click on your network adapter and from the drop-down menu, choose the Properties option.
- On the Properties window, double-click on the Internet Protocol Version 4 (TCP/IPv4) option.
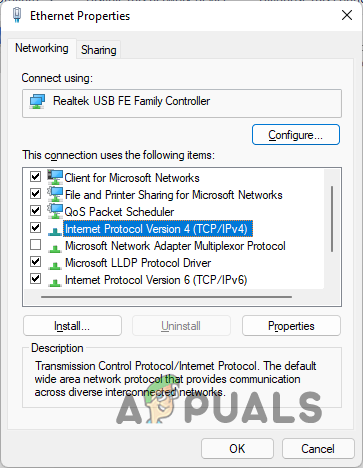
Ethernet Properties - There, choose the Use the following DNS server addresses option at the bottom.
- Finally, provide either Google or Cloudflare’s IP addresses from down below.
Google: 8.8.8.8 8.8.4.4
Cloudflare: 1.1.1.1 1.0.0.1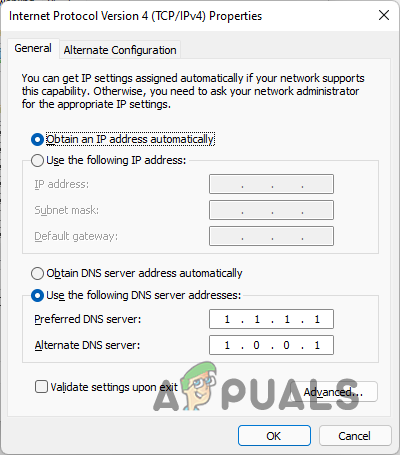
Changing DNS Server - With that done, click OK.
- Now, restart the Spotify app on your system and see if the problem is still there on the next startup.
Edit Hosts File
As it turns out, Windows uses a hosts file which is essentially a plain text file used to map hostnames to IP addresses. If there are any entries of Spotify inside the hosts file, that can cause the issue that you are encountering. As such, you will have to edit the hosts file and remove any related entries. This requires administrative privileges so make sure you have them. Follow the instructions down below to do this:
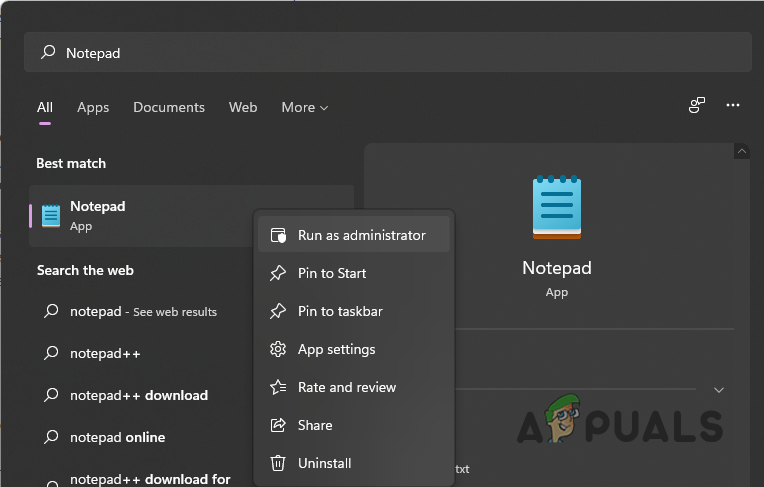
- To start off, search for Notepad in the Start Menu. Right-click on the result shown and from the drop-down menu, choose the Run as administrator option.
Opening up Notepad as Admin - Then, on the Notepad window, click on File > Open.
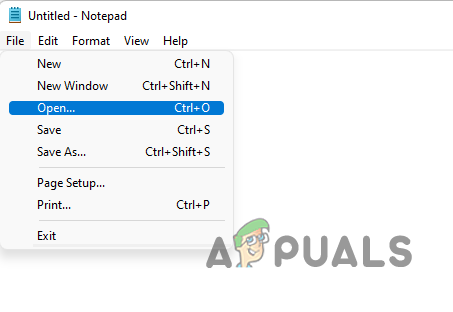
Notepad File Menu - Navigate to the C:\Windows\System32\drivers\etc folder.
- Once you are there, make sure you choose All Files from the menu above the Open button.
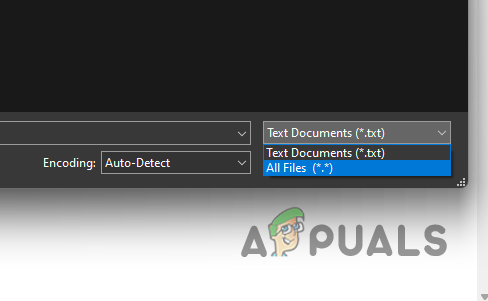
Choosing All Files - Then, choose the hosts file and click Open.
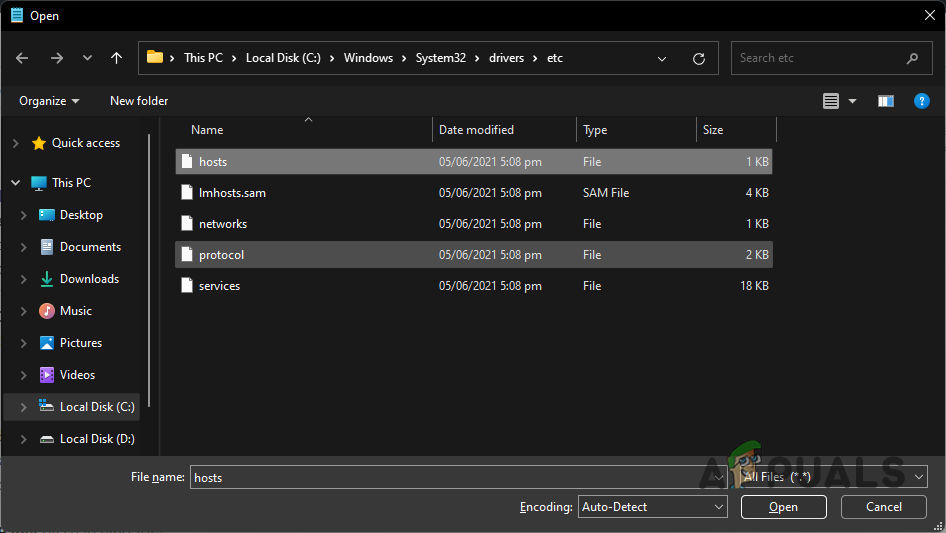
Opening up hosts File - With that done, look for any entries with Spotify and if there are any, simply remove the line.
- Save the document by pressing CTRL + S and then close it out.
- Finally, go ahead and restart the Spotify app and see if the problem is still there.
Clean Install Spotify
Finally, if none of the above methods has fixed the problem for you, then it is very likely that the issue is being caused by your installation files. In such a scenario, you can fix the issue by simply performing a clean install of Spotify. To do this, follow the instructions that are provided down below:
- First of all, open up the Control Panel by searching for it in the Start Menu.
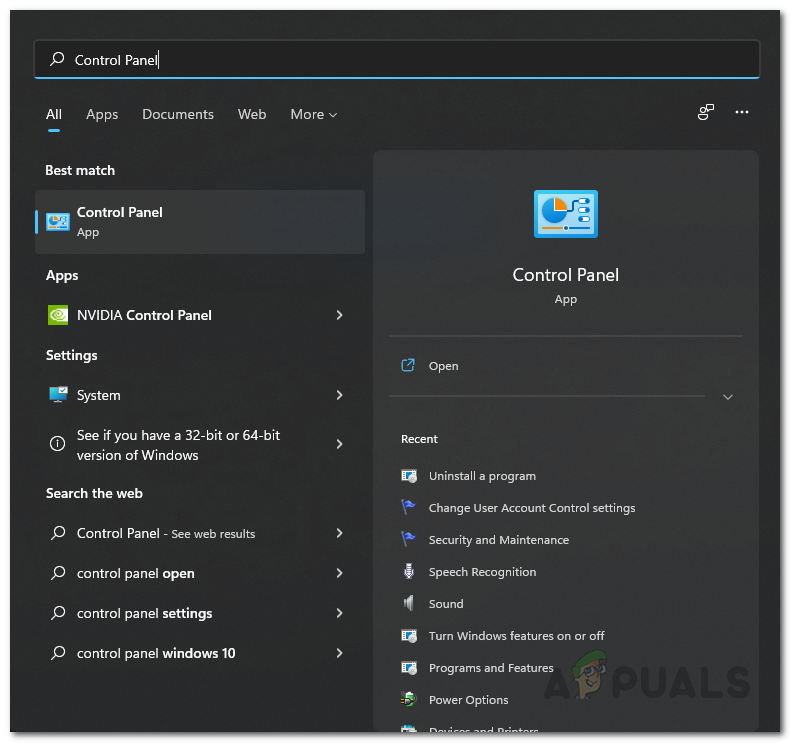
Opening up Control Panel - On the Control Panel window, click on the Uninstall a Program option.
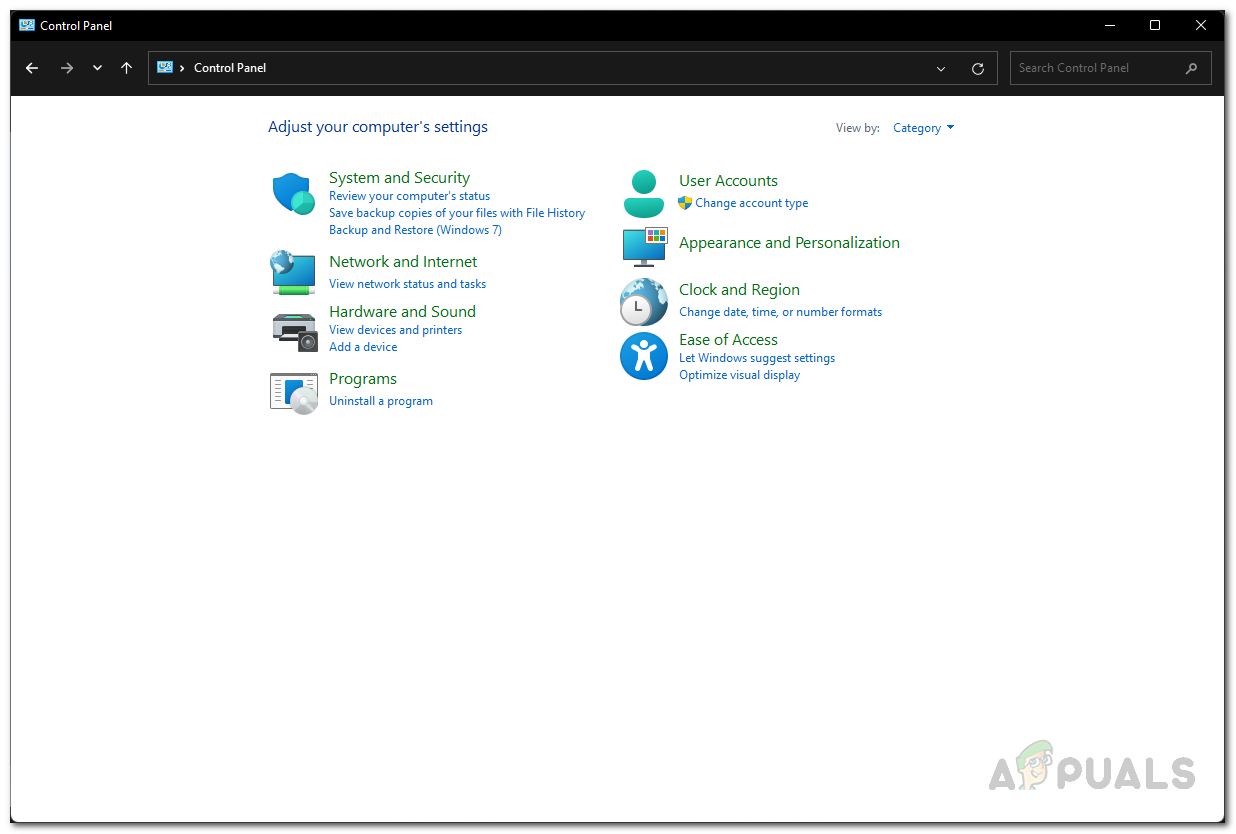
Control Panel - From the list of installed apps, locate Spotify and double-click on it to remove it from your system.

Uninstalling Spotify - With that done, open up the Run dialog box by pressing Windows key + R.
- In the Run dialog box, type in %AppData% and then hit Enter.
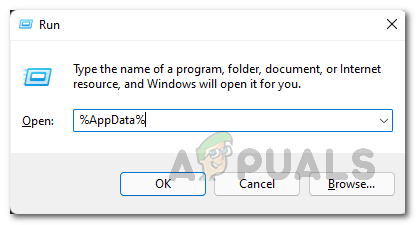
Opening up Roaming Directory in AppData - This will take you to the Roaming directory inside AppData. Look for any Spotify folder and delete it.
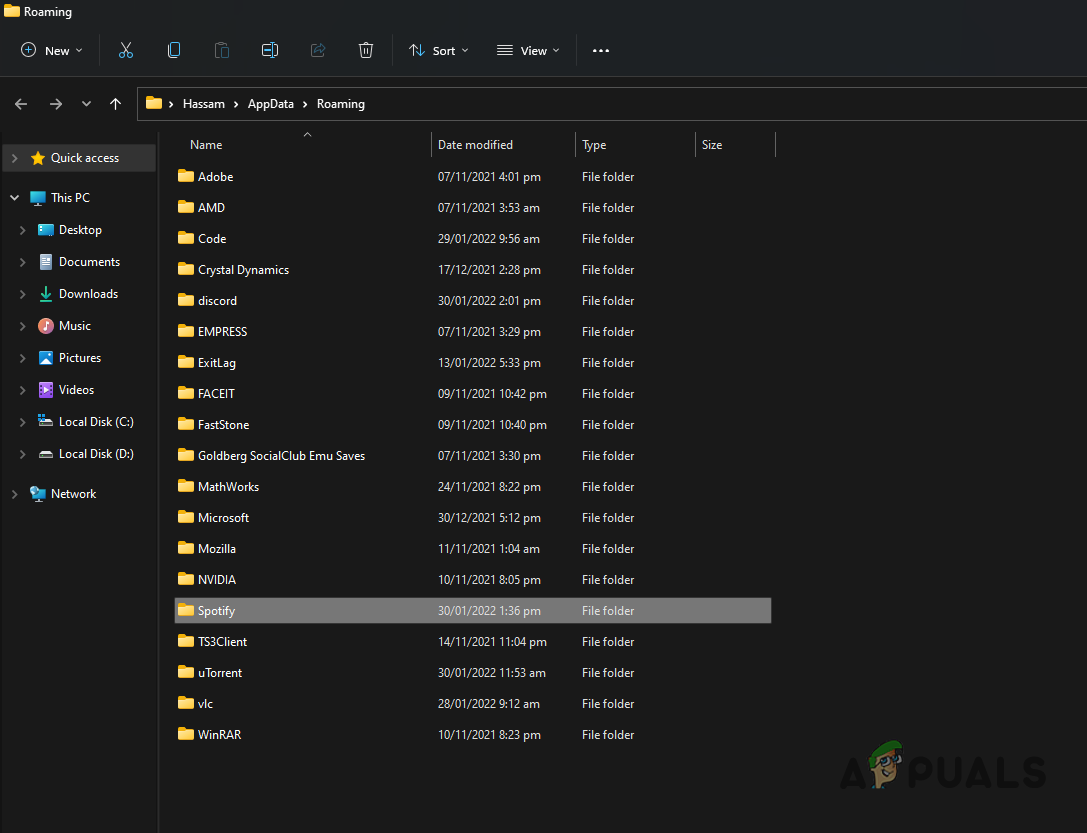
Spotify Folder in Roaming - Then, in the address bar, click on AppData.
- Inside the AppData directory, open up the Local folder.
- There, look for any Spotify folder and delete it as well.
- With that done, restart your system.
- Once your PC boots up, download and install Spotify again on your system.
- See if that gets rid of the error message.


Thanks for a clear write up, Kevin. Hoping one of these solves the problem for me.