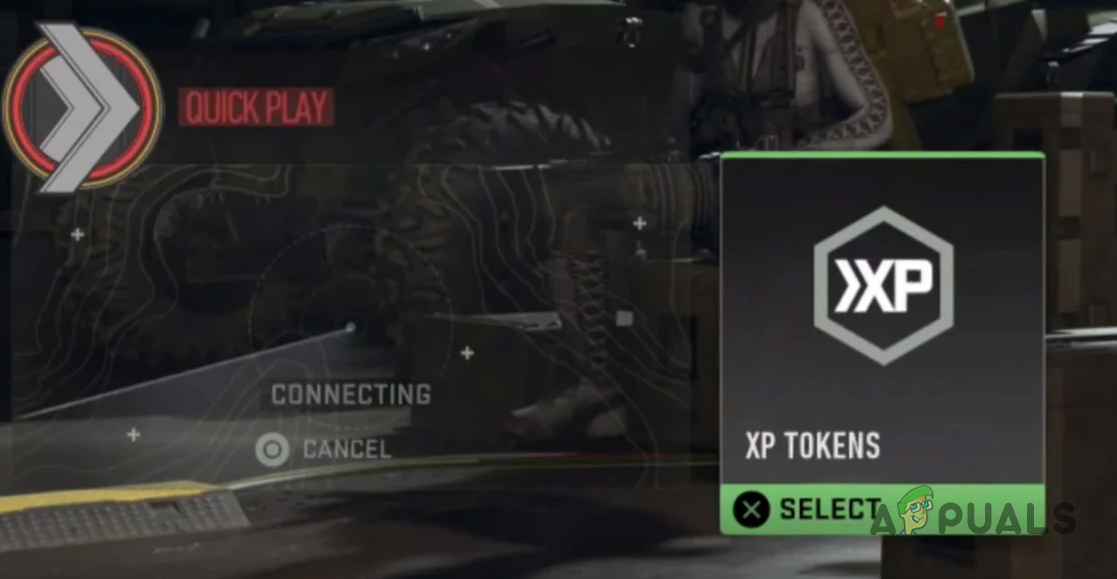
How to Fix Call of Duty: MW2 Queue Stuck on Connecting?
The queue gets stuck on “Connecting” during Quick Play or party matchmaking, and the screen freezes forever without starting a match. This happens when the game can’t finish making a connection with the Call of Duty servers, so it can’t join a lobby. The main reason is busy or slow matchmaking servers, especially when lots of people are playing.
Other reasons include strict NAT types, UPnP not working, or a bad internet connection.
However, there are some workarounds available for Xbox players, and a few troubleshooting methods for other users as well. Below, we will guide you step-by-step through solutions you can try to fix this issue.
1. Create a New Party
The first troubleshooting step you should try when stuck on the connecting screen in Modern Warfare 2 is to create a new party. Often, the problem is caused by a glitched or “bugged” party. If that’s the case, simply leaving your current party and creating or joining a new one can resolve the issue.
Keep in mind, you might need to do this after every match if the issue keeps happening. At this point, the root cause lies in the game itself, and you’ll need to wait for developers to push an official fix.
For now, try creating a new party each time you face the connecting issue and see if this helps. If the problem continues, move on to the next method.
2. Queue for Another Game Mode
Sometimes, you can fix the stuck connecting screen by briefly queuing for another game mode.
We have found that switching your party to another mode, such as Ground War, can clear up the issue.
To try this workaround:
- Leave the current game mode queue and return to the main menu.
- Queue for a different mode (like Ground War) with your party.
- Once the status on-screen changes from Connecting to Searching for a match, immediately leave the queue.
- Then, queue again for your original preferred game mode.
Sometimes, you may need to repeat this a few times. If a network inconsistency isn’t the cause, this method often resolves the issue.
3. Turn Off Windows Defender Firewall
The Windows Defender Firewall helps protect your computer by managing incoming and outgoing network connections.
Occasionally, it may block certain requests from Modern Warfare 2, stopping the game from properly connecting to matchmaking servers. In this scenario, temporarily disabling Windows Defender Firewall can help you check if it’s causing the problem.
If the issue disappears after disabling Windows Defender Firewall, you’ve found your culprit, and you can instead whitelist Modern Warfare 2 so you can keep your firewall protection enabled while still playing the game without any issues.
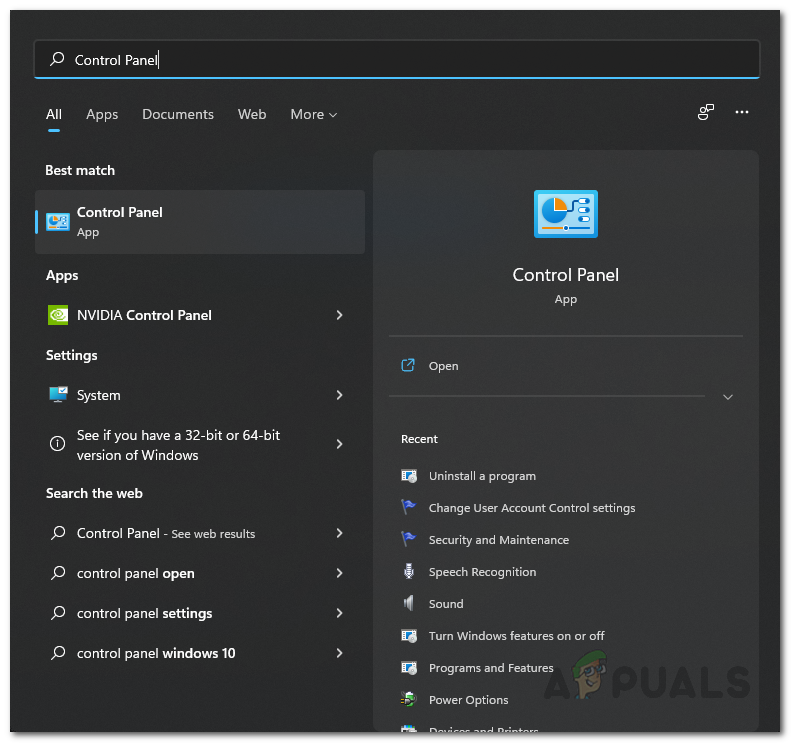
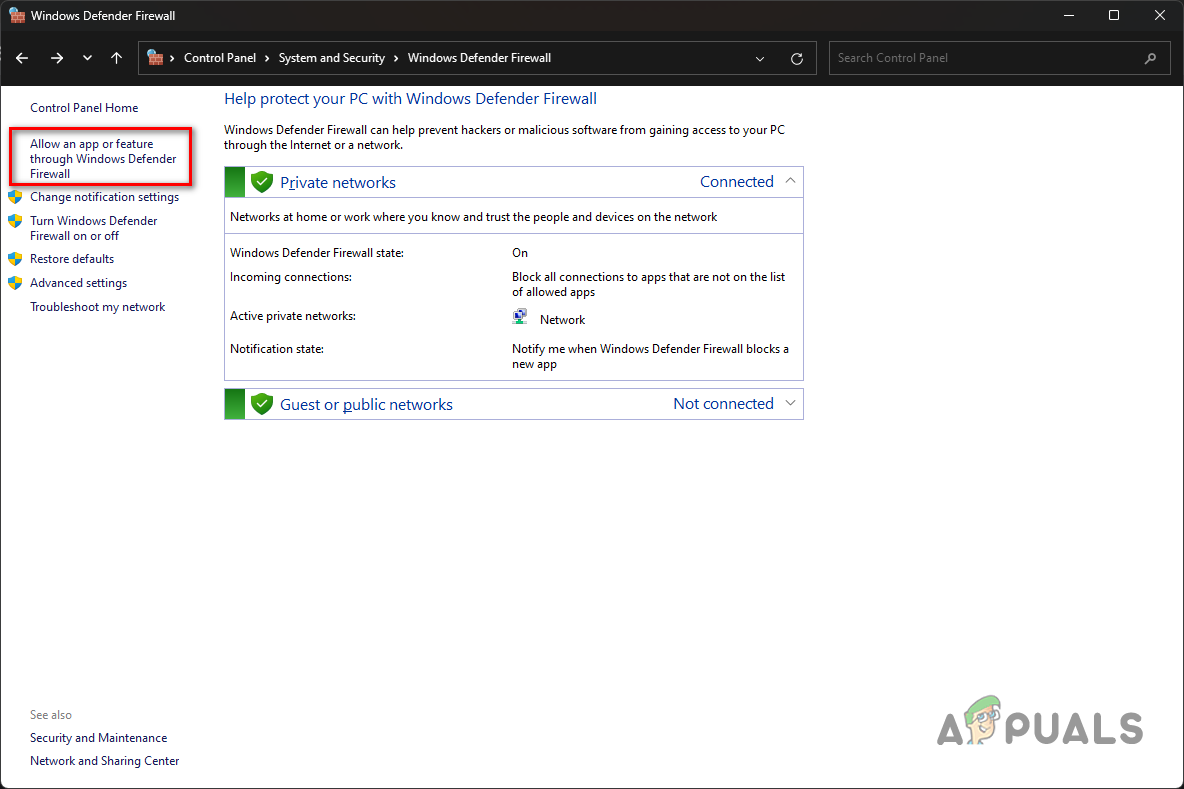
- Open the Control Panel from the Start Menu.
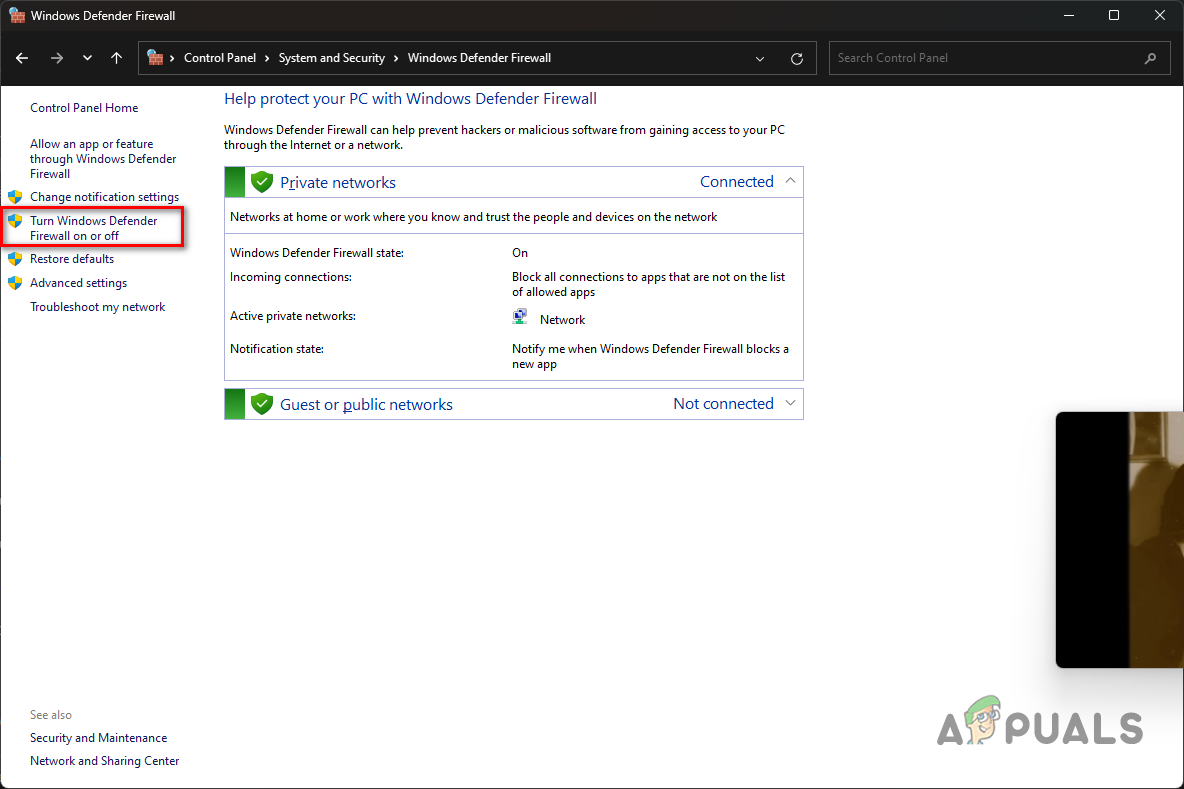
Opening Control Panel - Go to System & Security > Windows Defender Firewall.

Navigating to Windows Firewall Settings - Click Turn Windows Defender Firewall on or off on the left.
Navigating to Turn off Windows Firewall - Select Turn off Windows Defender Firewall for both Private and Public network settings.
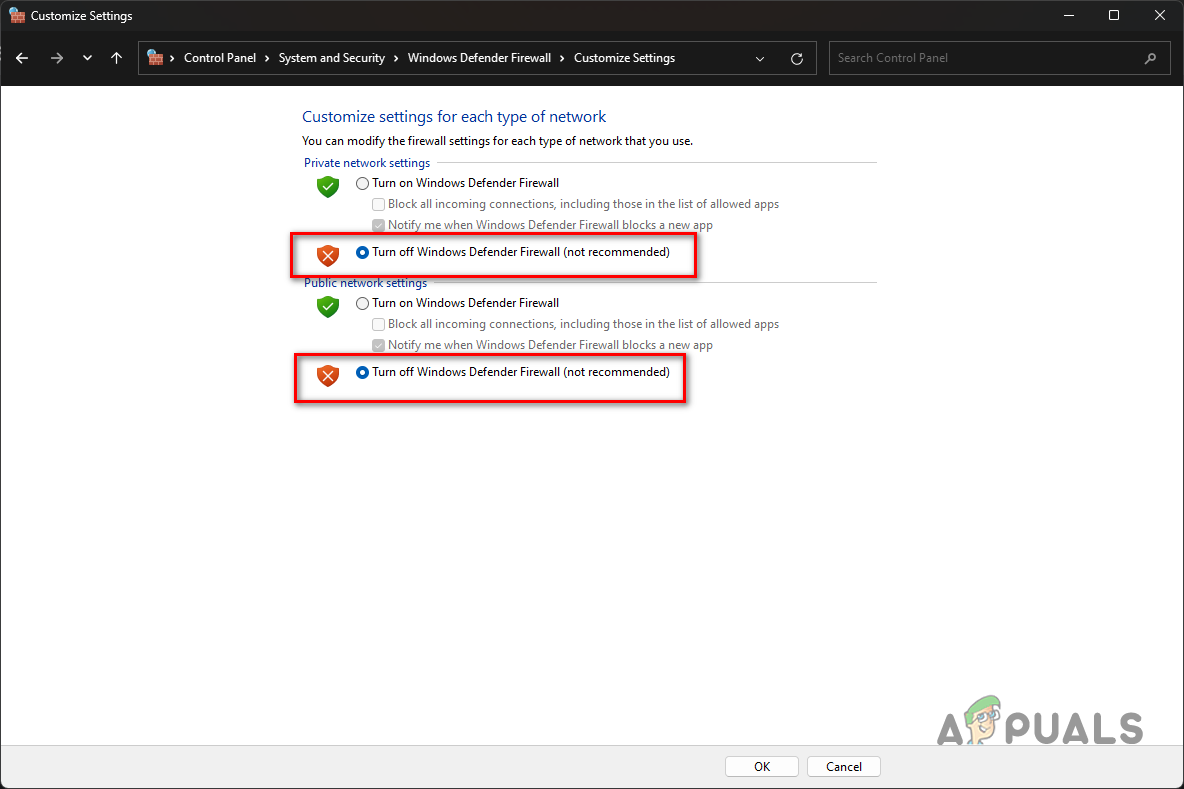
Turning off Windows Firewall - Click OK and check if your issue is resolved.
If this fixes the problem, you should whitelist Modern Warfare 2 to keep your firewall on for security:
- Click Allow an app or feature through Windows Defender Firewall.
Allowing Another App Through Firewall - Click Change settings.
- Click Allow another app.
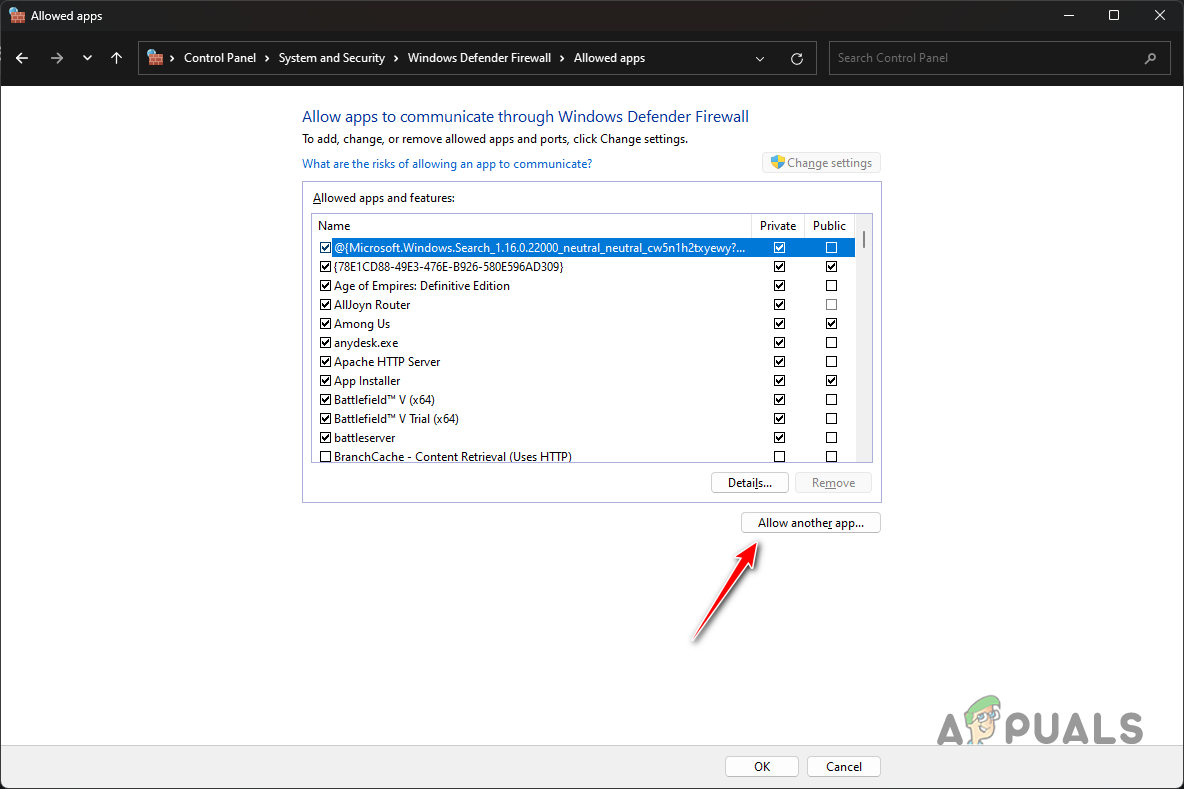
Adding Another App to the Windows Firewall - Browse to where you installed Call of Duty MW2, select cod_hq.exe, and open it.
- Click Network Types.
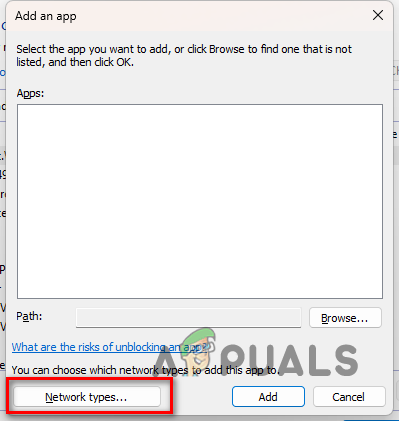
Opening Network Types window - Tick both the Private and Public checkboxes.
- Click Add to whitelist the app.
- Repeat for cod.exe and any other executables in the game’s folder.
4. Disable Third-Party VPN
Using a third-party VPN can also cause connectivity issues. If a VPN interferes with your network, the game may not be able to link up with its servers.
To fix this, turn off your VPN. If you’ve set up a VPN connection in Windows, removing it might help.
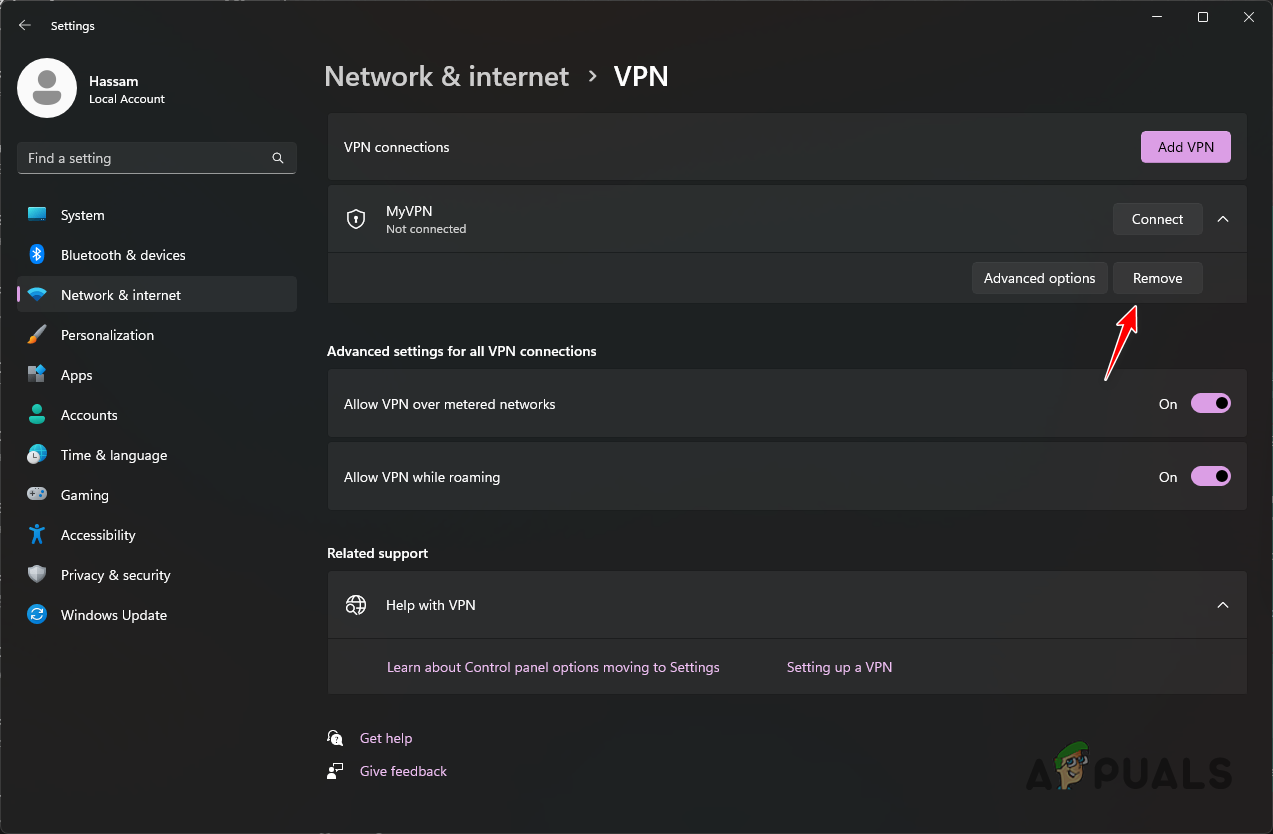
- Open the Settings app (Win + I).
- Go to Network & Internet > VPN.

Navigating to VPN Settings - Click the down arrow icon next to your VPN.
- Click Remove to disconnect the VPN.
Removing VPN on Windows - Relaunch the game and see if you can connect now.
5. Change DNS Server
Domain Name System (DNS) servers translate website names into IP addresses so your computer can connect to them. Sometimes, the DNS server you use cannot connect to Modern Warfare 2’s servers, which keeps you stuck on the connecting screen. You can try changing your DNS server to resolve this problem.
- Open the Settings app (Win + I).
- Navigate to Network & Internet > Advanced Network Settings > More network adapter options.
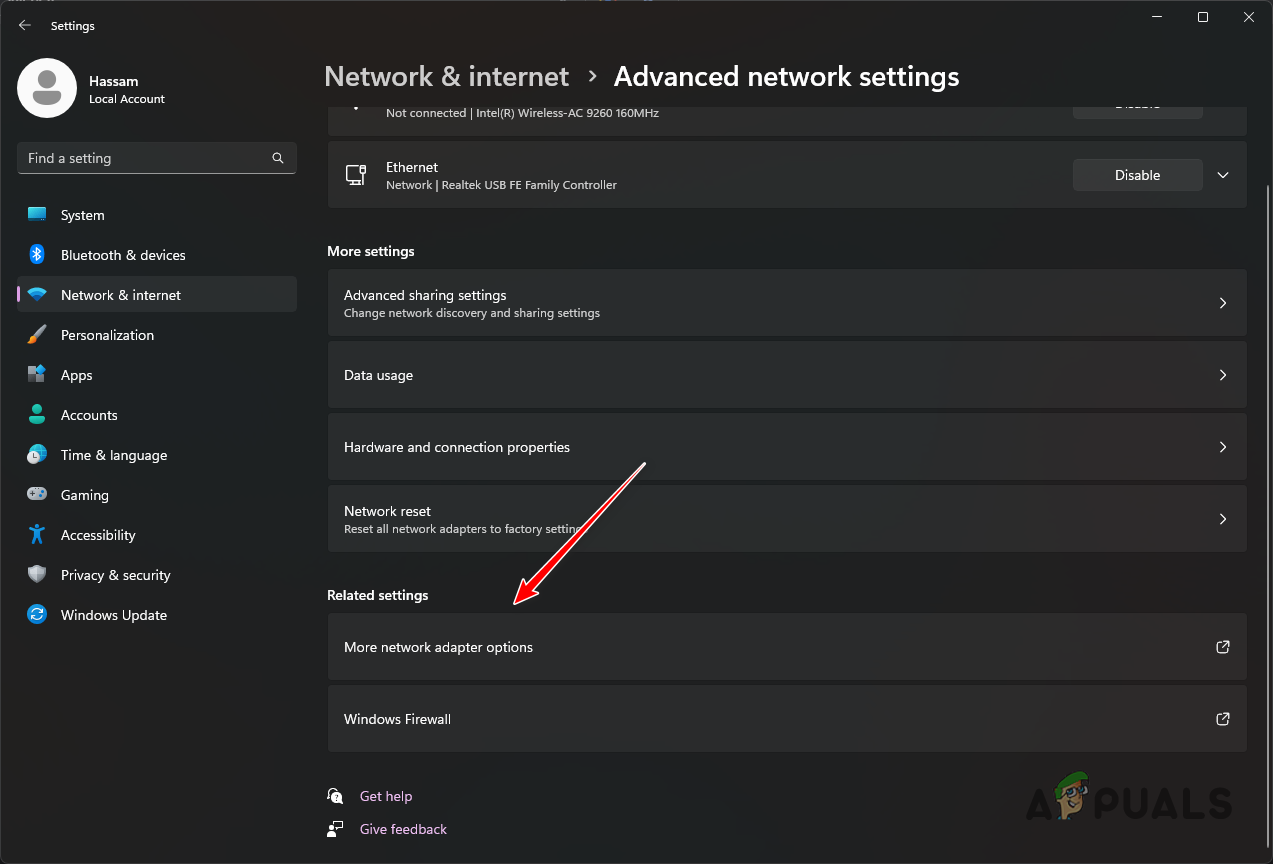
Navigating to Network Adapter Options - Right-click your network adapter and select Properties.
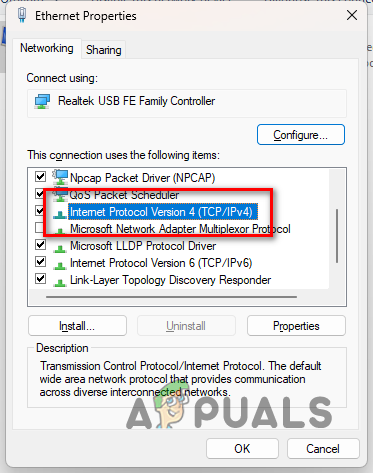
- Double-click Internet Protocol 4 (TCP/IPv4).
Opening IPv4 Properties - Select Use the following DNS server addresses.
- Enter one of the following DNS server addresses:
Google: 8.8.8.8 8.8.4.4
Cloudflare: 1.1.1.1 1.0.0.1
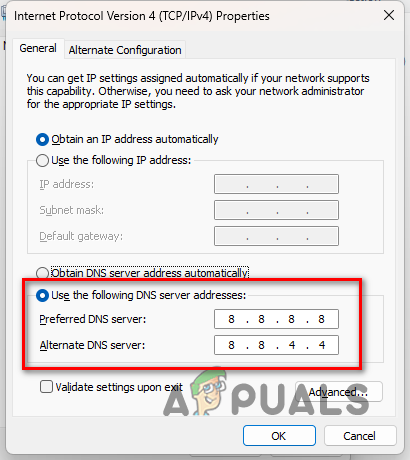
Changing DNS Server - Click OK to save your changes.
- Start the game and check if you’re able to connect.
6. Enable DSCP Tagging (Xbox Only)
If you’re experiencing the connecting issue on Xbox when playing in a party of three or more, you may be able to fix it by enabling DSCP Tagging in your network settings. This adds Quality of Service (QoS) tags to game data, helping your Xbox prioritize multiplayer traffic.
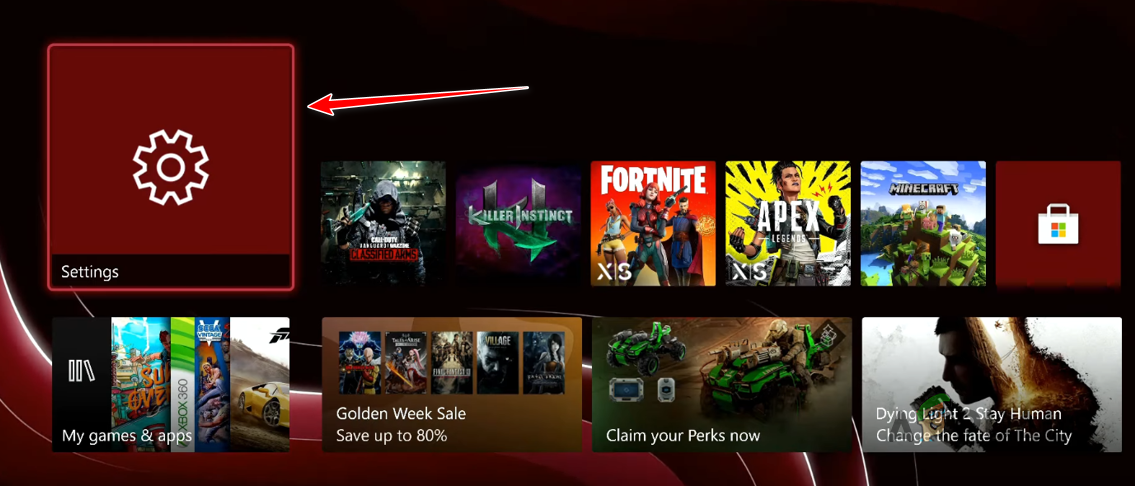
- Open the Settings menu on your Xbox.
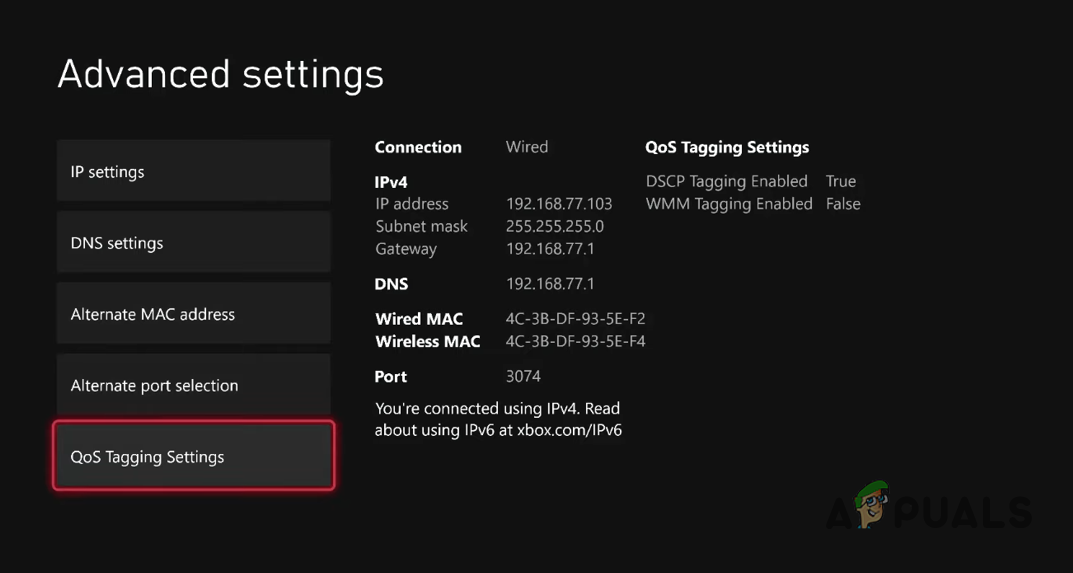
Navigating to Xbox Settings - Navigate to General > Network Settings > Advanced Settings > QoS Tagging Settings.
Navigating to QoS Tagging Settings - Tick the DSCP Tagging Enabled checkbox.
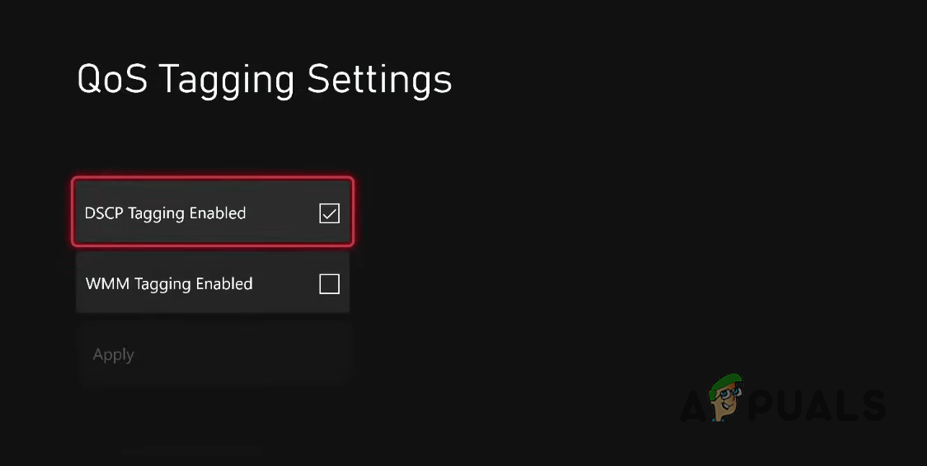
Enabling DSCP Tagging - Choose Apply to save the settings.
- Restart the game to see if you can now connect successfully.
By following these steps, you should be able to resolve the stuck-on-connecting screen in Modern Warfare 2. If the issue persists, it may be due to server-side problems, and waiting for an update or hotfix from the game developers is recommended.


