How to Fix the STOP Code 0x0000000a in Windows?
A blue screen with the stop code 0x0000000A (IRQL_NOT_LESS_OR_EQUAL) usually shows up during Windows installation or when doing things that use a lot of hardware, sometimes stopping at a point like 39%. This error means that Windows or a driver tried to use memory in a way that is not allowed.
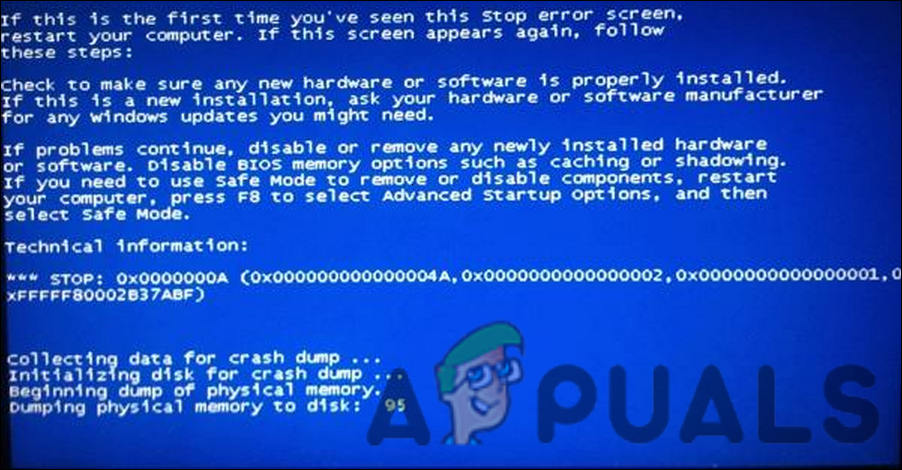
The most common reason is a bad or incompatible driver, but other problems like faulty RAM, an old BIOS, or disk controller issues can also cause this error.
1. Disable the WebSense EndPoint Software (If Applicable)
If you encounter this BSOD error after connecting to a domain, it might be caused by the WebSense EndPoint software installed on your computer. If you have this program, uninstalling it can resolve the issue.
- Type Task Manager in the Windows search and click Open.
- In the Task Manager window, find the WebSense EndPoint service and right-click on it.
- Choose End task from the context menu.
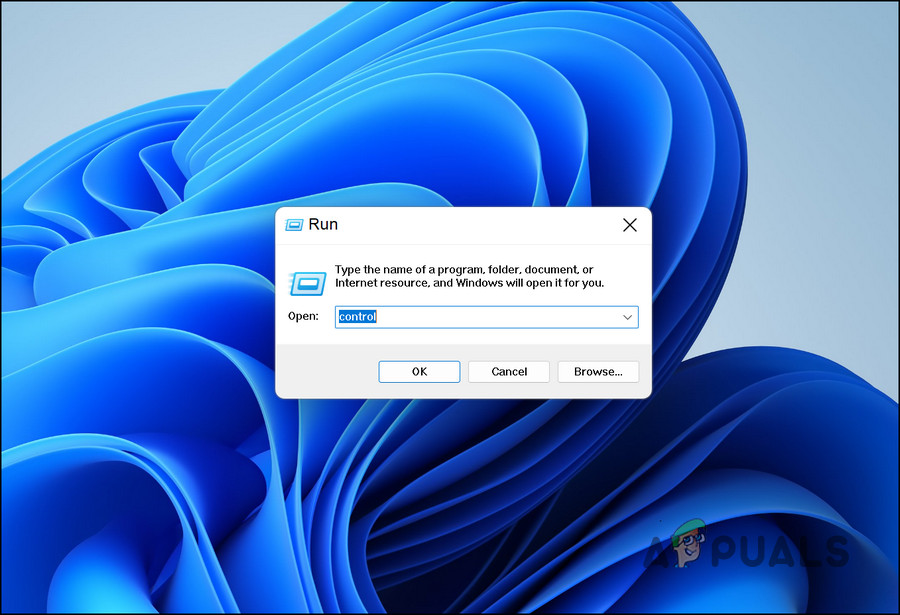
- Once done, press the Win + R keys together to open the Run dialog box.
- Type control in the text field and hit Enter.
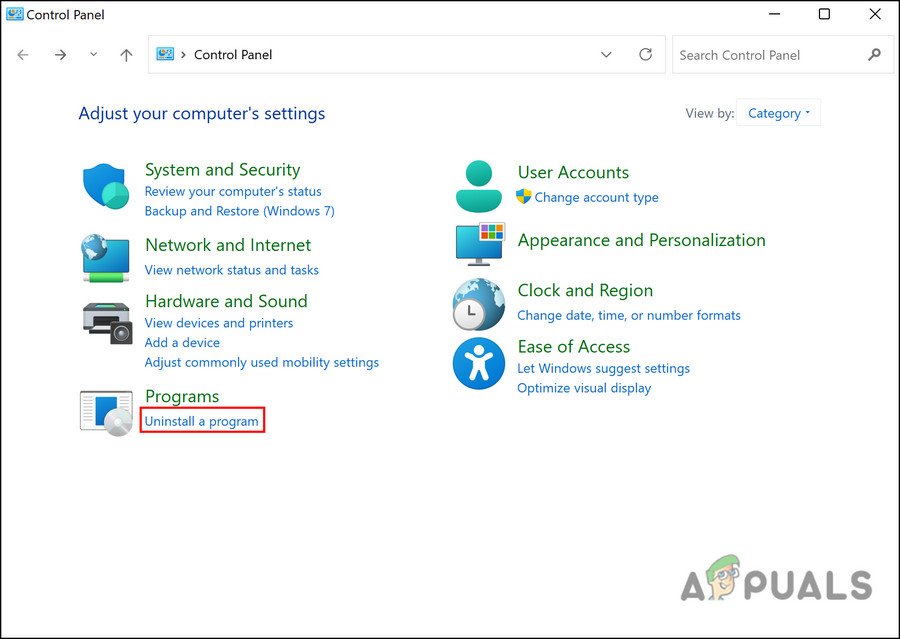
Type Control in the text field - Choose Uninstall a program under Programs.
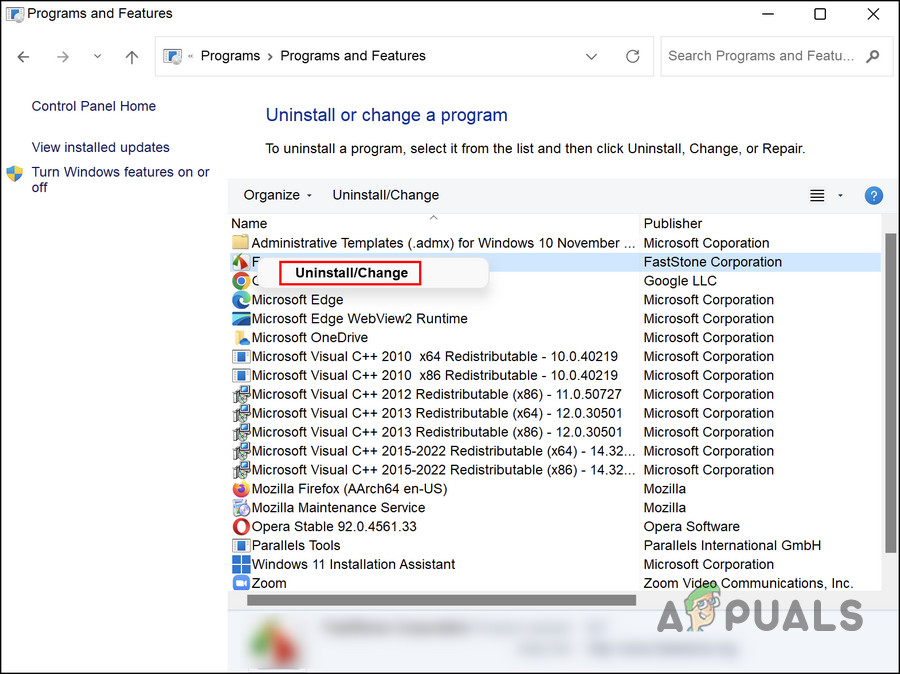
Click on Uninstall a Program - In the next window, find the WebSense EndPoint software and right-click on it.
- Select Uninstall from the context menu.
Uninstall the service - Follow the on-screen instructions to complete the process, and then restart your PC.
After rebooting, you should hopefully no longer face the BSOD error.
2. Run an SFC and DISM Scan
You can use Windows’ built-in troubleshooting tools to check for and repair corrupted system files. Two reliable tools for fixing errors like this are System File Checker (SFC) and Deployment Image Servicing and Management (DISM).
The SFC scan command checks all protected system files and replaces corrupted files with cached copies from the %WinDir%/System32/dllcache folder. (WinDir represents the operating system folder in Windows.)
The DISM command scans the operating system for corruption and repairs any problems it detects.
- Press the Win + R keys together to open the Run dialog box.
- Type cmd and then press Ctrl + Shift + Enter to launch Command Prompt as an administrator.
- In the Command Prompt window, enter the following command and press Enter:
sfc /scannow
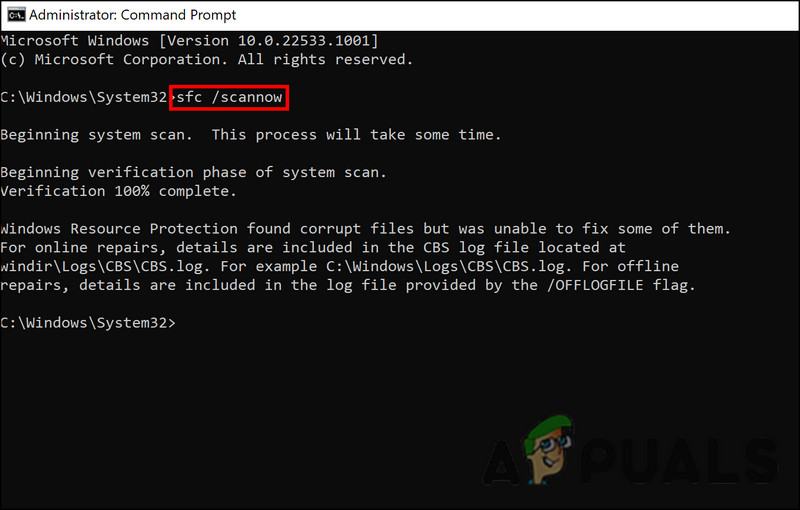
Run the System File Checker scan - Wait for the command to finish successfully. Once it’s done, type and run the following command:
DISM.exe /Online /Cleanup-image /Restorehealth
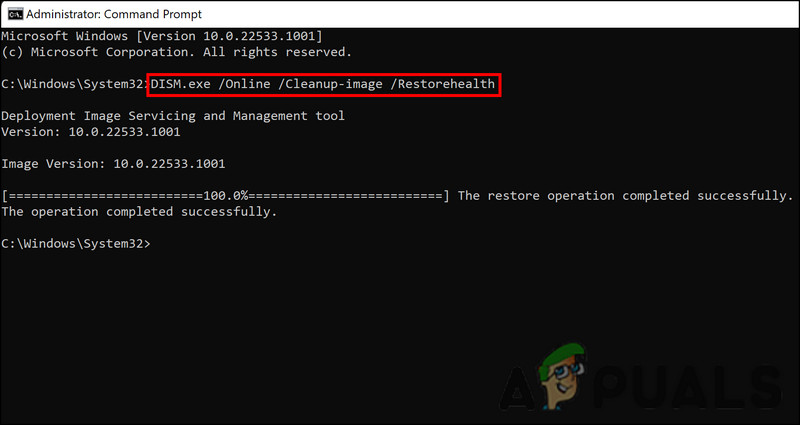
Run the RestoreHealth command - Finally, restart your PC and check if the error has been resolved.
3. Update Your Drivers
Another step is to update any outdated drivers on your system. You can do this by using the Device Manager to check for driver updates. If you spot an outdated driver, either update it with a newer version from Windows or download the latest driver from the manufacturer’s website.
To ensure your drivers are up-to-date, visit the manufacturer’s website and compare the latest version they offer to what’s listed in Device Manager.
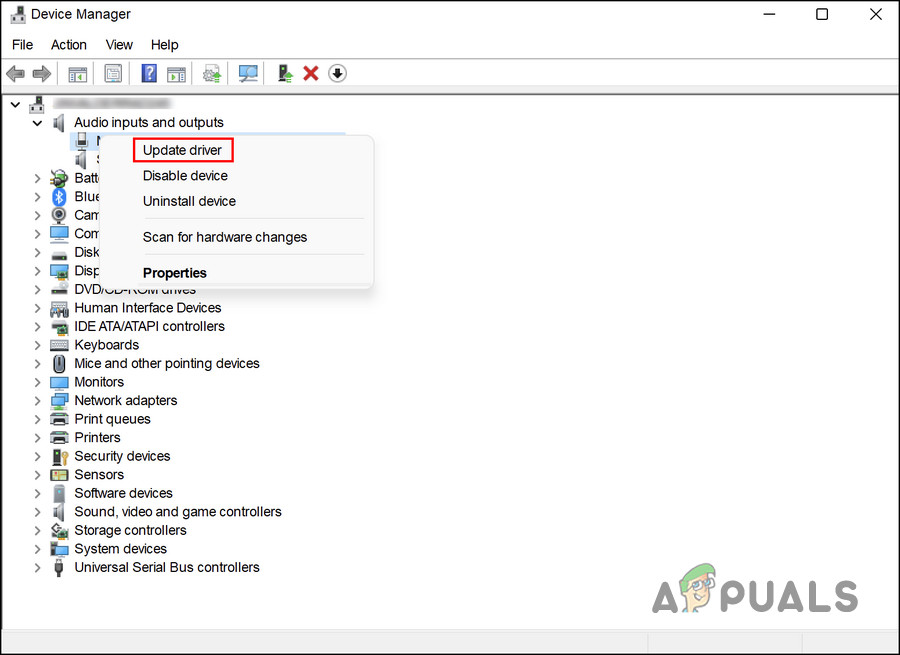
- Type Device Manager in the Windows search and click Open.
- Look for any driver with a yellow exclamation mark in Device Manager. Right-click on the outdated driver.
- Select Update driver from the context menu.
Update your driver - In the dialog that appears, click on Search automatically for drivers. Device Manager will search for available updates.
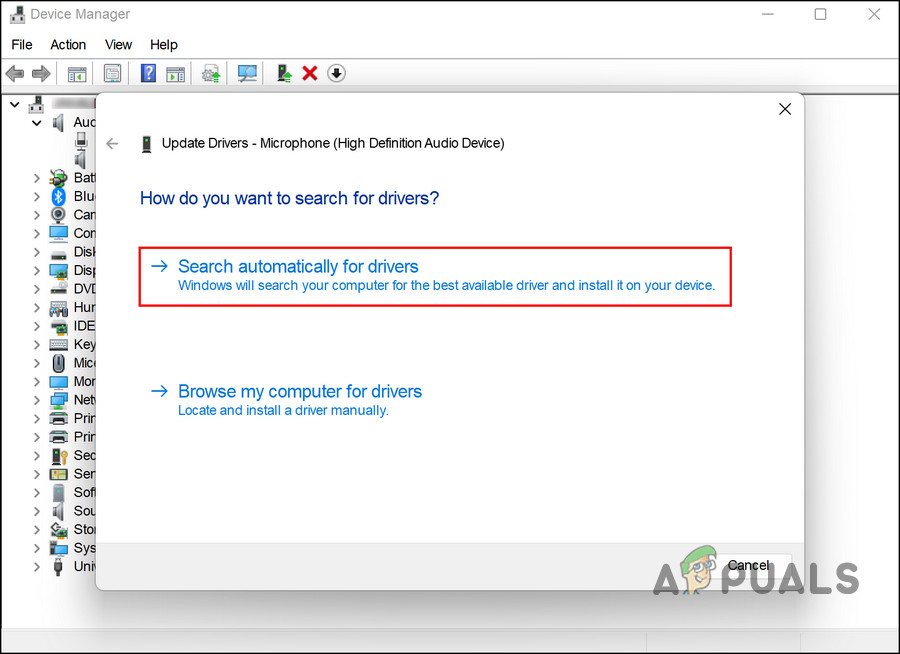
Search the system for drivers - If an updated driver is found, follow the on-screen instructions to install it.
- After installing the updated driver, restart your PC.
- If the error still appears after rebooting, go back to Device Manager and select Update driver again.
- Select Browse my computer for drivers > Let me pick from a list of available drivers on my computer.

Pick a driver from the list of options available manually - Manually choose an updated version of the driver and install it. If you can’t find an updated one locally, download the latest driver from the manufacturer’s website and install that version.
- Once the installation completes, restart your computer and check if the issue is resolved.
4. Use System Restore Utility
In Microsoft Windows, System Restore is a tool that helps protect and fix your computer software. It works by creating restore points, which are snapshots of your Windows registry and system files.
Think of it as Windows’ “undo” feature. System Restore lets you return certain files and settings—such as drivers, registry keys, system files, and installed programs—to a previous state. For example, if you notice problems after installing a driver, restoring the system to a point before that installation may resolve the issue, since System Restore undoes the changes.
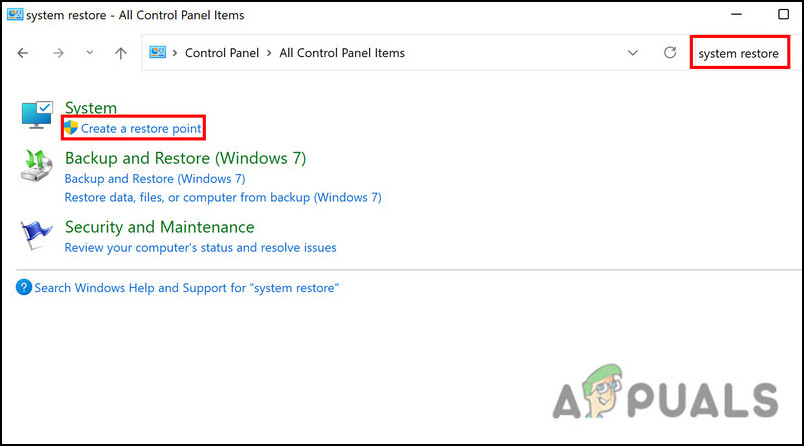
- Type Control Panel in the Windows search and click Open.
- Search for System restore in the top-right search bar of the Control Panel, and click on Create a restore point from the results.
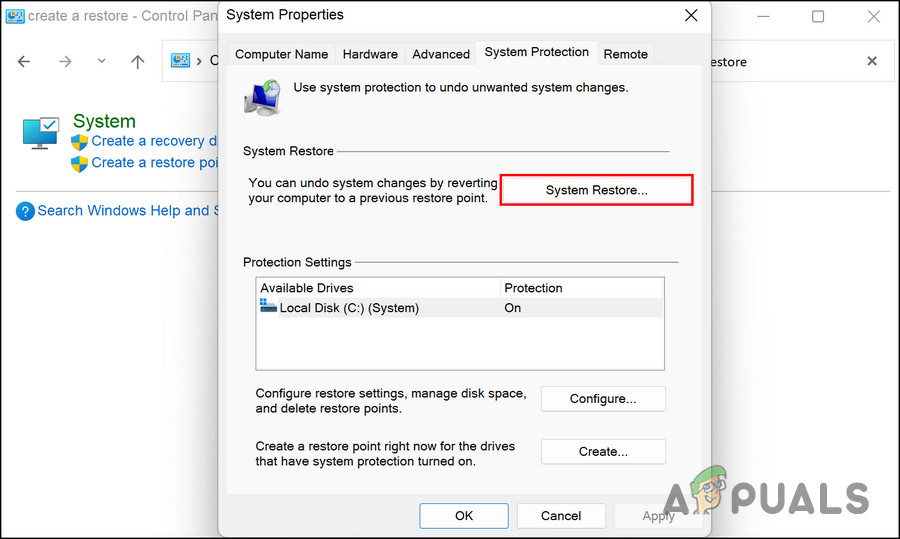
Create a restore point in Control Panel - Click on the System Restore button in the next dialog box.
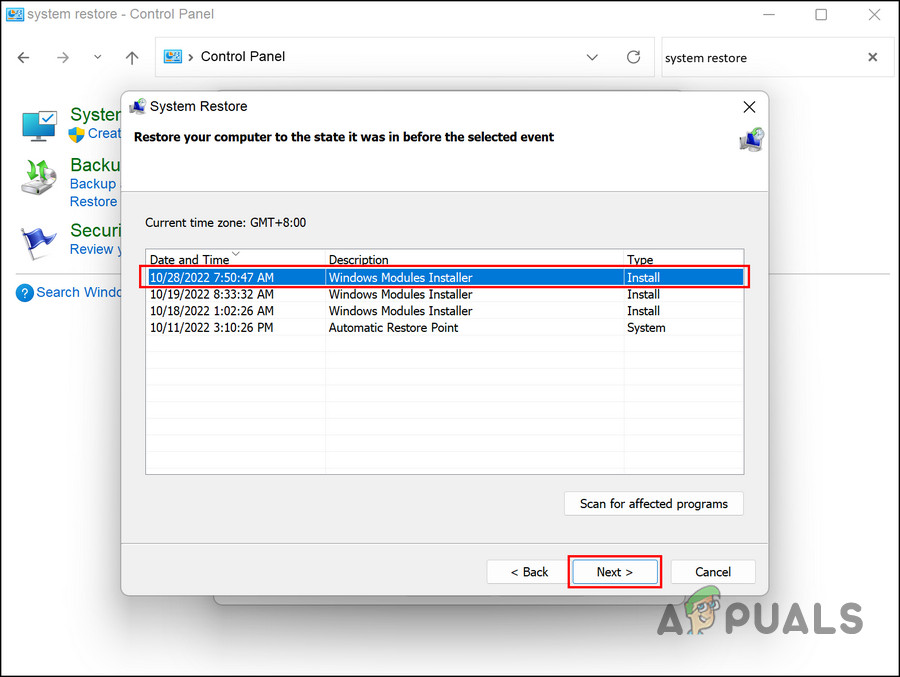
Click on the System Restore button - Choose the most recent restore point and click Next.
Click on the Next button - Follow the on-screen instructions. Once your computer reverts to the previous state, the issue should be resolved.
5. Reset or Clean Install Windows
If none of the above troubleshooting steps work, you can clean install or reset Windows.
Windows gives you the option to keep your files and folders after a reset, so you won’t lose your personal data. However, if you choose a clean install, be sure to back up your files elsewhere before proceeding. If you’re not ready to try these methods yet, you can contact Microsoft Support and report your issue. They can help identify the cause and suggest other relevant solutions.


