How to Fix BLZBNTBNA00001388 Error with Battle.net?
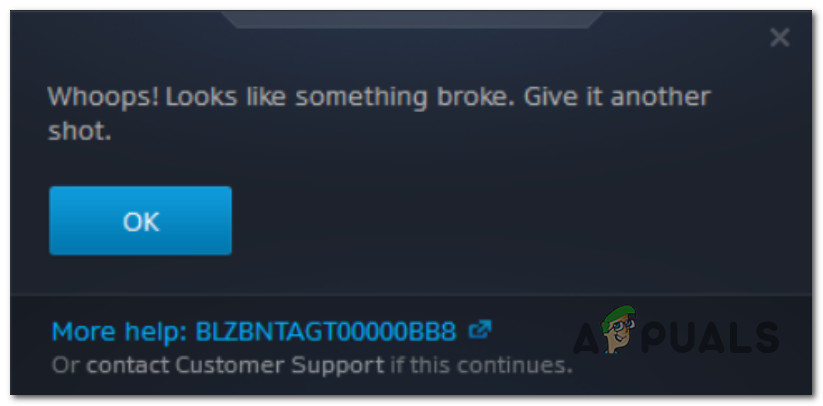
Launching a game with Battle.net can sometimes show the BLZBNTBNA00001388 error. This can make the launcher freeze or not start the game. This error means that Battle.net can’t find or run the game’s main file (.exe file). The most common reason is broken or missing game files.
Other reasons can be problems with other software or old system files.
Now, let’s walk through the most effective solutions that real users have used to fix the BLZBNTBNA00001388 error on Battle.net.
1. Check for Server Issues
Before you dive into any troubleshooting, first make sure the problem isn’t on Blizzard’s end.
If the servers are down or maintenance is in progress, the methods below won’t help. Start by checking the Battle.net DownDetector page to see if others in your area are experiencing similar issues (read the most recent comments at the bottom of the page).
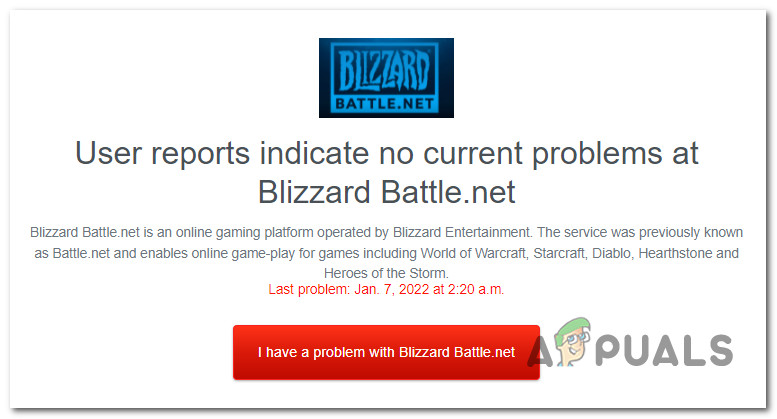
If you see evidence of ongoing problems, check Blizzard’s official Twitter account for any announcements.
2. Clear Temporary Files
This error can also be caused by problematic cache files in the Battle.net application. When you see BLZBNTBNA00001388, try hitting the Refresh button and see if voice chat works again.
If that doesn’t help, click your account icon in Battle.net, then select Log Out from the menu.
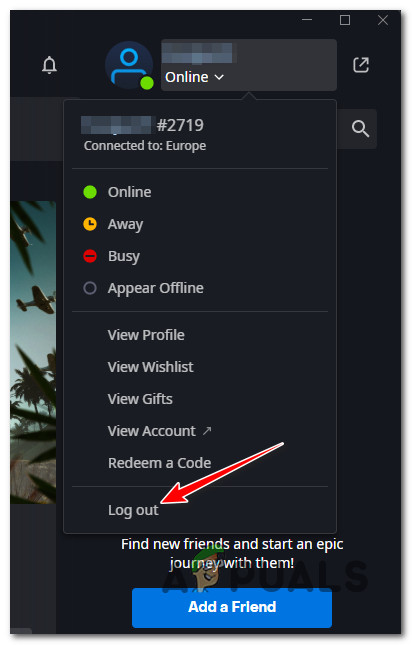
After logging out, enter your Battle.net credentials again and see if the issue is fixed.
3. Switch to a Wired Connection (if possible)
If you’re on a wireless connection and have limited bandwidth or an older router, this could be causing frequent BLZBNTBNA00001388 errors. Voice chat needs a stable connection, which is easier to achieve with an Ethernet cable rather than Wi-Fi, especially if other devices share your network.
If this is your situation, try switching to a wired Ethernet connection.
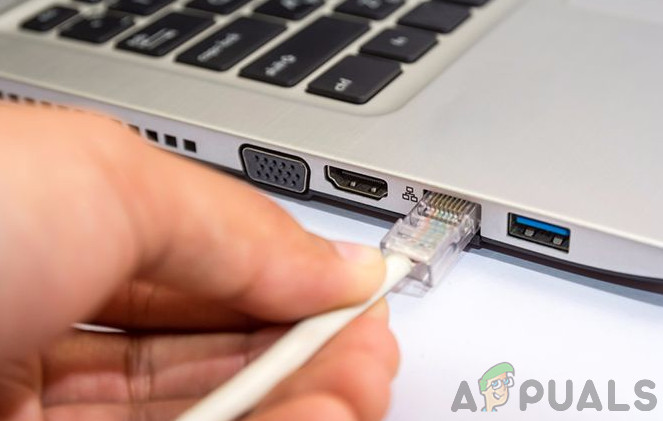
Once you’re using a wired connection, check if the problem is resolved.
4. Close Unnecessary Background Applications
If your internet connection is limited, having lots of background programs running can use up your bandwidth and disrupt Battle.net’s ability to run smoothly.
Tip: Programs like uTorrent or BitTorrent can use significant bandwidth even when not actively downloading.
To close unneeded programs, press Ctrl + Shift + Esc to open Task Manager, go to the Processes tab, right-click each unnecessary program, and select End Task.
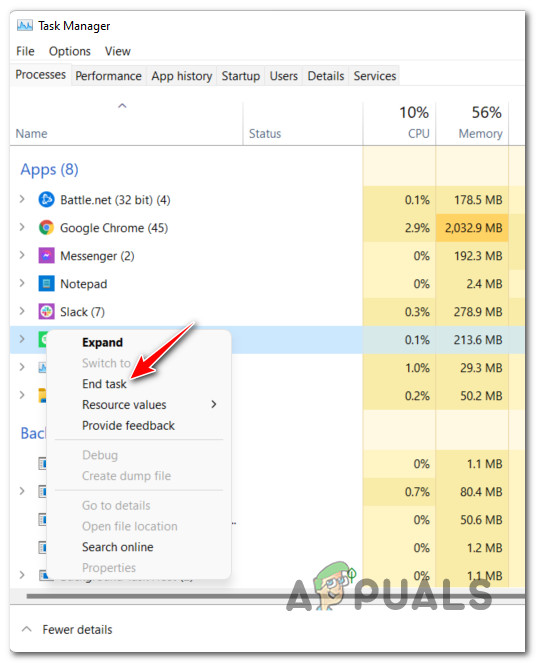
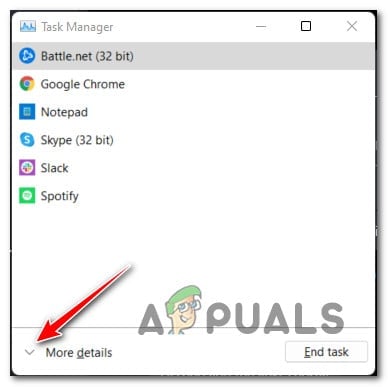
Note: If you see the simple Task Manager interface, click More details to show all processes.
After closing bandwidth-heavy programs, see if the error is gone. If not, go to the next step.
5. Disable or Uninstall 3rd Party Security Programs (if applicable)
A common reason for this error is that your antivirus or firewall is blocking connections between your game and the Battle.net server. Several users reported that disabling or uninstalling their antivirus or internet security tool fixed the error.
Tip: This applies if you use a separate antivirus, not just Windows Security.
If your antivirus doesn’t have a built-in firewall, disabling real-time protection might be enough. You can usually do this by clicking the antivirus icon in your system tray.
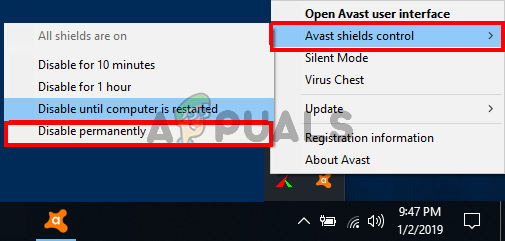
If your antivirus includes a firewall, you may need to uninstall it completely, at least temporarily, as the firewall might keep blocking Battle.net even after you disable other protections.
Note: If you discover your antivirus is causing the error, consider switching to another security program or stick with Windows Defender.
To uninstall your current antivirus:
- Press Windows key + R to open a Run box, type ‘appwiz.cpl’, and press Enter to open Programs and Features.
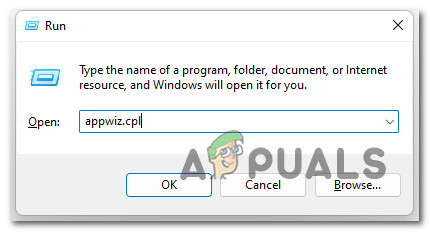
Open up the Programs and Features menu - Find your security software in the list.
- Right-click on it and choose Uninstall.
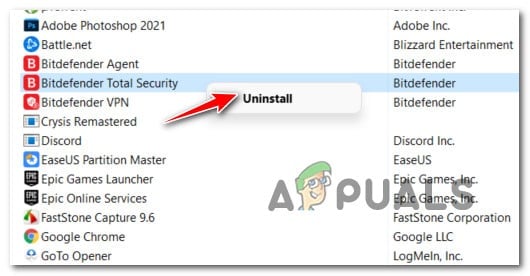
Uninstalling the problematic antivirus - Complete the prompts to uninstall, then reboot your PC. Check if Battle.net now works properly.
6. Update GPU Drivers
Outdated graphics (GPU) drivers can also cause this error, especially on games that received updates or require newer versions.
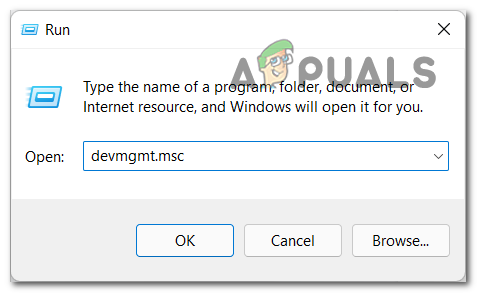
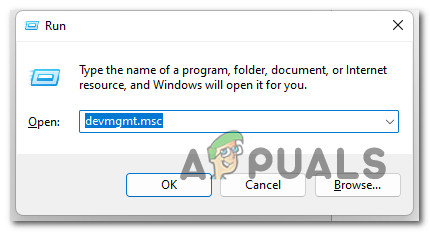
- Press Windows key + R, type ‘devmgmt.msc’, and press Enter to open Device Manager.
Open up Device Manager - Expand Display adapters.
- Right-click your graphics card and choose Update driver.
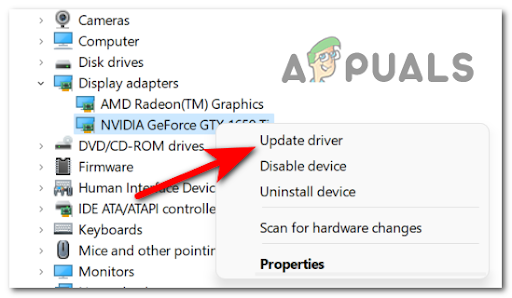
Updating the GPU driver - Click Search automatically for updated driver software.
- Let Windows find and install new drivers. Reboot when done.
If Windows reports no updates, use your graphics card’s own software:
GeForce Experience - Nvidia
Adrenalin - AMD
Note: These tools will automatically detect your hardware and install the correct driver.
7. Update Network Card Drivers
Your network adapter’s drivers may also be outdated, causing the connection to Battle.net to drop.
- Press Windows key + R to open a Run box.
- Type “devmgmt.msc” and press Enter to open Device Manager. Approve any UAC prompts.
Open Device Manager - Expand Network adapters and right-click your main network adapter.
- Select Properties.
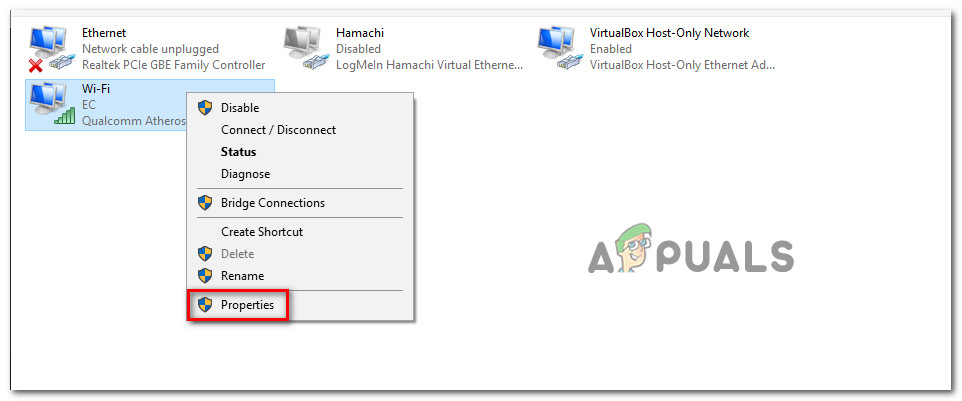
Accessing the Properties screen - Go to the Driver tab and click Update driver.

Update the Network driver - Choose Search automatically for updated driver software.
- Follow any on-screen steps, install the latest driver, and restart your PC.
8. Flush Your DNS Cache
Sometimes, a bad DNS cache can cause ongoing connection problems, including this Battle.net error.
- Press Windows key + R to open the Run box.
- Type ‘cmd’, then press Ctrl + Shift + Enter to launch Command Prompt as administrator.
- If you see a User Account Control prompt, click Yes.
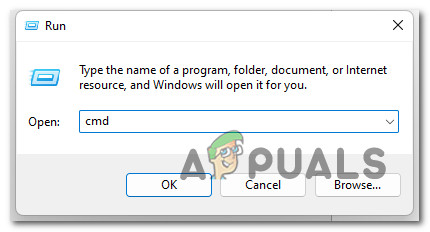
Open up a CMD prompt - In the Command Prompt, enter:
ipconfig /flushdnsNote: This clears any temporarily stored DNS information so your network can request fresh connections to sites like Battle.net. - Once you see confirmation, close Command Prompt, reboot your computer, and check again in Battle.net.
9. Restart or Reset Your Router
If you’re on Wi-Fi and getting this error, your router might be overloaded, especially if many devices are connected and using up bandwidth.
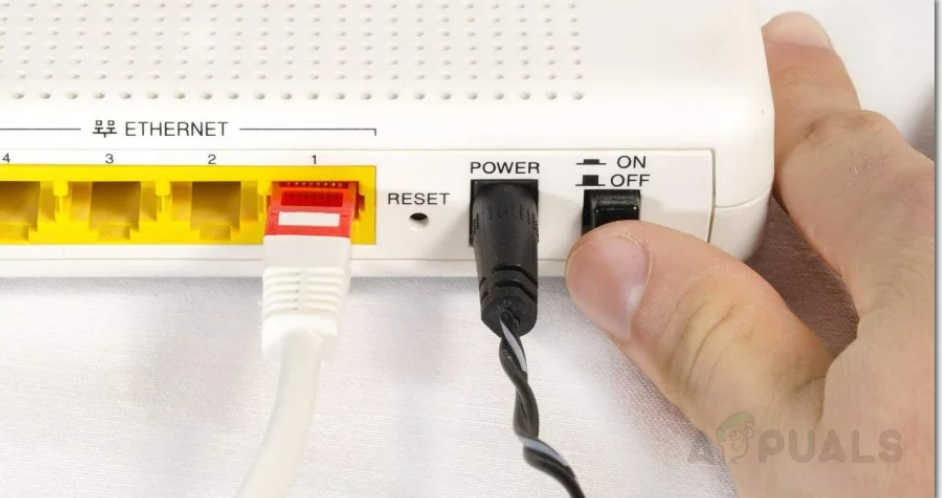
9.1. Router Reboot
This simple step helps many players solve the BLZBNTBNA00001388 error.
Just press the Power button on the back of your router, unplug it for about a minute, then plug it back in and turn it on. This allows your router to clear its memory and start fresh.
Note: Unlike a router reset, a reboot won’t erase your settings.
9.2. Router Reset
If a simple reboot doesn’t work, try a full reset. This is helpful if a specific network setting is interfering with Battle.net.
Warning: Resetting your router will erase your custom settings, including port forwarding, custom passwords, and whitelist/block rules.
To reset, find the Reset button on your router (usually you’ll need a paperclip), press and hold it until the LEDs blink, then let go. If needed, re-enter your ISP’s credentials to restore your connection.
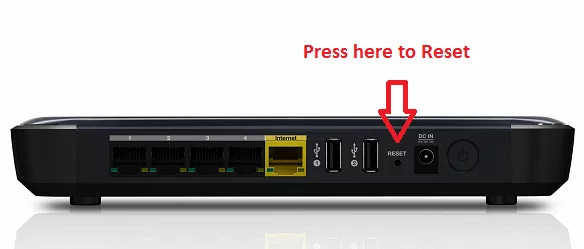
Once your router is back up and running, check if Battle.net works normally.
10. Disable Proxy and VPN Connections (if applicable)
If you’ve tried everything above and still see the error, it’s time to turn off any VPN or proxy services you have running. Battle.net is known to have issues with these kinds of tools.
10.1 Disable Proxy Server
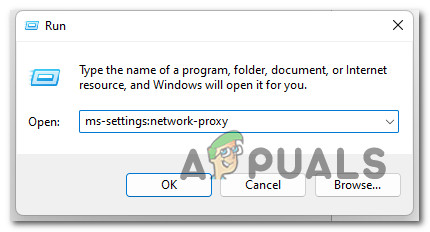
- Press Windows key + R, type “ms-settings:network-proxy”, and press Enter.
Accessing the proxy server - In the Proxy tab, go down to Manual Proxy Setup.
- Uncheck the box next to Use a proxy server.
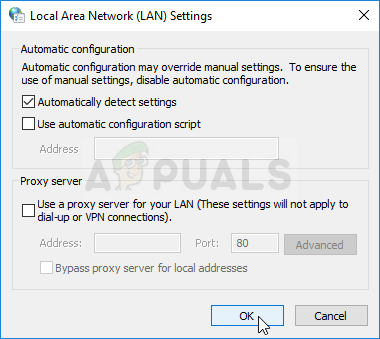
Disable the Proxy server - Restart your computer, then try Battle.net again.
10.2. Disable VPN
How you turn off your VPN depends on how you set it up. If you installed a desktop client, use its menu to disconnect.
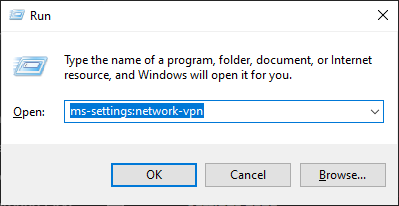
- Press Windows key + R, type ‘ms-settings:network-vpn’, and press Enter.
Access the VPN client - In the VPN tab, find your VPN connection, click it, then click Remove.
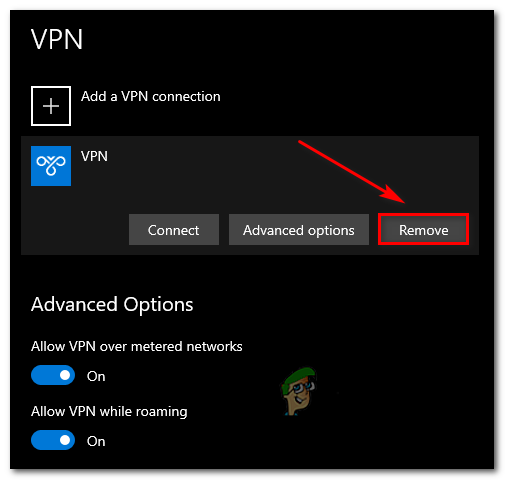
Remove the VPN connection
Try launching Battle.net once more.
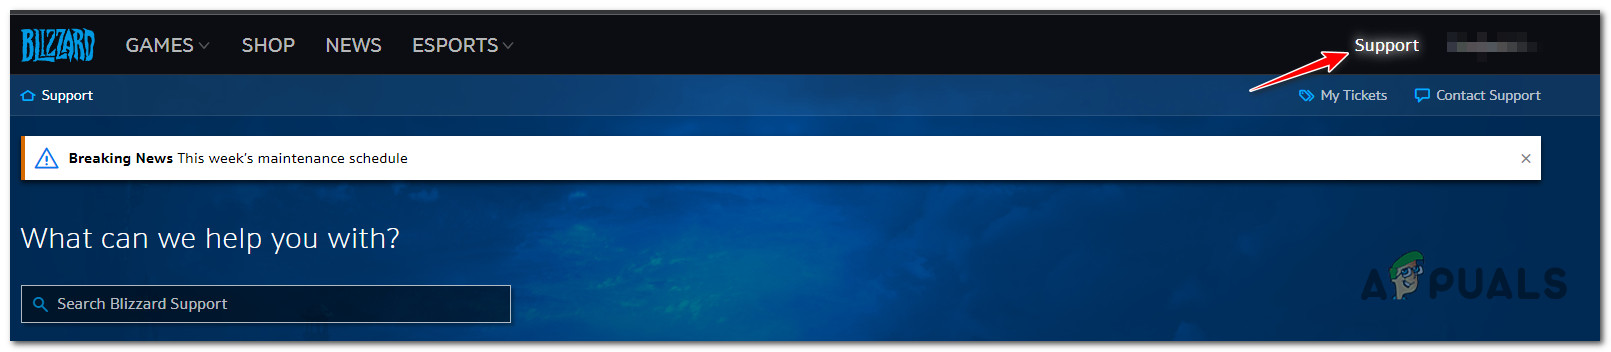
11. Contact Blizzard’s Support Team
If none of these solutions work, your last resort is to submit a support ticket to Blizzard. Go to their official support page, log in with your Battle.net account, and follow the steps to open a ticket.
Note: You can usually expect a response from their team within 24 hours.


