How to Fix BHDrvx64.sys BSOD Error on Windows 10/11?
While using your computer or restarting it, Windows may suddenly crash and show a blue screen mentioning BHDrvx64.sys. This file is part of the BASH filter driver used by Symantec/Norton security software. The error means that this driver had a problem handling memory.
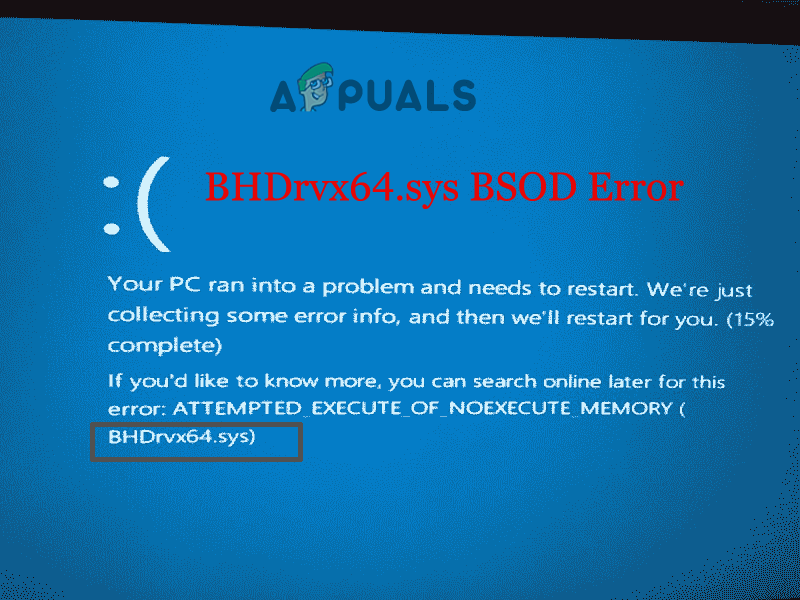
It failed to release (unlock) memory it was using, which caused Windows to stop working and show a code like PROCESS_HAS_LOCKED_PAGES or PAGE_FAULT_IN_NONPAGED_AREA. Most often, this happens because there is a bug or conflict in Norton/Symantec antivirus software, where the BASH driver does not manage memory correctly. Other reasons include out-of-date SSD software or damaged Windows system files.
Now that you know some of the common causes of the bhdrvx64.sys BSOD error, you can try the solutions below to solve it.
If you cannot boot your system due to a BSOD error, try starting your computer in Safe Mode first. For help, read our article on how to boot Windows 11 in safe mode.
Once you’ve started in Safe Mode, go through these steps one by one.
1. Run SFC or DISM
As mentioned earlier, corrupted or missing system files are a major cause of this problem. Often, file corruption happens when an installation process is interrupted or incomplete. It’s important to repair or replace missing files to fix the bhdrvx64.sys blue screen error.
You can try uninstalling and reinstalling related software, or directly perform an SFC scan to fix the error on Windows 10 or Windows 11.
To repair corrupted system files, use the built-in System File Checker tool, which will scan your system and automatically replace corrupted files.
- Open the Start search box or press Win+R, then type cmd and press Enter to open Command Prompt.
- Run Command Prompt as Administrator.
- Type the command sfc /scannow and press Enter.
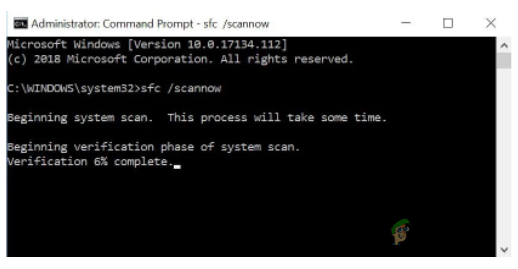
Command Prompt-sfc/scannow - The SFC scan will automatically find and repair corrupted files.
- Wait until the scanning process is complete.
Note: [Do not perform any other actions while the scan is running.]
If the error persists, use the DISM tool to repair Windows system image files:
- Open the Start search box or press Win+R, then type cmd and press Enter.
- Run Command Prompt as Administrator.
- Type the command DISM /Online /Cleanup-Image /RestoreHealth and press Enter.
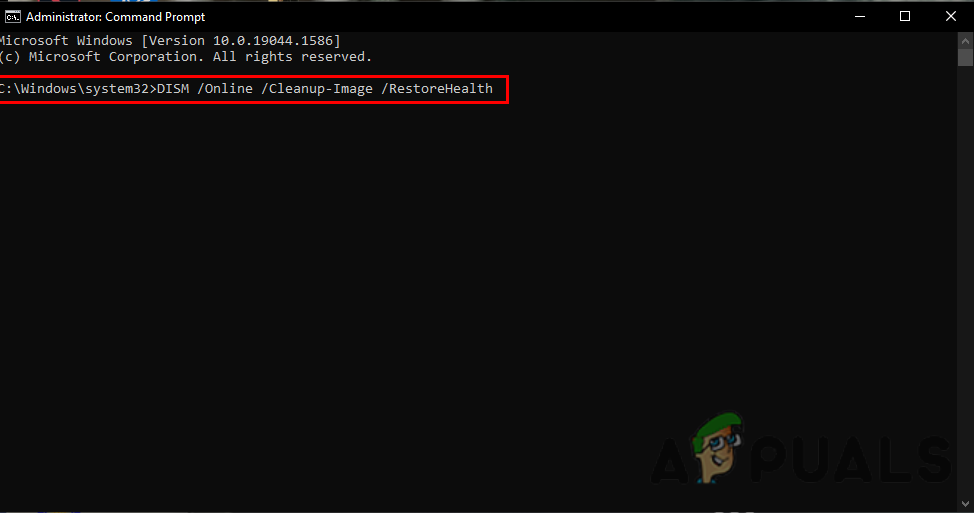
Run the DISM commands to repair the Windows operating system - After the scan and repair process finishes, restart your PC and check if the error is fixed.
2. Update Windows Version
An outdated Windows version can also cause blue screen errors. Microsoft regularly releases updates to improve stability, security, and fix errors.
- Go to Settings from the Start menu.
- Select Update & Security.
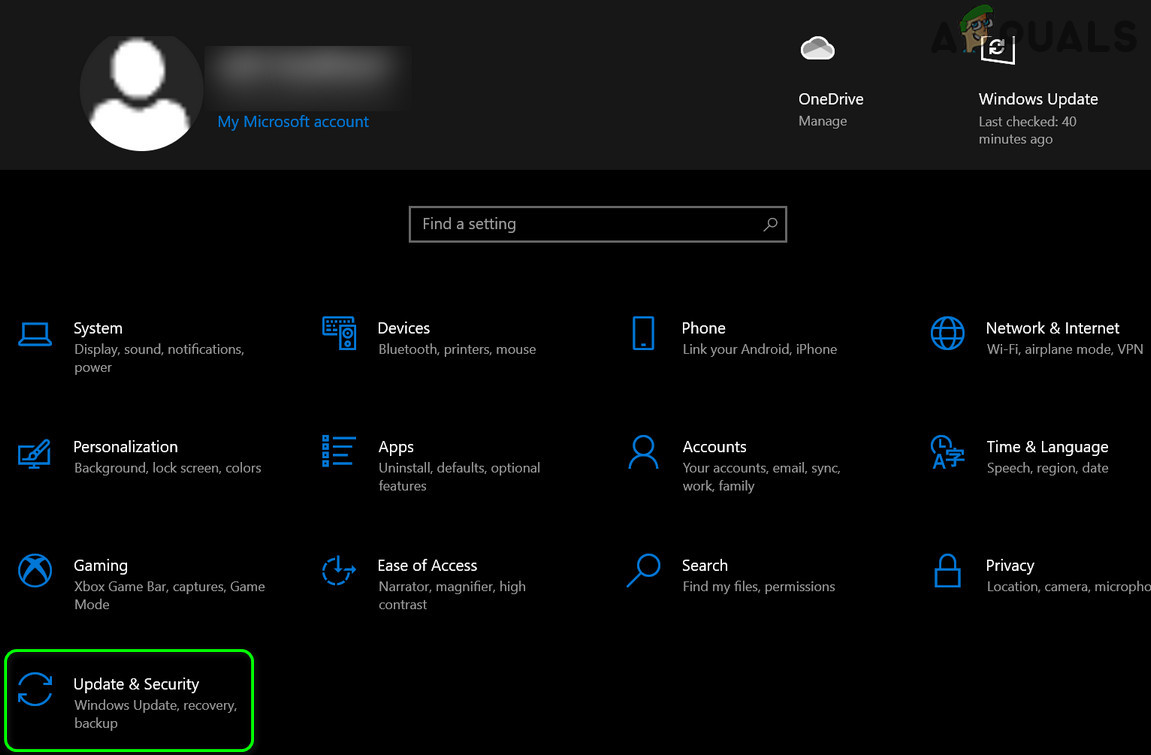
Open Update & Security - Select Windows Update from the left panel and click Check for Updates.
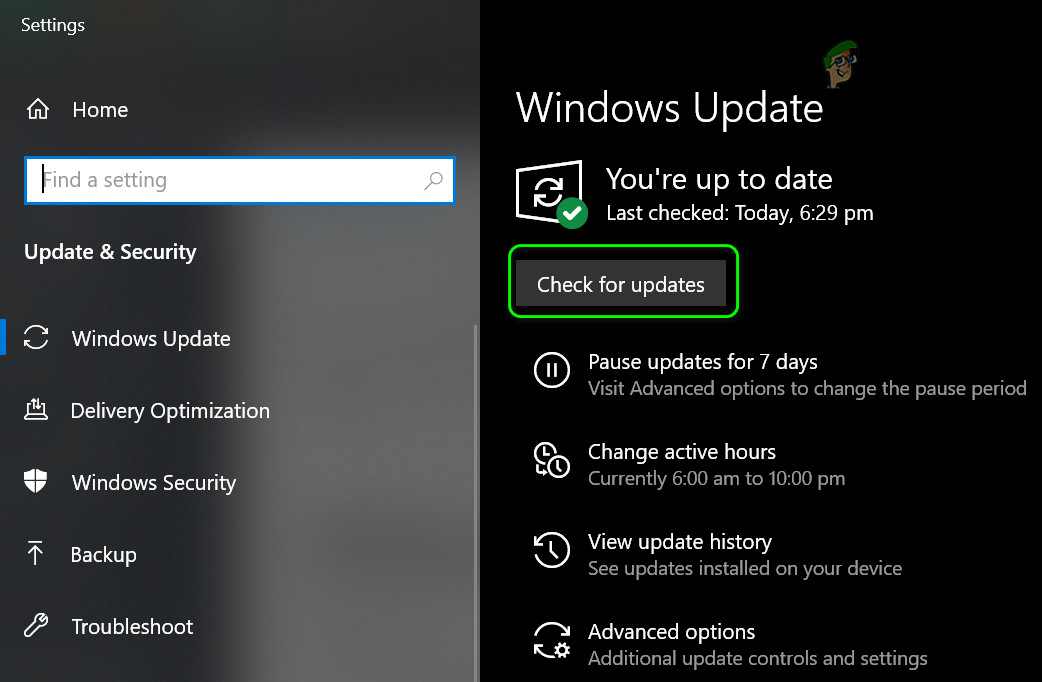
Check for Windows Updates - Your system will automatically download and install any available updates.
3. Update the Drivers
Drivers are essential for your Windows system to run programs and games smoothly. Outdated or corrupted drivers can cause a range of problems. Updating your drivers to the latest version often resolves many errors.
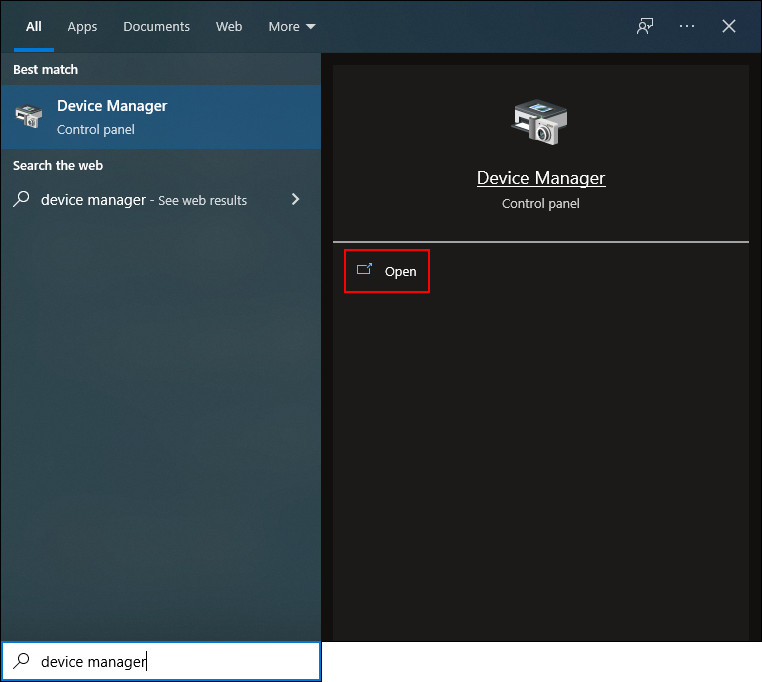
- Press Win+X and select Device Manager from the menu.
- Open Device Manager.
Open Device Manager - Look for any devices with a yellow exclamation mark – these are usually outdated drivers.
- Expand the section, right-click the device, and choose Update Driver.
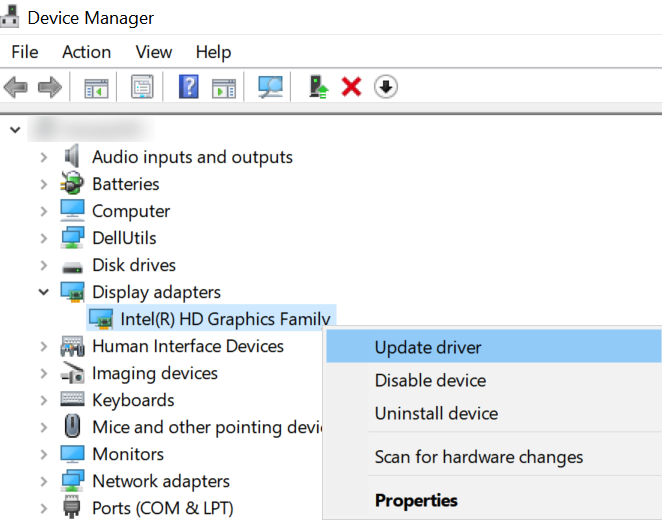
Update the Graphics Driver in the Device Manager - Select “Search automatically for updated driver software.”
- If an update is found, follow the prompts to install it.
- Once done, restart your computer and see if the error is resolved.
You can also update drivers by visiting the official website of your device manufacturer and downloading the latest drivers compatible with your system.
4. Perform a Clean Boot
Another helpful troubleshooting step is to perform a Clean Boot. A clean boot starts Windows with only essential drivers and startup programs, helping you identify if any background application is causing the problem.
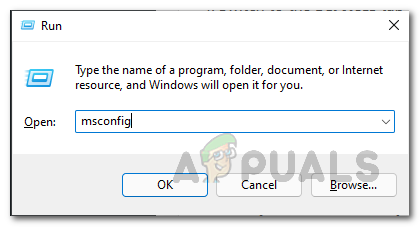
- Open the Run box, type msconfig, and press Enter.
Accessing the MsConfig interface - Select the Services tab and check the box Hide all Microsoft services.
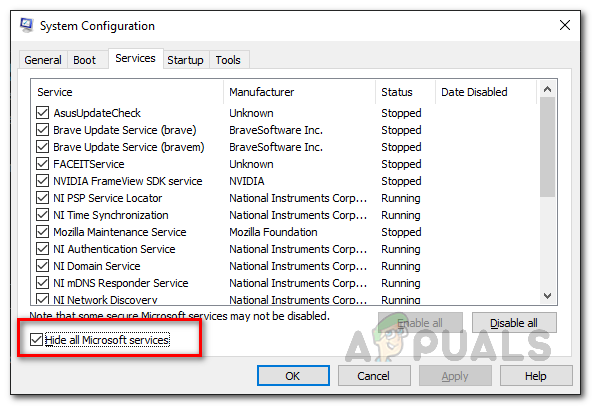
Hiding all Microsoft Services - Click Disable All and go to the Startup tab.
- Choose Open Task Manager.
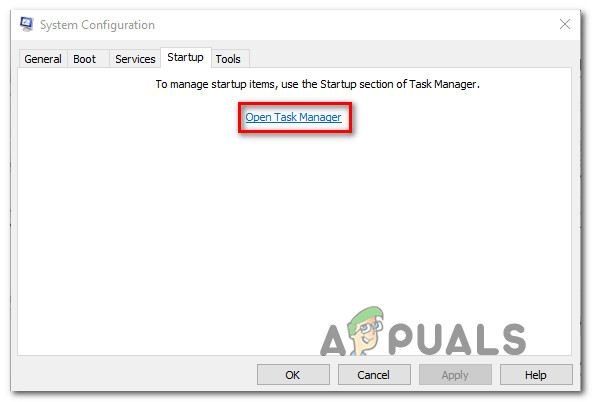
Opening Task Manager - Right-click each startup program and disable them.
- Exit Task Manager, return to System Configuration, and click Apply, then OK.
5. Launch Windows Defender Scan
A virus or malware infection is another likely cause of BSOD errors, as these can use up system resources and make your system slow, freeze, or crash. You can use Windows Defender, the built-in protection in Windows, to scan for and remove malware.
- Type Windows security into Search and press Enter.
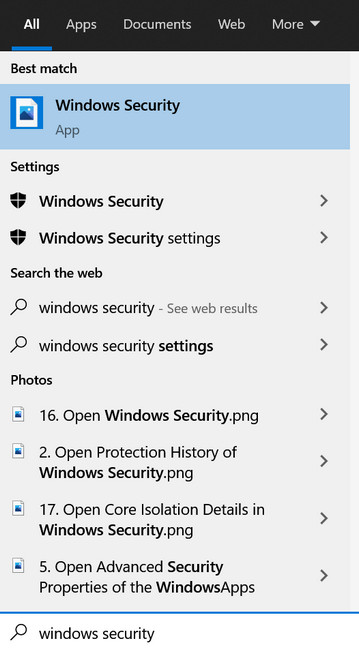
Open Windows Security - Select Virus & Threat protection.
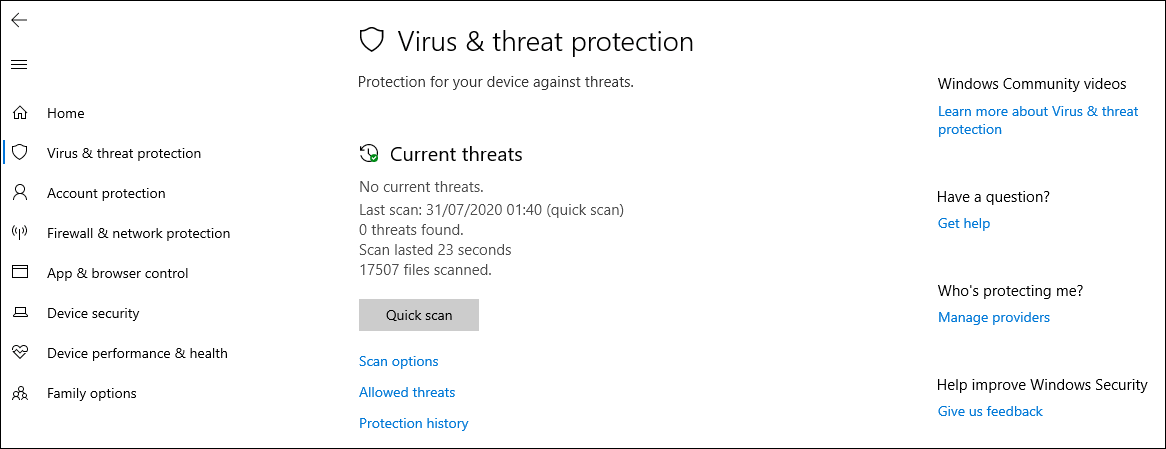
Virus & Threat Protection area - Go to Scan options.
- Choose Full Scan.
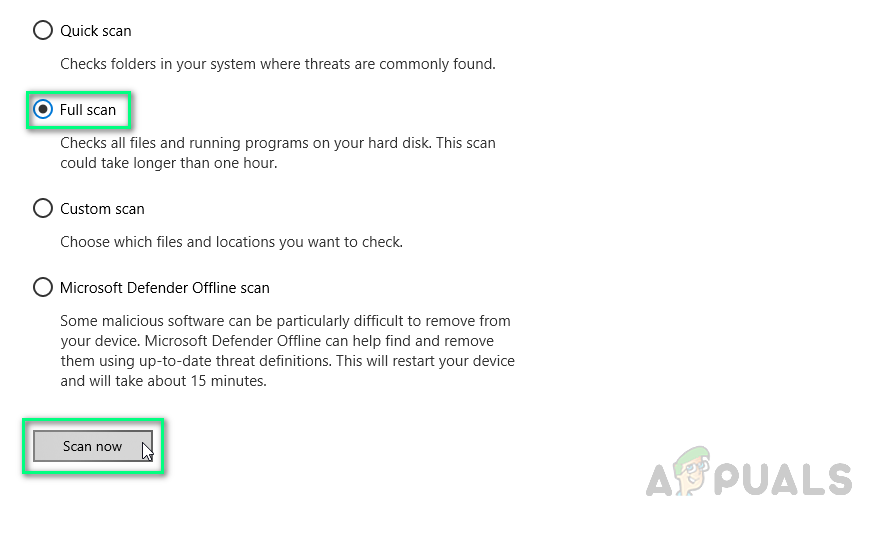
Running Full Scan - Windows Defender will start scanning your entire system. This might take a while, so let the scan finish.
After the scan is complete, restart your system and see if the error is gone.
If you need more protection, consider using a third-party antivirus program, as sometimes Windows Defender may not catch all threats. Many reliable antivirus programs are available online.
6. Perform a System Restore
If you recently installed a driver, program, or changed registry settings, you might encounter this BSOD error. In this case, using System Restore can help by returning your system to a point before the problem appeared.
- Press Windows + R to open the Run dialog, type rstrui and hit Enter.
- Select Choose a different restore point.

Choosing a Different Restore Point - Choose the date & time when you didn’t have this problem.
- Click Next.
- Click Finish.
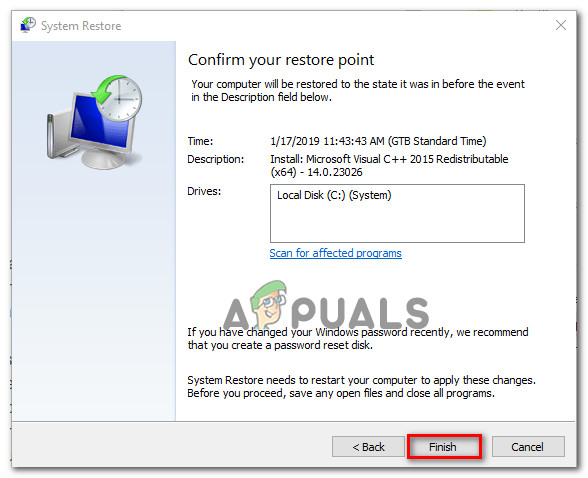
Finish up the System Restore procedure - If prompted, confirm by clicking Yes.
7. Uninstall Other Antivirus Programs or Security Firewalls
As mentioned earlier, sometimes third-party antivirus software can cause conflicts that trigger blue screen errors. Try uninstalling or temporarily disabling such programs to see if the problem goes away.
To temporarily disable your antivirus, click its icon in the taskbar, go to settings, and choose Disable for a set time period (like 1 hour or 24 hours). Then, reboot your system.
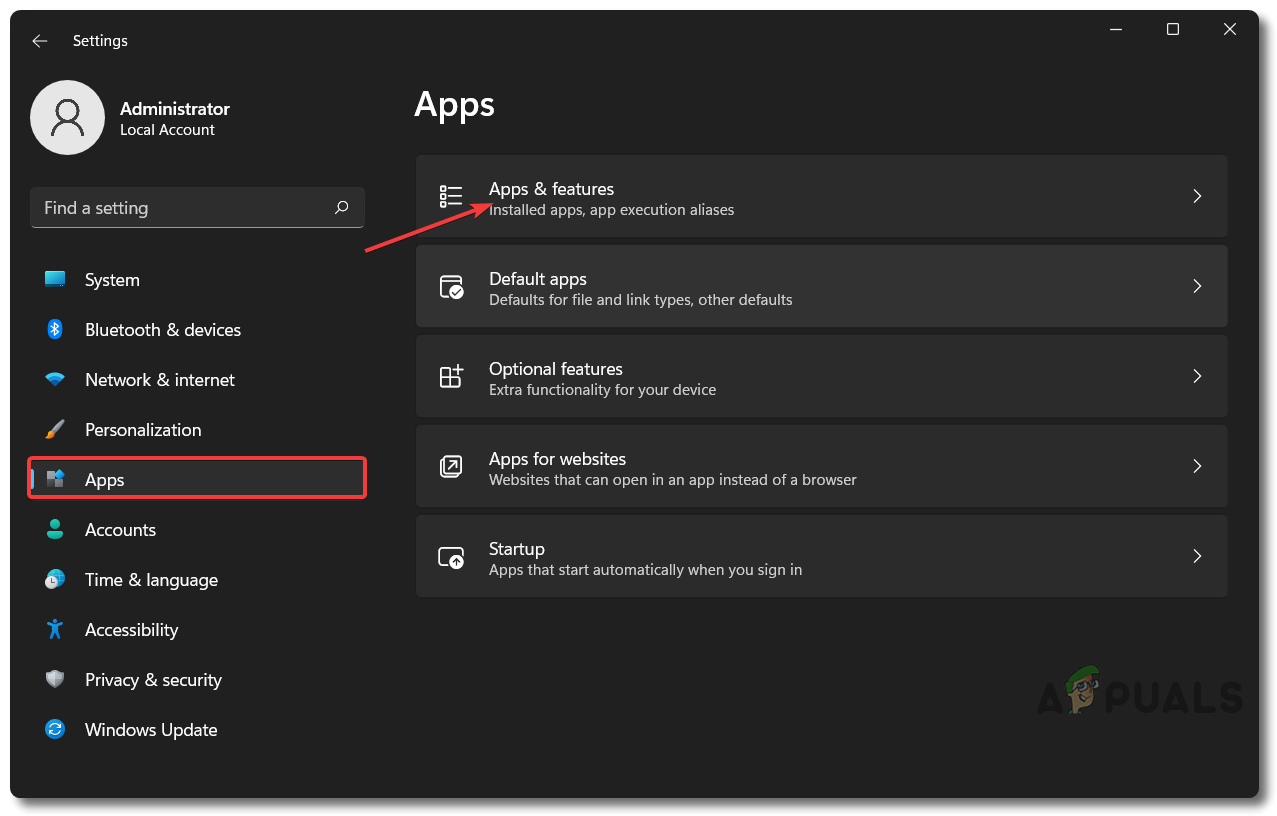
- Open Settings on your system.
- Click on Apps, then select Apps & Features.
Apps Settings to Apps & Features - Find your third-party antivirus or firewall, right-click it and select Uninstall.
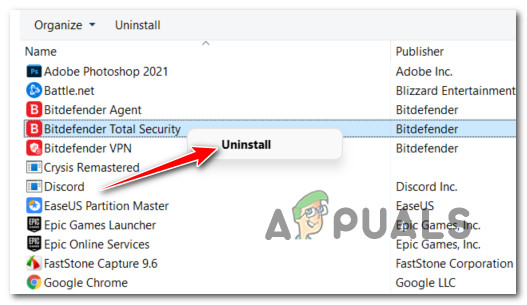
Uninstall the 3rd party antivirus - Once uninstalled, restart your system and check if the problem is resolved.
8. Perform Clean Installation
If none of these fixes work for you, try a clean installation of Windows. This will remove all corrupted and damaged files—but before continuing, make sure you back up your important data, since clean installation erases everything on your system.
- Download the ISO files for your Windows 10 or 11.
- Select the option to create installation media for another PC, and click Next.
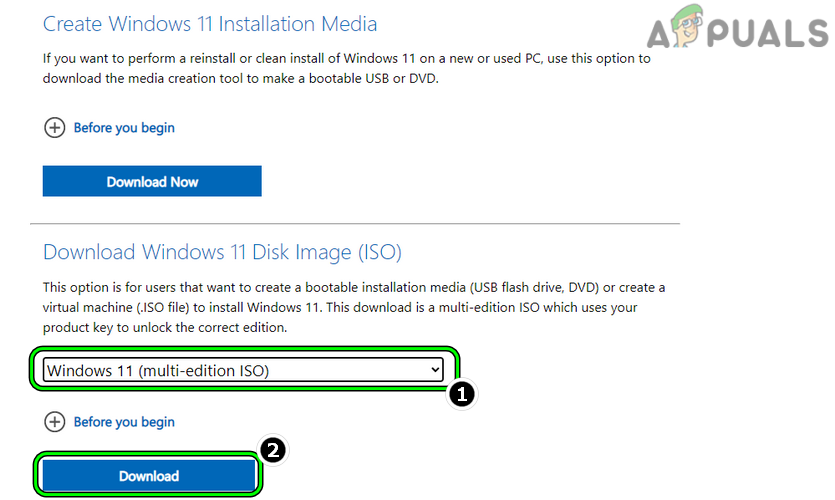
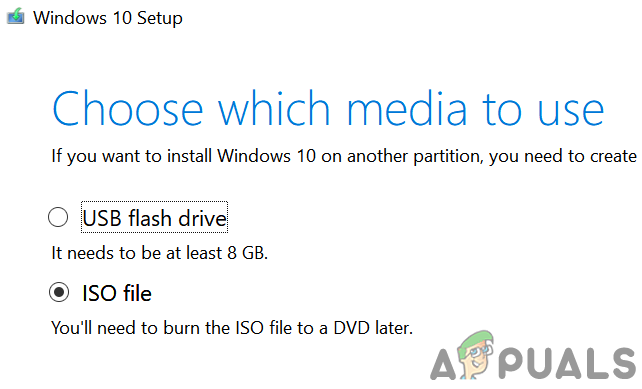
Download the Windows 11 ISO File - Choose ISO file, click Next, then click Finish.
Select ISO File Type - Open the downloaded ISO file.
- Run Setup and click Next.
- Click the Accept button and wait while the process runs.
- Click Install when prompted.
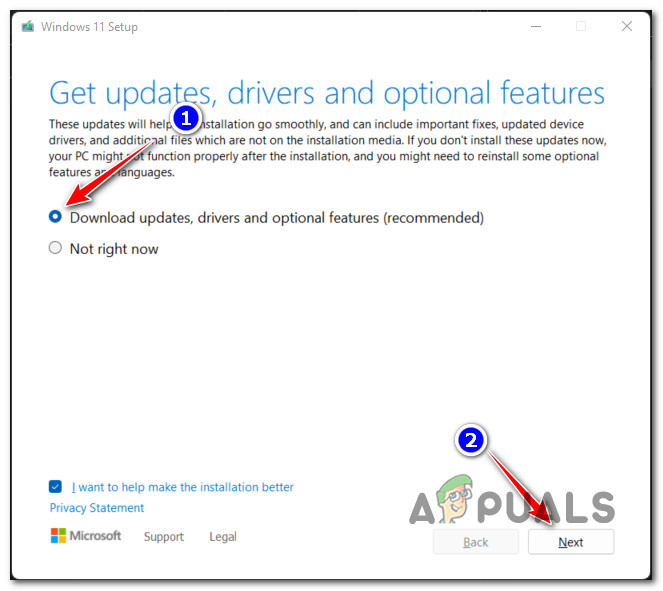
Installing Windows 11 from ISO - Your computer will restart and Windows will install automatically.


