How to Backup Data Before Flashing a Custom ROM
 Reviewed by Huzaifa Haroon
One of the biggest advantages of Android devices is the freedom that most manufacturers give you to go beyond the default operating system. You can personalize your phone even further by installing a specific custom ROM. However, this process does come with some risks—such as permanently erasing all your data or, in the worst-case scenario, “bricking” your phone (making it unusable unless you need spare parts).
Because of these risks, it’s essential to take precautions by backing up your data before you start. This can make the entire flashing process much smoother and less stressful. In this guide, we’ll walk you through several easy methods to back up your data before you install a custom ROM.
1. Backup via Google One
Since most Android devices are linked with Google, the easiest and most reliable way to back up your important data is by using Google One. This cloud service saves your data directly to your Google account. When you set up a new device, or after installing a new ROM, you’ll be able to restore your backed-up content easily.
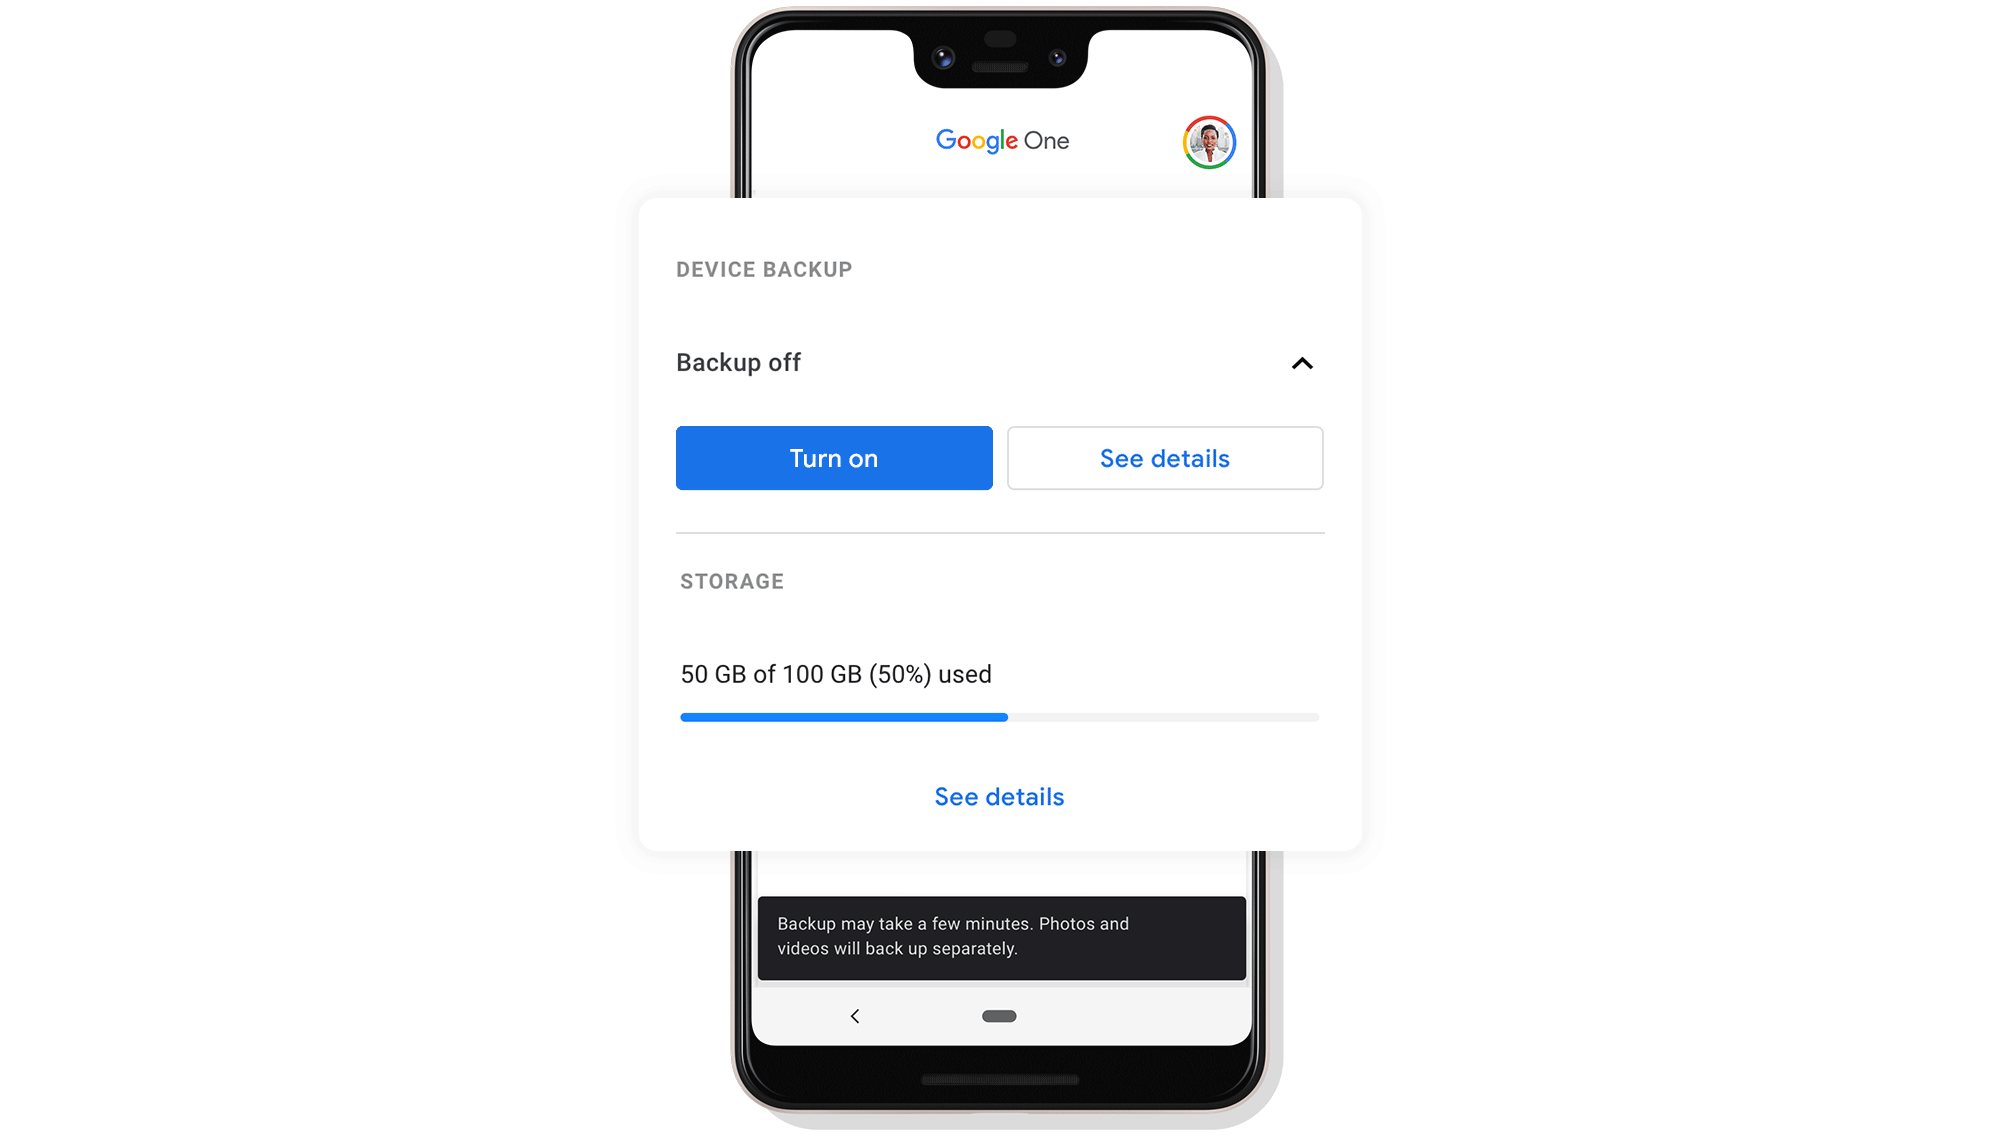
The standard free plan gives you 15GB of cloud storage. If your files go over this limit, you will need to purchase additional storage for your Google account.
Steps to Back Up Your Data via Google One
To back up your data with Google One:
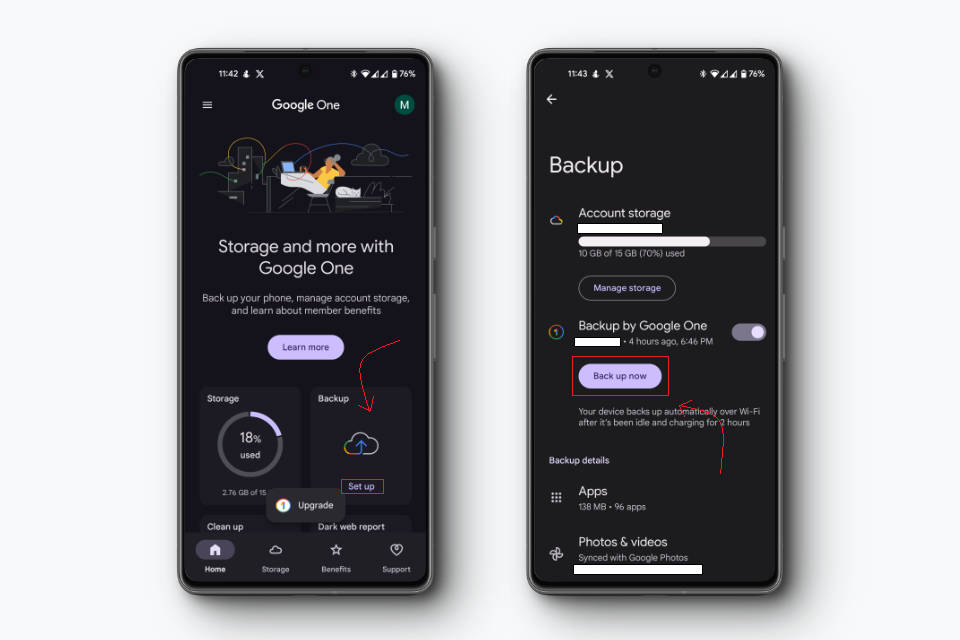
- Open the Google One app (you can get it from the Play Store; the link is below the image).
- Tap “Set up” under Backup.
- Press “Back up now” to start backing up your data.
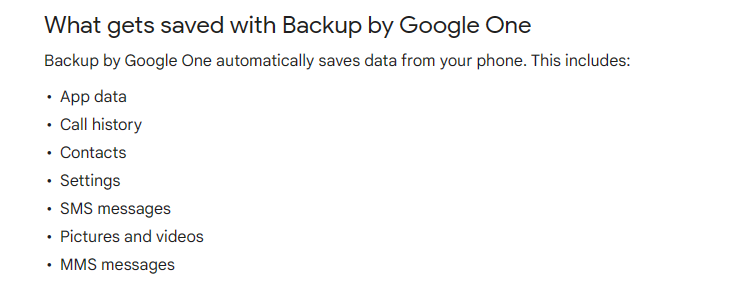
IMPORTANT: If you have access to an external SD card or a USB drive (via OTG cable), make sure to copy all of your phone’s contents to that external storage as well, because Google One won’t back up absolutely everything on your device—especially some files that are stored in internal storage.
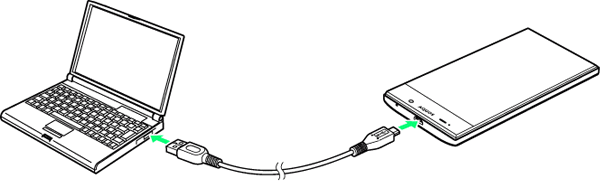
2. Manually Backing Up to a PC/Laptop
Cloud services like Google One make backing up convenient, but they’re not always perfect for every situation. Sometimes, not all files are transferred, or your data may exceed the 15GB free limit. You might not want to spend money on extra storage for something you will only need temporarily.
The most reliable alternative is to manually back up your data to your PC. This way, you can be confident that everything—photos, videos, documents, and other files—are safely stored and can be easily accessed after you flash your new ROM.
Manual Backup, Manual Set-Up
The main downside of manually copying your files to your PC is that, after installing your new ROM, your device will be completely empty, just like when it was brand new. You’ll need to copy your photos and files back yourself, and reinstall all your apps and settings—so this method does require a bit more effort during setup.
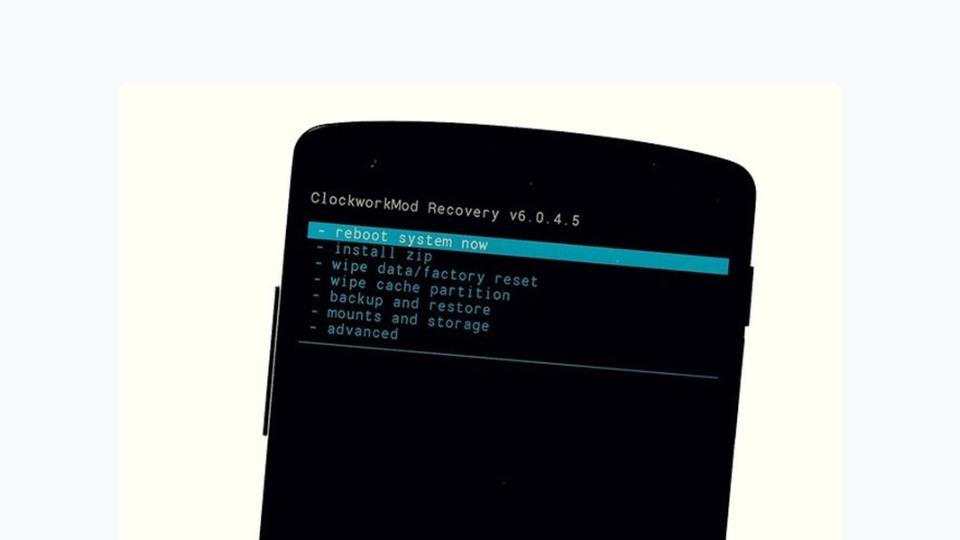
3. Backup via Custom Recovery
If this is your first time installing a custom ROM, you’ll need to use a custom recovery tool. This is a special mode (separate from your usual Android system) that gives you a simple menu to do things like format partitions, install new ROMs, or take a full backup of your phone.
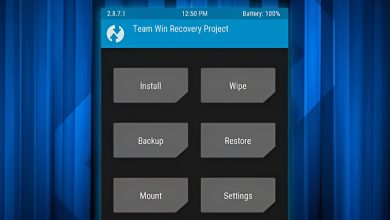
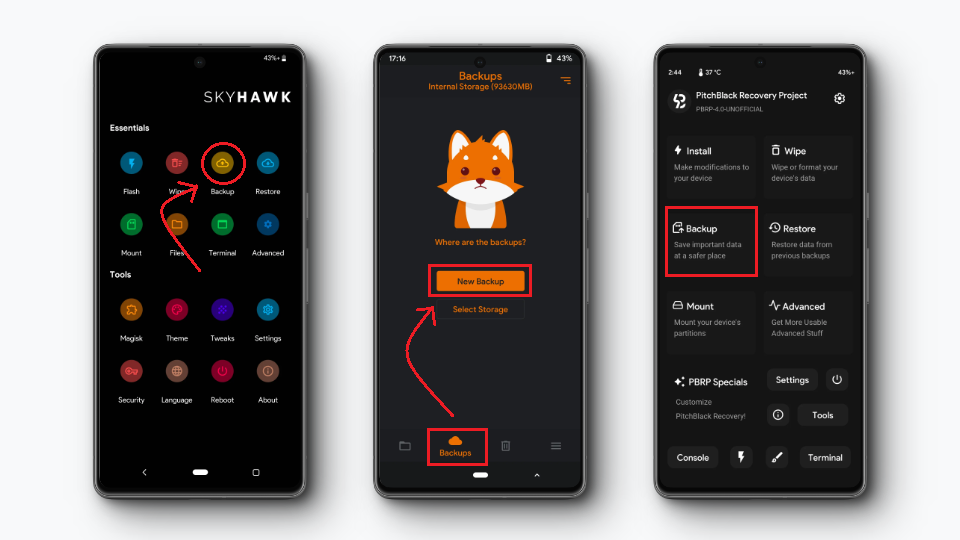
Most Custom Recoveries Support Backups
Popular custom recoveries like TWRP (Team Win Recovery Project), OFRP (Orange Fox Recovery Project), and PBRP (Pitch Black Recovery Project) all allow you to make a full backup of your device. So, if anything goes wrong while flashing a new ROM or updating a file (which is more common than you might think), you can easily restore everything back to normal.
IMPORTANT: Installing a ROM usually requires you to format your device completely. Do not save your backup to internal storage (it will get erased!). Always save your backup to an external storage option—like an SD card or a USB drive connected via OTG—making sure there’s enough space for the backup file.
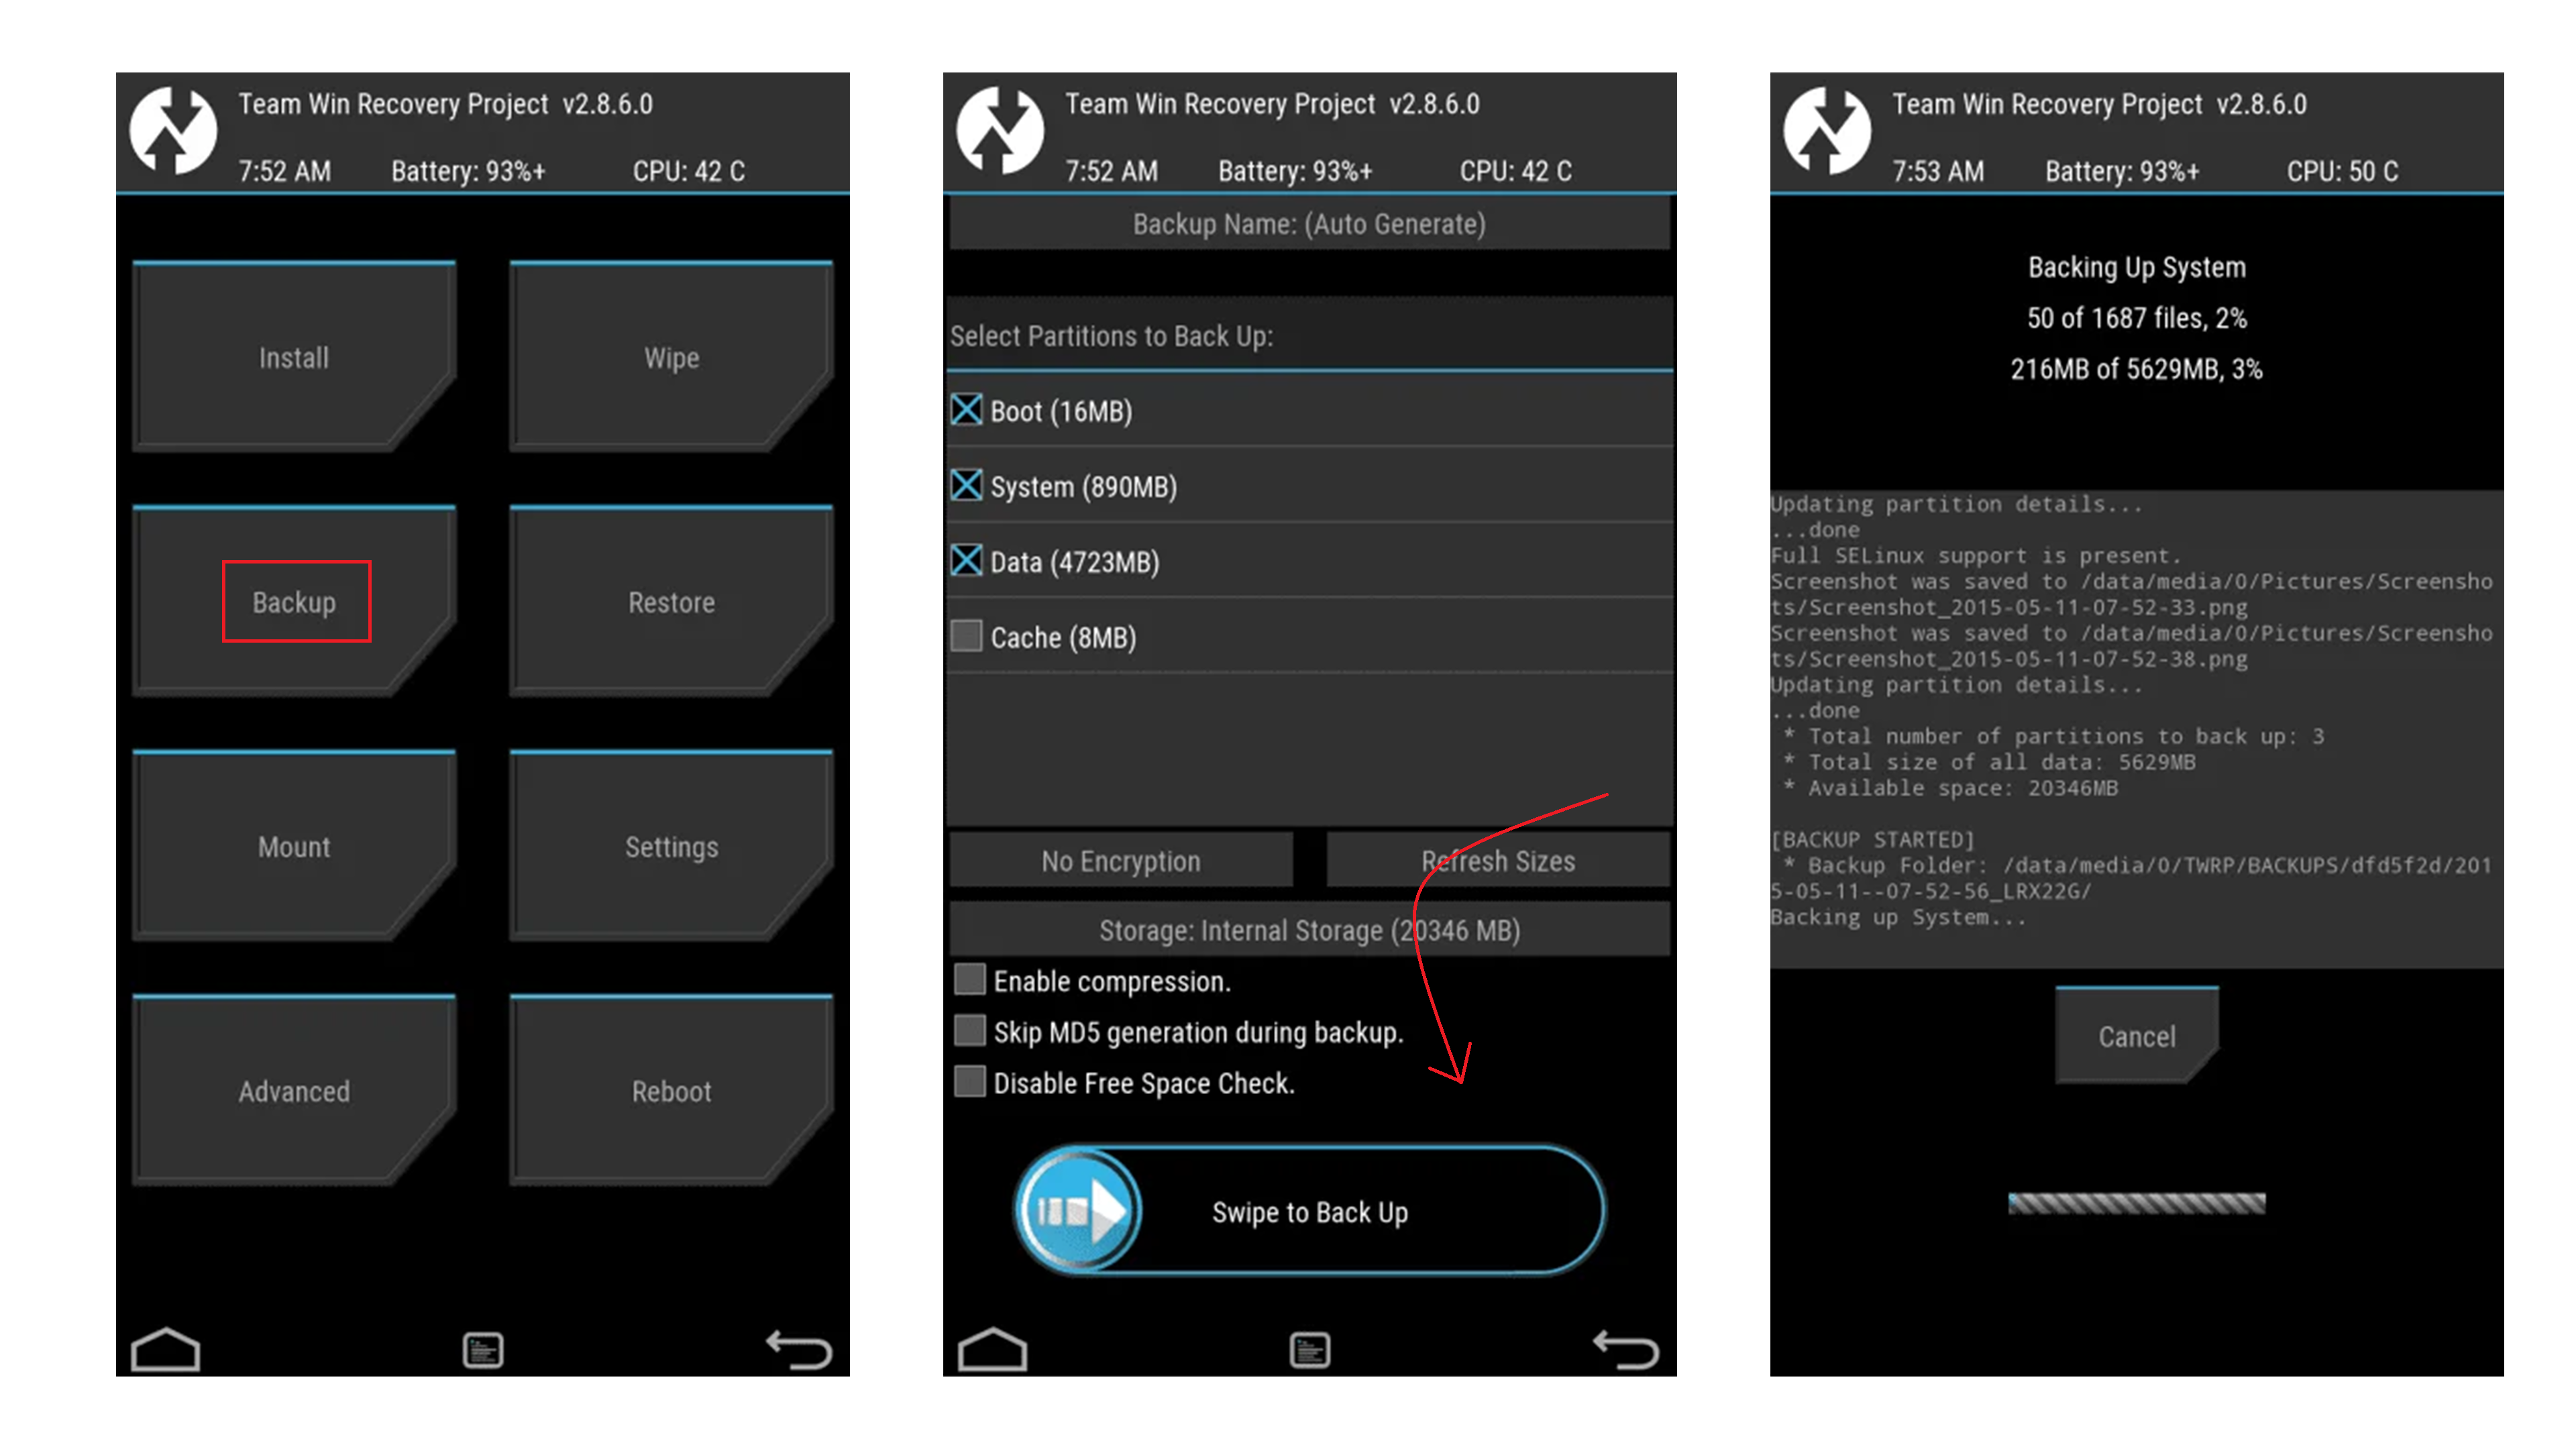
Steps to Back Up Your Data via TWRP
To back up your data with TWRP, follow these steps:
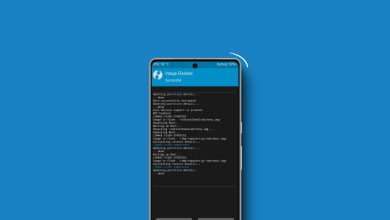
- Boot your phone into recovery mode.
- Select “Backup“, then choose the data partitions you want to save.
- Save the backup to external storage (such as your SD card or USB drive).
Once you’ve saved your backup externally, you can easily restore it later. Think of this as creating a System Restore point for your Android device. While these steps describe TWRP, the screenshot below shows where to find similar backup options in other custom recoveries. The process is basically the same for all of them.
 Reviewed by Huzaifa Haroon