How to Fix Audio Not Working After Windows 11 22H2 Update?
Audio stops working right after updating to Windows 11 22H2, and your computer can’t find any playback or recording devices. This usually happens because Windows can’t start the audio system properly, which often leads to a “No Output Device Found” message or complete silence when you try to play music, videos, or make calls.
The main reason for this issue is a broken or incompatible Realtek or Intel audio driver that was installed during the update. Sometimes, it can also be caused by problems with Bluetooth settings or audio drivers not matching up after a BIOS update.
In this article, we will discuss different ways to solve this error.
1. Run the Audio Troubleshooter
The first step you should take when experiencing any sound-related issues in Windows is to run the built-in audio troubleshooter.
- Press the Win + I keys together to open the Settings app.
- Navigate to System > Troubleshoot > Other troubleshooters.
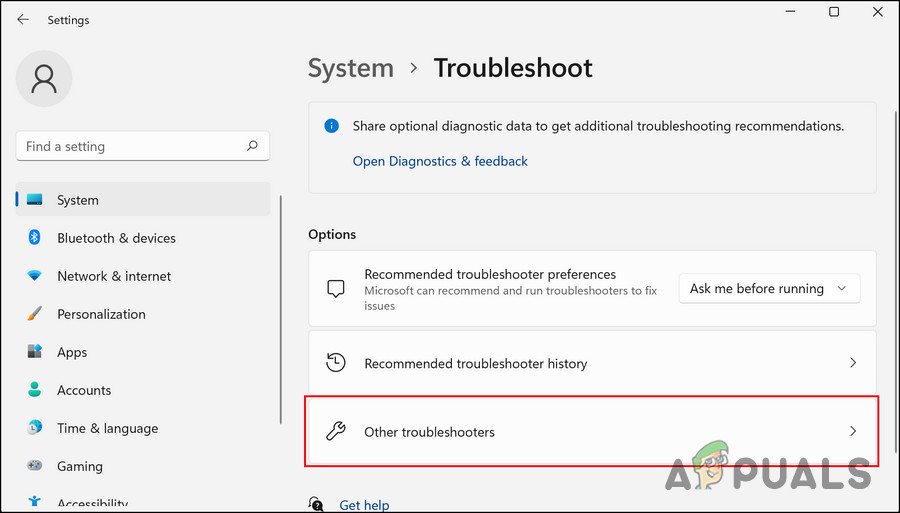
Access the Other troubleshooters - Find the Playing Audio troubleshooter and click on Run. The troubleshooter will start scanning your system for sound issues.
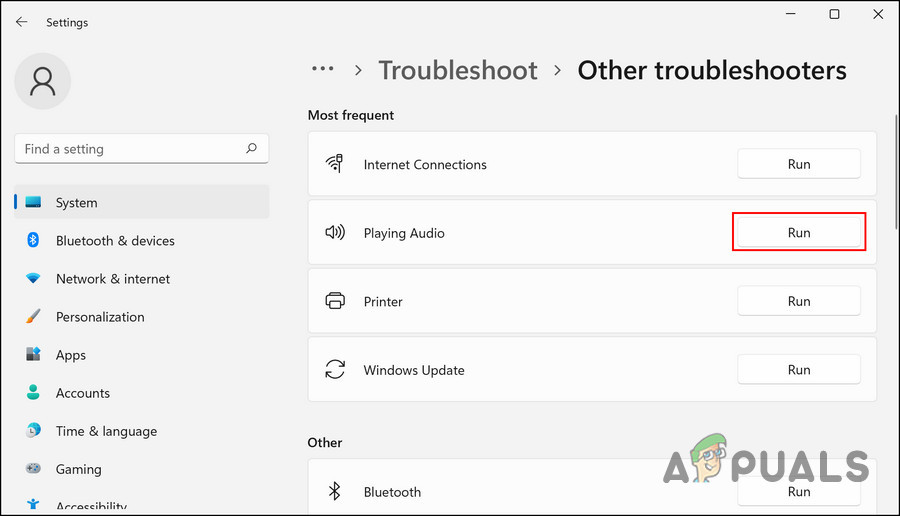
Run the Playing Audio troubleshooter - Once the scan is complete, see if any issues are detected. If the troubleshooter finds a problem and suggests a fix, click on Apply this fix.
- If no issues are found or no fix is suggested, click Close the troubleshooter and continue with the next method below.
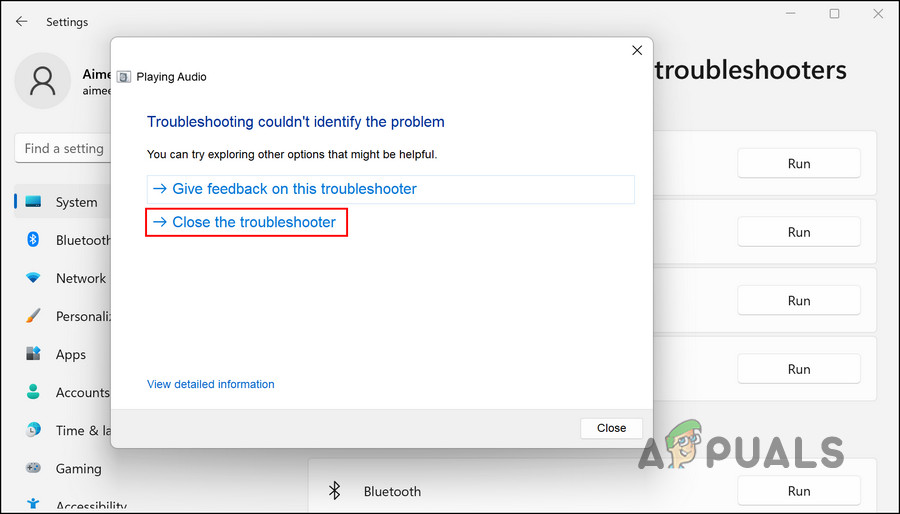
Exit the troubleshooter
2. Update or Roll Back the Driver
It’s possible that the problem is caused by incompatibility with the audio driver. In this case, you should either update the driver to the latest version or roll it back to a previous version.
2.1 Update the Driver
We will use the Device Manager for this.
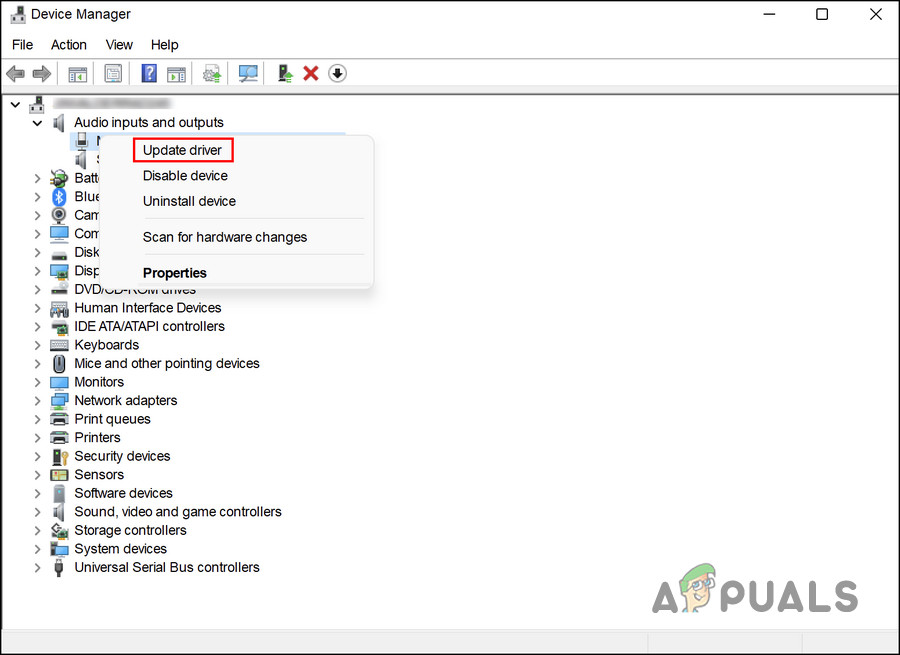
- Type Device Manager in Windows Search and click Open.
- In the window that opens, expand the Audio inputs and outputs section and right-click your audio device.
- Select Update driver from the context menu.
Update the audio driver - Click on Search automatically for drivers and let Windows search and install the most suitable driver.
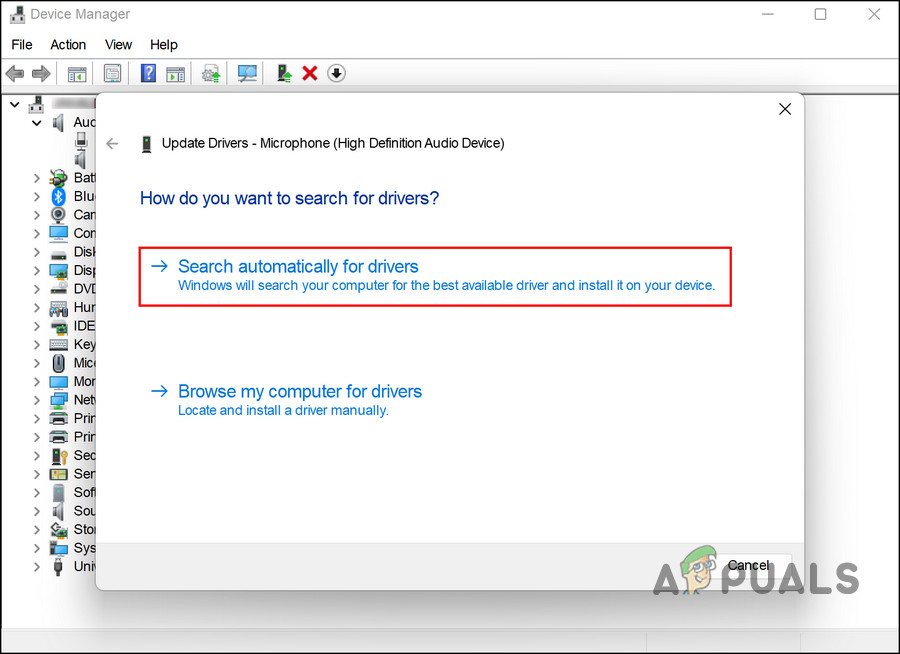
Allow Device Manager to search for drivers - Follow any on-screen instructions, then restart your computer. If the error continues, repeat steps 1-3.
- This time, select Let me pick from a list of available drivers on my computer.
- Choose High Definition Audio Device and install it.
- Restart your computer to see if the issue has been fixed.
2.2 Roll Back the Driver
If you recently updated your driver, rolling back to a previous version can sometimes resolve the problem.
- Go to the Audio inputs and outputs section as described earlier.
- Right-click your audio device and select Properties.
- In the Properties dialog, go to the Driver tab and click on Roll Back Driver.

Roll back the driver - Follow the on-screen prompts and check if your audio is restored after the process.
3. Uninstall KB5017321 and KB5017026 (If Applicable)
Sometimes, new system updates can create conflicts and cause unexpected issues. Many users found that the KB5017321 and KB5017026 updates were responsible for audio problems, and uninstalling them resolved the issue.
- Press Win + R to open the Run dialog.
- Type control and press Enter.
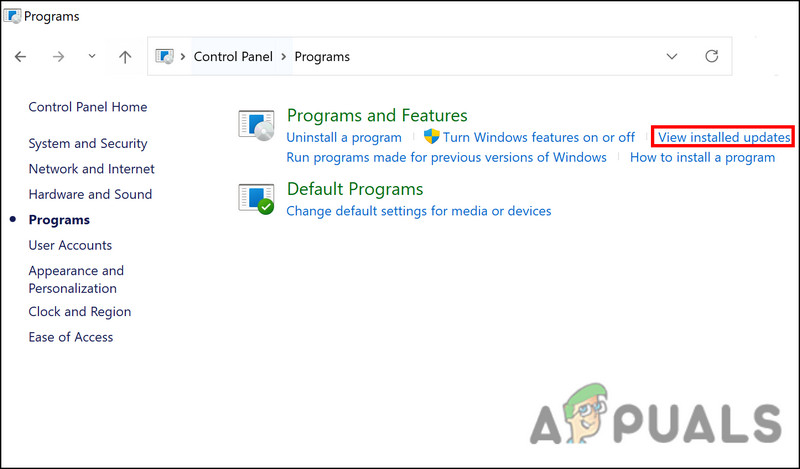
- When the Control Panel opens, click Programs.
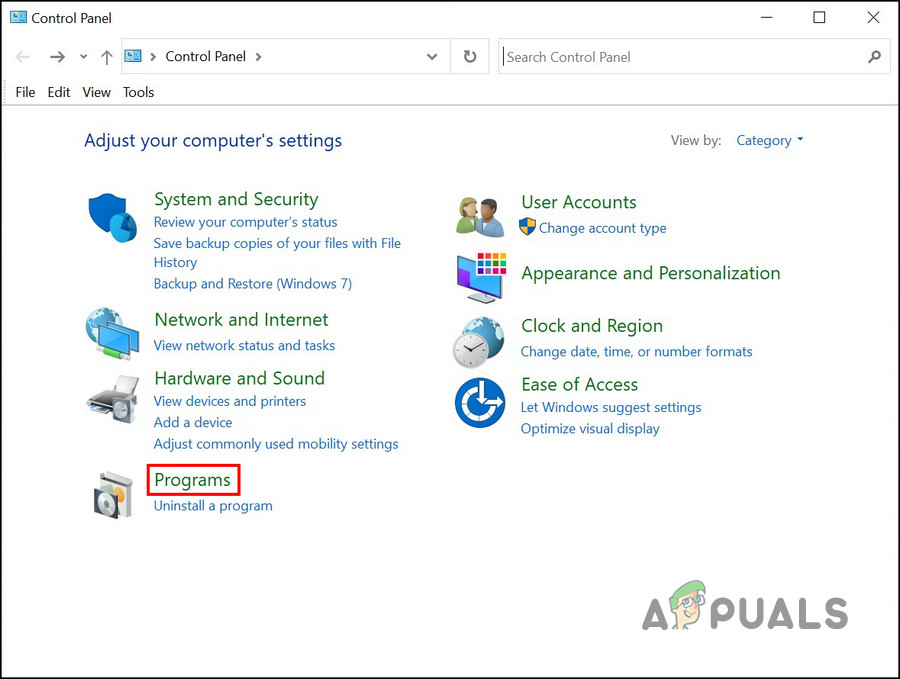
Click on the Programs option - Click on View installed updates under Programs and Features.
Click on the View installed updates option - You’ll now see a list of all installed updates. Locate KB5017321 and KB5017026, then right-click each one.
- Select Uninstall and follow the prompts to remove the update(s).
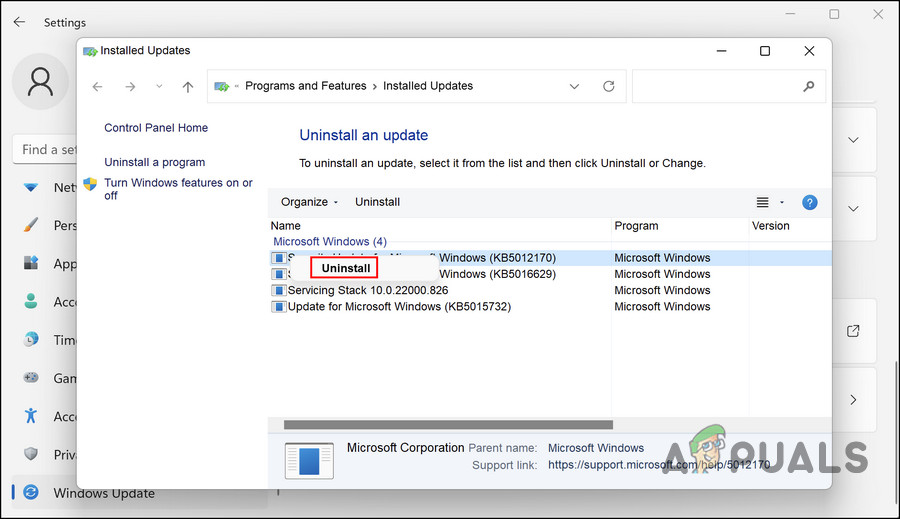
Uninstall the update
4. Install the KB5019509 Update
Microsoft released the KB5019509 update, which has helped many users fix this audio problem. If your system doesn’t already have this update, you can install it manually to see if it resolves your issue.
- Visit the Microsoft Update Catalog in your web browser.
- Use the search bar in the top right to find the KB5019509 update.
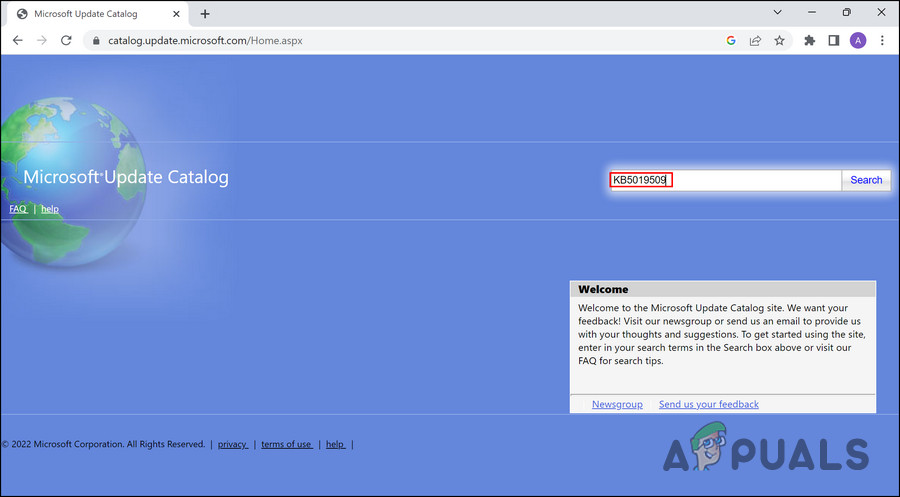
Search for the update - When the search results appear, look for the best match for your device and click Download.
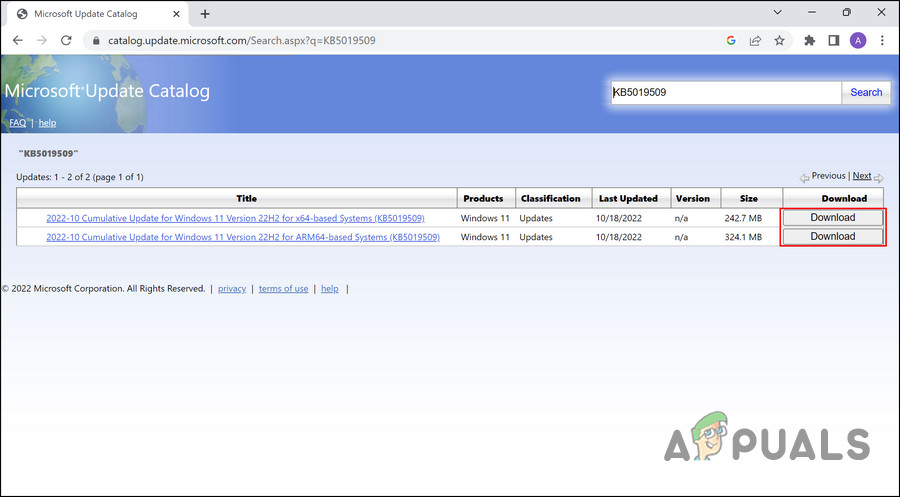
Download the update - After the update file is downloaded, open it to install the update. Then, check if your audio issue is resolved.