How to Fix Audacity ‘Internal PortAudio Error’ in Windows?
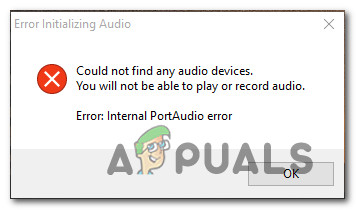
Audacity shows the “Internal PortAudio Error” when you try to record or play audio. Sometimes, the program crashes right away or doesn’t find your microphone or speakers. This error means Audacity is having trouble starting PortAudio, which is the tool it uses to connect with your computer’s sound devices.
Usually, the problem is caused by an issue with your audio drivers—often they are outdated, turned off, or not set up correctly in Windows. The error can also happen if exclusive mode is turned on, or if another program or background process is blocking access to your audio devices.
Now that you understand what might be causing the issue, try each of the fixes below in the order they’re presented. One of them should help you solve it:
1. Rescan Audio Devices in Audacity
Audacity sometimes doesn’t immediately recognize changes you’ve made to your audio devices.
If the ‘Internal PortAudio error‘ appears after plugging in, unplugging, or updating anything related to your audio hardware or drivers, simply force Audacity to rescan by following these steps:
- Open Audacity and go to the Transport menu at the top. Select Rescan Audio Devices and let the scan complete.
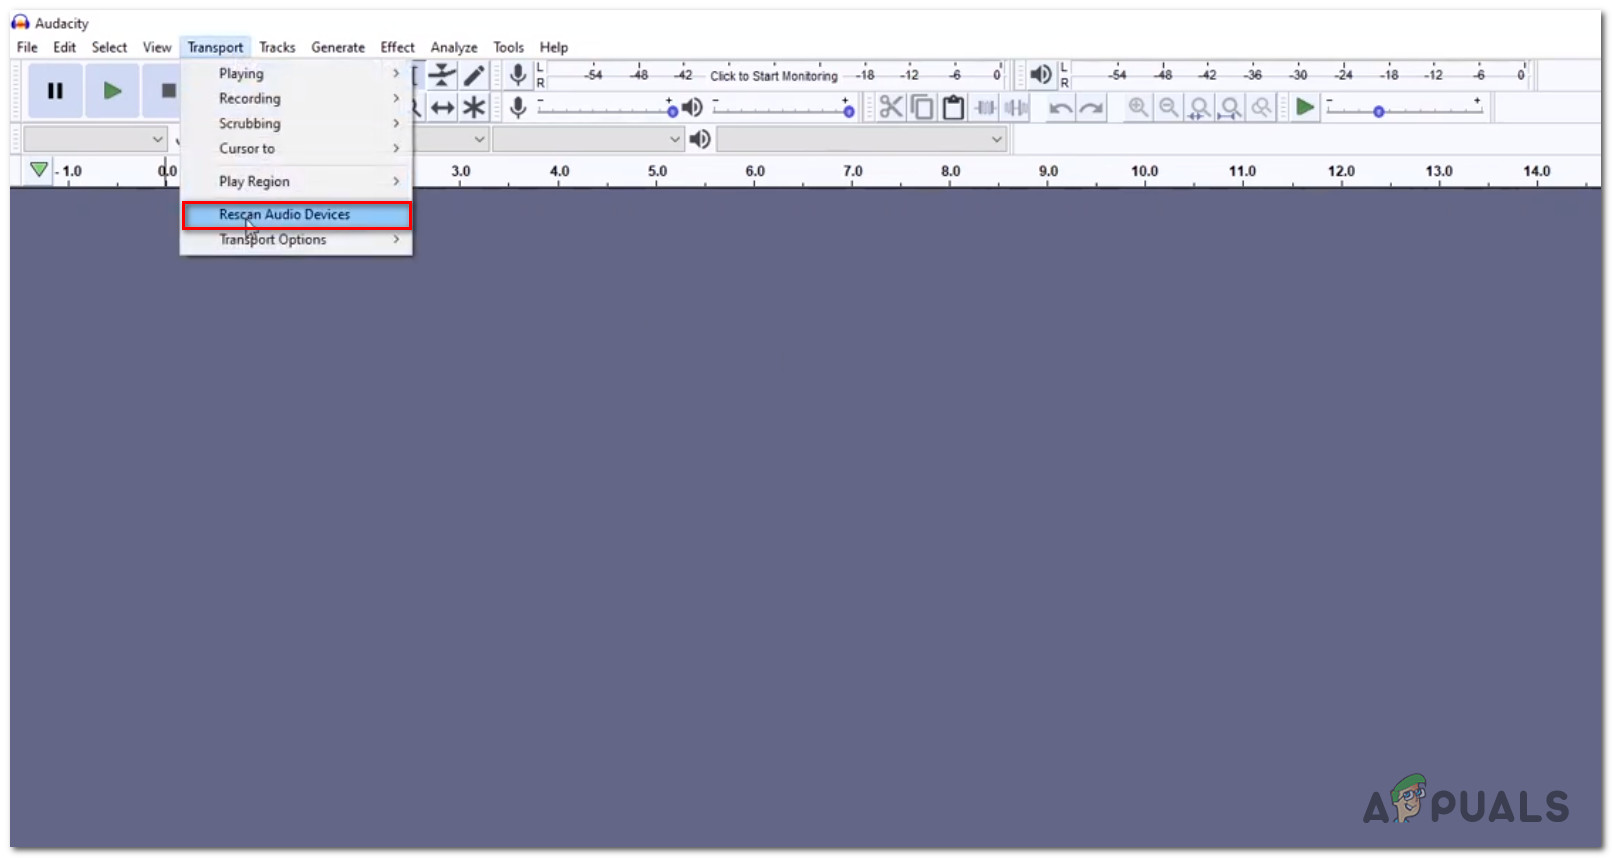
Rescan Audio Devices inside Audacity - Restart Audacity and check if the error is gone.
2. Enable the Required Audio Services
Many users have found that if either the Windows Audio or Windows Audio Endpoint Builder services are stopped or disabled, Audacity (and possibly other programs) won’t work properly.
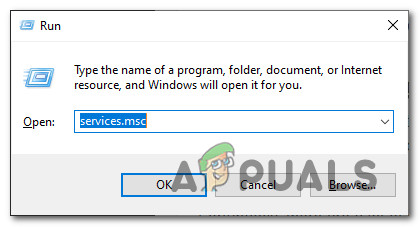
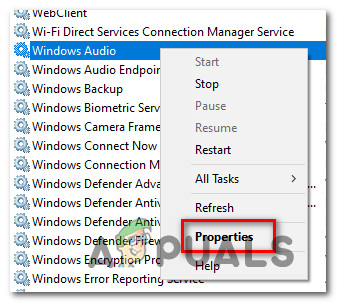
- Press Windows key + R to open the Run dialog. Type ‘services.msc’ and hit Enter.
Accessing the Services screen - Find Windows Audio in the list, right-click it, and select Properties.
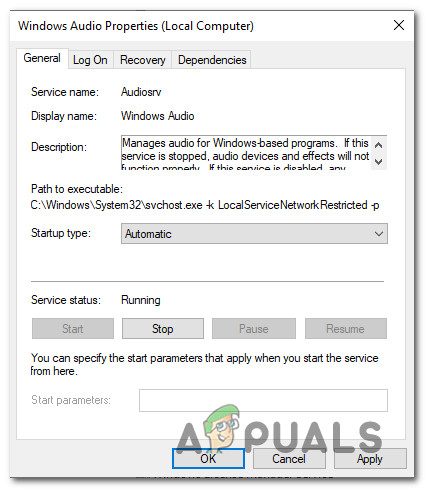
Accessing the Properties screen of Windows Audio - Under the General tab, set Startup type to Automatic and click Apply.
Modifying the properties of Windows Audio - Repeat for Windows Audio Endpoint Builder.
- Restart your computer and check if Audacity works properly.
3. Enable All Playback and Recording Devices
Audacity may run into problems if any playback or recording devices are disabled in your sound settings.
Tip: Instead of disabling audio devices you don’t want to use, unplug them if possible. Disabling devices in Windows can sometimes confuse software like Audacity.
- Press Windows key + R, type ‘mmsys.cpl’, and press Enter to open the Sound settings.
- Under the Playback tab, right-click any device with a down arrow icon and choose Enable.
- Do the same in the Recording tab for any disabled device.
- Click Apply and restart your computer.
- Try opening Audacity again.
4. Update or Reinstall Audio Drivers
Outdated or corrupted drivers are a common cause for audio errors. If you use headsets or other USB audio devices, old or incompatible drivers might prevent Audacity from recognizing your hardware.
- Press Windows key + R, type ‘devmgmt.msc’, and press Enter to open Device Manager.
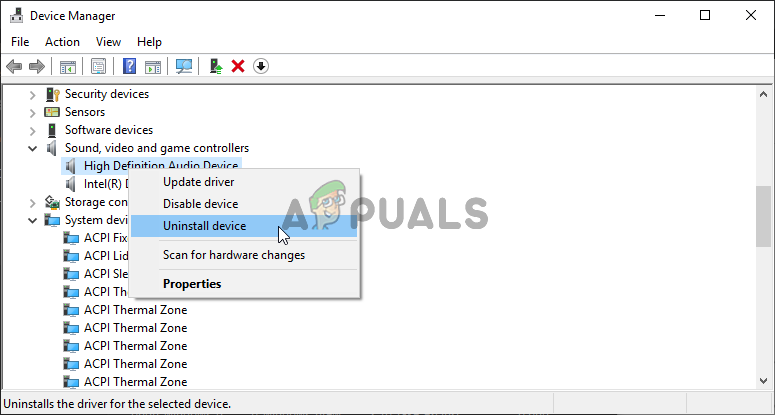
Opening Device Manager from a run box - Expand Sound, video and game controllers, right-click each audio device, and select Uninstall.
Uninstalling the audio device - If you use USB audio devices, expand Universal Serial Bus controllers and uninstall each host controller.
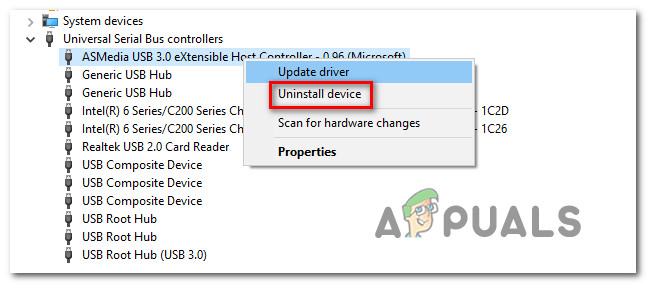
Uninstalling every host controller Note: This applies only if your audio devices connect via USB.
- Restart your computer. Windows will reinstall generic drivers automatically.Note: If you use a USB headset, plug it in again after restarting to complete driver installation.
- Open Audacity and test if the error is gone. If not, or if you get new errors, you can reinstall the official drivers for your hardware.
5. Reinstall Realtek Audio Driver (If Applicable)
If you use Realtek’s drivers, this error may be due to outdated or corrupted files. Updating to the latest Realtek drivers often fixes the issue.
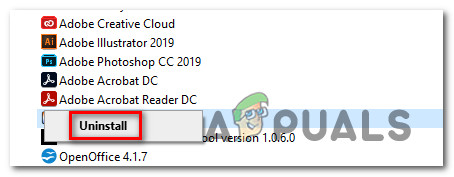
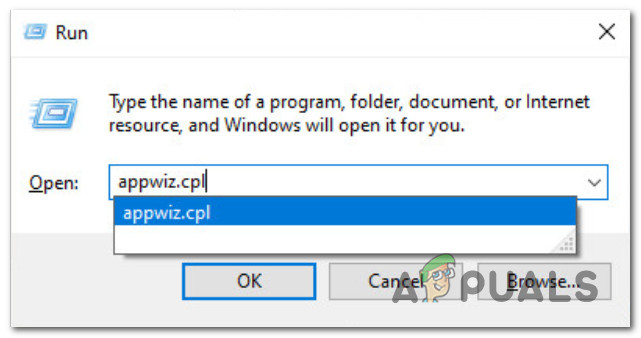
- Press Windows key + R, type ‘appwiz.cpl’, and hit Enter to open Programs and Features.

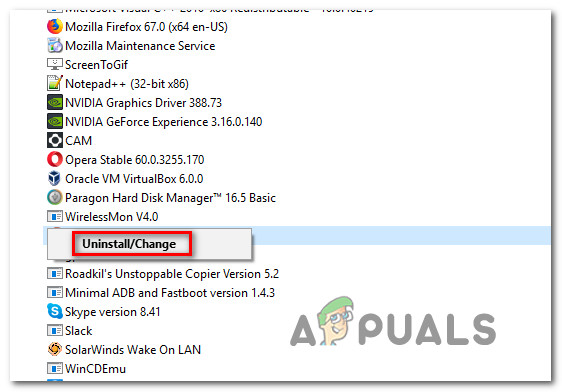
Accessing the Programs and Features menu (appwiz.cpl) - Find Realtek HD Manager (or any Realtek audio program), right-click, and choose Uninstall.
Uninstalling the Realtek driver Note: If you have more than one Realtek program, remove all of them.
- Restart your computer.
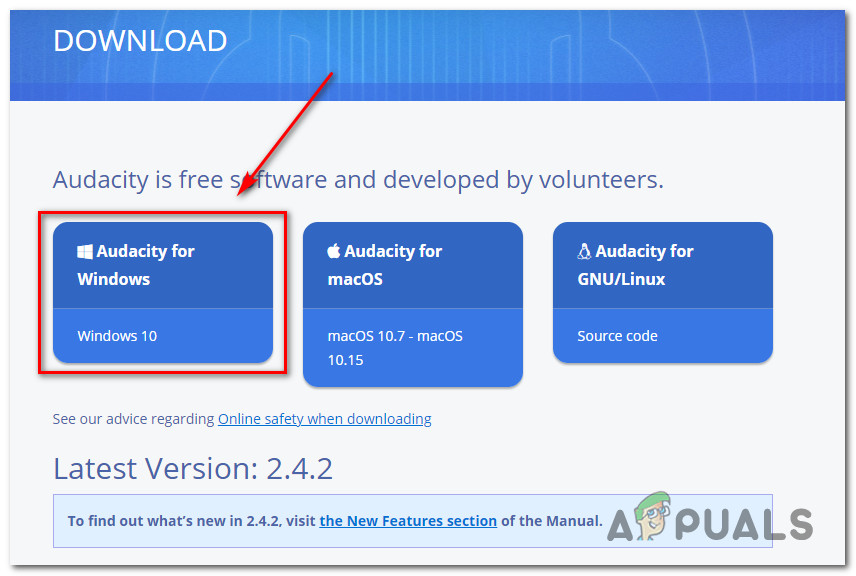
- Download the latest Realtek driver from the official Realtek website.
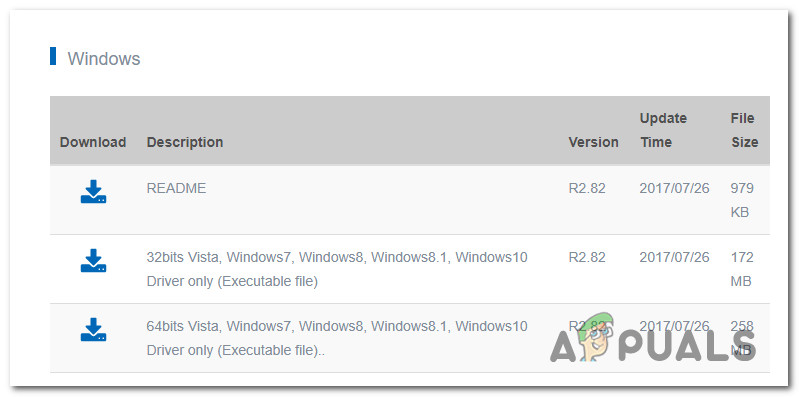
Downloading the latest Realtek driver Note: Download the correct version for your Windows (32-bit or 64-bit).
- Install the new driver by following the on-screen instructions.
- Restart your computer one last time and check Audacity for the error.
6. Reinstall Audacity
Sometimes, corrupted or outdated Audacity installation files can cause errors—especially when Windows updates have changed things in the background.
- Press Windows key + R, type ‘appwiz.cpl’, and hit Enter to open Programs and Features.
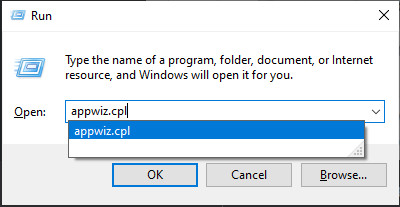
Opening the Programs and Features menu - Find Audacity, right-click, and select Uninstall.
Uninstalling the current version of Audacity - Finish the uninstallation and restart your computer.
- Go to the official Audacity download page. Download the latest version for Windows and run the installer.
Downloading the latest version of Audacity for Windows - Install Audacity, then try launching it again.
7. Run the Windows Audio Troubleshooter (Windows 10 ONLY)
If the previous solutions haven’t worked, it’s possible there’s a Windows-related glitch affecting your audio devices. Windows 10’s Audio Troubleshooter can find and repair many common sound problems.
- Press Windows key + R, type ‘ms-settings:troubleshoot‘, then press Enter.
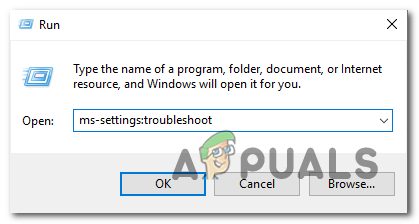
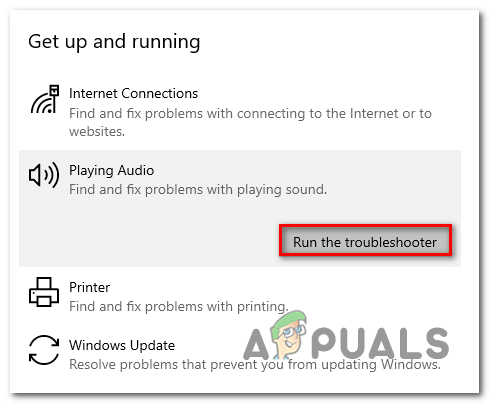
Accessing the Troubleshooting tab on Windows 10 - In the Troubleshooting window, scroll to Get up and running and select Playing Audio. Click Run the troubleshooter.
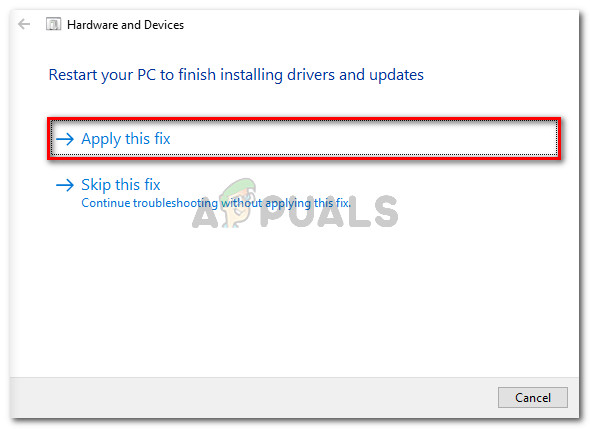
Running the Audio troubleshooter on Windows 10 - Let the troubleshooter run. If it finds any problems, click Apply this fix.
Applying the recommended fix - Restart your computer and check if Audacity works.
8. Uninstall DroidCam Virtual Audio Driver (If Applicable)
If you’re using DroidCam and none of the above solutions helped, there could be a known conflict between DroidCam’s Virtual Audio Driver and Audacity.
- Press Windows key + R, type ‘appwiz.cpl’, and press Enter to open the Programs and Features menu.
Opening the Programs and Features menu - Find DroidCam Virtual Audio in the list of programs, right-click on it, and choose Uninstall.

Uninstalling Droidcam Virtual Audio driver - Follow the prompts to complete the uninstallation.
- Restart your computer, then launch Audacity to see if the error is resolved.