How to Fix Apex Legends “403-HTTP SEARCH ERROR”?
Searching for friends in Apex Legends can quickly lead to a “403-HTTP SEARCH ERROR,” which stops the process right away with no more progress or messages. This error means that the server has blocked your search request on purpose, usually because some information is missing or your account does not have the right permissions.

The most common reason for this error is that EA’s servers are busy and are blocking friend searches while the matchmaking service is crowded. Other causes can include sending wrong friend requests or trying to search for friends who are on different platforms or in different regions.
Now that we have covered the possible causes, let’s walk through some proven solutions that have worked for others experiencing the same error.
1. Check for EA Server Problems
Before moving on to the fixes below, it’s important to check if there are any server-side issues with Apex Legends. If the problem is from EA’s side, it’s out of your control, and you’ll need to wait until the servers are restored.
You can check the server status using websites like DownDetector or the official EA Help Twitter account. This will let you know if Apex Legends is currently experiencing any ongoing server issues.
If everything is normal with the servers, then the issue might be related to your internet connection or device settings.
2. Check for Internet Issues
As mentioned above, unstable or slow internet can often cause this error. Here are some simple steps to troubleshoot your network:
- Check your internet connection speed to make sure it’s fast and reliable enough to play Apex Legends without errors.
- If you live in a crowded area, WiFi signals might be weak or face interference. Try moving closer to your router for a better connection.
- Reboot your modem, router, and gaming device to clear out minor bugs and glitches that might be causing the problem.
- If your connection is still unreliable, contact your internet service provider and ask for help.
- If you’re currently using WiFi, consider switching to a wired (Ethernet) connection for greater stability.
3. Restart Your Gaming Device
Many users on the Official EA forum have reported that a simple restart fixed the search error. Make sure to completely close Apex Legends and restart your console or PC.
After your device reboots, launch Apex Legends again and try searching for your friend to see if the error is gone.
This quick step often clears minor bugs and works for users on PC, Xbox, and PlayStation.
4. Change the Date & Time on Your Device
This solution might seem unusual, but setting your device’s date and time forward by a few days has helped many players fix this error.
Often, the error appears when your device’s time doesn’t match what the Apex Legends servers expect. Changing your date and time can help you bypass this issue. The steps will vary based on your device:
4.1. For PC
If you’re on Windows, follow these steps to adjust your date and time:
- Press Windows + R to open the Run box. Type timedate.cpl and press Enter to open the Time and Date menu.
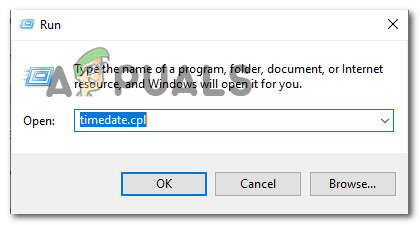
Opening the Date & Time window - Click Change Date & Time.
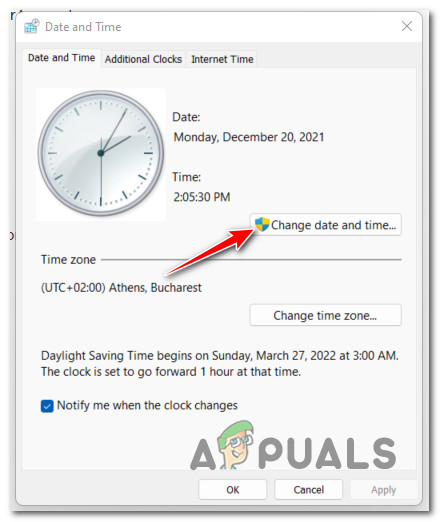
Click on the Change Date & Time menu - If you get a User Account Control prompt, click Yes to allow changes.
- Set the date a few days forward and click Save.
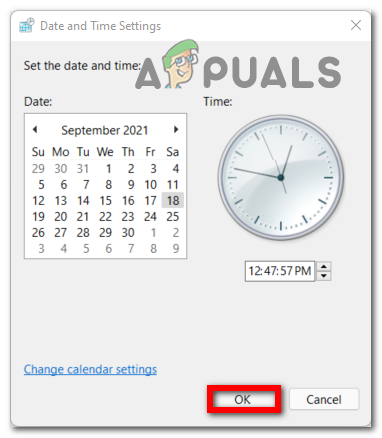
Adjusting the Date and Time Settings
Reopen Apex Legends and check if the error is resolved.
4.2. For Xbox One & Xbox Series X/S
Console users can also fix the error by changing the date and time:
- Open Settings on your Xbox.
Access the Settings menu - Go to System (on the left) and select Time (on the right).
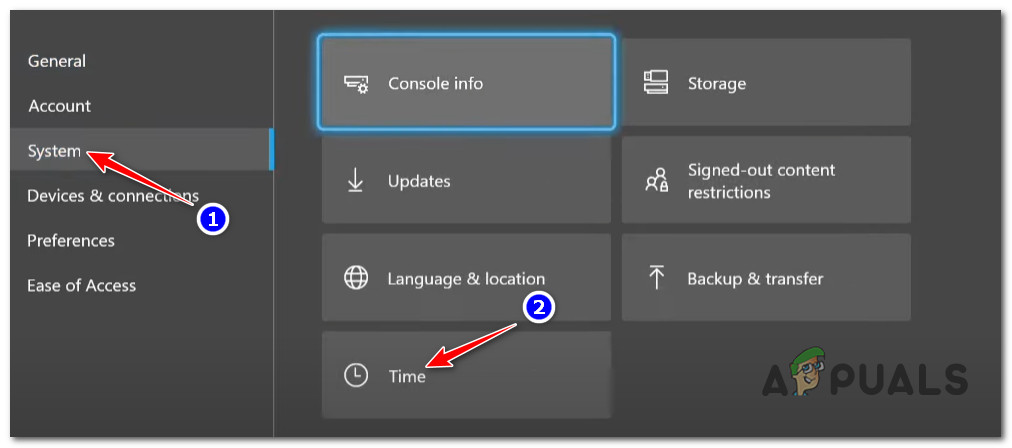
Access the Time menu on Xbox - Uncheck Automatically adjust for daylight saving. Then set the date a few days forward.

After saving your changes, launch the game and test the search function.
4.3. For PS4
To change the time and date settings on your PS4, follow these steps:
- On the home screen, go to Settings.
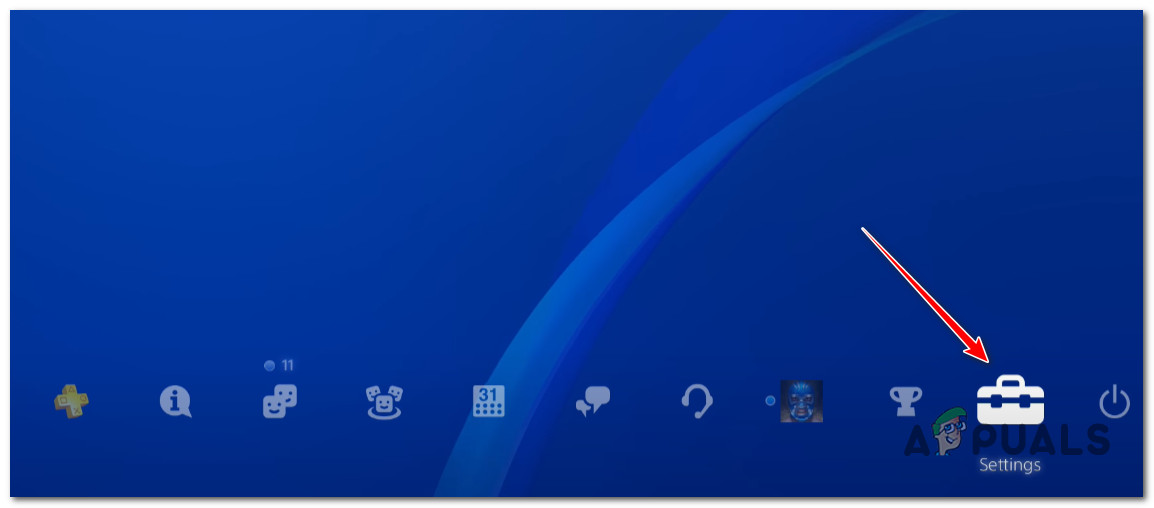
Access the Settings menu - Scroll down and select Date & Time.
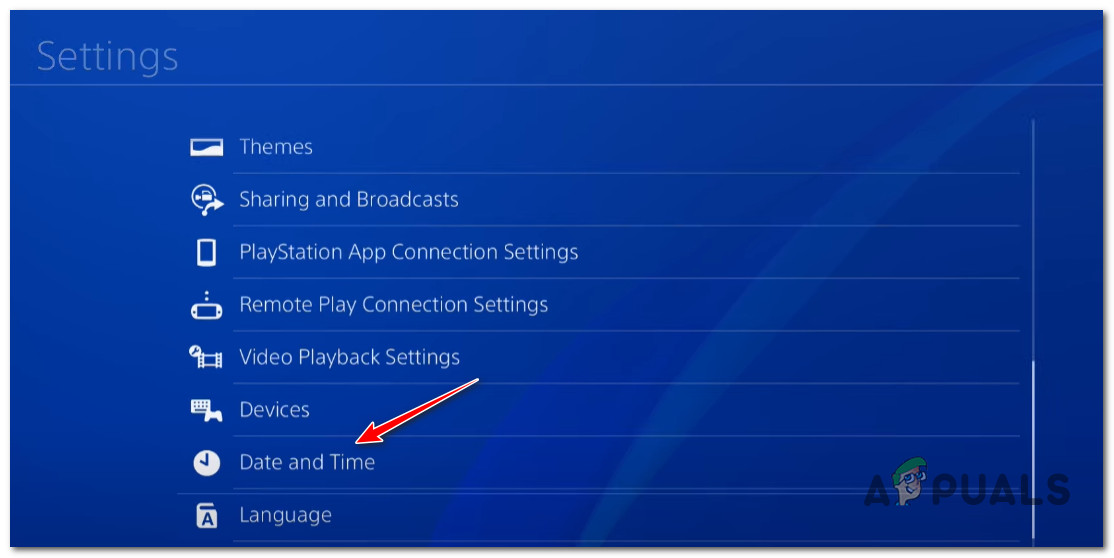
Access the Date & Time menu - Select Date and Time Settings.
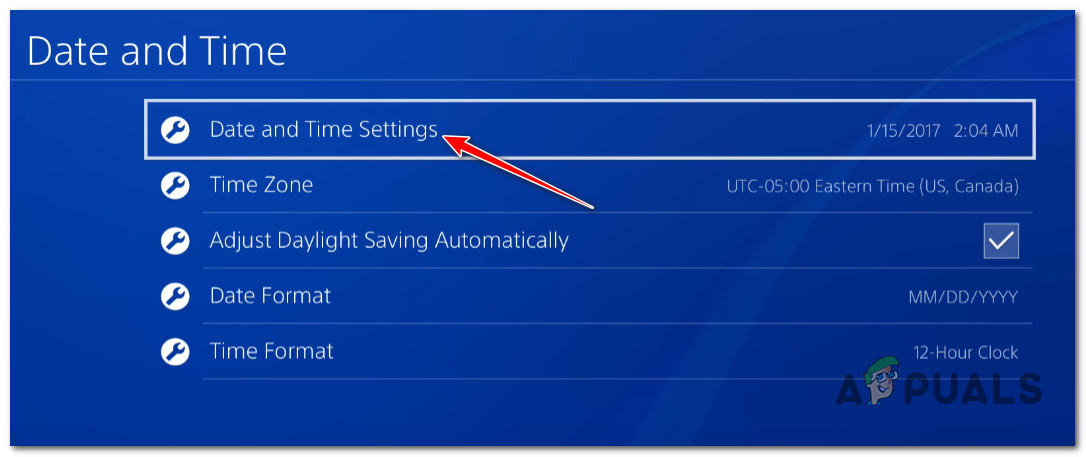
Access the Date & Time settings - Choose Set Manually, then set the date a few days in the future and confirm your changes.
Try searching for a friend again to see if the error is fixed.
4.4. For PS5
On the PS5, changing the date and time is a bit different, as this option is under the System menu:
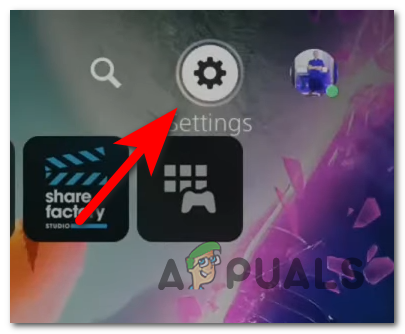
- From the home screen, select the Settings icon and press X.
Access the Settings menu on PS5 - Go to System.

Access the System menu on PS5 - Select Date and Time on the left side, then Set Date and Time and choose Set Manually.
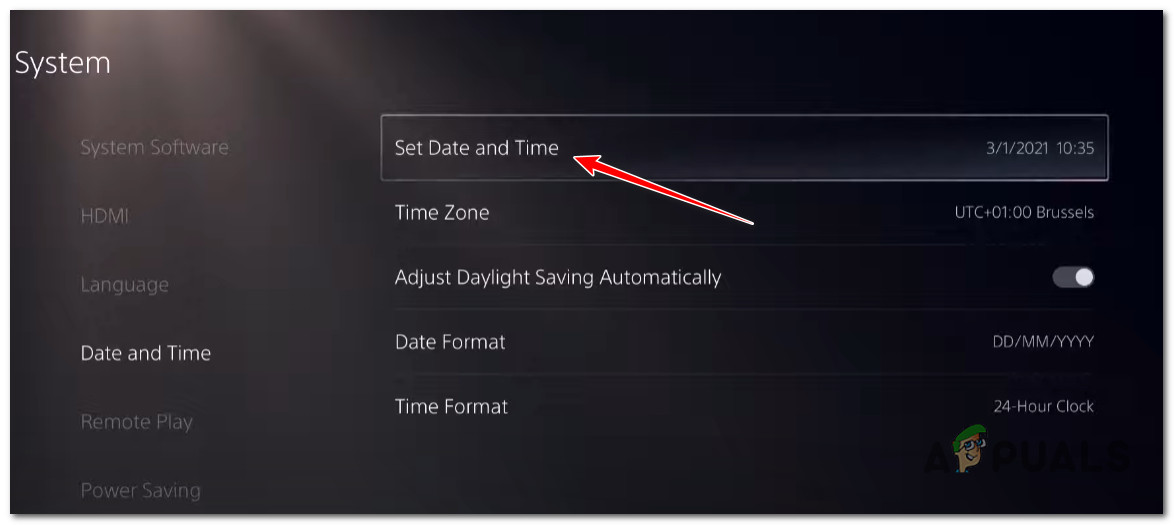
Setting the Date and Time on PS5
Set the date forward, save changes, and check if the issue is gone.
5. Reboot or Reset Your Router
Unstable network connections or trouble with your router can prevent Apex Legends from finding and adding friends. Try restarting your router:
To Refresh your Network:
- Either press the Restart button on your router or switch it off and on using the power button.
- If there is no dedicated restart button, unplug the power cable for a minute, then reconnect.
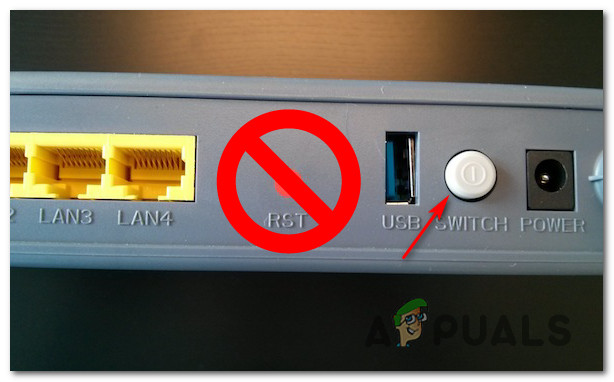
If restarting doesn’t help, perform a full reset:
– Find the Reset button on your router (you may need a pointed object).
– Hold the button for at least 10 seconds. The router LEDs will start blinking to indicate the reset.

After the router reboots, launch Apex Legends and try again.
6. Flush DNS Cache (PC Only)
If you’re playing on a Windows PC and the above steps haven’t worked, clearing the DNS cache can help. This resets your network settings and can resolve many connection issues.
- Press Windows + R, type cmd in the Run box, and press Ctrl + Shift + Enter to open Command Prompt as administrator.
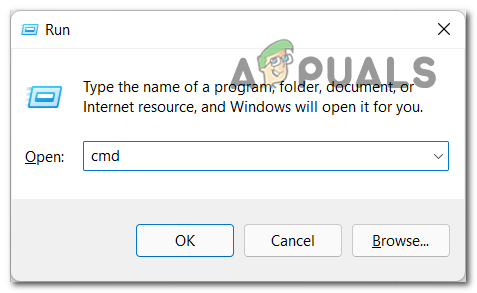
Open a CMD prompt - If you see a User Account Control prompt, click Yes.
- At the Command Prompt, type the following commands one by one, pressing Enter after each:
ipconfig /flushdns
ipconfig /registerdns
ipconfig /release
ipconfig /renew
netsh winsock reset
Restart your PC, launch Apex Legends, and check if you can now add friends without error. If not, try the next solution.
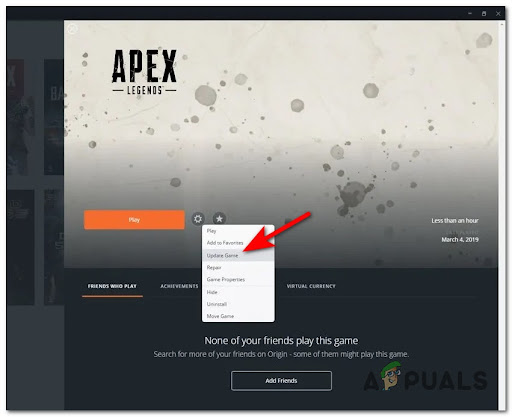
7. Update the Game
If an update is available for Apex Legends, installing it might fix the error. Developers often release hotfixes that resolve server or connectivity issues.
This applies to all devices (Windows, Xbox, and PlayStation). Make sure your game and device have enough storage space for updates.
Note: Sometimes updates don’t install automatically if your device is low on storage.
7.1. Update Apex Legends on PC
Game updates on PC are usually managed through the Microsoft Store.
- Open the Microsoft Store. Click the three dots at the top right.
- Select Downloads and updates.
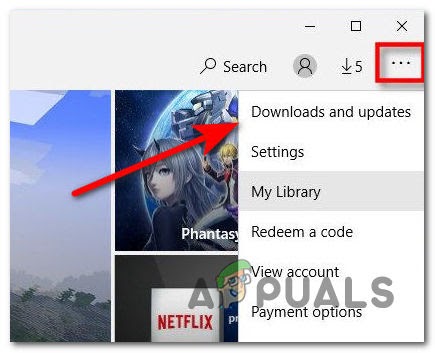
Accessing the Downloads and Updates menu - Click Get updates. If an update for Apex Legends is available, install it.
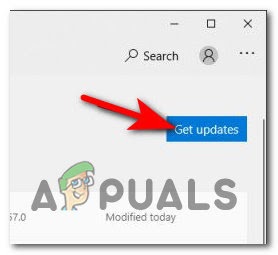
Install pending updates - Restart your PC, then start the game and see if the error still occurs.
7.2. Update Apex Legends on Xbox One
- On your Xbox menu, go to My games & apps.
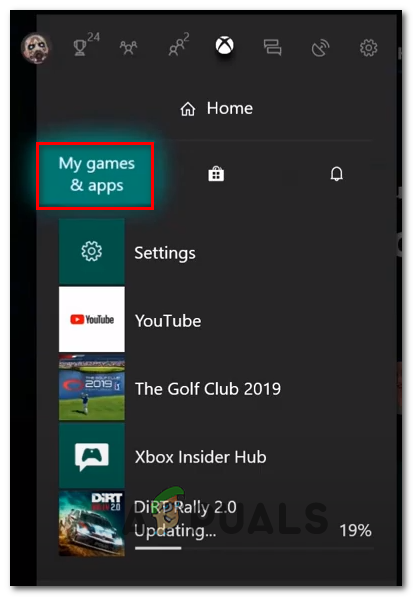
Accessing My games & Apps - Find Apex Legends in your library and press More options.
- Select Manage game & add-ons.
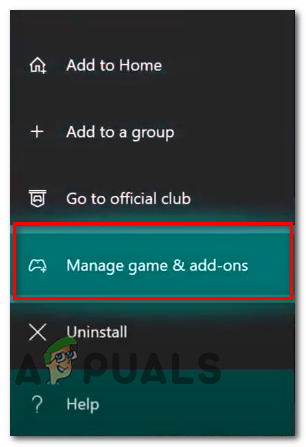
Select Manage Game & Add-ons - Select Update to check for any available updates.
7.3. Update Apex Legends on PS4
If you are on PS4, follow these steps to manually update the game:
- Go to the Game Library and highlight Apex Legends.
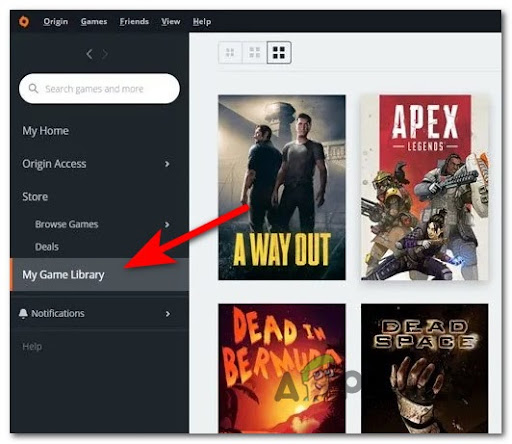
Access the My Game Library - Press the Options button on your controller to bring up the side menu.
- Click on Check for Update.
Update the game (Apex Legends) - If an update is available, install it.
After updating, restart your PS4 and relaunch Apex Legends. Try to search for your friend again.


