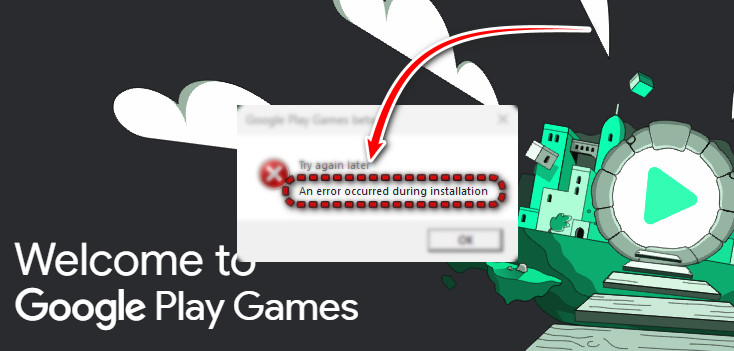
How to Fix “An Error Occurred” on Google Play Games?
The error message “An error occurred during installation” when launching or setting up Google Play Games on PC usually appears when the installer cannot initialize its required virtualization environment or fails to download essential components from Google’s servers during setup.
This issue is most commonly caused by:
- Virtualization features disabled in Windows or BIOS/UEFI
- Conflicts with third-party virtualization software or Android emulators (VirtualBox, VMware, BlueStacks, LDPlayer)
- Network, DNS, or firewall filtering issues
- ISP restrictions or unstable routing affecting Google services
- Corrupted or incomplete Google Play Games installation files
- Windows security/driver conflicts preventing the hypervisor from starting
Before You Start: Confirm Your PC Meets the Minimum Requirements
Important: If your PC does not meet Google Play Games requirements, the installer may fail even after troubleshooting. Before spending time on fixes, confirm the basics below.
- Windows: Windows 10 or Windows 11 (64-bit), fully updated
- CPU: Hardware virtualization supported and enabled (Intel VT-x / AMD-V)
- RAM: 8GB recommended (some systems may install with less, but failures are more common)
- Storage: SSD recommended with free space available
- GPU/Drivers: Compatible GPU with updated drivers
- Permissions: You have administrator access on the PC
If you’re installing on an older PC or a heavily modified Windows setup, make sure Windows Update is working and that you are not using a stripped-down OS build that removed virtualization components.
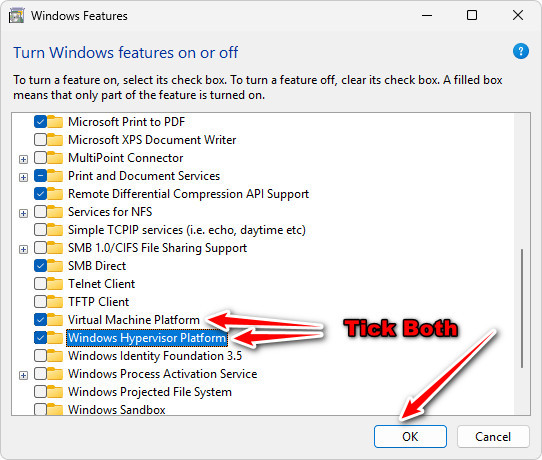
1. Enable Virtual Machine Platform & Windows Hypervisor Platform
Google Play Games launches its Android virtual environment using Windows virtualization technologies such as Virtual Machine Platform and Windows Hypervisor Platform. If these features are disabled, Windows cannot start the required virtual environment, causing the installation to fail.
- Press Windows + R, type optionalfeatures, and press Enter.

- In the Windows Features window, enable:
- Virtual Machine Platform
- Windows Hypervisor Platform
Note: Some feature names and availability may vary slightly depending on your Windows edition and build.
- Click OK and allow Windows to install the required components.
- Restart your computer when prompted.
- Launch Google Play Games again and retry the installation.
Important: If the error persists, you must also enable CPU virtualization (Intel VT-x or AMD-V/SVM) in BIOS/UEFI. Windows virtualization features will not work if hardware virtualization is disabled at firmware level.
If you are not sure whether virtualization is enabled, follow the steps below. The exact menus vary by motherboard and laptop brand, but the option is present on most modern systems.
- Restart your PC.
- As soon as it turns on, repeatedly press one of these keys to enter BIOS/UEFI:
- F2 (common on laptops)
- Delete (common on desktop motherboards)
- F10 or Esc (common on HP systems)
- Look for a setting named one of the following (the wording differs by brand):
- Intel Virtualization Technology / Intel VT-x
- SVM Mode / AMD-V
- Virtualization

- Enable the setting, then choose Save & Exit.
- Boot back into Windows and retry installing Google Play Games .
Tip: If you can’t find the option, search within BIOS/UEFI for “Virtualization” or check menus like Advanced, CPU Configuration, or Security.
2. Switch DNS to Cloudflare (1.1.1.1)
During installation, Google Play Games downloads components from multiple Google domains. If your ISP’s DNS servers are slow, outdated, or filtering certain connections, the installer may fail to resolve or reach required download servers.
Switching to Cloudflare DNS replaces your default ISP DNS with a faster, globally optimized resolver and can prevent download failures during setup.
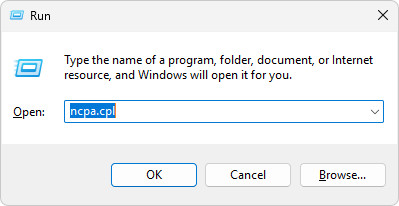
- Press Windows + R, type ncpa.cpl, and press Enter.
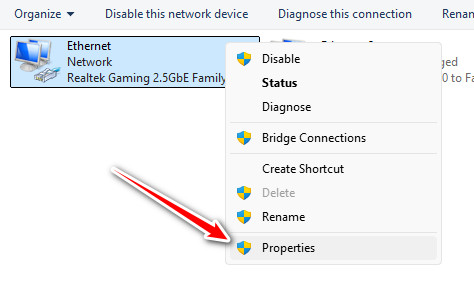
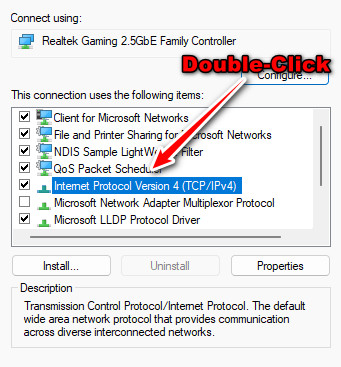
- Right-click your active network connection and select Properties.
- Double-click Internet Protocol Version 4 (TCP/IPv4).
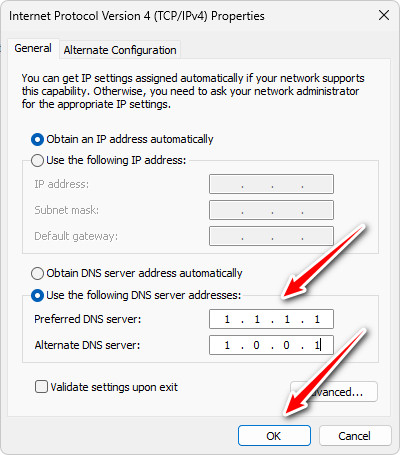
- Select Use the following DNS server addresses.
- Set:
- Preferred DNS: 1.1.1.1
- Alternate DNS: 1.0.0.1
- Click OK to save changes.
- Restart Google Play Games and try installing again.
Note: You can keep Cloudflare DNS enabled permanently or revert DNS back to automatic after installation is complete.
3. Change Network or Use a VPN
In some regions, ISP routing issues or network restrictions can interrupt downloads required for Google Play Games . This can cause the installation to freeze or fail midway.
Switching networks or temporarily using a VPN routes your traffic through a different path, which may bypass local restrictions or unstable routing.
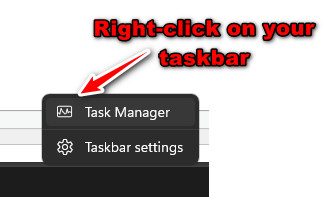
- Close Google Play Games completely using Task Manager.
- Disconnect from your current internet connection.
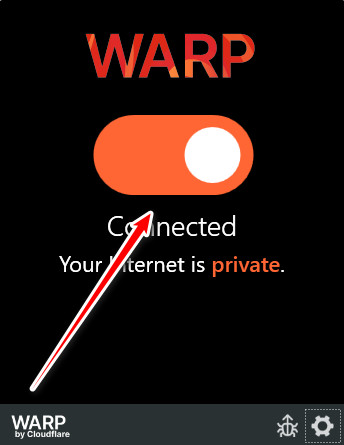
- Connect to another network (mobile hotspot or different Wi-Fi) or enable a VPN.
- Reopen Google Play Games and restart the installation.
Tip: A VPN is typically only needed during installation. Once Google Play Games installs successfully, you can disable it and test again on your normal connection.
4. Reinstall Google Play Games
If Google Play Games was previously installed while virtualization was disabled or a network interruption occurred, some components may become incomplete or corrupted. A clean reinstall forces the installer to rebuild required files properly.
- Press Windows + I to open Settings, then go to Apps > Installed apps.
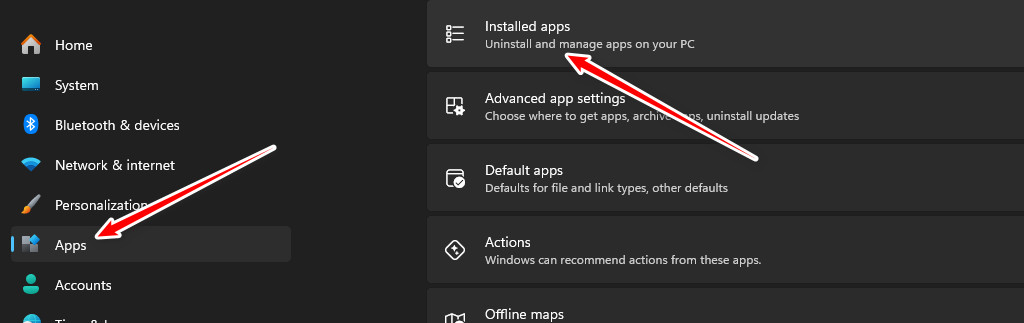
- Locate Google Play Games, select it, and click Uninstall.

- Follow the prompts to completely remove the application.
- Restart your computer.
- Download the latest installer from the official Google Play Games website.

- Run the installer and complete the setup again.
Once installation completes, launch Google Play Games and wait for it to fully initialize. If the app opens without error, try downloading a small game to confirm that installation and background downloads are working normally.


