Fix: Amcrest Email Test Failed
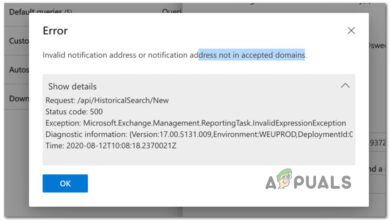
The “Email Test Failed” message shows up right away after you click the test button, and no email is sent or received even though the settings look correct. This usually means that the Amcrest device could not connect to the email (SMTP) server during setup.
The most common reason is that the recipient email address was not added using the “+” icon, so the system does not recognize where to send the email. Other possible causes include using the wrong SMTP port number, choosing an unsupported security type, running outdated firmware, or having network connections that are blocked.
Before you start troubleshooting, make sure you have not exceeded your email provider’s daily or monthly sending limits. Also, it’s helpful to reboot your modem and router before moving forward.
1. Click the Plus Sign to Activate the Email Address
The Amcrest application’s user interface can be confusing. Sometimes, users think they have entered the email address, but it won’t become active until the plus sign is clicked. This could be the reason for your issue, and clicking the plus sign to activate the email address may solve the problem.
- Launch and log in to the Amcrest Smart Home app.
- Tap on the Settings icon.
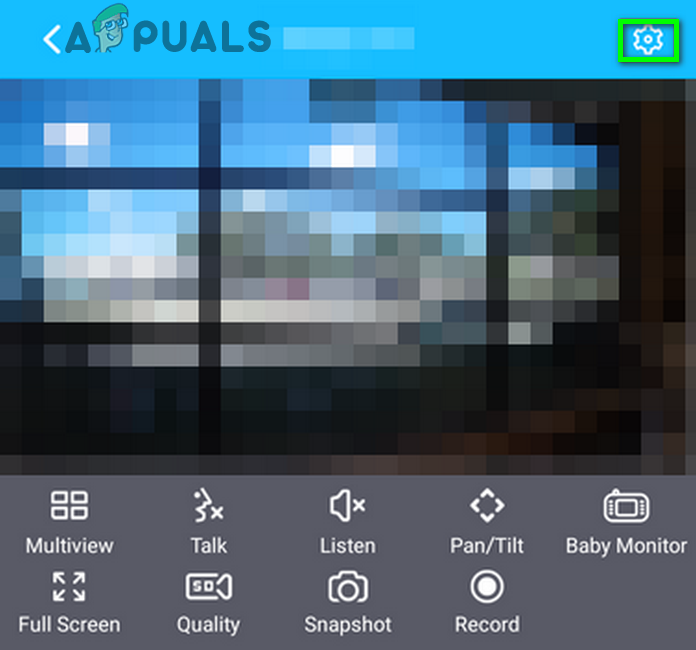
Open Settings of Your Amcrest Application - Scroll down to the end and tap on Email Alerts.
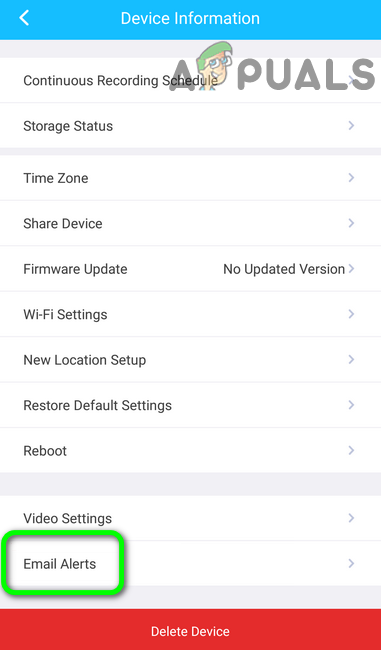
Open Email Alerts of Your Amcrest Device - Select your email provider from the dropdown menu, e.g., Gmail.
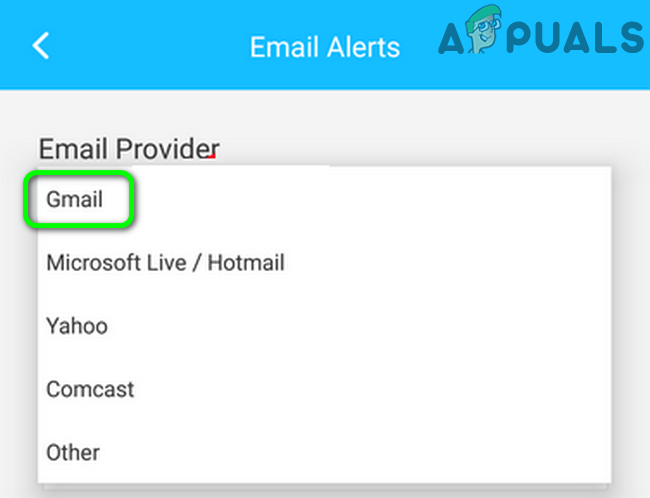
Select Your Email Provider in Amcrest Settings - In the respective fields, enter your email address and password (this will be your sender email).
- Then, enter the recipient’s email address and click on the plus sign.
- Tap on the Save button, and then tap on Email Test to see if the issue is resolved.
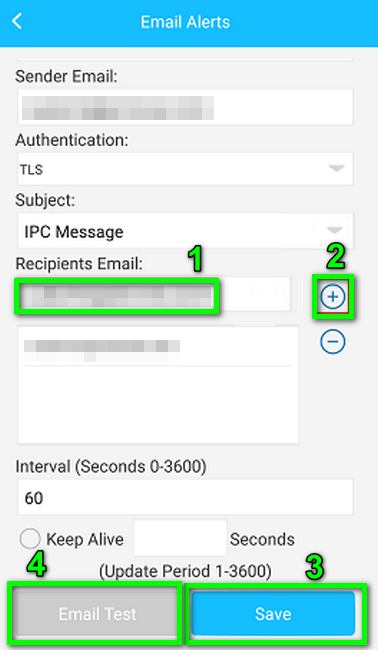
Click the Plus Sign to Activate the Email Address
2. Enable DHCP in the Settings of Your Router and Device
DHCP (Dynamic Host Configuration Protocol) allows network devices (like PCs, network printers, and mobile devices) to automatically get their IP addresses. If DHCP is not enabled on your router or camera, you might see this email error. We will explain the process for Amcrest cameras, but it is very similar for Amcrest DVRs/NVRs.
- Enable DHCP on your router.
- Open the device’s web UI and click on Setup.
- Click on Network and then on TCP/IP.
- In the Mode field, enable the DHCP option, then click Save.

Enable DHCP for Your Amcrest Device - Now, try the email test again to see if the issue is fixed.
3. Switch Between Wired and Wireless Network
There is a known bug in some Amcrest devices where email won’t send over a wireless connection, but works with a wired connection. The error you’re experiencing may be because of this bug. In this situation, try testing your email with a wired connection. If it works, you can switch back to wireless and test again.
- Disconnect the camera from Wi-Fi.
- Connect your camera to your wired network (using an ethernet cable) and run the email test.
- If email works, switch the camera back to wireless and run the test to see if the error is gone.
4. Change Authentication to TLS
Protocols like SSL and TLS help secure your data during transmission. If the authentication protocol being used isn’t supported by your email provider or device, it could cause errors. Switching to TLS, which is often required by modern email providers, may resolve the issue.
- Access the web UI and click on Setup.
- In the left menu, click on Network.
- Select your email provider, e.g., Google.
- Set Authentication to TLS and Port to 587.
- Enter your necessary details like email credentials, recipient, and subject.
- Click Save.
- Now, use Email Test to see if the issue is resolved.
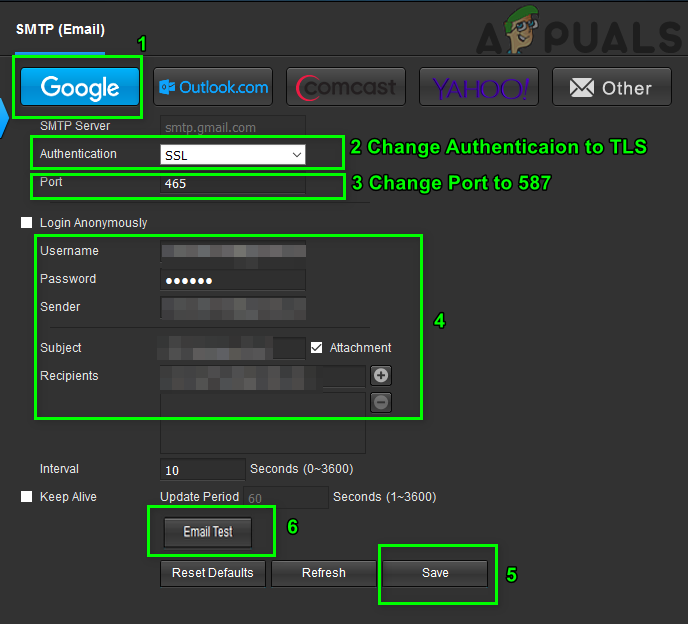
Change Authentication for Amcrest Device
5. Free Up Storage of Your Email
All email accounts come with a storage limit set by your provider. If you have reached your storage cap, the Amcrest device may not be able to send emails. Deleting some old emails, buying more storage, or setting up regular clean-up rules can help fix the issue.
- Open your web browser and log into your email, e.g., Gmail.
- Delete emails you no longer need. For example, if you only use this account to send camera images, clear out the sent folder. You can also buy extra storage from your provider, or set up rules to automatically delete emails with certain subjects, like those containing “motion”.
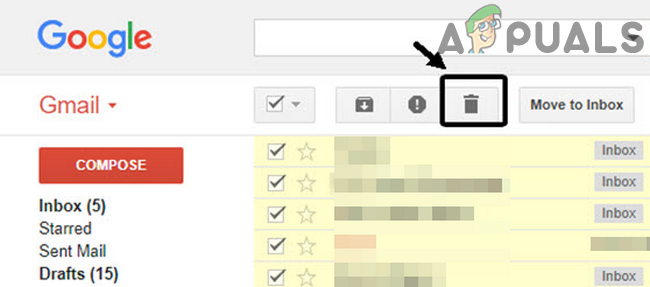
Delete the Non Required Emails - Once you have increased free space, try the email test again.
6. Turn off Two Factor Authentication and Allow Less Secure Apps
Some apps or devices may not support the latest security standards required by your email provider, which can lead to blocked access. Enabling access for less secure apps may resolve the issue. Here’s how you can do it for Gmail.
- Open your web browser and sign in to your Google account.
- In the left sidebar, click on Security, and then click on 2 Step Verification.
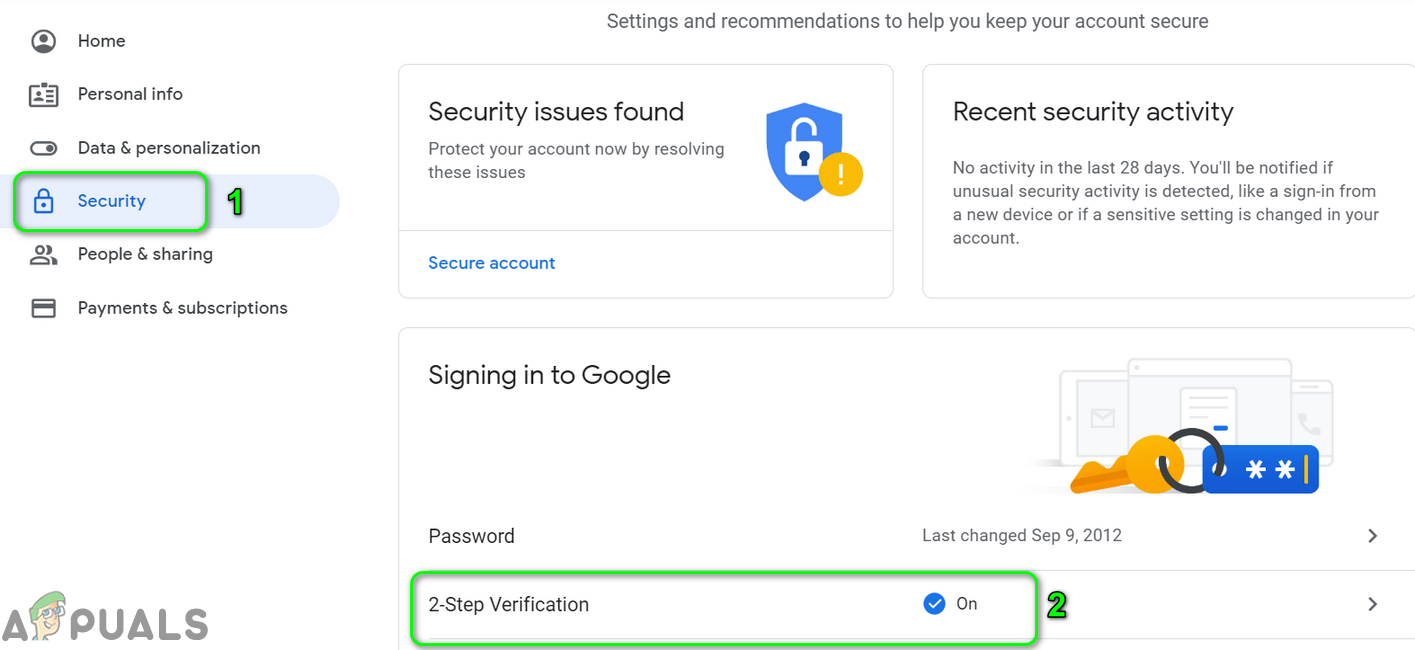
Open Two-Step Verification Settings - Enter your password if prompted.
- Click on the Turn Off button and check if your issue is resolved.
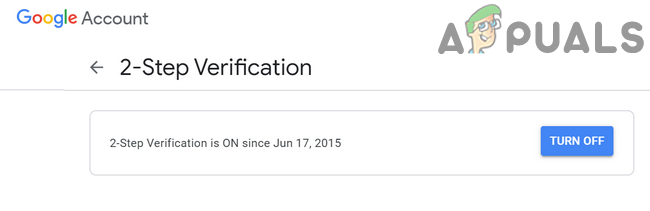
Turn Off Two-Step Verification - If that does not work, go to the less secure apps page.
- Enable “Allow Less Secure Apps” and wait for confirmation that it’s updated.
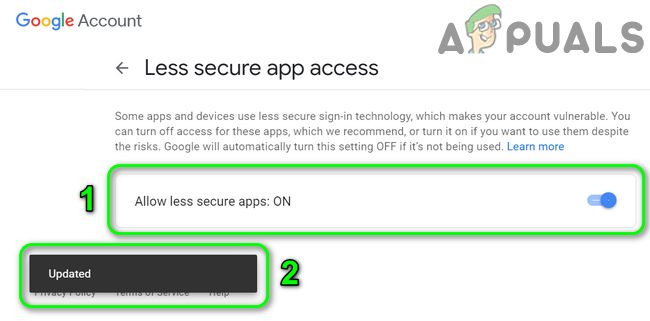
Enable Allow Less Secure Apps - Now see if Amcrest can send a test email.
7. Update Firmware of Your Amcrest Device
Amcrest regularly updates device firmware to address new security protocols (especially those imposed by providers like Google) and to fix bugs. If your firmware is outdated, you may experience these errors. Updating your device firmware can often resolve the issue.
- Open your web browser and download the latest firmware for your device.
- Access the web UI of your camera, and click on Setup.
- Click on System, then Upgrade.
- Click Browse and locate the downloaded firmware.
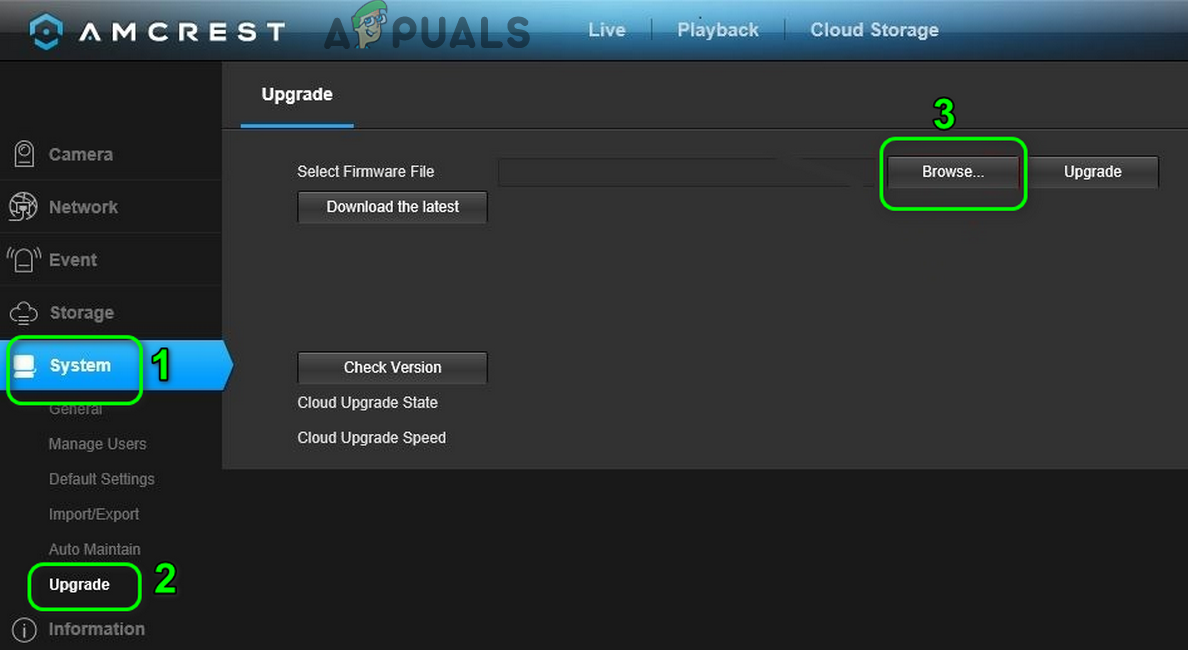
Browse for the Firmware Update of Amcrest Device - Wait for the firmware to load in the web UI, then click Upgrade. If you wish to back up your configurations, use the Import/Export options in the system menu.
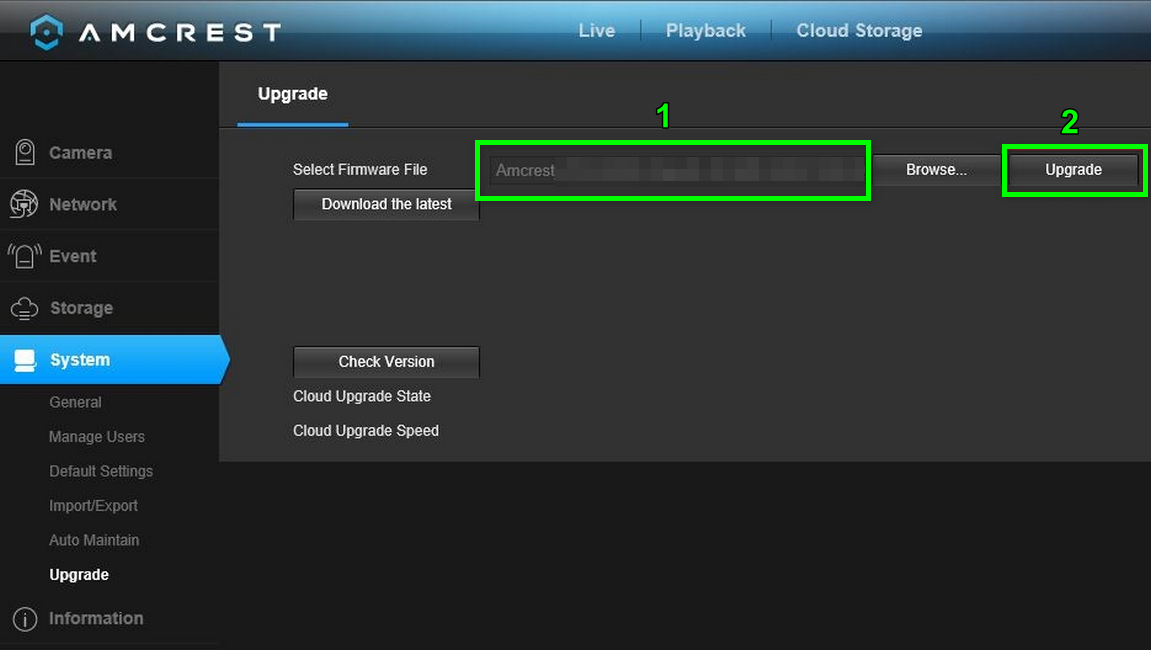
Upgrade Firmware of the Amcrest Device - Wait for the update to finish and allow your device to reboot automatically.
- After restarting, access Web UI and click on Setup.
- Click on System, then on Default Settings.
- Select Restore to the Default Settings.
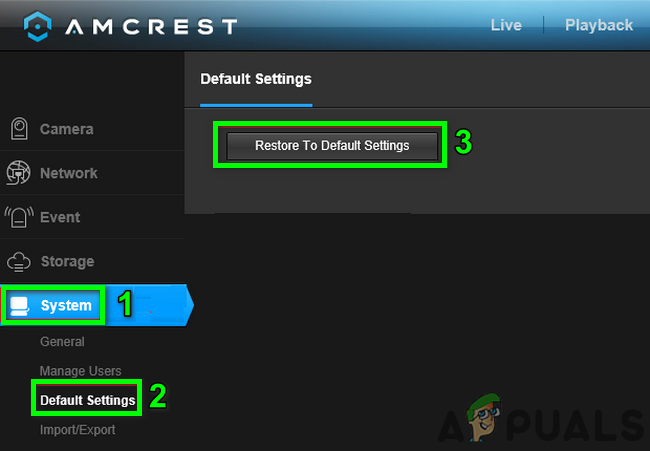
Restore Amcrest Device to Default Settings - Wait for the camera to reboot again.
- Once restarted, set up the email function (Network > SMTP (Email) > Email Test) and see if the error is resolved. To restore your configurations, use Import/Export under System (note: you may need to wait up to 30 minutes after restoring configurations).
8. Try Another Email Service
Email providers frequently change their settings to increase security and performance. Sometimes, your current email provider (like Gmail) might not work well with Amcrest devices. In this case, try using another email service like Outlook. If you must use your primary email, you can set up automatic forwarding from another service.
- From the web UI of your device, click on Setup.
- In the left menu, click on Network.
- Select Outlook, then fill in your details like email address, password, recipient, and subject.
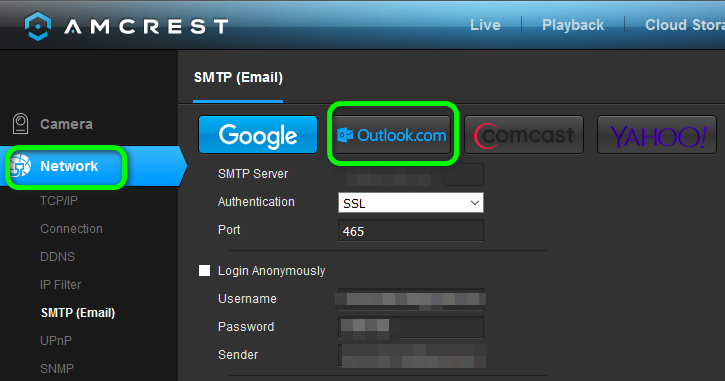
Use Outlook Email Address with the Amcrest Device - Click on Save.
- Now click on the Email Test button to check if the error is cleared.
- If it doesn’t work, adjust your Outlook email configuration as follows (as discussed in Solution 4):
SMTP: smtp-mail.outlook.com
Authentication: TLS
Port: 587
- You may need to confirm a verification email to allow the camera to send notifications.
- You can also use Zoho email (but you may need to disable the “save a copy of the email in sent folder” setting in the Zoho SMTP options). BlueHost is another alternative.
9. Use Your Own SMTP Server
If nothing else works, you can set up a free mail server on your PC so your Amcrest device can send emails to it. One popular option is hMailServer. Here’s how you can set it up:
- Download and install the latest version of hMailServer.

Install HMailServer - Set up a new domain using your PC’s IP address scheme and create a new user in that domain. To set up forwarding, add your Gmail/Outlook/Yahoo address under the Delivery of Email tab in Settings >> Protocols >> SMTP (this account can be used as the sender as well).
- Open the device web UI and go to Setup.
- In the left sidebar, click on Network and then on Other.
- Enter the necessary details for your SMTP server. Set Authentication to None and Port to 25. Make sure to append your host PC’s local IP address to the hMailServer username. This should resolve the email issue.