AirPods Blinking Orange? Here’s How to Fix Them
Is the LED light on your AirPods flashing orange or amber? If so, you’re in the right place. This guide will walk you through step-by-step solutions to fix AirPods that are flashing an orange or amber light. But before we get started, let’s quickly review what the different LED colors on your AirPods case mean.

AirPods Lights Meaning
The LED light inside and outside of your AirPods charging case shows the status of your AirPods and the case itself. Each color has a different meaning. Let’s take a look at what each one stands for:
Inside the Case
- Green: The AirPods case is fully charged.
- Solid Amber/Orange: The AirPods case is not fully charged.
- Blinking Amber/Orange: The AirPods are not pairing successfully with your iPhone or another device. (This is the issue we’re going to fix!)
- Blinking White: The AirPods are ready to be set up with your device.
Outside the Case
- Green: The case has at least one full charge available for your AirPods.
- Solid Amber/Orange: The AirPods have less than one full charge remaining in the case.
Now that you understand what the different LED colors mean on your AirPods case, let’s move on to fixing that blinking orange/amber light. We’ll go through several possible methods. Try each one, and let us know in the comments which solution worked for you!
Forget and Reset Your AirPods
The first thing you should try is removing your AirPods from the list of paired devices on your iPhone and then pairing them again. This often solves pairing issues. Follow these steps:
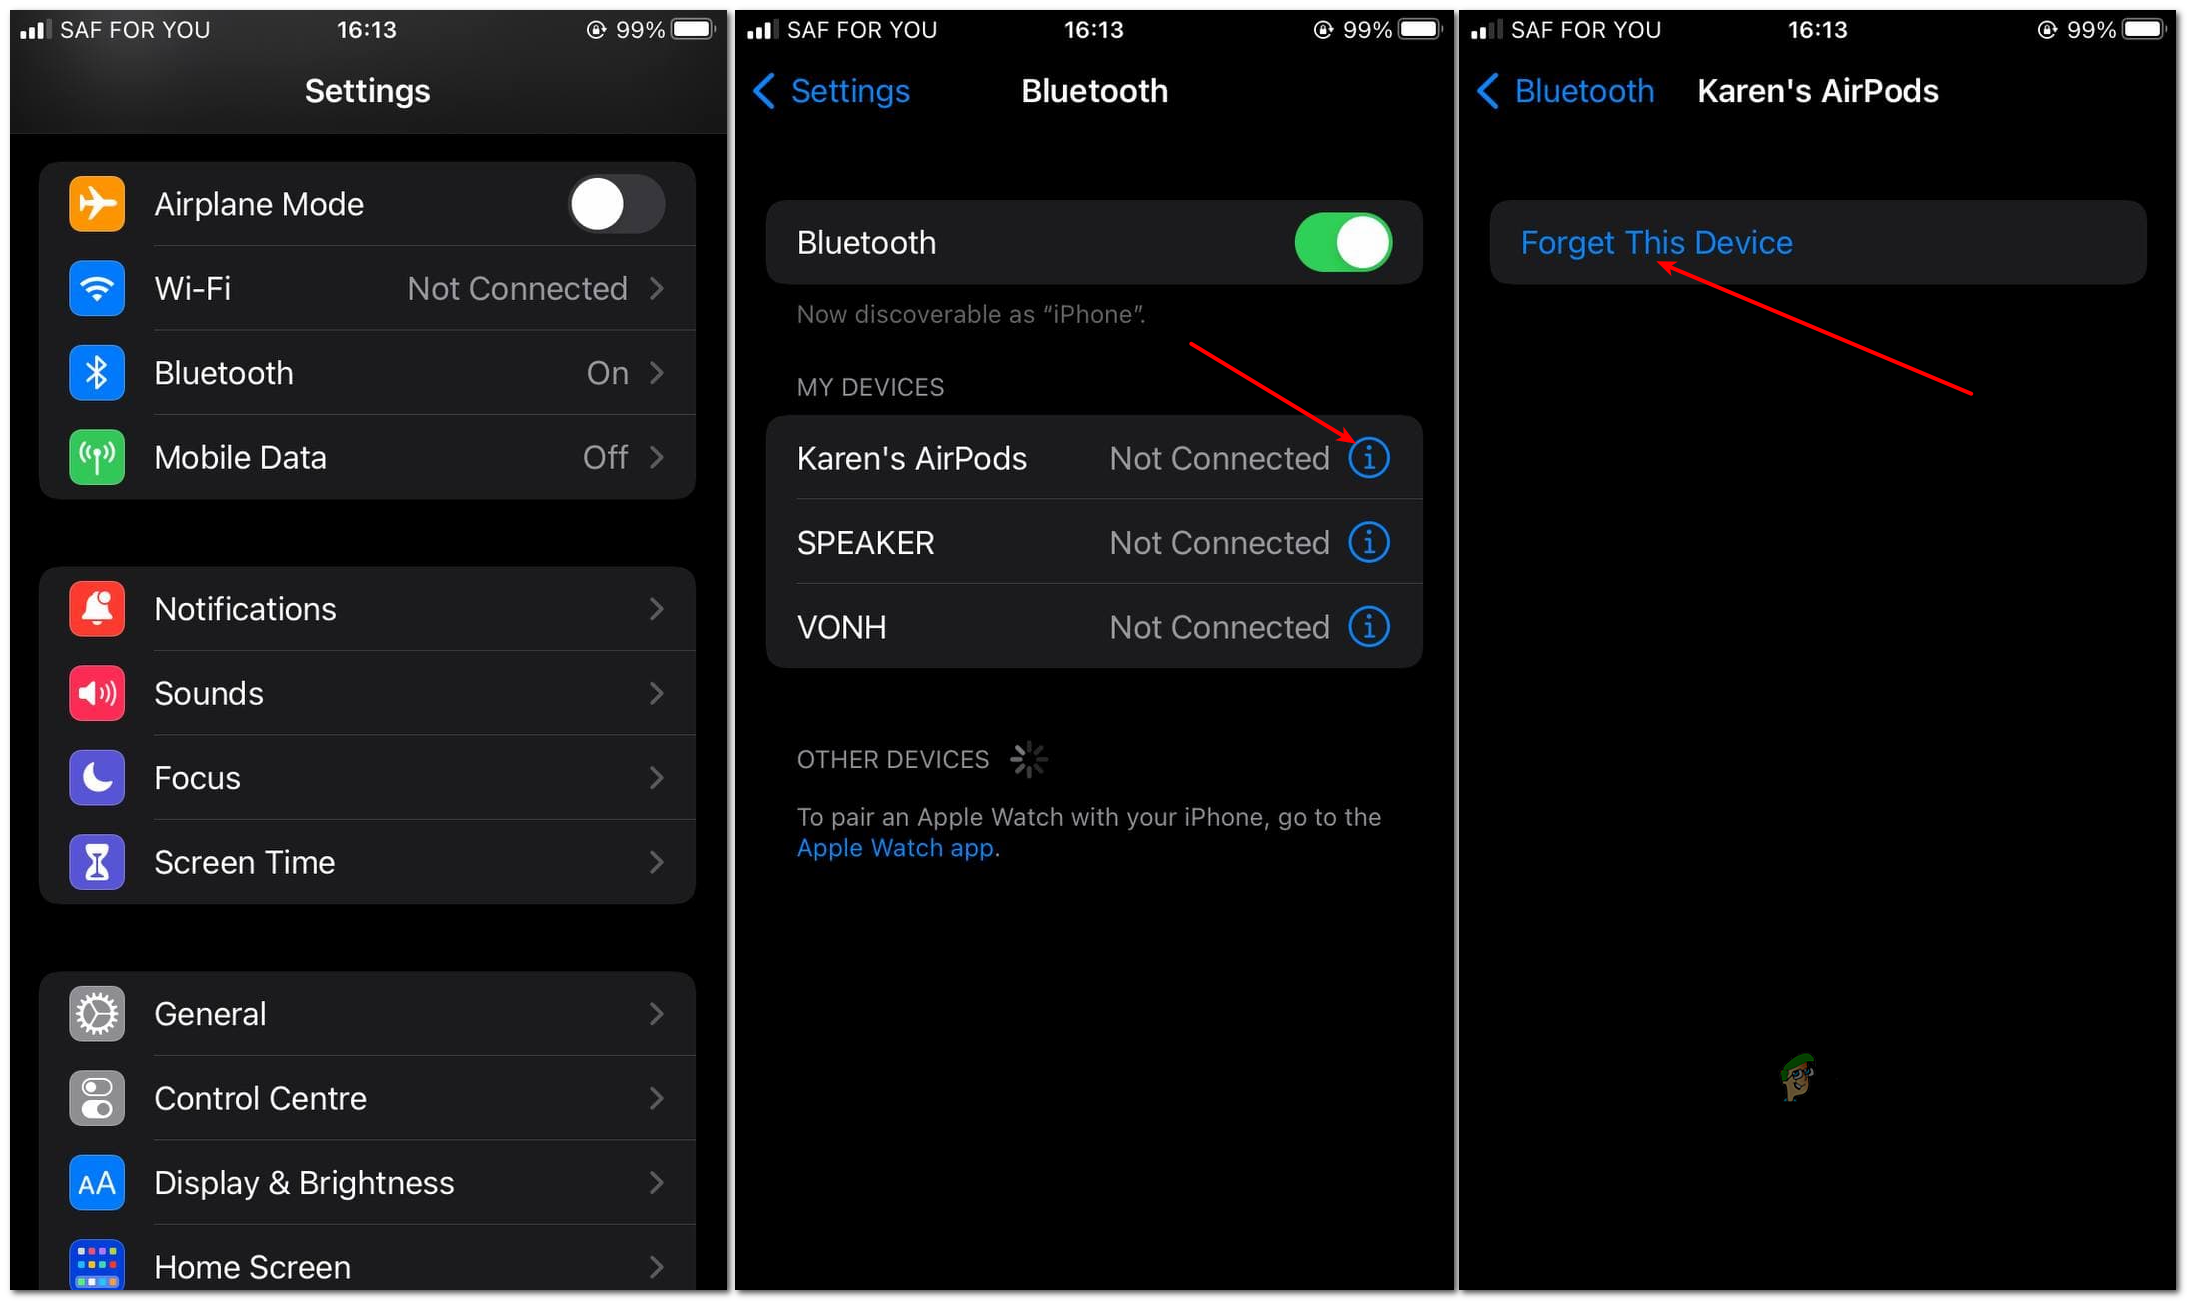
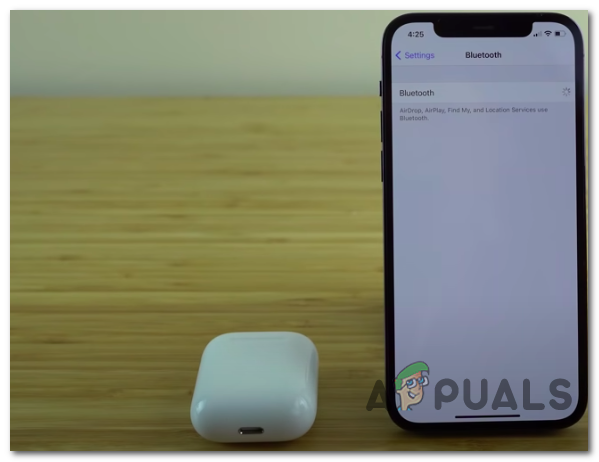
- Open the Settings app on your iPhone, then tap on Bluetooth.
- In the list of devices, find your AirPods and tap the ‘i’ icon next to them.
- On the next screen, you’ll see two options: ‘Disconnect’ or ‘Forget This Device.’ Tap ‘Forget This Device’.
- Put your AirPods back in the case.
Now that you have removed your AirPods from the paired devices list, it’s time to reset them before pairing again. Here’s how:
- Close the lid of your AirPods case and wait for a few seconds.
- Open the lid again.
- Press and hold the button on the back of the case until the LED status light flashes orange/amber, then keep holding until it blinks white. Then release the button.
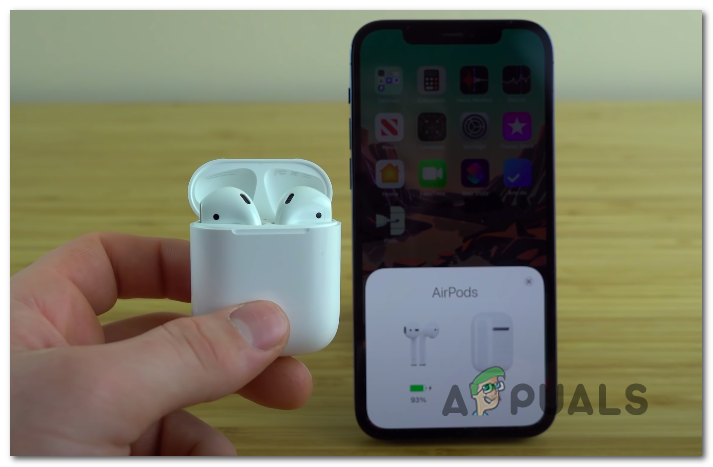
- Hold the AirPods case close to your iPhone and wait for the setup animation to appear, as shown in the image below.
Note: Make sure the AirPods are inside the open case and the LED light is blinking white. - Tap the Connect button and wait for the AirPods to pair with your iPhone.
- Once pairing is complete, tap the ‘Done’ button that appears on your screen.
Your AirPods should now be working normally, and the blinking orange light should be gone. Please note, if you had any custom settings on your AirPods, they were reset when you pressed the button in Step 3 above. You’ll need to set them up again.
If you see a “connection failed” error message like the one below, check out our guide here: How to Fix AirPods ‘Connection Failed’.

If this method didn’t work and you still see the blinking orange light, try the next set of solutions below.
Recharge Your AirPods
This method is simple. After you’ve removed your AirPods from the paired devices and reset them (as explained in Method 1), put them back in the case. This time, leave them inside the closed case for about twenty minutes to allow them to charge before you try pairing them again.
After charging your AirPods, open the lid of the case and continue from Step 3 in Method 1 — press and hold the button at the back of the case. Once you finish the process, your AirPods should connect successfully to your iPhone.
If this still doesn’t work, try charging both the case and your AirPods. Here are the steps:
- Put your AirPods in the case and close the lid.
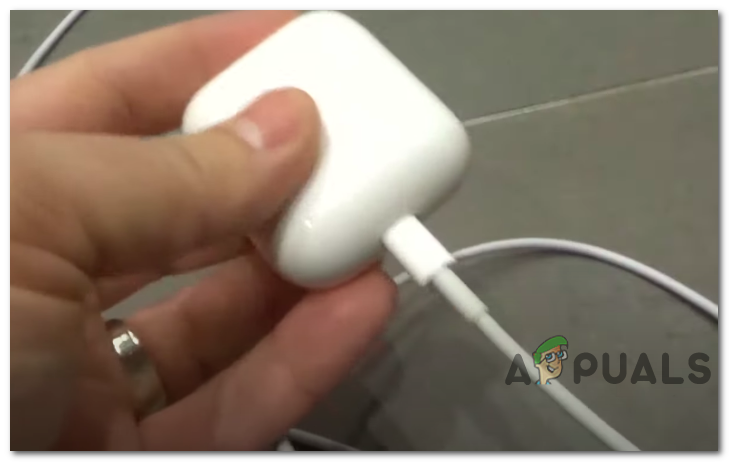
- Plug in the charger to the case.
- If your case supports wireless charging, place it on a charging mat with the LED status light facing up.
- Let them charge for about one hour.
After charging, follow the steps in Method 1 again to reset and pair your AirPods with your iPhone. Hopefully, this will resolve the issue. If not, move on to the next solution.
Restart Your iPhone/iPad
Sometimes, restarting your device can solve the problem. Press and hold the power button on your iPhone or iPad until the power slider appears. Slide the I/O button to the right to turn off the device. Wait a few seconds, then turn it back on. Once it restarts, repeat the steps in Method 1. With any luck, this will fix the blinking orange light issue and your AirPods will be reconnected to your iPhone or iPad.