How to Fix Xbox App Error Code 0x80190005?
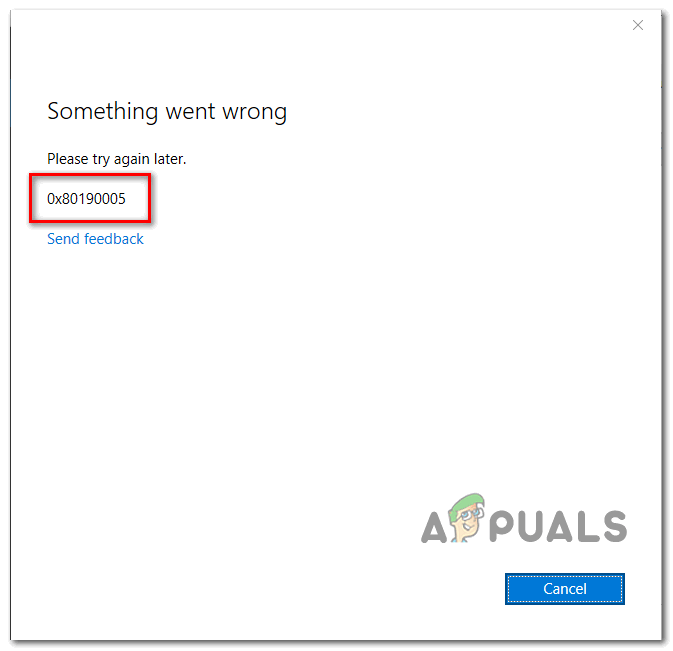
The 0x80190005 error code is reported to occur when Windows users attempt to login to the Xbox app or when trying to create a PIN for their Microsoft account. The error message accompanying the error code is ‘Something went wrong‘. This problem is only reported to occur on Windows 10.
As it turns out, there’s a whole plethora of potential causes that might contribute to the apparition of the 0x80190005 error code:
- Common Store inconsistency – One of the most common causes that might end up causing this error with the Xbox App is a common inconsistency facilitated by a bad Store update. If this scenario is applicable, you should be able to get this issue resolved by running the Windows Store Apps Troubleshooter and applying the recommended fix.
- Corrupted Xbox App Cache – If you’re only seeing this error when trying to login with your Microsoft account inside the Xbox app (but your Microsoft account works fine on your console), it’s likely that you’re dealing with a common inconsistency that appeared after unexpected machine shutdown. In this case, attempt to fix the problem by factory resetting your Xbox app.
- Bad data in Store’s cache folder – As some affected users have confirmed, you might end up wrestling with this problem due to a systemic issue that affects most UWP applications (not just the Xbox App). If you’re encountering this error with multiple UWP applications, try fixing the issue by resetting the Windows Store cache from an elevated Command Prompt window.
- Bad data in WU’s cache folder – This is an unlikely culprit, but one that can definitely affect the sign-in procedure with your Microsoft account. If the problem is being facilitated by bad data that’s currently residing in the cache folder, try fixing the issue by clearing the Windows Update cache from an elevated CMD window.
- Corrupted profile on Xbox One – If you’re seeing this error on an Xbox One console when you’re trying to sign in with your Xbox account (tied to your Microsoft account), you should be able to fix it by removing and re-add the Xbox account from the Remove accounts menu. This action should end up clearing any bad files that might contribute to this issue.
- Bad files in the NGC Folder – If you’re seeing this error while trying to remove or set up a PIN for your Microsoft account, it’s very likely that the problem occurs due to badly cached data that is currently stored in the NGC folder. If this scenario is applicable, you should be able to fix the issue by navigation to that location manually and deleting the contents of the NGC folder. If this doesn’t work, one workaround that has worked for some users is to create a local account and use that instead when creating a PIN.
- Underlying system file corruption – Under certain circumstances, you might see this error occurring due to a bad case of system file corruption that cannot be resolved conventionally. In this case, you should consider going for a clean install or repair install.
Method 1: Running the Windows Store Apps Troubleshooter
Before you try any other potential fix, you should start by checking if this 0x80190005 error is not actually being facilitated by a common inconsistency that your Windows version is capable of resolving automatically.
Some users affected by this problem have confirmed that running the Windows Store Apps troubleshooter allowed them to identify and fix the problem that was causing the Xbox App to malfunction.
This utility holds together a collection of repair strategies that can be automatically applied in case a recognizable scenario is identified. To deploy this potential fix, follow the instructions below to run the Windows Store Apps Troubleshooter and apply the recommended fix:
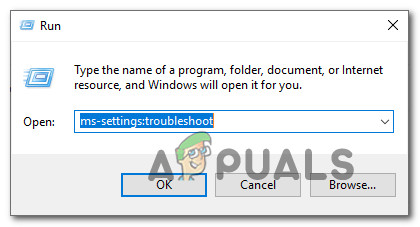
- Press Windows key + R to open up a Run dialog box. Next, type ‘ms-settings:troubleshooter‘ and press Enter to open up the Troubleshooting tab of the Settings app.
Accessing the Troubleshooting tab - Once you’re inside the Troubleshooter tab, go down to the Get up and running section and click on Windows Store Apps to expand the section. Once you see the contextual menu, click on Run the Troubleshooter.
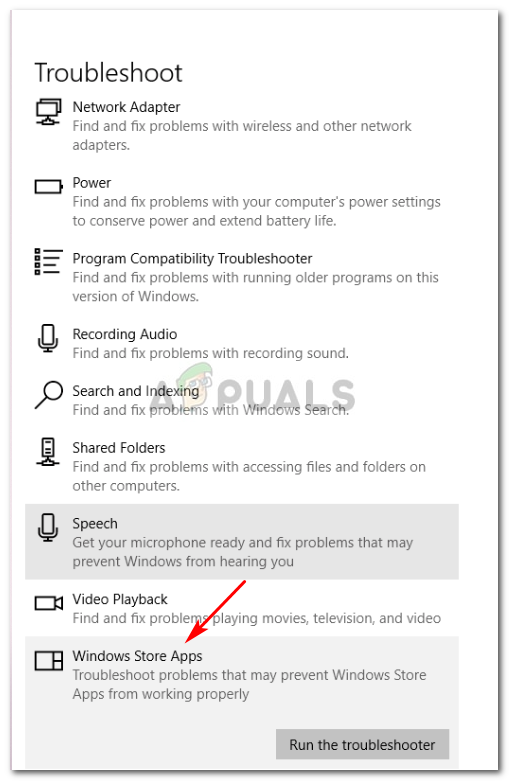
Run Windows Store Apps troubleshooter - Once you launch this scan, wait patiently until the process is complete. If the operation reveals an underlying problem with your Store apps, you will be presented with a choice to fix it (if a viable repair strategy is compatible). To apply the recommended fix, click on Apply this fix, then follow the on-screen instruction.
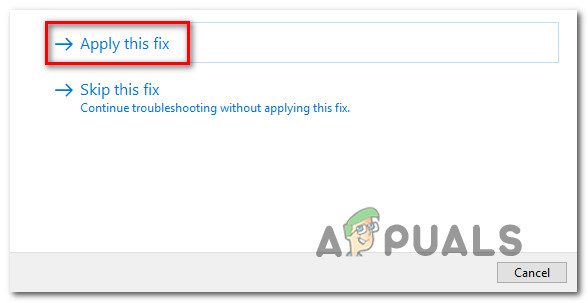
Apply this fix - After the repair operation is complete, reboot your computer manually and see if the problem is fixed once the next startup sequence is complete.
In case running this troubleshooter didn’t resolve the issue or this scenario was not applicable, move down to the next potential fix below.
Method 2: Resetting the Xbox App
If you’re encountering this problem every time you try to login with your Microsoft account inside the Xbox App, it’s likely that you’re dealing with a fairly common Xbox app bug that typically appears after an unexpected machine shutdown while the app was running or actively updating itself.
In case this scenario is applicable, you should be able to fix the issue by resetting the Xbox app via the GUI Settings menu and then restarting your machine. This procedure will essentially factory reset your Xbox App, reverting it to the vanilla version and then reapply any missing updates.
Note: Keep in mind that this operation will not make you lose any purchases, saves or media (games and applications that you own digitally).
Here’s a quick guide on resetting the Xbox App on Windows 10:
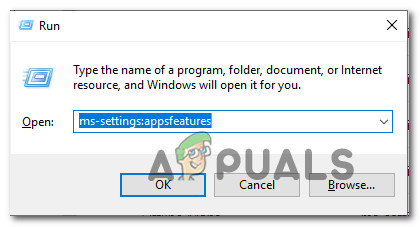
- Open up a Run dialog box by pressing Windows key + R. Next, type ”ms-settings:appsfeatures” inside the dialog box, then press Enter to open up the Apps & Features menu.
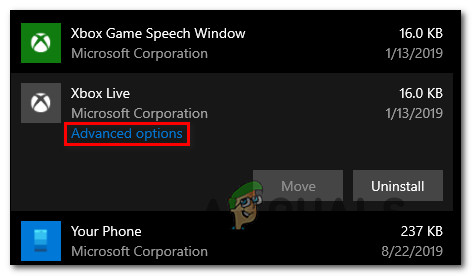
Accessing the Apps & Features Menu - Once you’re inside the Apps & features menu, move down to the right section, then go ahead and scroll through the list of installed applications and locate the Xbox app. Once you see it, click on it once, then click on Advanced Options.
Accessing the Advanced Options menu of the Xbox app - Inside the Advanced options menu, scroll all the way down to the Reset tab, then click on the Reset button to factory reset the Xbox Live app.
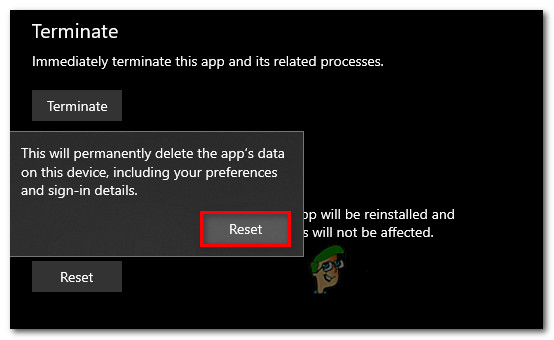
Resetting the Xbox app - Once you are asked to confirm the operation, click on Reset once button once again to start the operation, then wait for it to complete.
- After you successfully manage to factory reset the Xbox Live app, restart your computer and see if the problem is fixed at the next computer startup.
In case the same problem is still occurring, move down to the next potential fix below.
Method 3: Resetting the Windows Store
Keep in mind that Xbox App is developed for UWP (Universal Windows Platform) and is highly dependent on the Windows Store component. This is why a corrupted Windows Store cache or a different kind of inconsistency affecting the store might create issues with the Xbox App.
In most cases, a problem like this occurs after Windows Security (or a different 3rd party Antivirus) ends up quarantining some UWP dependencies. If this scenario is applicable, you should be able to fix the issue by resetting Microsoft Store and cleaning its cache – This will end up replacing any problematic files with healthy copies which should end up fixing the 0x80190005 error.
Here’s a quick guide on resetting the Windows Store component via an elevated CMD window:
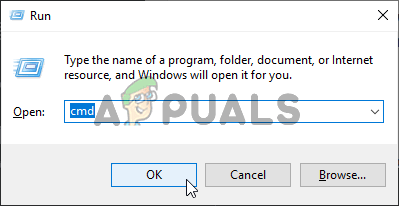
- Open up a Run dialog box by pressing Windows key + R. Next, type ‘cmd’ and press Ctrl + Shift + Enter to open up an elevated CMD prompt.

Running the Command Prompt Note: When you’re prompted by the UAC (User Account Control), click Yes to grant administrative privileges.
- Once you’re inside the elevated Command Prompt, type the following command and press Enter to reset the Windows Store along with every involved dependency:
wsreset.exe
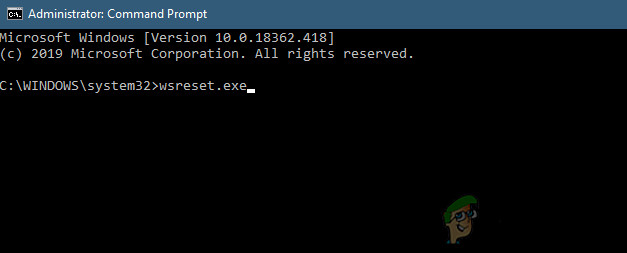
Resetting Windows Store - After the command is successfully processed, reboot your computer and see if the problem is fixed at the next system startup.
If you’re still encountering the 0x80190005 error when attempting to sign in with the Xbox Live app, move down to the next method below.
Method 4: Clearing the Windows Update Cache
Although this seems like an unlikely culprit, a corrupted Windows Update cache is often singled out by affected users. As it turns out, the 0x80190005 can be facilitated by a bad update that Windows Update is failing to install.
Some affected users have confirmed that they managed to fix this issue by clearing the Windows Update cache and restarting their computer. Doing this will end up clearing any bad updates that might end interfering with the Xbox App.
Here’s a quick guide on clearing the Windows Update cache:
- Press Windows key + R to open up a Run dialog box. Next, type ‘cmd’ inside the text box and press Ctrl + Shift + Enter to open up an elevated CMD prompt. When you’re prompted by the User Account Control (UAC), click Yes to grant administrative privileges.
Running Command Prompt - Once you’re inside the elevated Command Prompt, type the following commands in the same order and press Enter after each one in order to stop any relevant Windows Update services:
net stop wuauserv
net stop cryptSvc
net stop bits
net stop msiserver
Note: These commands will stop the Windows Update, MSI Installer, Cryptographic and BITS services.
- After you manage to stop every relevant service, run the following commands in order to clear and rename the Catroot2 and SoftwareDistribution folders:
ren C:\Windows\System32\catroot2 Catroot2.old
ren C:\Windows\SoftwareDistribution SoftwareDistribution.old
Note: These two folders are responsible for holding update files and other temporary files used by the WU component. You can’t really delete them conventionally, so the most efficient way of disregarding them is to create healthy equivalents to rename the two directories.
- Once you manage to rename these two folders, run the following commands and press Enter after each one to re-enabled the services that you previously disabled at step 2:
net start wuauserv
net start cryptSvc
net start bits
net start msiserver
- Once every relevant service has been restarted, open the Xbox App, and attempt to sign in once again to see if the problem is now fixed.
In case you’re still seeing the same 0x80190005 error, move down to the next potential fix below.
Method 5: Re-adding Xbox account (Xbox Console)
If you’re encountering the 0x80190005 error on an Xbox One console, it’s possible that some files belonging to your Xbox Profile (most common data in the temp folder) are partially corrupted and will prevent you from using your account (even though you are properly signed in).
If this scenario is applicable, you should be able to fix the issue by deleting your local profile and signing with it again in order to clear the temp data. This fix was confirmed to be effective by multiple users that were previously encountering the 0x80190005 error.
Follow the instructions below to re-add your Xbox account in order to clear the temp data:
- Exit any game or application you’re currently running on your Xbox One console and ensure that you’re on the main dashboard of your Xbox One console.
- Press the Xbox button on your controller to bring up the guide menu, then access the Settings menu.
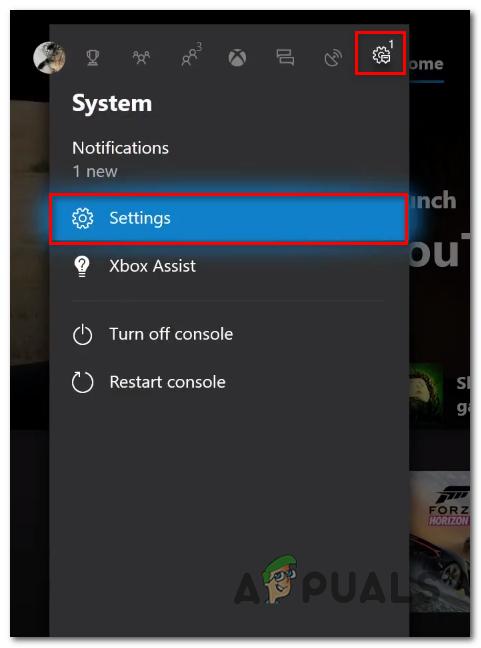
Accessing the settings menu - Once you’re inside the Settings menu, go over to the Account tab, then move over to the right-hand side menu and choose the Remove accounts.

Accessing the Remove accounts menu - From the Remove accounts menu, select the account that you want to get rid of, then confirm the process.
- Once the account has been removed, do a hard reset in order to ensure that the temp file + power capacitors are cleared. To do this, press and hold the power button for 10 seconds or until you see the front LEDs flashing and you can hear the fans shut down.
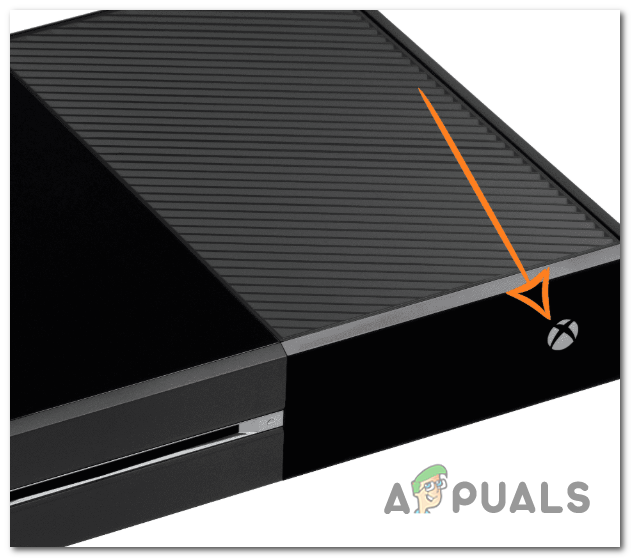
Pressing the power button on Xbox One Note: After your console shuts down, it’s also recommended that you physically disconnect the console from the power outlet in order to ensure that the power capacitors are completely drained.
- After you do this, boot your console back up conventionally and log-in with your account once again to see if the problem is now fixed.
In case the same problem is still occurring, move down to the next potential fix below.
Method 6: Deleting the NGC Folder (if applicable)
If you’re encountering the 0x80190005 error when trying to create a PIN or remove the current PIN from your Microsoft account, it’s very likely that you’re dealing with some type of corruption that is currently affecting the NGC folder.
If this scenario is applicable, you should be able to get the issue sorted out by navigating to the NGC folder manually and deleting the contents of the folder manually. After doing this and restarting your computer, you should be able to set new PINs or remove the current one.
Follow the instructions below to delete the NGC folder in order to clear the 0x80190005 error:
- First things first, ensure that you are signed in with an administrator account. You will need admin permissions to delete the contents of the NGC folder.
- Open File Explorer, paste the following location inside the navigation bar and press Enter to access the NGC folder:
C:\Windows\ServiceProfiles\LocalService\AppData\Local\Microsoft\NGC
- Once you’re inside the NGC folder, press Ctrl + A to select everything inside, then right-click on a selected item and click on Delete from the newly appeared context menu.
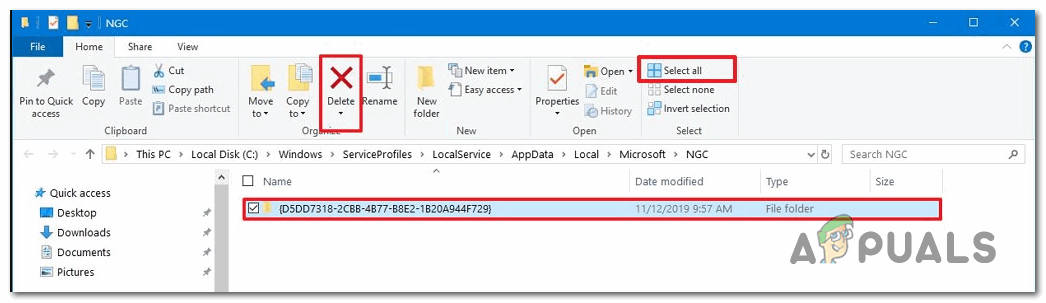
Deleting the contents of the NGC folder Note: You can also rely on the action menu at the top to click on Select All and then click on Delete to clear the contents of the NGC folder.
- Once you successfully manage to clear the contents of the NGC folder, repeat the PIN-related action that was previously causing the 0x80190005 error and see if the problem is now fixed.
In case the same problem is still occurring, move down to the next potential fix below.
Method 7: Switching a Local account (if applicable)
If you’re encountering the 0x80190005 error when attempting to set a PIN for your account and deleting the NGC folder didn’t work for you, one workaround that seems to work for a lot of affected users is to use a local account instead.
Of course, this has some disadvantages, but you should consider this if you’re not interested in syncing data across multiple devices. If this potential fix is something you might be willing to consider, follow the instructions below to make the switch to a Local account.
Here’s what you need to do:
- Press Windows key + R to open up a Run dialog box. Next, type ‘ms-settings:emailandaccounts’ inside the Run text box and press Enter to open up the Email & accounts tab of the Settings app in Windows 10.
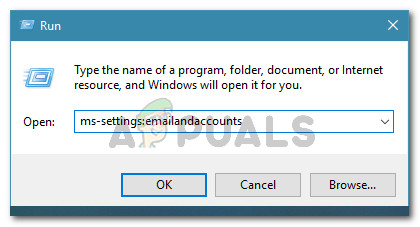
Running dialog: ms-settings:emailandaccounts - Once you’re inside the Email & Accounts menu, click on Family & Other users from the left-hand menu on the right section of the screen.
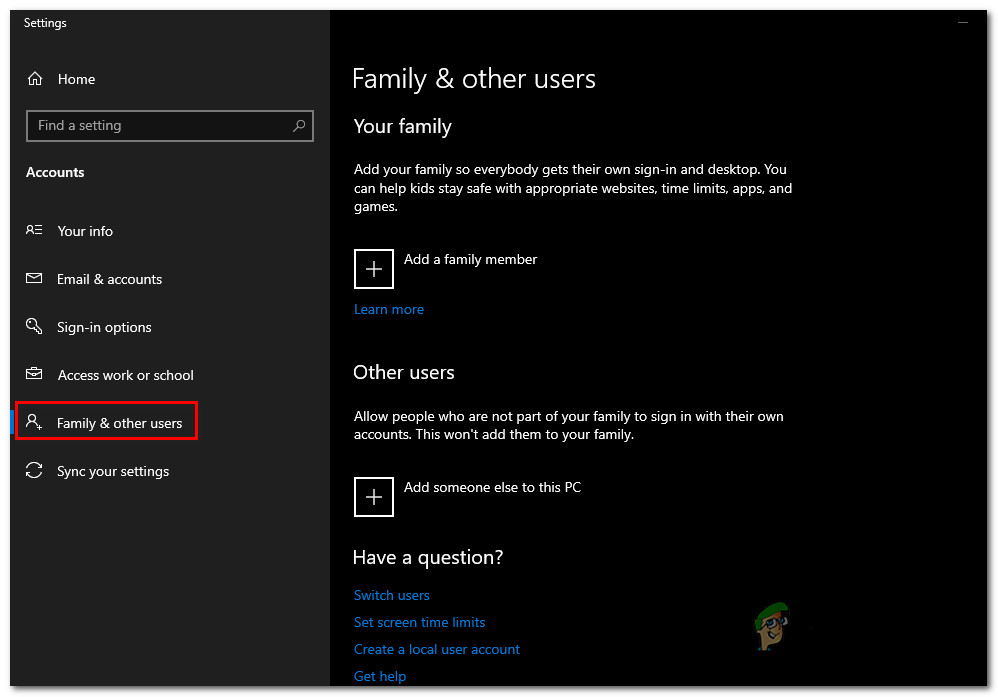
Accessing the Family & other members menu - Once you’re inside the Family & other members menu, scroll all the way down to the Other users sub-menu and click on the icon associated with Add someone else to this PC.
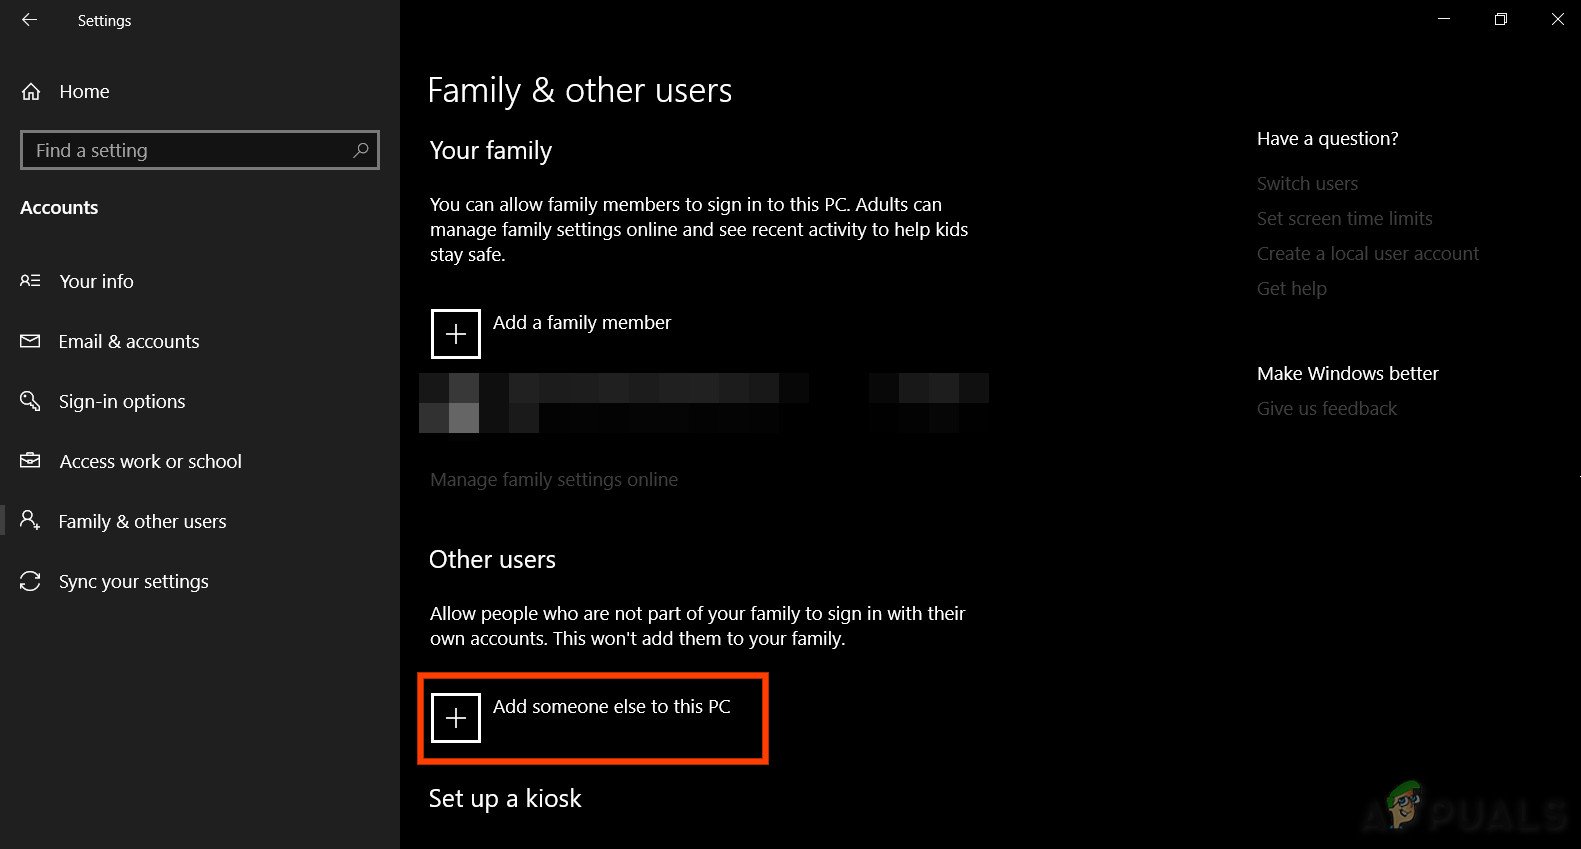
Add Someone Else to This PC - At the next screen, click on I don’t have this person’s sign-in information hyperlink.
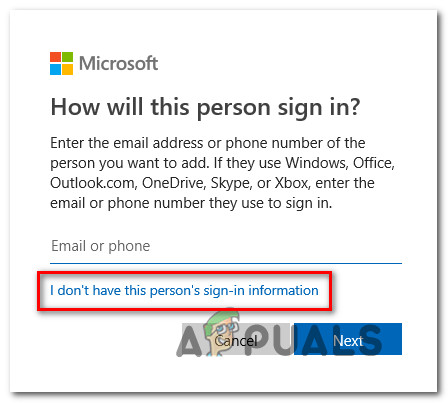
Creating a local account on Windows 10 - Next, click on the Add a user without a Microsoft account hyperlink.
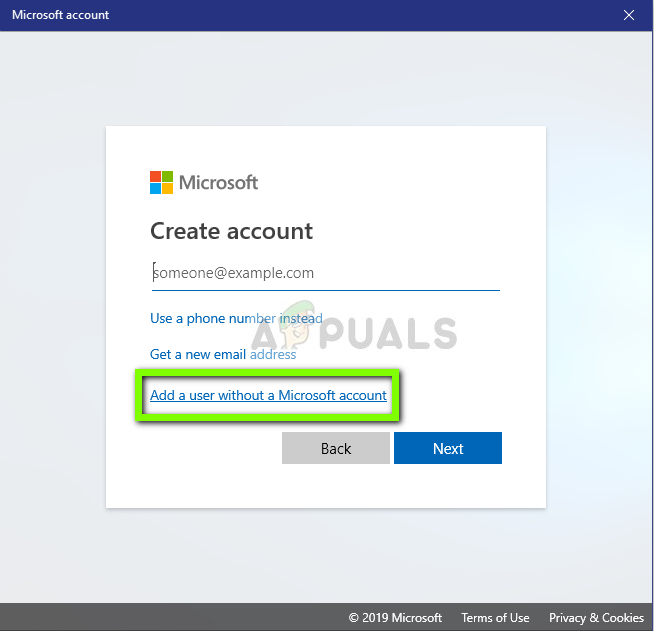
Adding a user without Microsoft Account - On the next page, enter a name & password to use with your new local account, then click Next to create a local account.
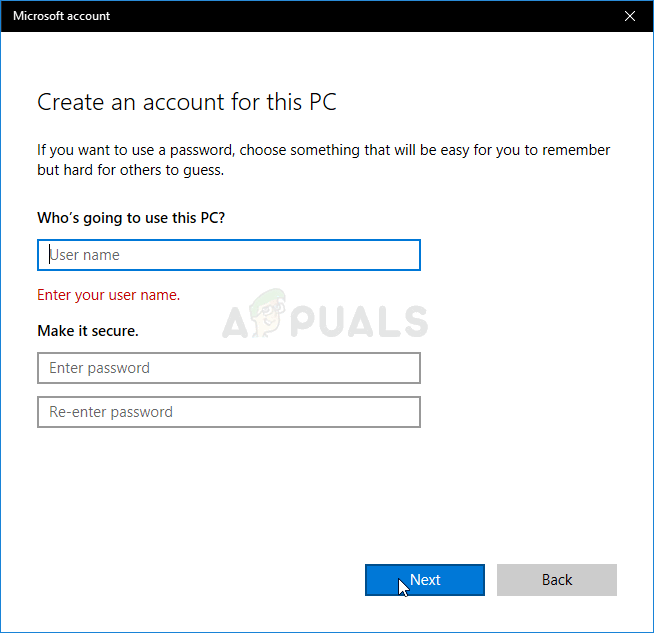
Creating a local account to log into your PC - After you insert the correct information, hit Next to create the new local account, then restart your computer.
- At the next startup, set a PIN for your newly created Local account and see if the problem is now fixed.
In case the same problem is still occurring, move down to the next potential fix below.
Method 8: Performing a Repair Install
If you’re encountering this issue on a Windows 10 computer when trying to set a new PIN or when trying to sign in with the Xbox app and none of the potential fixes above have worked for you, it’s clear that you’re dealing with some type of system file corruption that cannot be resolved conventionally.
In this case, the only way to fix the underlying issue that’s causing the 0x80190005 error is to reset every relevant Windows component. When it comes to doing this, you have two ways forward:
- Repair install – This is our recommended approach. A Repair Install (AKA in-place repair) procedure will ONLY reset Windows components while leaving the rest of the files intact. This means you get to keep your games, applications, and personal media that you’re currently storing on the OS drive. However, keep in mind that this operation will require you to use a compatible installation media.
- Clean install – This is the easier procedure out of the bunch as you will NOT be required to use an installation media. However, unless you back up your data in advance, be prepared for total data loss on your OS drive.


