World War 3 Crashes After Loading Map? Try these fixes
Players playing World War 3 have been encountering an issue where the game crashes when the map loads for them. This may not always be the case as the game can crash in different situations for users such as the game menu. As it turns out, this issue is often caused by an OpenSSL bug that is present in Intel 10th generation and other processors which can cause bad SHA values. In addition to that, the game can also crash due to the interference of a third-party application. Regardless of what’s causing the problem, in this article, we are going to show you how to resolve the issue so just follow through.

As it turns out, World War 3 has been in its closed beta access for a while now during which different users get to try the game and experience the gameplay first hand. These phases are really important especially for the developers as it helps them polish up the game for the official release by removing any bugs or issues, like the fetching data timeout error, that are still present in the game. Now, if you have an Intel processor and you are facing the mentioned issue, it is probably due to the bug with OpenSSL that would either cause a crash or bad Secure Hash Algorithm values on the processor. Even though this has been resolved, any games that are built on the Unreal Engine version that contained the error would automatically face issues.
To resolve the issue, what you can do is create an environmental variable that allows a file or folder to be accessed from anywhere in the system. On top of that, applications that are running in the background can also cause the game to crash in some cases. With that said, let us get started and show you how to resolve the problem in question so that you can get back in the game.
Launch Game from Exe File
As it turns out, the first thing that you should do when you encounter this problem is to try launching it from the executable file that is present inside the game installation directory. This has been reported by multiple users who were facing an issue with the game crashing for them and were able to resolve it by launching the game from the .exe file inside the installation directory.
To do this, simply go ahead and navigate to the directory where the game is installed. Locate the .exe file inside the installation directory to run the game. Once the game is up, see if the problem still occurs. In case it does, you can create a shortcut and then use that in future to launch the game. If you are still facing the problem, move on to the next method down below.
Create Environment Variable
Like we have mentioned earlier as well, the main reason that your game might be crashing is due to an OpenSSL bug with Intel processors. OpenSSL is essentially used in network communication between computers so that no third-parties are able to view the data that is being sent across the network.
We will be creating an environment variable that will essentially control the flow of features of OpenSSL. Doing this will force it to not check for SHA files and a different path is executed that does not contain the bug. Thus, the problem is avoided overall. To create an environment variable, follow the instructions given down below:
- First of all, go ahead and open up the Windows Settings app by pressing Windows key + I on your keyboard.
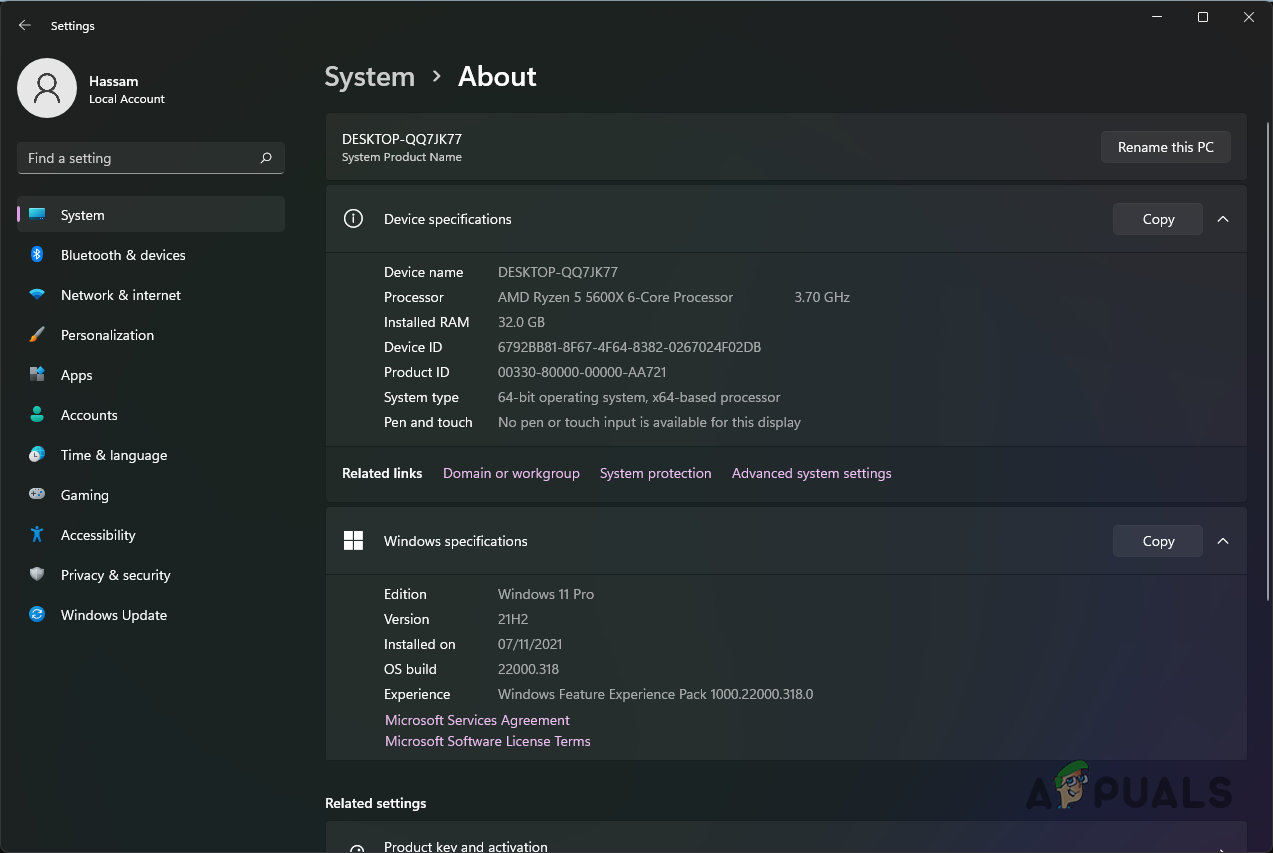
- On the System tab of the Settings window, scroll all the way to the bottom and click the About option provided.
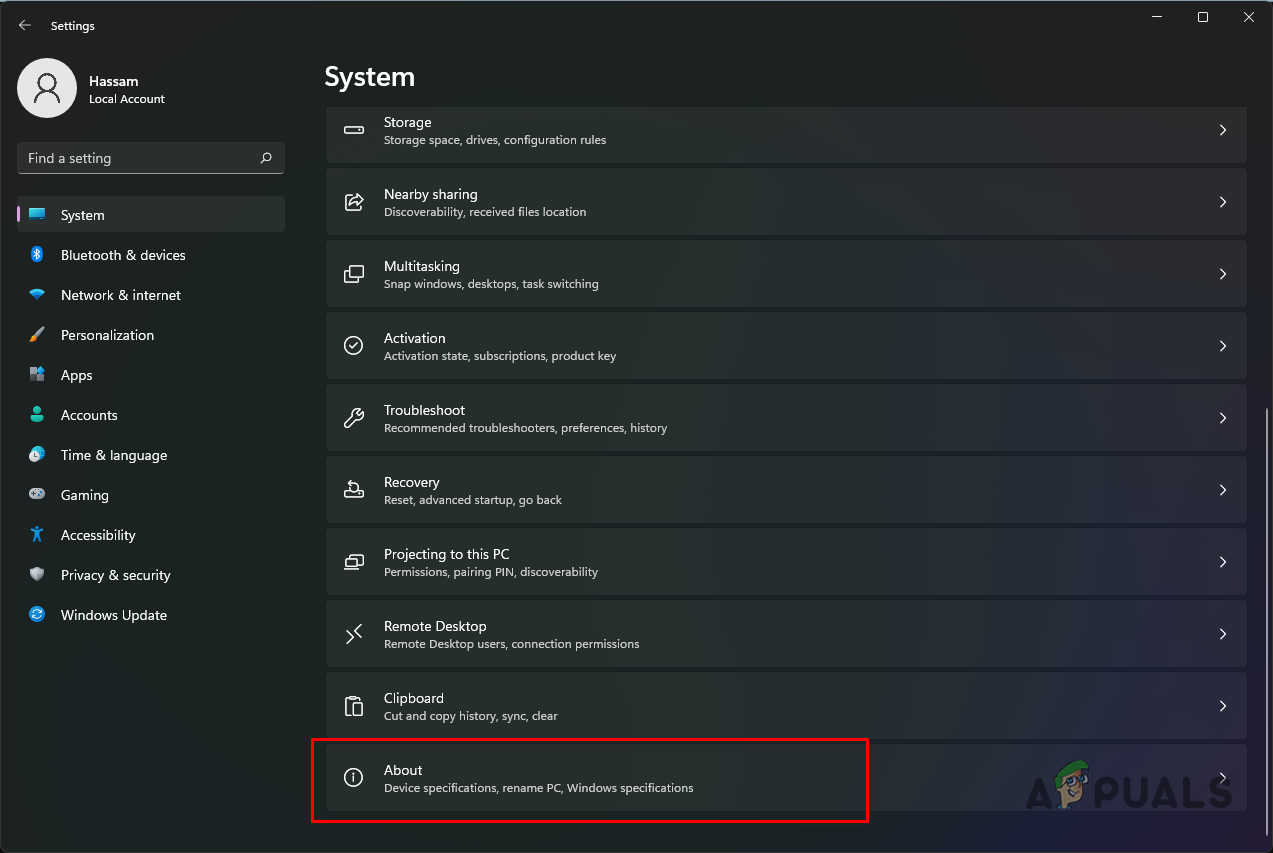
Navigating to About - Once you have done that, go ahead and click on Advanced system properties.
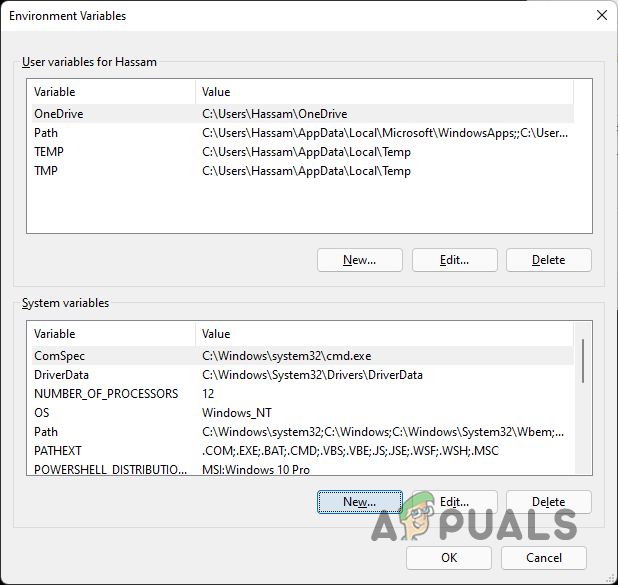
Opening up Advanced System Properties - On the System Properties window that comes up, click on the Environment variables option.

Advanced System Properties - After that, under System variables, click on the New button provided.
Creating New Environment Variable - Now, for the Variable Name, copy and paste “OPENSSL_ia32cap” without the quotation marks. Follow this up by copy pasting “~0x200000200000000” in the Variable value box without the quotation marks as well.
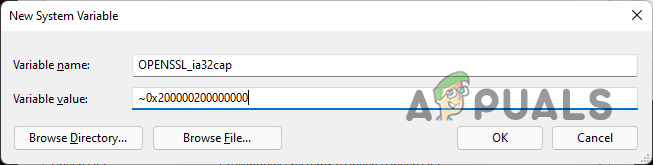
Creating OpenSSL Environment Variable - Once you have done that, click on the OK button. Follow it up by clicking OK on the remaining windows as well.
- At this point, go ahead and restart your computer.
- After your PC boots up, open up the game and see if the problem is still there.
Perform a Clean Boot
Finally, if the above methods have not fixed the issue for you, then it is very likely that this is being triggered by a third-party application or service that might be running in the background. Third-party security programs are especially known for such issues. Therefore, if you have a third-party antivirus program installed on your PC, go ahead and disable it. Check if the problem still persists even after that.
As it turns out, a third-party security program may not always be the culprit as other applications, in some cases, can also cause the issue. In such a case, what you can do is perform a clean boot which starts your computer with only the required Windows services running in the background. In case that fixes the problem for you, then you can be sure that a third-party program on your computer is indeed causing the issue. To resolve the issue, you will have to remove the application from your computer or make sure it is closed when you are about to run the game. Follow the instructions given down below to perform a clean boot:
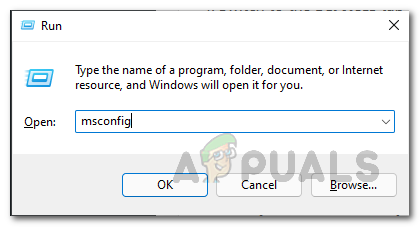
- To start off, press Windows key + R on your keyboard to open up the Run dialog box.
- In the Run dialog box, type in msconfig and then hit the Enter key.
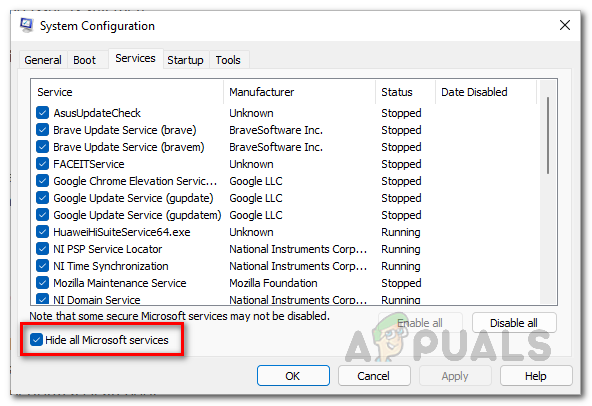
Opening up System Configuration - The System Configuration window should come up. Switch to the Services tab.
- There, click on the Hide all Microsoft services checkbox.
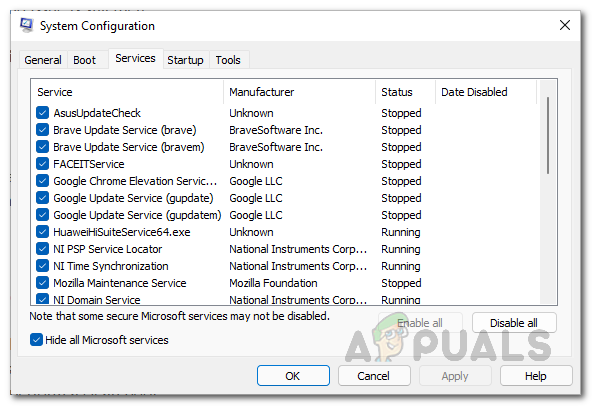
Hiding all Microsoft Services - After that, click on the Disable all button provided to disable all the third-party services on startup. Follow it up by clicking the Apply button.
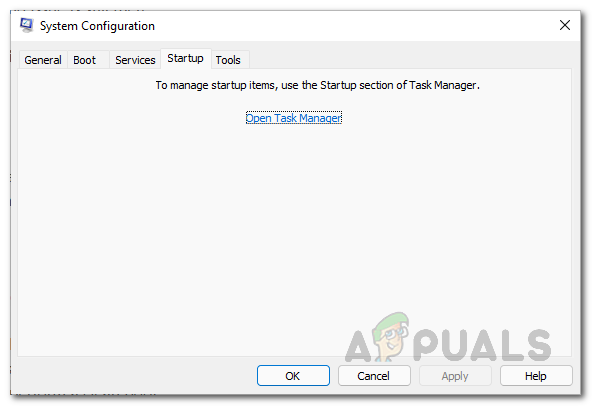
Disabling all Third-Party Services - Once you have done that, switch to the Startup tab and click on the Open Task Manager option provided.
Startup Tab - On the Task Manager window, click on the applications one by one and then click the Disable button provided.
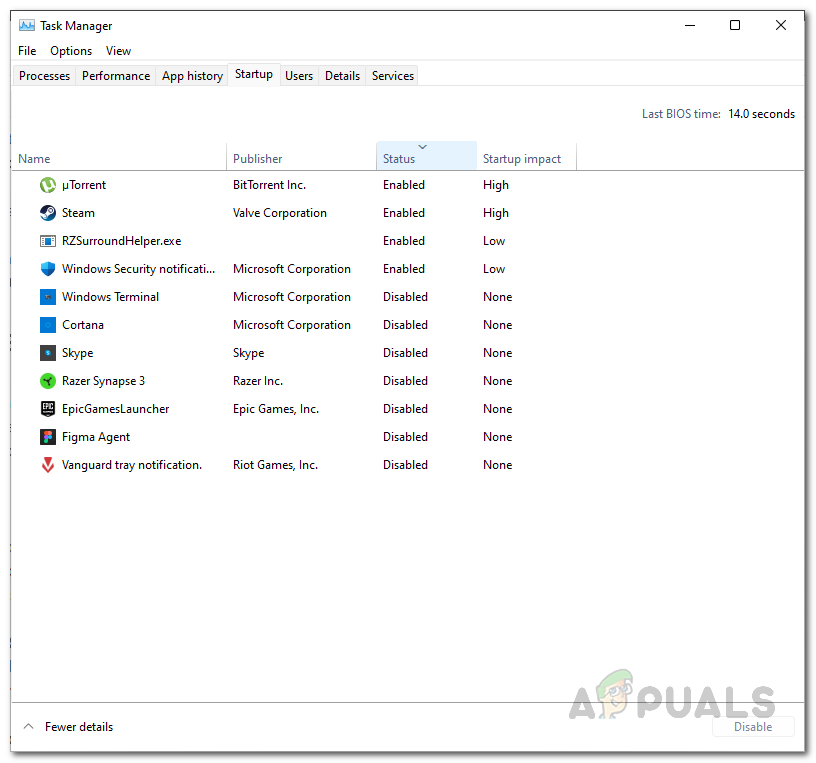
Disabling Third-Party Applications on Startup - After doing that, go ahead and restart your computer.
- Once your PC boots up, open up the game to see if the issue is still there.


