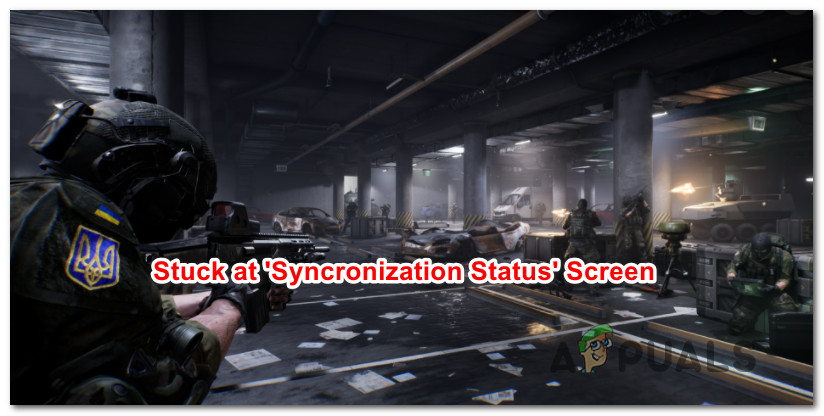
How to Fix World of War 3 Stuck at Synchronization Status?
Some World War 3 players are suddenly unable to load any match. Every attempt at joining a multiplayer server ends up with the game being stuck at the ‘Synchronizing Status‘ screen. This issue seems to have surfaced recently as the game was entered the closed beta stage.
We’ve investigated various community posts of other members and realized that there are actually multiple potential causes that might be at the root cause of this issue. Here are several culprits that you should look into:
- Ongoing server issue – As it turns out, you can expect this issue to occur while the developers are busy mitigating a server issue related to matchmaking. This has happened several times in the past and unfortunately, there isn’t a proper fix to avoid it. All you can do is pinpoint the server issue and wait until the developers manage to address it.
- AV or firewall interference – According to a lot of users, this problem can also be caused by a false positive triggered by an overprotective antivirus or firewall suite. This problem is confirmed to occur with both 3rd party security suites and with Windows Security. In this case, you can resolve the problem either by whitelisting the game + the Steam executable or by uninstalling the overprotective security suite.
- VPN or Proxy interference – If you’re using a 3rd party or VPN tool, chances are it’s interfering with the WW3 attempts at connecting with the main game server. To make sure that’s not the case, go ahead and temporarily disable the VPN or proxy server and see if you are able to get past the ‘Synchronizing Status’ screen.
- Corrupted local installation – An interrupted update or a false positive can also have another unintended consequence where some game files belonging to World War 3 actually become tainted by corruption. To make sure that’s not the case, deploy a Steam validation (integrity check) on your local World War 3 installation.
Now that we went over every potential cause of the ‘Synchronizing Status’ screen, let’s go over every user recommended fix. Go through every method below in order until you manage to find the culprit and fix the problem in your particular scenario.
1. Check for ongoing server issues
Before you go any other route, the first thing you should do is check if the developers (The Farm 51) are currently dealing with a server issue that affects matchmaking.
This is by no means a new problem as this game has been plagued by server problems since its inception and the symptoms only seem to be getting worse after the game entered close beta stage.
If this scenario is applicable, use DownDetector to see if World War 3 is currently affected by a server problem.
On the DownDetector status page of World War 3, check if there’s currently an ongoing issue affecting matchmaking.
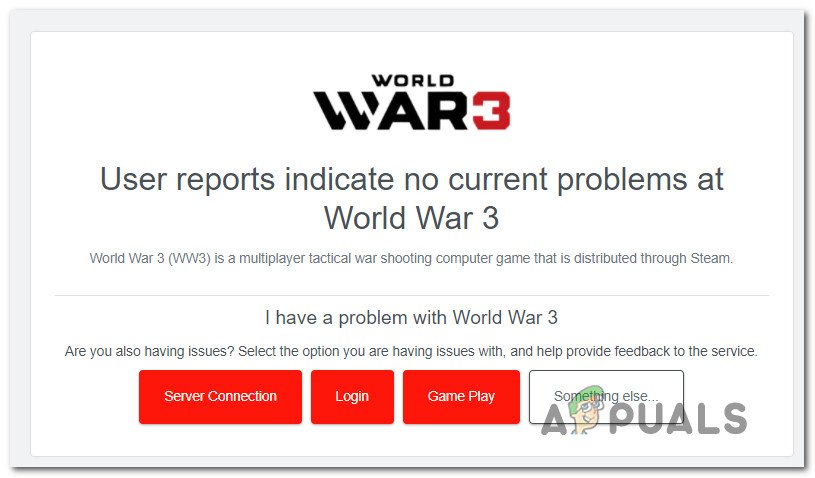
Note: While you’re on the dedicated World War 3 page of DownDetector, scroll down and check the comment section – This section will give you an idea if other users are currently facing the same issue as the one you’re currently dealing with.
In the event that you find a lot of user reports complaining about the same type of issue on the World War 3 DownDetector page, take the time to check out the official Twitter account of World War 3 for any official announcement of a server problem.
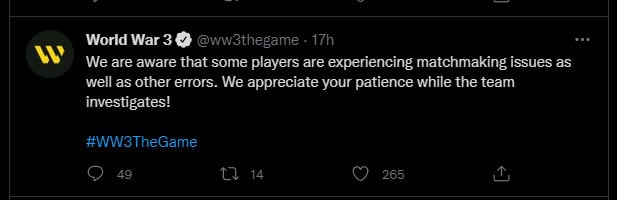
Note: The developers over at The Farm 51 are usually quick in announcing ongoing technical issues affecting the game, so definitely keep an eye on their official communication channels.
If the investigations you just did have revealed a server problem, there’s nothing you can really do other than wait for the problem to be resolved by the developers.
However, if you found no evidence of an ongoing server problem, move down to the first potential fix below that solves the problem caused by a local antivirus or firewall suite.
2. Stop Antivirus or Firewall from interfering (if applicable)
As it turns out, another reason why you can expect World War 3 to get stuck at the ‘Synchronizing Status’ screen is a potential conflict preventing the local game installation from communicating with the game servers due to an AV or firewall interference.
According to community members, some Antivirus and Firewall suites are apparently messing with the main executable of World War 3 which hinders the game’s ability to facilitate matchmaking.
Follow the applicable sub-guide below and see if you can stop your antivirus from interfering with the game:
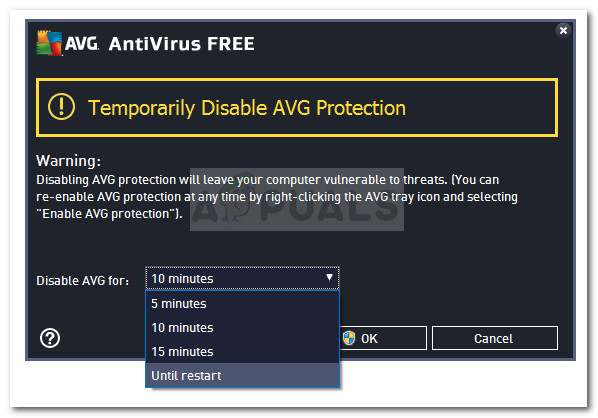
Disable the Real-time protection of your antivirus
The quickest fix (if your antivirus is to blame) is to simply disable the real-time protection and see if you can finally get past the ‘Synchronizing Status’ screen.
If the problem is caused by a firewall issue, this will ensure that the main game executable of World War 3 is not prevented from communicating with the game server.
Note: If you’re using BitDefender, you will actually need to access the Advanced Settings menu in order to be able to disable the real-time Antivirus shield.
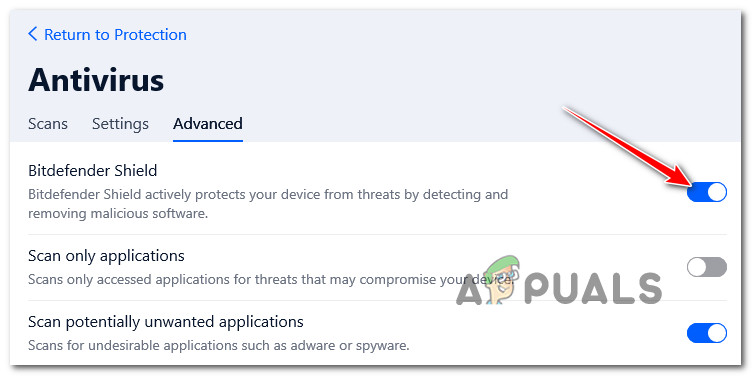
Once you’ve ensured that the real-time protection is disabled in your 3rd party antivirus, run Destiny 2 normally and see if the freezing issues have been fixed.
Whitelist WW3’s executable inside your Antivirus / Firewall
Even if the method above has been successful in your case and you can now bypass the ‘Synchronizing Status’ screen, you should still not consider it as a permanent solution (because it will leave your system exposed to legitimate security threats).
A better way to deal with the issue if an antivirus is at fault is to access your antivirus settings and establish an exception rule that excludes the main World War 3 executable from the reach of your antivirus or firewall.
Of course, the exact instructions for establishing a whitelisting rule for World War 3 will vary a lot depending on the security suite that you’re using.
Note: You can search online for specific instructions on how to do this if you are stuck.
If you’re using BitDefender, follow the instructions below to establish a whitelisting rule for World War 3:
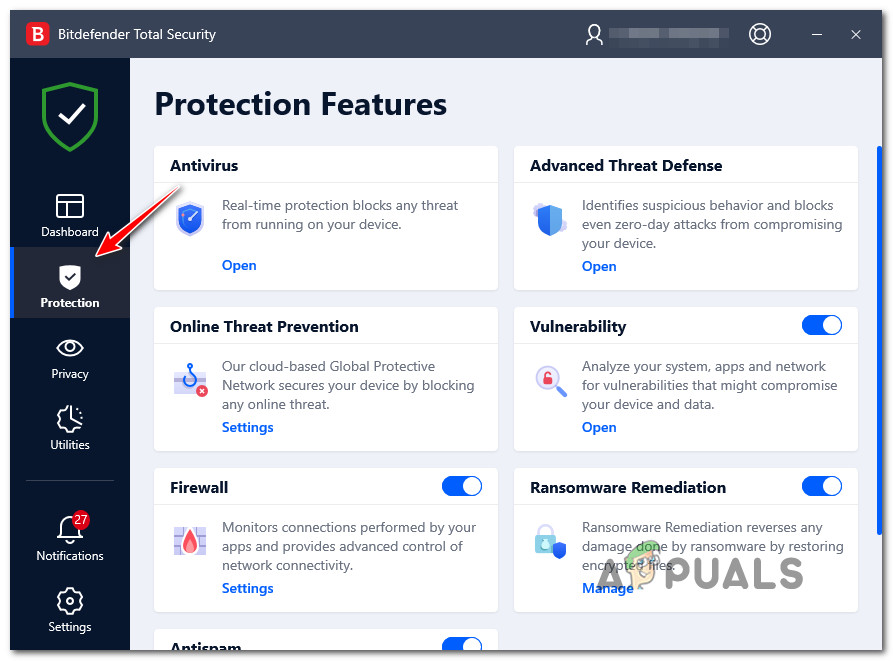
- Start by opening up BitDefender or bringing up the main interface in case the tool is already running in the background.
- From the next menu, click on the Protection icon from the vertical menu on the left.
Access the Protection tab - Once you get inside the Protection menu, click on the Open hyperlink under Antivirus.
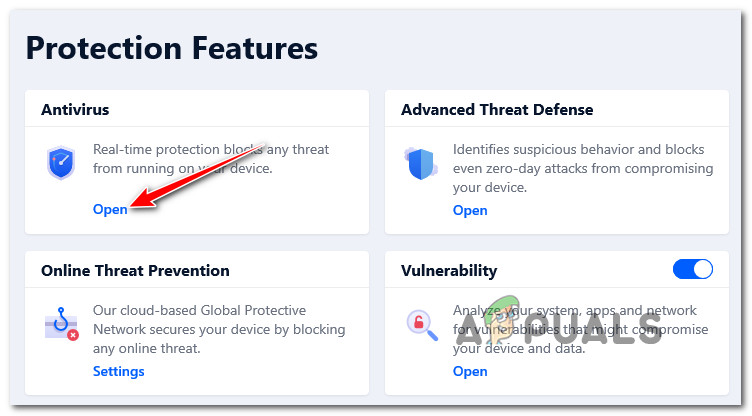
Open the Antivirus controls on BitDefender - Inside the Antivirus tab of BitDefender, click on the Settings menu, then click on the Manage exceptions hyperlink.
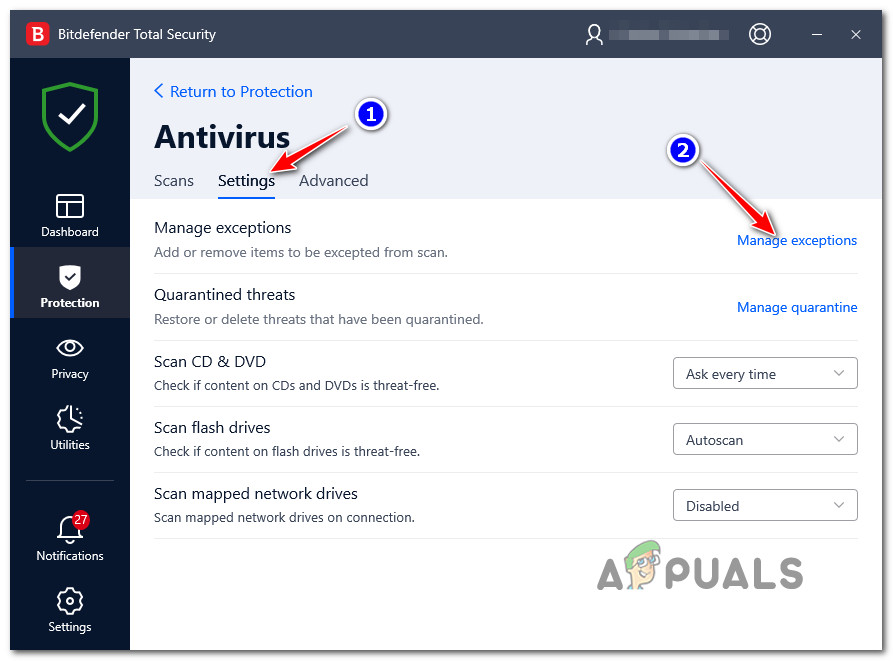
Managing the exceptions of BitDefender - In the Manage Exceptions menu, ensure that the Antivirus is selected as the main directory, then click on Add an Exception.

Adding an exception - Click on the browse icon, then browse to the location where you installed World War 3 and select the entire folder and click OK.
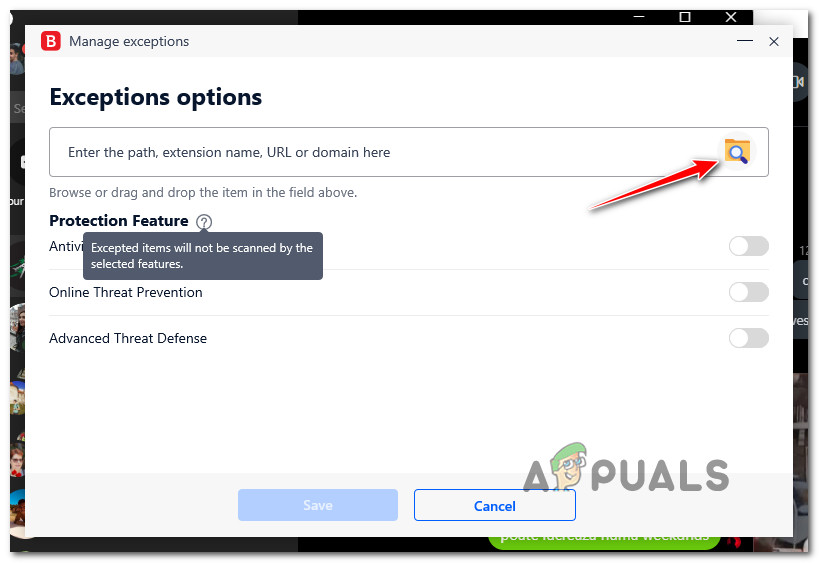
Establishing an exception rule - Finally, click Save to make the exception rule permanent in BitDefender.
- Launch World War 3 once again and see if the problem is finally fixed.
Uninstall the 3rd party antivirus suite
If disabling the real-time protection is not an option for you and the instructions above we’re not applicable, the only course of action left at your disposal is to uninstall the interfering 3rd party antivirus completely via the Programs and Features screen. This will hopefully prevent the security rules currently enforced in World War 3.
Follow the instructions below to uninstall the interfering AV suite that is interfering with the game:
Note: The instructions below are universal and will work on every recent Windows version.
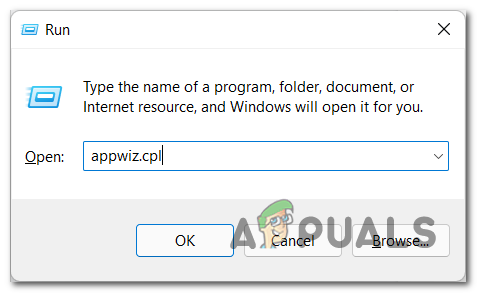
- Start by pressing Windows key + R to open up a Run dialog box. Next, type ”appwiz.cpl’ and press Enter to open up the Programs and Features screen.
Accessing the Programs and Features menu - Inside the Programs and Features screen, move over to the section on the right. Next, scroll down through the list of installed programs and locate the 3rd party AV suite that you’re attempting to uninstall.
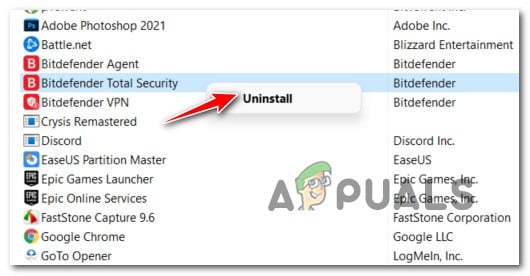
Uninstalling the 3rd party antivirus - Once you’re inside the uninstallation screen, follow the on-screen prompts to complete the uninstallation.
- Open up World War 3 again and see if you can get past the ‘Synchronizing Status’ screen in World War 3.
3. Disable VPN or Proxy Server
Another reason why you might be seeing this type of problem is an instance where the server authentication module is affected by a proxy or VPN software.
If this scenario is applicable to you, there isn’t a magic fix that you can enforce in order to bypass the interference. All you can really do is disable the proxy or VPN interference. This particular fix was confirmed by several World War 3 players that we’re all dealing with this problem.
Depending on the anonymity app that you’re using (if the scenario is applicable), follow the applicable sub-guide below:
Disable a Proxy server
If you’re using a proxy server, all you need to do is access the Proxy tab of the Settings menu and ensure that the use of a proxy server on this Windows installation is disabled.
Here’s how to treat this issue:
- Start by pressing Windows key + R to open up a Run dialog box.
- From the screen that just appeared, type “ms-settings:network-proxy” inside the text box and press Enter to open up the Proxy tab of the Settings app.

Uninstall your currently active proxy Note: In case you see the User Account Control (UAC), click Yes to grant admin access.
- Inside the Proxy tab, move over to the right-hand section of the screen, and disable the Automatic proxy setup or the Manual Proxy Setup.
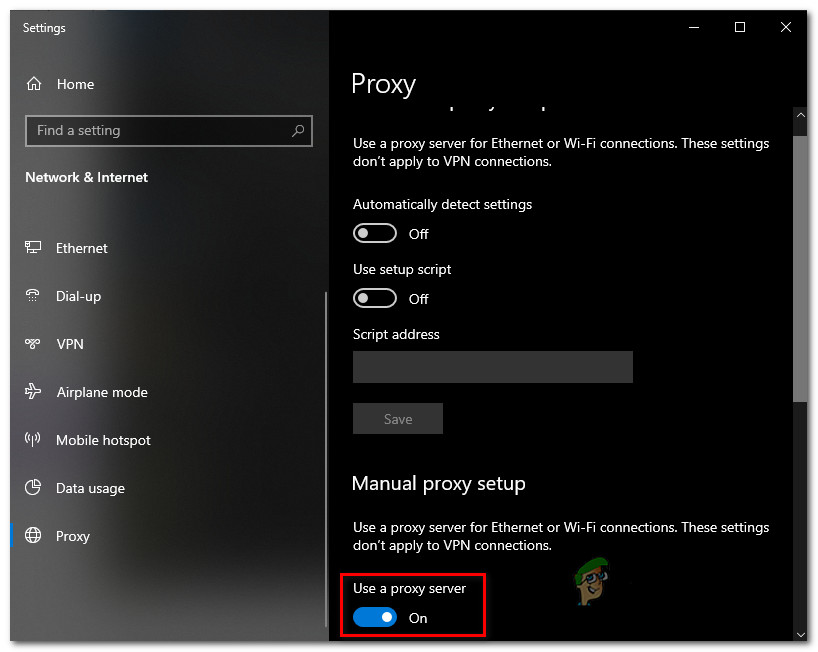
Disable the currently active proxy server - As soon as the proxy server is disabled, go ahead and close the Settings menu before rebooting your PC.
Once your PC boots back up, launch World War 3 once again and see if the game is now able to get past the Synchronization Status screen.
Disable a native VPN connection
In case you are using a VPN connection that is configured natively from the VPN connection tab, there’s no other way other than disabling the VPN connection by accessing the Network & internet connection menu.
Here’s what you need to do to disable a native VPN connection in order to prevent interference with World War 3:
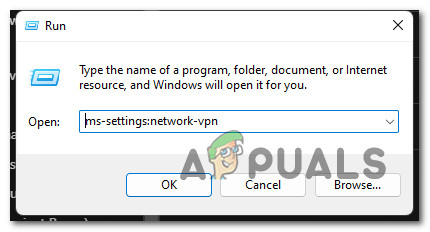
- Press Windows key + R to open up a Run dialog box. Next, type ‘ms-settings:network-vpn’ and hit Enter to open the VPN tab of the Settings menu.
Accessing the Network VPN - Next, move over to the right-hand section of the screen and click on the VPN connection (under VPN connections).
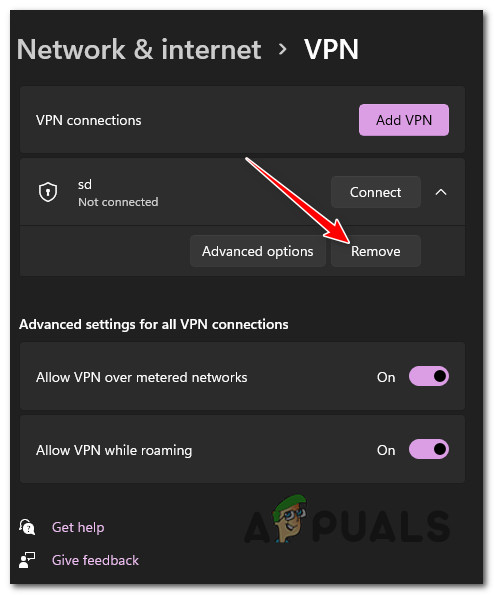
Disable the built-in VPN - Finally, click on Confirm to finalize the operation and disable your VPN.
- Reboot your PC and see if you are now able to bypass the dreadful synchronization screen on World War 3.
Uninstall the 3rd party VPN app
In the event that you are using a standalone VPN app when playing World War 3, you will need to get rid of it by using the Programs and Features menu. This is clearly the most effective solution as a lot of affected users have confirmed it.
Here’s how to uninstall the problematic 3rd party suite:
- Start by pressing Windows key + R to open up a Run dialog box.
- Type ‘appwiz.cpl’ and press Ctrl + Shift + Enter to open the Programs and Features menu with admin access.

Open up the Programs and Features menu - In case you see the User Account Control, click Yes to grant admin access.
- Once you get to the Programs and Features menu, move down through the list of installed programs and locate the VPN program that is causing this issue.
- Right-click on it and choose Uninstall from the context menu.
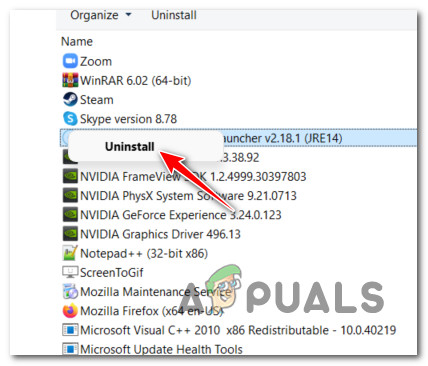
Uninstalling the VPN suite - Finally, click Yes at the confirmation prompt, then follow the remaining prompts to complete the uninstallation of the VPN software that you suspect might be interfering with World War 3.
- See if this method was effective by rebooting your PC and seeing if you now can get past the Synchronization Status screen.
If the same problem is still ongoing despite removing any potential proxy or VPN interference (or these methods were not applicable) move down to the final potential fix below.
4. Validate Steam files
If none of the methods above were effective in your case, one final thing you can try is to troubleshoot against is a classic case of some kind of game file corruption.
There’s a lot of discussion in the Discord channel of WW3 that this problem is often caused by some type of game file corruption that typically appears after a botched update or after an unexpected PC shutdown.
In this case, the only fix is to use the built-in Steam menus to fix the integrity of World War 3 by triggering a Steam validation check.
To verify the file integrity of the game via Steam, follow the instructions below:
- Start by opening your Steam client and make sure you are signed with your account credentials.
- Next, click on Library from the menu at the top, then right-click on the game from the menu on the left.
- From the Library context menu that just appeared, choose Properties.

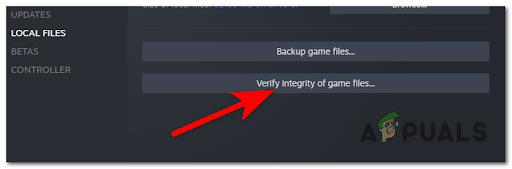
Accessing the Properties screen - Inside the Properties screen, go ahead and click on Local Files.
- Next, click on Verify the Integrity of Game Cache.
Verifying the integrity of the game - At the next prompt, click Yes and wait for the operation to complete.
Note: In case the validation scan manages to find inconsistencies with the game files, follow the on-screen instructions to repair WW3 the game before rebooting your computer


