Fix: Windows Update Error Code 0x8024402c
Windows Update is a feature for Windows OS which lets users download updated from Microsoft’s official servers using a simplified method. This feature was previously available solely for smartphone users who were able to download updates easily and without much hassle.
Being able to download certain updates directly from their servers is a great solution because you are able to download and install the update with a single click of the mouse button and the updates which are available for download have been checked for malicious activities. Let’s explain just what to do when the Update service malfunctions on your Windows OS and how to fix this specific issue.
Windows Update Error Code 0x8024402c
This particular error code manifests itself in a way which does not let you install new updates released by Microsoft, even after a while.. It can be quite annoying since certain apps demand an update if you want to use a new feature they opted for.

Additionally, users often want to install new apps in order to start a new task but they are not able to do this until they update their version of Windows to the latest built. Let’s find out how to fix this Windows Update error code by following the instructions below.
Solution 1: Remove Characters From the Proxy Exception List
The usual cause for this particular error code is the fact that your proxy or firewall settings are configured incorrectly. Because of it, any connection which tries to connect Microsoft servers is blocked and you will need to follow the instructions below in order to fix it.
Windows 2000, Windows XP, and Windows Server 2003:
- Open Internet Explorer by locating it in the Start menu. It should be located in the default apps list.
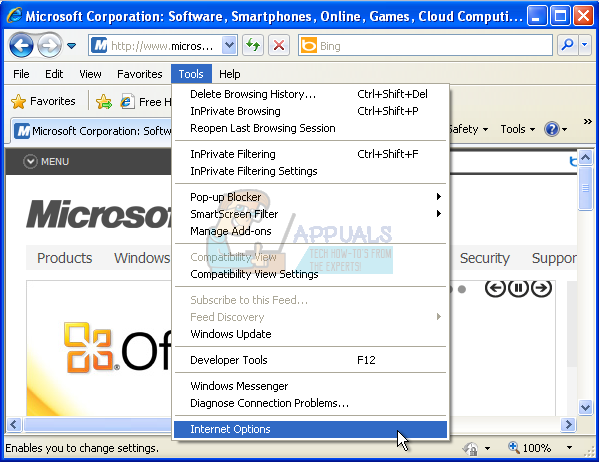
- On the Tools menu located at the top of the screen, select Internet Options.
- If you are not able to locate the menu for some reason, you can use the Alt key in order to open it.
- Navigate to Connections tab >> Local Area Network Settings >> Advanced.
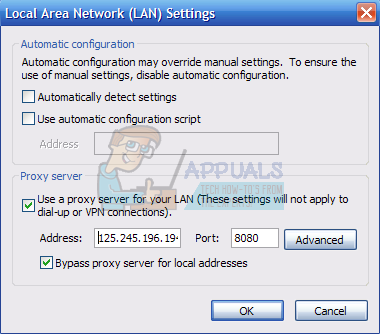
- Delete anything your find under the Exceptions section and click OK.
- Exit Internet Explorer by clicking on the x button at the top right part of the screen.
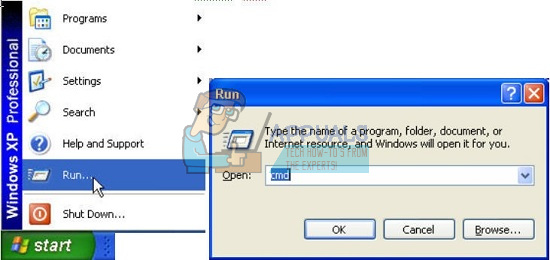
- Open Command Prompt by opening the Run dialog box and typing “cmd”.
- Copy and paste the following commands in this order and make sure you click Enter after each one.
proxycfg –d
net stop wuauserv
net start wuauserv
Windows Vista, Windows Server 2008, Windows 7, 8, 8.1, and Windows 10:
- Open Internet Explorer by searching for it in the search box next to the Start button.
- On the Tools menu located at the top of the screen, select Internet Options.
- If you are not able to locate the menu for some reason, you can use the Alt key in order to open it.
- Navigate to Connections tab >> Local Area Network Settings >> Advanced.
- Delete anything your find under the Exceptions section and click OK.
- Exit Internet Explorer by clicking on the x button at the top right part of the screen.
- Click the Start button , and then type Command Prompt in the Start Search box.
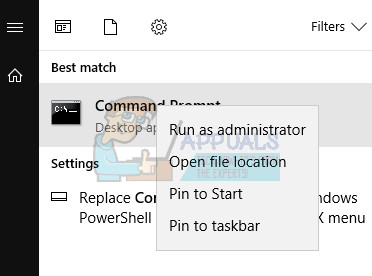
- In the search results list, right-click on Command Prompt, and then click Run as Administrator.
- If you are prompted for an administrator password or for a confirmation, type the password, or click Continue.
- Type the following commands. Press ENTER after each command.
netsh winhttp reset proxy
net stop wuauserv
net start wuauserv
- Try to install the updates again.
Solution 2: Automatically Detect Settings in Internet Explorer
If you have made any changes to the settings in Internet Explorer, you may have blocked updates from Microsoft by configuring the firewall differently or similar. You can fix this easily by following the instructions below.
- Open Internet Explorer.
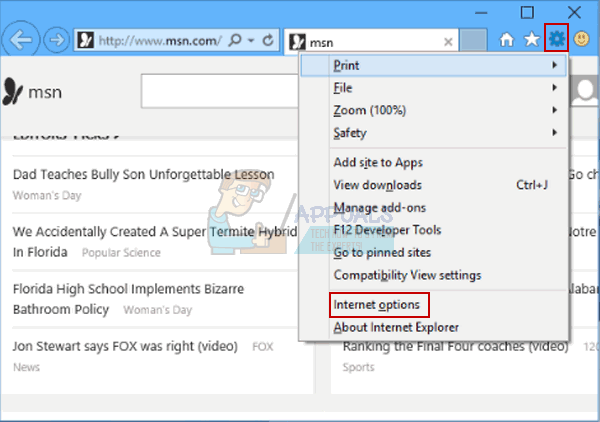
- On the Tools menu, click Internet Options.
Note If the Tools menu is unavailable in Internet Explorer, press the ALT key to display the menu.
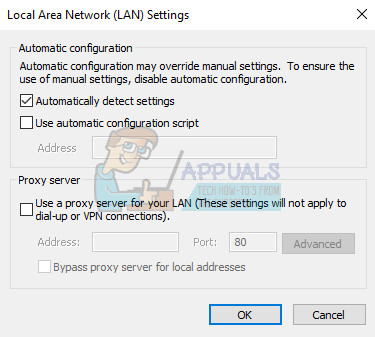
- On the Connections tab, click LAN Settings.
- Click to select the Automatically detect settings check box, and then click OK.
- Try to install updates again.
Solution 3: Change Your DNS Server
If the updating process failed because of your ISP (Internet Service Provider), you can simply change the default DNS server to a public one in order to install the update successfully. You can reverse the process quite easily if something goes wrong.
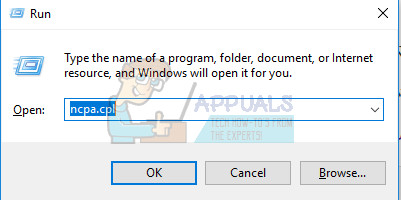
- Use the Windows Key + R key combination in order to bring up the Run dialog box. Type “ncpa.cpl” and click OK.
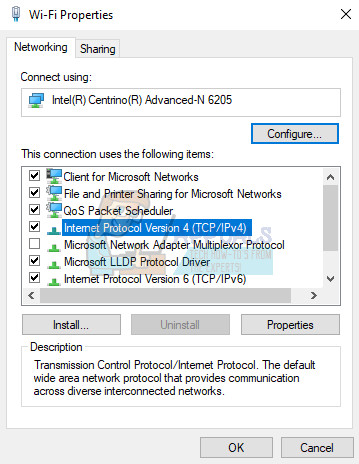
- This will open the Internet Connection window. Right-click on the Network Adapter you are using to connect to the Internet and choose Properties.
- Click on the Internet Protocol Version 4 (TCP/IPv4) option and choose Properties again.
- Navigate to the Use the following DNS server addresses settings and tweak it in the following manner:
- Tweak the Preferred DNS server to 8.8.8.8
- Change the Alternate DNS server to 8.8.4.4
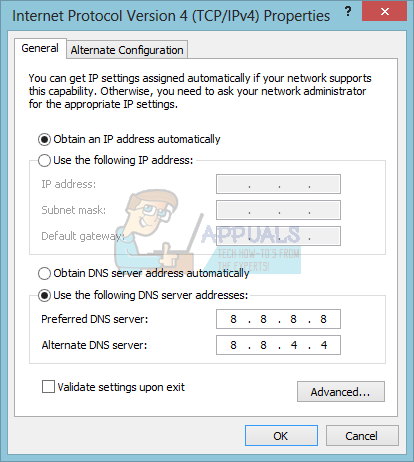
Note: This particular DNS server is a public Google DNS server.
- Check to see if the issue still appears.
Solution 4: Edit Your Registry in Order to Configure the Windows Update Client
If the solutions above failed to fix your problem, you may need to use this registry hotfix in order to fix your Windows Update issue. However you need to be careful while editing registry because the registry represents a set of low-level commands which contain all of your computer’s most important settings.
Editing the wrong key or editing the right key incorrectly can cause system malfunctions, freezes, and even a complete system failure. Follow the instructions listed in our article in order to backup and restore registry on Windows 7, 8, and 10.
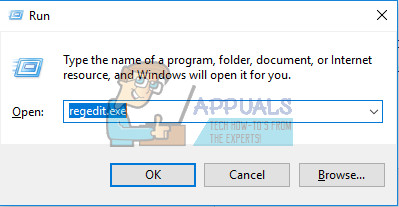
- Use the Windows Key + R key combination in order to bring up the Run dialog box. Type “regedit” and click OK. If the UAC windows pops up, click Yes.
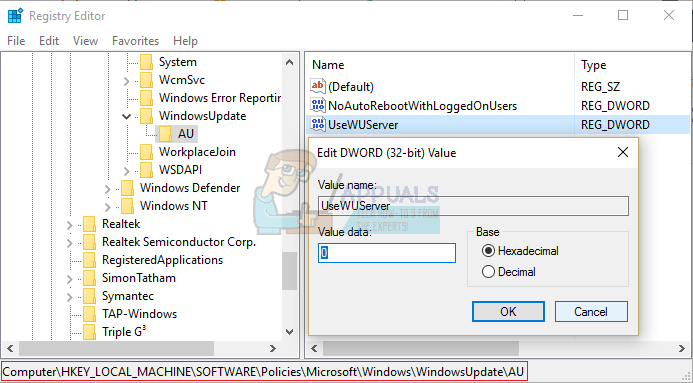
- When the Registry Editor window opens, navigate to HKEY_LOCAL_MACHINE >> SOFTWARE >> Policies >> Microsoft >> Windows >> WindowsUpdate >> AU
- You should be able to see the UseWUServer key on the right side. Double-click on it and set its value to 0.
Note: If the Windows Update key does not exist in your registry, you will need to create it manually. Follow he steps below in order to do so.
- Right-click on the Windows folder, and navigate to New >> Key. Name the key WindowsUpdate. Make sure you create it in the right place.
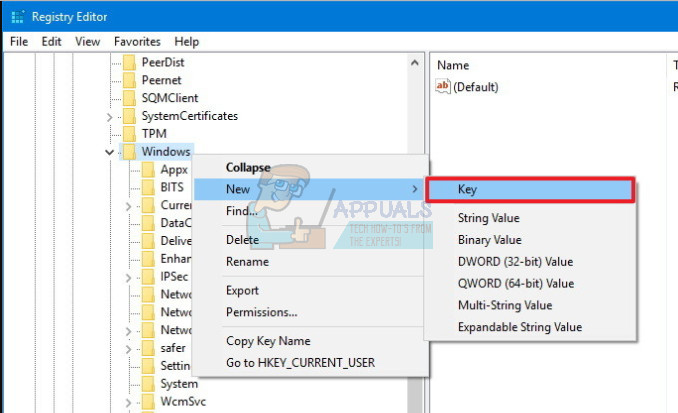
- After that, right click on this newly created key and create a new one called AU by navigating to New >> Key.
- Select the AU key and right-click at the right side of the screen. Create a New DWORD (32-bit) Value.
- Check to see if the error keeps on appearing.
Solution 5: Run the Windows Update Troubleshooter
Windows comes prepared when it comes to solving issues related to different aspects of your computer. Troubleshooters which are preinstalled on your computer are not certain to solve your issue but they can definitely help you at least to figure out what the problem is so that you can possibly submit it to Microsoft or that you can explain to someone more experienced.
Additionally, if the problem’s solution is obvious, troubleshooter may suggest a solution or it may even try to fix the problem automatically which is a great thing, especially for inexperienced users.
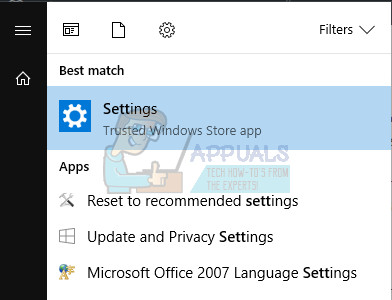
- Open the Settings app by clicking on the Start button and then the gear icon just above. You can also search for it.
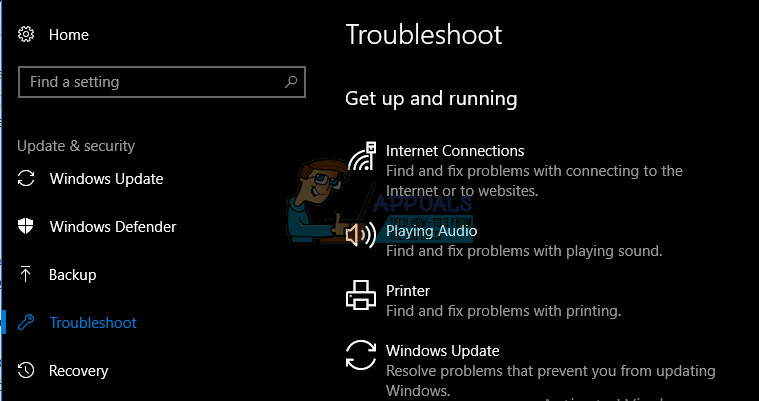
- Open the Update & Security section and navigate to the Troubleshoot menu.
- First of all, click on the Windows Update option and follow the instructions on screen to see whether there is something wrong with Windows Update services and processes.
- After the troubleshooter finishes, navigate to the Troubleshoot section again and open the Internet Connections troubleshooter.
- Check to see if the problem is solved.
Solution 6: Reset Windows Update Components Manually
Windows Update and Windows Store are two closely connected services and issues with one of them may cause the second one to malfunction. Resetting all of the Windows Update components is guaranteed to fix 90% of all Windows Store and Update problems because you basically get to start from the beginning when it comes to these features.
This solution contains steps that tell you how to modify the registry. However, serious problems might occur if you modify the registry incorrectly. Therefore, make sure that you follow these steps carefully. For added protection, back up the registry before you modify it. Then, you can restore the registry if a problem occurs.
Follow the instructions listed in our article in order to backup and restore registry on Windows 7, 8, and 10.
- Firstly, you need to kill the Background Intelligent Transfer, Windows Update, Cryptographic Services. These are the core services related to the Windows Updating process and they usually operate with other features as well such as Windows Security updates, etc. It’s wise to disable these services before you start troubleshooting the issue.
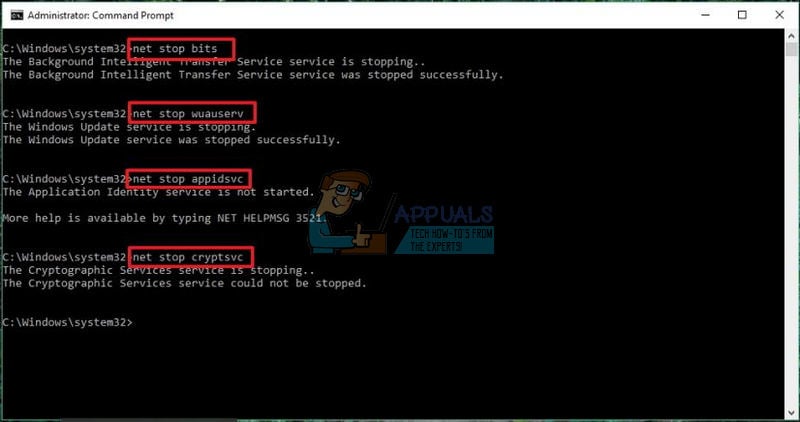
- Open Command Prompt with administrator privileges and copy and paste the commands below. Make sure you click Enter afterwards.
net stop bits
net stop wuauserv
net stop appidsvc
net stop cryptsvc
- After this, you will need to delete certain files which need to be deleted in order to procees with resetting the update components. This is also done via a command prompt window.
Del “%ALLUSERSPROFILE%\Application Data\Microsoft\Network\Downloader\qmgr*.dat”
- The next step is also done via an an administrator command prompt window and it is considered to be an aggressive step done to reset the Windows Update components. That is why you can skip this step if this is not your last chance of fixing the issue. However, undertaking these steps has helped a lot of people on its own so we recommend you try this.
- Rename the SoftwareDistribution and catroot2 folders. To do this, at a command prompt, type the following commands. Make sure that you press Enter after you type each command.
Ren %systemroot%\SoftwareDistribution SoftwareDistribution.bak
Ren %systemroot%\system32\catroot2 catroot2.bak

- Copy and paste the following commands in order to reset the services we killed in the beginning to their default security descriptors. Make sure you click your Enter button in order to run each command displayed below:
exe sdset bits D:(A;;CCLCSWRPWPDTLOCRRC;;;SY)(A;;CCDCLCSWRPWPDTLOCRSDRCWDWO;;;BA)(A;;CCLCSWLOCRRC;;;AU)(A;;CCLCSWRPWPDTLOCRRC;;;PU)
exe sdset wuauserv D:(A;;CCLCSWRPWPDTLOCRRC;;;SY)(A;;CCDCLCSWRPWPDTLOCRSDRCWDWO;;;BA)(A;;CCLCSWLOCRRC;;;AU)(A;;CCLCSWRPWPDTLOCRRC;;;PU)
- The next step also consists of a Command Prompt command so make sure you don’t exit it during this process.
cd /d %windir%\system32
- You will also need to reregister the BITS files in order to completely reset your Windows Update components. You will need to run one command for each of the files below and don’t forget to click Enter after you type in each of these:
regsvr32.exe atl.dll
regsvr32.exe urlmon.dll
regsvr32.exe mshtml.dll
regsvr32.exe shdocvw.dll
regsvr32.exe browseui.dll
regsvr32.exe jscript.dll
regsvr32.exe vbscript.dll
regsvr32.exe scrrun.dll
regsvr32.exe msxml.dll
regsvr32.exe msxml3.dll
regsvr32.exe msxml6.dll
regsvr32.exe actxprxy.dll
regsvr32.exe softpub.dll
regsvr32.exe wintrust.dll
regsvr32.exe dssenh.dll
regsvr32.exe rsaenh.dll
regsvr32.exe gpkcsp.dll
regsvr32.exe sccbase.dll
regsvr32.exe slbcsp.dll
regsvr32.exe cryptdlg.dll
regsvr32.exe oleaut32.dll
regsvr32.exe ole32.dll
regsvr32.exe shell32.dll
regsvr32.exe initpki.dll
regsvr32.exe wuapi.dll
regsvr32.exe wuaueng.dll
regsvr32.exe wuaueng1.dll
regsvr32.exe wucltui.dll
regsvr32.exe wups.dll
regsvr32.exe wups2.dll
regsvr32.exe wuweb.dll
regsvr32.exe qmgr.dll
regsvr32.exe qmgrprxy.dll
regsvr32.exe wucltux.dll
regsvr32.exe muweb.dll
regsvr32.exe wuwebv.dll
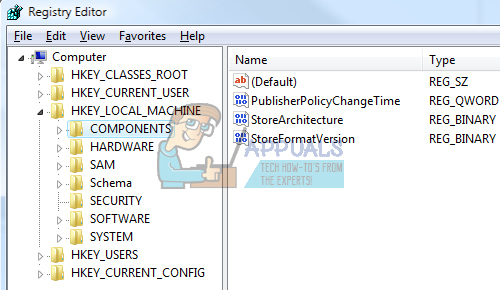
- Next, let’s delete the unnecessary registry entries that may have been left behind. Navigate to the following location in the Registry Editor.
HKEY_LOCAL_MACHINE\COMPONENTS
- Click on the Components key in registry and check the right side of the screen for the following keys. Delete them if you find any.
PendingXmlIdentifier
NextQueueEntryIndex
AdvancedInstallersNeedResolving
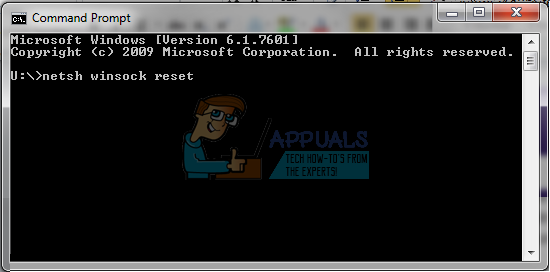
- Reset Winsock. To do this, at a command prompt, type the following command, and then press Enter:
netsh winsock reset
If you are running Windows XP, you have to configure the proxy settings. To do this, at a command prompt, type the following command, and then press Enter:
proxycfg.exe -d
If you are running other versions of Windows, at a command prompt, type the following command, and then press Enter:
netsh winhttp reset proxy
- After you have successfully completed all of the steps listed above, make sure you restart the services you killed at the beginning by copying and pasting the command below into your Command Prompt window.
net start bits
net start wuauserv
net start appidsvc
net start cryptsvc
- Restart your computer after following through with all of the steps which are listed.
Related Article (s):
https://appuals.com/windows-update-error-0x80070057-fix/
Step 4 editing the registry worked for me. As my system is 64-bit I made a new QWORD 64 bit value instead.