Fix: Windows Terminal Not Working in Windows 11
Many users have been reporting that they are encountering the ‘Windows Terminal not working‘ error on Windows 11. Since the appearance of Windows 11, people have constantly been saying that they cannot use the Windows Terminal because the app won’t start regardless of how they try to open it. The Windows Terminal simply doesn’t start, while nothing happens. This issue has been typically encountered on Windows 11.
After many people have discussed online of this issue, we have decided to do an in-depth investigation to see what can cause it.
The principal cause for this issue could be some system errors that have appeared as well as corrupted files that are harming your computer. The reason for this appearing is not known, it could happen after some computer issues that weren’t caused by you and that happened randomly.
The computer is being affected by this because it prevents it from functioning correctly and, at times, even causes it to behave in similar ways. In this case, you can repair and reset the Windows Terminal, reinstall it, and perform an SFC and DISM scan.
The causes for the ‘Windows Terminal not working‘ error on Windows 11, here is a list that contains all the possible methods that users have used in order to fix this issue:
1. Repair and reset Windows Terminal from the Windows Settings
The first thing you should try to do in this situation is to repair the Windows Terminal from the Settings of your computer. After repairing, they are saying that you should also reset the app to try to open it. This method has turned out to be efficient for many users that have tried it.
This method will repair the harmed files of the Windows Terminal that are causing it to not start. Besides that, resetting it will replace the corrupted files with healthy equivalents.
To do this method, go to the Windows Settings and access the Apps & features section. There you will be able to see the Windows Terminal through the list of apps. Access the Advanced Options of it, where you will be able to repair and reset the app.
In case you don’t know how to do this, here are the steps you need to follow:
- The first step you need to do is to open the Windows Settings. There are many ways that you could do to open it, one of which is to press the Windows key + R to open a Run dialog box in which you need to type ‘ms-settings:‘. After that, press Enter to open Settings.
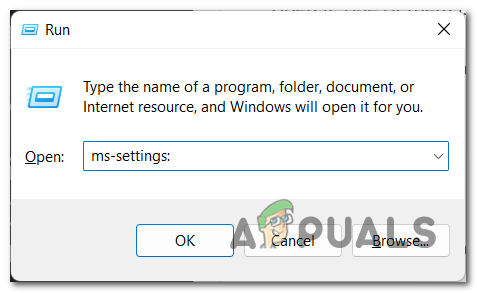
Using a Run dialog box to open the Windows Settings - Once you are inside the Windows Settings, look on the left side of the window and search for the Apps section. When you see it, make sure to access it.
- Now you need to search for the Apps & features button, then click on it.
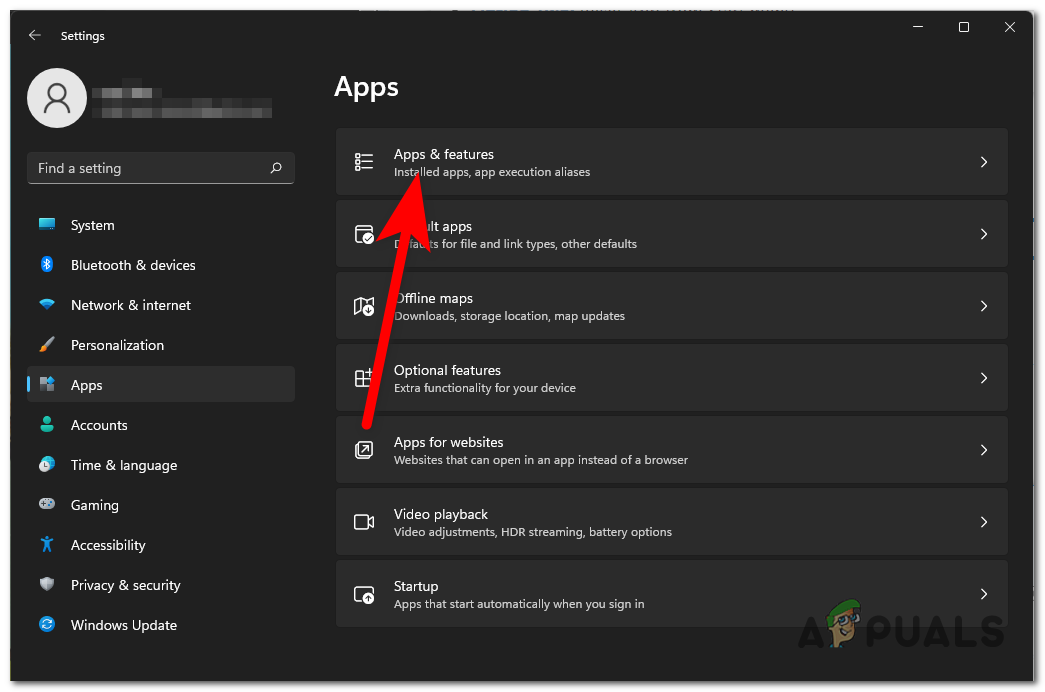
Accessing the Apps & features section inside the Windows Settings - After you are inside Apps & features and you are able to see the list of apps, search for the Terminal app manually or use the search option.
- When you find it, click on the three dots associated with it and then click on Advanced options.
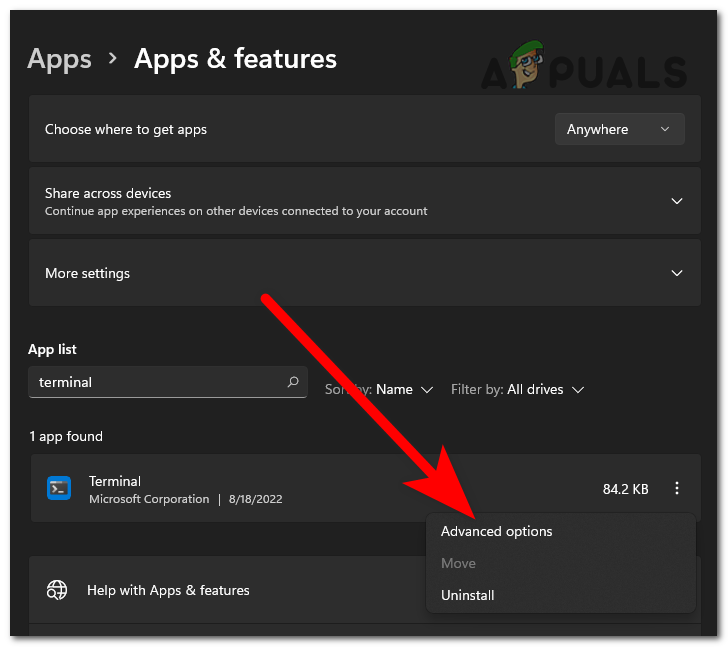
Accessing the Advanced options of the Windows Terminal - Now all that is left to do is to scroll down to find the Repair and Reset buttons.
- After that, click on the Repair button first and wait until it’s complete. Then click on the Reset button to complete the process.
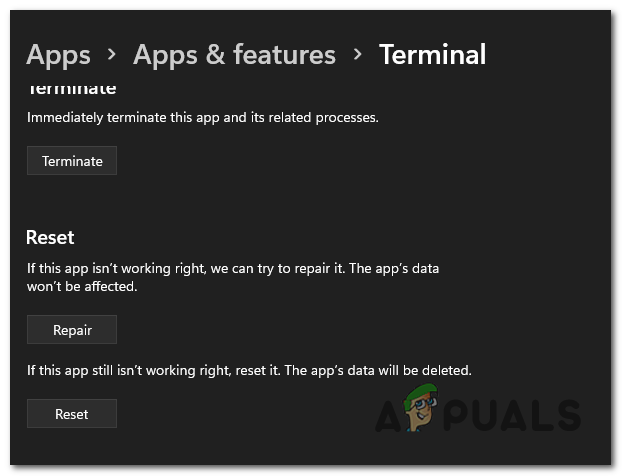
Repairing then resetting the Windows Terminal - Once you’ve done that, try to open the Windows Terminal to see if the problem was fixed.
In case the error still appears after doing this, check the next method below.
2. Uninstall and reinstall it from the Microsoft Store
The second thing you can do is to uninstall the Windows Terminal, then reinstall it from the Microsoft Store. This method is recommended by many users that have managed to make the Windows Terminal work by uninstalling the app that was used by default. Then they reinstalled it directly from the Microsoft Store.
All you have to do is to access the Windows Settings of your computer and go to the Apps & features section. There you will be able to uninstall the Windows Terminal. After that, you need to go to the Microsoft Store and make sure to reinstall it.
Here are the steps you need to follow in case you don’t know how to do this:
- You need to start by opening the Windows Settings. Open a Run dialog box by pressing the Windows key + R and type inside the search bar ‘ms-settings:‘, then press Enter to open the Settings right away.

Using a Run dialog box to open the Windows Settings - Once you are inside the Windows Settings, locate the Apps section on the left side of the screen. When you find it, make sure to access it.
- Now you need to click on the Apps & features to get to the list where all the apps are.

Inside the Windows Settings accessing the Apps & features section - Now that you are able to see all the apps that are installed on your computer, locate the Terminal application using the search option or manually.
- Once you find it, click on the three dots associated with it and click on Uninstall.
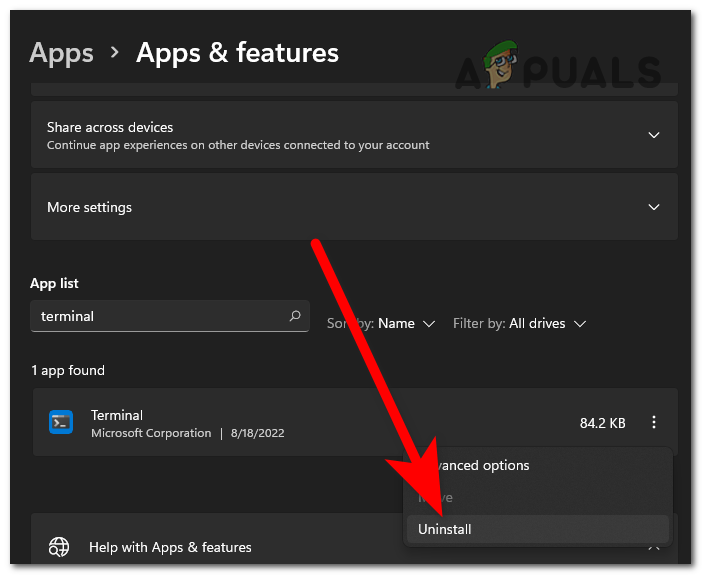
Uninstalling the Windows Terminal - After the app has been fully uninstalled, you can close the Windows Settings.
- Now you need to open the Microsoft Store. There are many ways to do this, one of them is to use the taskbar search option. When you find it, click on it.
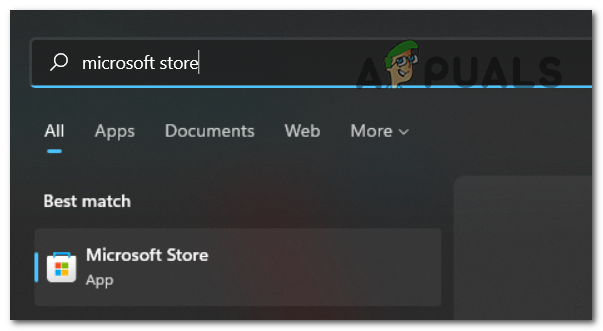
Opening the Microsoft Store using the taskbar search option - After the Microsoft Store appears on your screen, click on the search bar located on the upper side of the screen and search for Windows Terminal.
- Once you have found it, click on it to open the page.
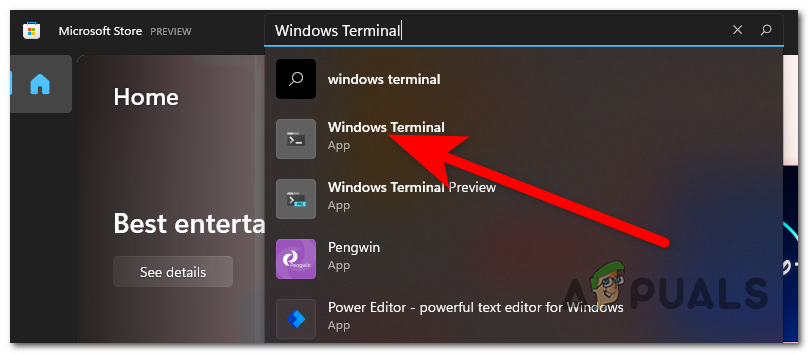
Accessing the Windows Terminal page inside the Microsoft Store - When you are inside the Windows Terminal page, click on the Get button located in the top left corner to install the app.
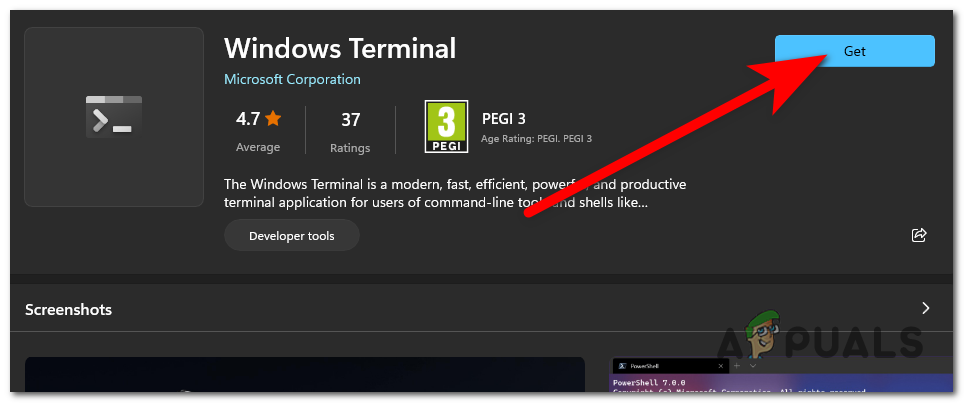
Installing the Windows Terminal - Once the process will be complete, the app will be installed. Test it to see if it works now.
In case you are still unable to use the Windows Terminal, go to the next method.
3. Reset Windows Terminal using Command Prompt
Another method that you can try in order to fix the Windows Terminal not working issue on Windows 11 is to use the Command Prompt to reset it. This is another way that you can use to reset the Windows Terminal, but the difference is that this time you will use the Command Prompt and not the Settings.
All you have to do is to open the Command Prompt and insert a command that will automatically reset the Windows Terminal. But you have to make sure that you open the Command Prompt with administrator privileges because you won’t be able to complete the method otherwise.
Here is a guide that contains all the step-by-step instructions on how to do this:
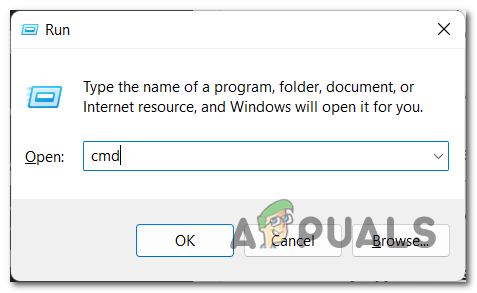
- Firstly you have to open the Command Prompt with admin privileges. Press the Windows key + R to open a Run dialog box and type inside the search bar ‘cmd‘, then you need to press CTRL + Shift + Enter to open it with administrator privileges.
Opening the Command Prompt using a Run dialog box - After you’ve done that, you will be prompted by the User Account Control (UAC) to confirm that you want to give the Command Prompt permission to do changes to your computer. Click on Yes to confirm and move forward.
- Once you have done that, the Command Prompt should appear on your screen. All you have to do is to copy the following command and paste it inside the CMD:
del /f /s /q /a "%LocalAppData%\Packages\Microsoft.WindowsTerminal_8wekyb3d8bbwe\LocalState\settings.json"
- After the command has been pasted inside the Command Prompt, press Enter to reset the Windows Terminal.
- Now you can close the Command Prompt and try to open the Windows Terminal to see if you still encounter the same problem.
In case the Windows Terminal still does not work on your Windows 11 computer, go to the next possible fix below.
4. Perform an SFC and DISM scan
Additionally, corrupted files and system faults that are impacting your Windows 11 could be the source of this error. Unknown factors, such as basic bugs that can occur occasionally to anyone, could be the cause of these issues.
If this case is applicable, start by using the two tools included in Windows 11 if this applies to you: System File Checker (SFC) and Deployment Image Servicing and Management (DISM). All of your system files will be scanned by these programs, and if any are corrupted, they will be replaced with their healthy counterparts. It will take a while, but you must be patient in order for the process to be finished.
All you need to do is launch the Command Prompt with administrator rights, then type a few commands to check for and fix system issues and damaged files. After that, your issue ought to be resolved.
Here is a guide that will demonstrate how to do an SFC scan and a DISM scan in case you are unfamiliar with doing so:
- The Command Prompt needs to be opened with administrator rights as the initial step. There are various ways to open it, one of which is to hit Windows key + R to bring up the Run dialog box, where you must input “cmd,” after which you must simultaneously press CTRL + Shift + Enter to launch it as an administrator.

Opening the Command Prompt using a Run dialog box - The User Account Control (UAC) will ask you to confirm that you want to give the Command Prompt administrator rights. Select Yes to proceed.
- You must copy and paste the following command to launch the System File Checker once you are in the Command Prompt:
sfc /scannow
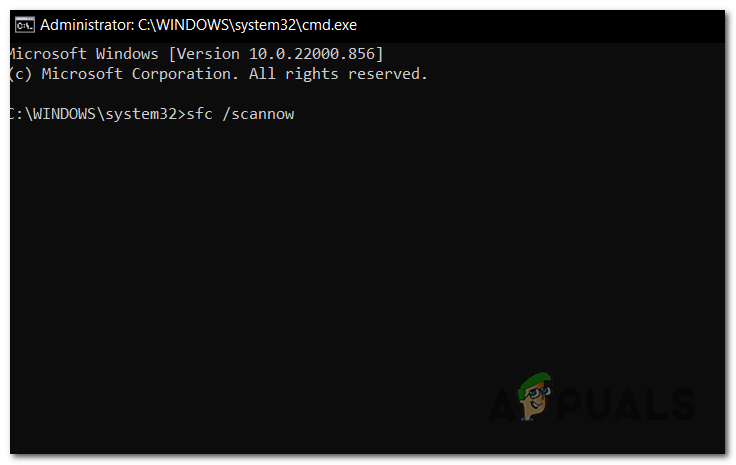
Starting the System File Checker scan inside the Command Prompt - Wait until the scan is finished; it could take up to a few minutes.
- After starting this procedure, the CMD window must definitely not be closed, even if the utility appears to have stopped working. Please wait for the process to finish before interfering, as doing so could result in logical issues with your HDD or SSD.
- Once the SFC scan has been completed successfully, restart your computer and wait until it boots up again.
- Repeat step 1’s instructions to launch the Command Prompt with administrator rights after the computer is turned back on.
- You should now copy and paste the commands that follow in the sequence that you are seeing them. To apply each one, paste it one at a time and hit Enter:
DISM /Online /Cleanup-Image /CheckHealth

DISM /Online /Cleanup-Image /ScanHealth

DISM /Online /Cleanup-Image /RestoreHealth
- It will take a few minutes for this scan as well, so keep the Command Prompt open and don’t disturb the procedure.
- The only thing left to do is to see if the Windows Terminal program is still not functioning after you have entered each of these instructions and the scan is complete.
If the issue persists and the Windows Terminal won’t launch, try the next and final approach listed below.
5. Run an in-place upgrade
Repair installing Windows 11 is the very last option you have when you run into problems with the Windows Terminal not functioning properly. This is the final method that will be discussed in this post because it is the one that requires the most effort and the longest amount of time. Nevertheless, despite this, many customers who have been through this have found that this strategy is effective for solving their problems.
In the event that you choose to perform a repair installation of Windows 11, this process will essentially reset your personal computer and will reinstall Windows in an accurate manner without corrupted files or problems in the system. When you do this, you will be prompted with the choice to either keep or erase your data. We strongly suggest that you back up the vital information to a safe location and then reset all of your computer’s settings to ensure that you delete all of the corrupt files.
In the event that you aren’t entirely sure how to repair and install Windows 11, here is an article that will walk you through all of the steps involved in this process and provide you with all of the information that you require. In addition to that, you will be able to see clearly just what it is that you have to do and how you can get it done.
The only thing left to do now that you have finished this step and the process has been concluded is to test the Windows Terminal program to check whether it is still not working at all.


