[FIX] Windows Defender Threat Service Has Stopped
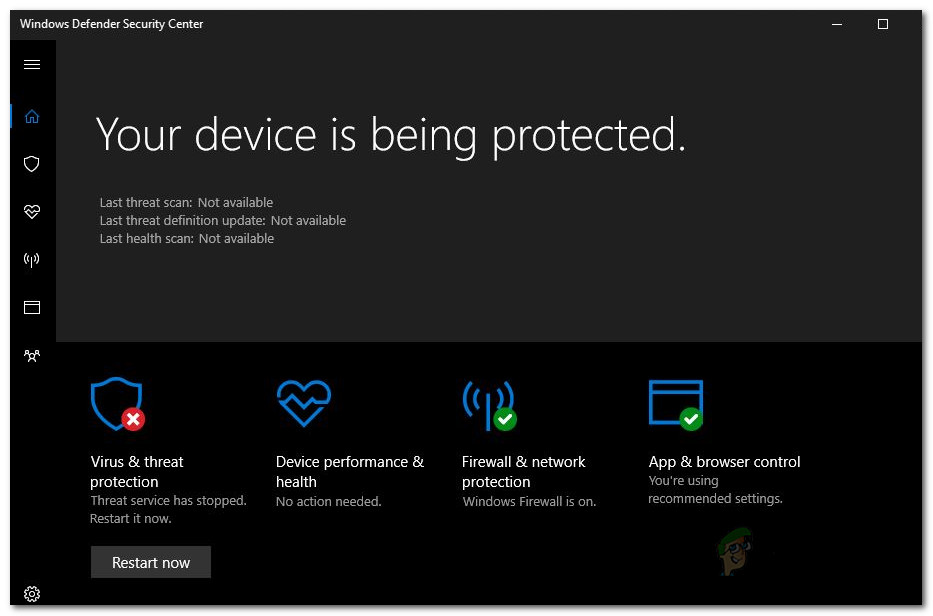
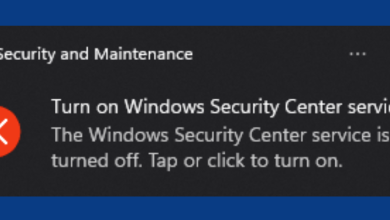
Virus and malware threats are way more common and real in today’s world. Thankfully, there are tools and software to fight it and thus prevent from corrupting your data. One of the great features of Windows 10 is its powerful Windows Defender. While it may not be as updated and powerful as some of the third-party antiviruses out there, it still does quite a good job if you are careful. However, in some cases, the Windows Defender stops and you are forced to restart it. The “Threat service has stopped. Restart it now” message is displayed under it with a Restart button. However, restarting does not fix the problem and the message still remains there.
Now, this could be due to a number of reasons. One of the main reasons why this error message occurs is when you uninstall a third-party antivirus from your system and then let Windows Defender take over. Secondly, this could also occur due to a bug with the Windows Defender version that you are using as it has been confirmed by several users. Nonetheless, we will go through these causes in detail down below. So, let’s get started.
- Outdated Windows — The first reason due to which this message occurs when you have an obsolete version of Windows. In some cases, the issue can also be associated with the v1.279 of the Defender. Thus, updating your Windows can often resolve the issue.
- DisableAntiSpyWare Registry Key — As it turns out, another reason the said issue can occur is when you have recently removed a third-party antivirus from your system. As a result, Windows Defender has to take over. For this purpose, you will have to edit your Windows Defender registry keys. If you have a DisableAntiSpyWare key in your registry key whose value is set to 1, Windows defender won’t be able to work, and thus the error message is shown.
- Windows Defender Services — Finally, the final possible cause of the error message can be the services of Windows Defender. In order for it to work properly, it relies on some Windows services that have to be running. If these services are stopped, Windows Defender won’t be able to operate and thus you see the mentioned message.
Now that we have gone through the possible causes of the issue, let us go through the different methods that you can use to get rid of it and get Windows Defender back on. So, without further ado, let us get into it.
Method 1: Update Windows
The first thing that you should do when you face this issue to update your Windows. Windows updates often contain updates for its Windows Defender that can solve various issues. As it turns out, in some cases, the issue can be associated with a specific Windows Defender version which is causing the error. Therefore, in order to solve this, you will have to check for Windows updates and then install them. To do this, follow the instructions given down below:
- To update your Windows, first of all, open up the Settings window by pressing the Windows + I keys.
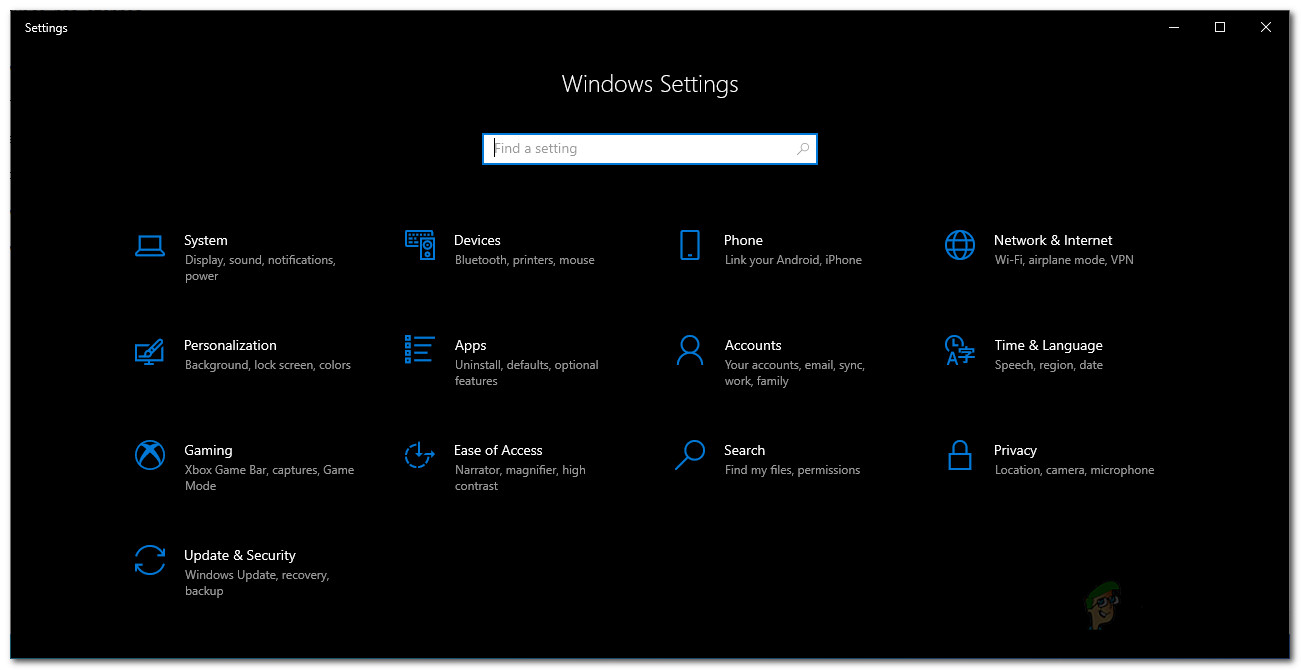
Windows Settings - Then, on the Settings window, click on Update & Security to check for any updates.
- There, if it doesn’t check automatically, click the Check for Updates button to see if there are any updates available for your system.
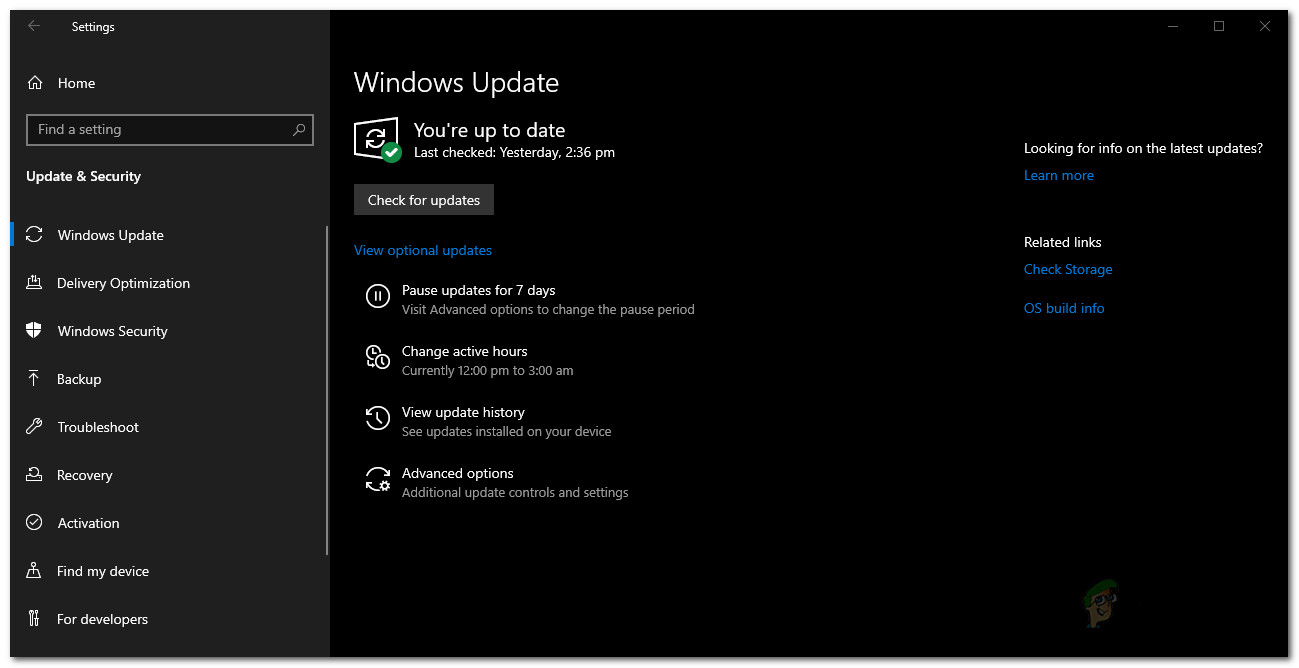
Windows Updates - Once you are prompted, click the Install Now button to begin downloading the updates.
- Wait for it to complete. Once the update has been completed, you will be prompted to restart the system. Do so.
- In case you are not, restart your system manually.
- Finally, check if the issue persists.
Method 2: Edit Windows Defender Registry
As it turns out, another reason due to which the error message can appear could be the Windows Defender Registry keys. Basically what happens is when you install a third-party antivirus on your system, it disables the Windows Defender by creating a registry key for it in the Windows Registry. This key is known as the DisableAntiSpyware key. Now, once you uninstall the third-party antivirus, in some cases the key is still there and thus, prevents Windows Defender from taking over. Therefore, in order to fix this, you will have to edit this key and set its value to 0. Follow the instructions down below to do this:
- First of all, open up the Run dialog box by pressing Windows key + R.
- Then, in the Run dialog box, type regedit and press Enter.
- This will open up the Windows Registry.
- On the Windows Registry window, navigate to the following path:
Computer\HKEY_LOCAL_MACHINE\SOFTWARE\Policies\Microsoft\Windows Defender
- There, double-click on the DisableAntiSpyware key to edit it. Set the value to 0 and then hit OK.
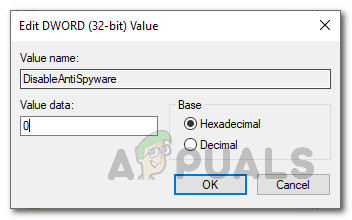
DisableAntiSpyware Key - If you don’t see such a key, right-click in the pane on the right-hand side.
- Then, go to New > DWORD (32-bit) value.
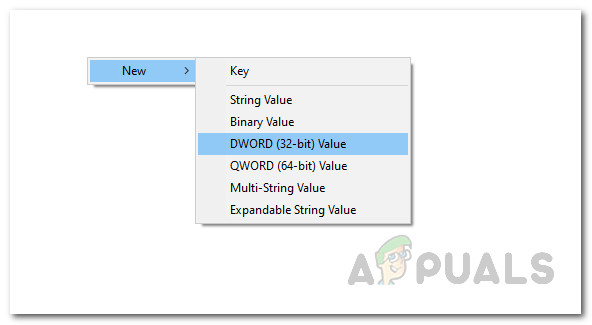
Creating New Registry Key - Name the key DisableAntiSpyware and then double-click it to change its value.
- Set it to 0 and then click OK.
- Finally, open up Windows Defender to see if the issue has been resolved.
Method 3: Start Windows Defender Services
Finally, if the above solutions do not work out for you, it is probably because your issue is being caused by the Windows Defender services. As we have mentioned, Windows Defender relies on the Security Center and Windows Defender Antivirus Service, along with other, services to operate properly. If these services are not running and have been stopped, Windows Defender won’t be able to work. Therefore, you will have to make sure these services are running and their startup type is set to Automatic. This means they will start automatically when they are needed. To do this, follow the instructions down below:
- Open up the Run dialog box by pressing the Windows key + R.
- Then, in the Run dialog box, type services.msc and press Enter.
- This shall open up the Windows Services window.
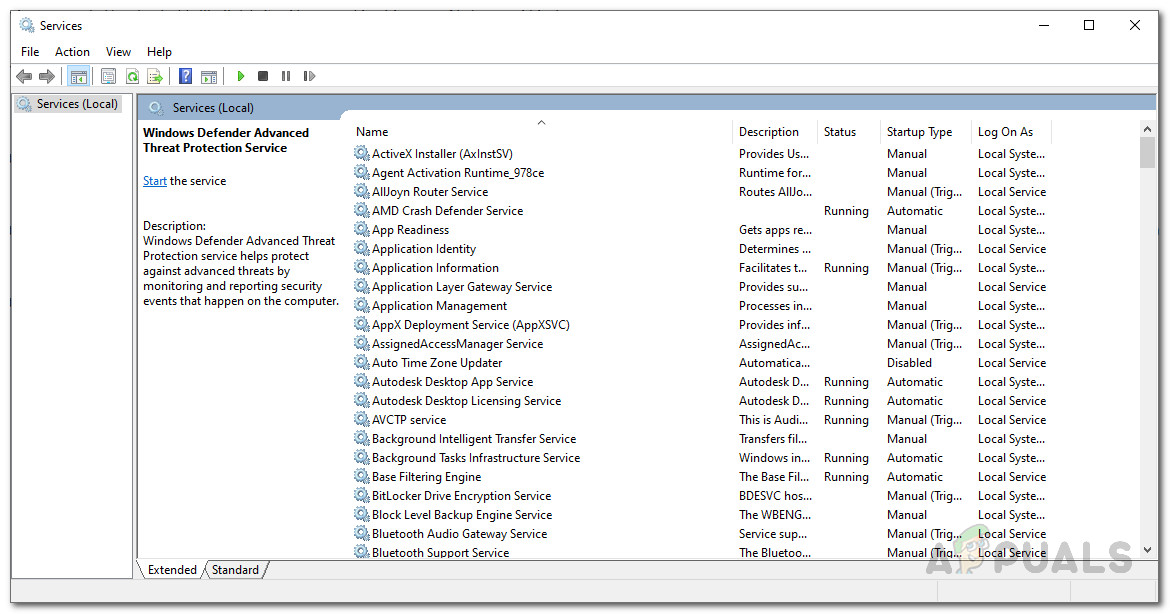
Windows Services - Here, you will have to look for the Security Center and Windows Defender Antivirus Service services. In some cases, the Windows Defender Antivirus Service may be called Windows Defender Advanced Threat Protection Service. To make it easier, you can press the S key to jump directly to services starting with S and W for services starting with W.
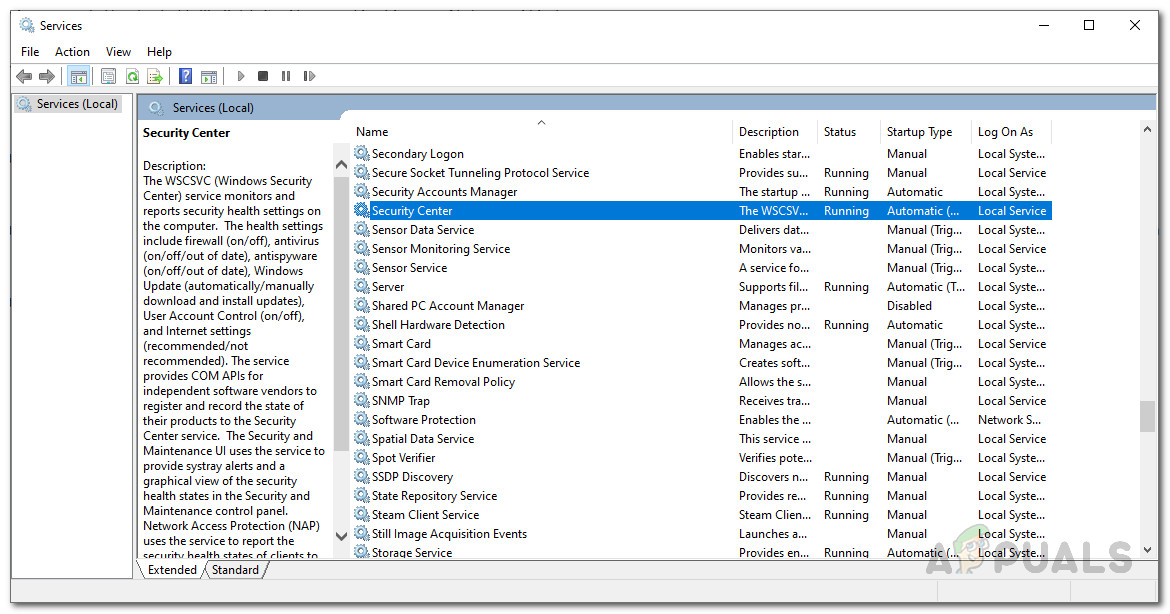
Security Center Service - After that, go to the service properties by double-clicking it.
- Click the Start button if the services have been stopped. If they are running, restart them by clicking Stop and then Start.
- Also, make sure that the Startup type is set to Automatic.
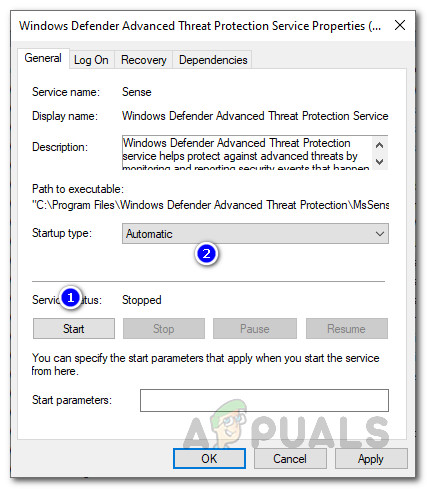
Windows Defender Advanced Threat Protection Service Properties - Once you have done that, save the changes by clicking Apply and then click OK. Then, close the Services window.
- Check Windows Defender to see if the issue has been resolved.


You are the only resource I’ve found that fixed this problem. Defender went into passive mode and would NOT recover. The registry fix was the silver bullet. Thank you.