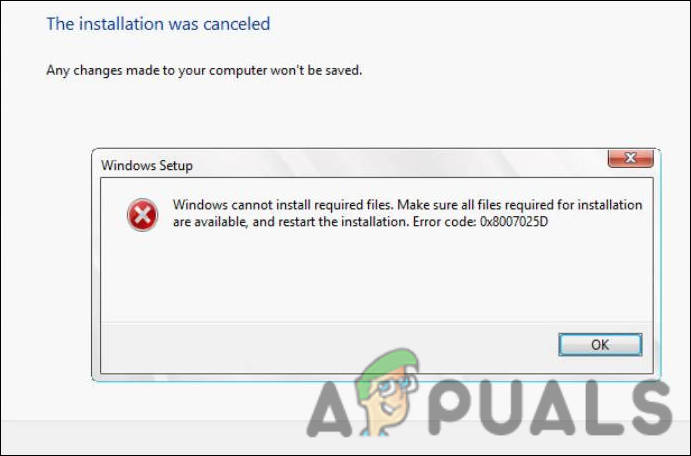
How to Fix Error Code: 0x8007025D When Installing Windows?
Error code 0x8007025D appears during a Windows installation, it typically causes the process to freeze or fail, often during the file copying stage, and displays the message “Windows cannot install required files“. This error indicates a problem with reading or writing data, usually because the data is corrupt or incomplete. Common causes include bad installation media, such as a corrupted USB drive or ISO file, faulty hard drive sectors, or malfunctioning RAM.
Other potential causes include bad sectors on the hard drive, or issues with the USB ports being used.
In this article, we will look into the troubleshooting methods that have helped other users resolve this issue.
1. Unplug the External Devices
Sometimes, connected external devices can cause conflicts during installation. Disconnecting them reduces the risk of these devices interfering with data transfer or causing errors that stop the installation. Devices like USB drives or external hard disks can disrupt operations, so unplugging them lets the system focus on the installation, minimizing potential issues.
2. Reduce the HDD or SSD Disk Space and Format It
Corrupted or fragmented data on your drive can disrupt the installation process. Reducing the disk size and reformatting it helps remove these issues, creating a fresh, error-free partition for Windows installation. It ensures the system avoids bad sectors and sets up the disk correctly for booting.
- Turn off your computer, wait a few seconds, and then power it on again.
- Before Windows loads, use the power button to shut down the PC again.
- Repeat this action twice; Windows will open the Recovery menu on the next startup.
- Select Troubleshoot from the list of options.

Click on the Troubleshoot button - Go to Advanced options > UEFI Firmware Settings and select Restart.
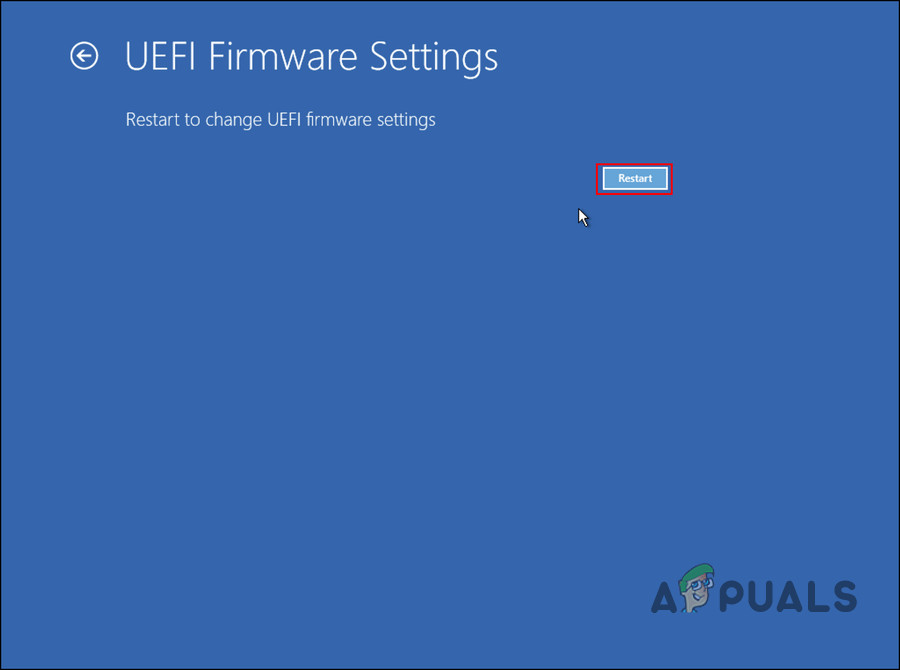
Click on the Restart button - In BIOS, navigate to System Configuration or the Boot tab.
- Select Boot Options from the choices available.
- Switch to the Legacy support option and enable it.
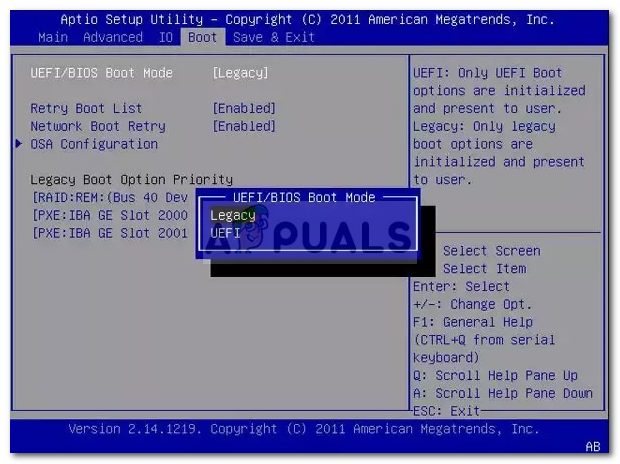
Enable legacy support - Confirm by clicking Yes.
- Exit the BIOS by following the on-screen instructions.
- The Boot Manager window should now be visible.
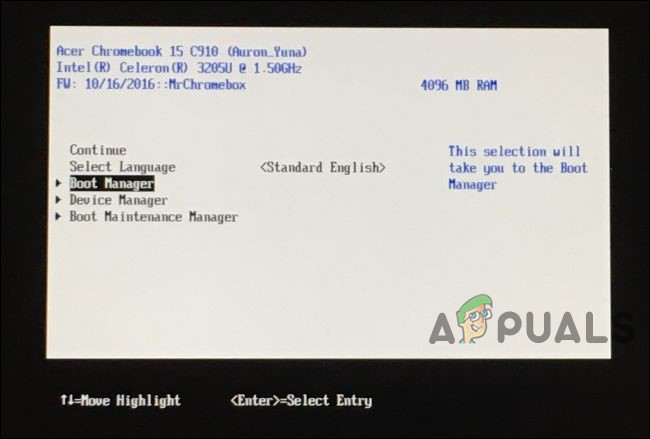
Access the Boot Manager - Choose the USB hard drive (UEFI) option from the list.
- Select the version of your operating system and wait for the files to load.
- In the Windows Setup dialog, click the custom option.
- Select the partition and click New.
- Click Apply.
- Next, format the new and primary partitions by selecting the Format option.
- Proceed with the installation by clicking Next. The error should no longer occur.
3. Use Another USB
If the current USB is corrupted, contains bad sectors, or has unstable data transfer rates, the installation may fail. Using a new or different USB ensures an intact copy of the installation files, reducing the risk of errors from unreadable or incomplete data during the Windows installation process.
For optimal results, create the bootable USB media on a separate computer before using it on your own.
4. Download a New Windows ISO Image File
Downloading a new Windows ISO file ensures you have clean, uncorrupted installation data. This new file removes potential problems caused by bad sectors or errors in the old ISO, providing the system with reliable data to complete the installation.
In such instances, download the files again from the official Microsoft page for Windows and start the installation process anew. To see if this resolves the problem, try deselecting the ‘Recommended Windows settings’ during the setup.
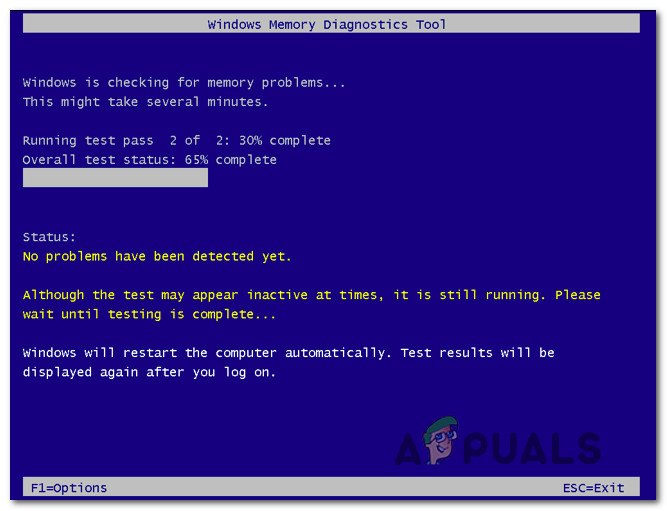
5. Run a Memory Diagnostic
Memory issues can disrupt data transfer during installation, causing read/write errors. Running this diagnostic can identify if defective memory is causing the installation to fail, so you can replace or fix the faulty RAM if needed.
- Access BIOS using the aforementioned steps.
- Navigate to Diagnostics using the arrow keys.
- Select the Memory Test, press Enter, and check for any errors in your RAM. Address any issues using appropriate troubleshooting methods.
Thanks for this great article. Bad RAM was the culprit for me. I was doing a clean install on a brand new build and was convinced the windows 10 install error was related to the SSD since that’s a relatively unique / new component. After spending days tweaking BIOS settings and running down other rabbit holes, I eventually went through all of the other options in this article before swapping out the RAM – one of the two sticks was indeed bad.
Setup:
motherboard: MSI z270 SLI Plus
processor: Intel i3-7100
memory: Team Group Night Hawk 16 GB DDR4-3000 (2x 8 GB sticks, one of which was bad)
hard drive: Samsung 960 EVO M.2 500GB NVMe PCIe 3/0x4 SSD