[FIX] Windows Backup Error Code 0x8100002F
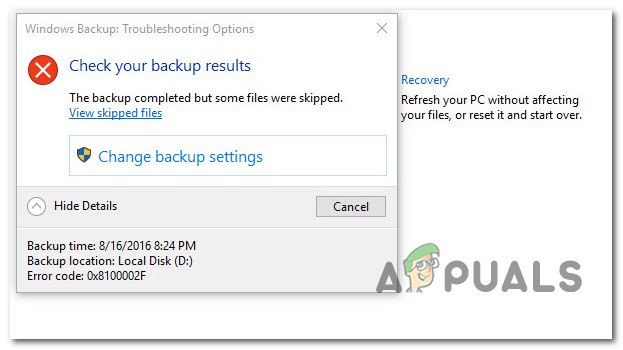
Some Windows users are encountering the 0x8100002F error code after trying to back up their files using Windows Backup. This problem is confirmed to occur on both Windows 7 and Windows 10.
After investigating this issue, it turns out that there are several different causes that might end up causing this particular error. Here’s a shortlist of potential culprits that might be responsible for this issue:
- Backed up library contains custom folders – As it turns out, you might expect to see this error if you’re trying to back up a library that contains custom folders located under your user profile. If this scenario is applicable, you can fix this issue by moving the library folder from the user profile path to a location outside the user profile path or by forcing the backup to ignore this folder.
- Windows Backup fails to back up files in LocalLow, Contacts, and Searches folders – Another fairly common occurrence that will spawn this error is an instance in which Windows Backup is forced to back up files that are not actually present on the computer. In this case, you can either ignore the message or you can exclude the folders from the files and backup in the Backup settings menu.
- An issue with Nvidia USB Enhanced Host Controller Interface (EHCI) – IF your PC is currently using an NVIDIA USB Enhanced Host Controller Interface (EHCI) chipset, chances are it’s conflicting with a generic driver and triggering this error. If you find yourself in this scenario, you can fix this issue by uninstalling the Nvidia driver allowing the generic equivalent driver to take over fully.
- The process is interrupted by Hard Driver Errors – If the drive targeted by the Windows Backup utility is affected by bad sectors or blocks, this utility should be able to fix the majority of superficial issues that might cause this behavior.
Now that you are familiar with every potential culprit that might be responsible for this issue, here’s a list of methods that other affected users have successfully used to fix the 0x8100002F error code:
Method 1: Exclude or Move the Problematic Library File
If the issue is occurring if you attempt to back up a library that contains custom folders located under your user profile, you can simply ignore the 0x8100002F error code altogether.
However, if you want to do something about it to ensure that the next backup doesn’t return the same error, you have 2 options available to you:
- Move the library folder from the user profile path to a location outside the user profile path.
- Exclude the library from the list of files that Windows Backup backs up.
To accommodate both potential fixes, we have put together 2 separate sub-guides. Make sure to follow the one applicable to the type of fix that you want to implement.
A. Moving the problematic Library Folder
- When the error message pops up, look at the location that is being signaled as a path that is unable to be reached. In our example, that path is C:\Users\<User Name>\Contacts.
- Once you are aware of the problematic Library folder, open File Explorer, and navigate to the location. When you are there, right-click on the library in question and choose Cut from the context menu that just appeared.
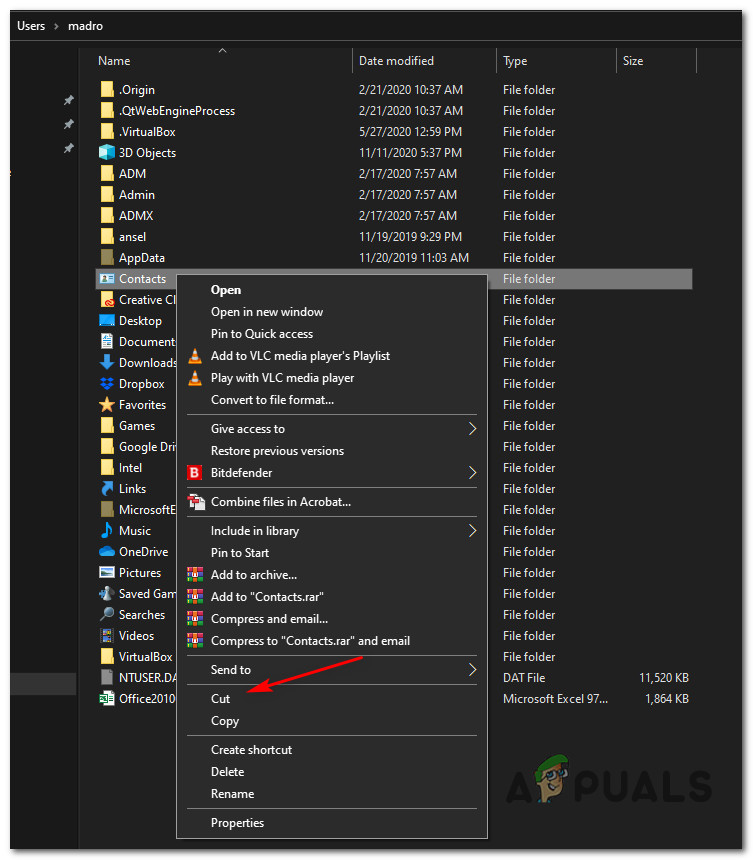
Moving the problematic Library file - Next, move the file outside of the scope of the Windows Backup operation. If you have an external or separate drive, move it there, and create a dedicated folder.
- Once the problematic library is moved, repeat the Windows Backup attempt and see if the issue is now fixed.
B. Excluding the Problematic Library Folder
Note: We’ve made the instructions below universal so you can follow them on Windows 7 and Windows 10.
- Press Windows key + R to open up a Run dialog box. Inside the text box, type ‘control’ and press Enter to open up the Classic Control Panel interface.
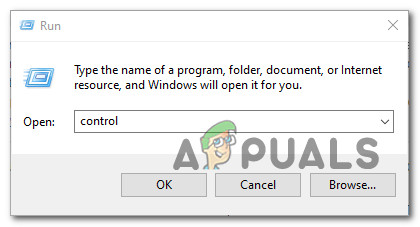
Opening Control Panel - Once you’re inside the Classic Control Panel interface, use the search function in the top-right section of the screen to search for ‘windows backup‘. Next, from the list of results, click on Backup and Restore.
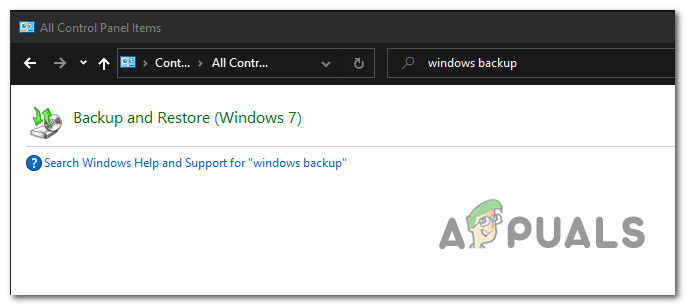
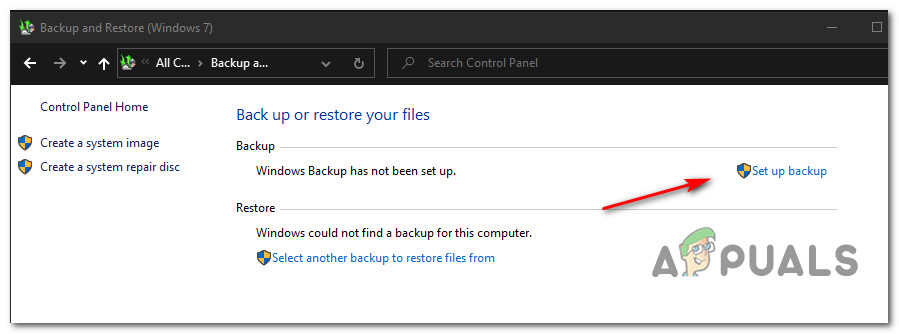
Accessing the Windows Backup utility via Control Panel - Inside the Backup and Restore window, click on Set a Backup hyperlink on the right-hand section of the screen and click Yes when prompted by the UAC prompt.
Setting a Backup - Once you’re inside the utility, select a viable partition to create the backup or save it over the network by clicking on Save on a network.
- At the next screen, select the Let me choose toggle before clicking on the Next menu.

Choosing the features you want to exclude for Windows Backup - Next, from the next menu, go ahead and browse to the location of the library folder that was triggering the error and uncheck the toggle associated with it before clicking on Next.
- Once you have excluded the library folder that was previously triggering the error, click on Save settings and run backup, and wait for the operation to complete.
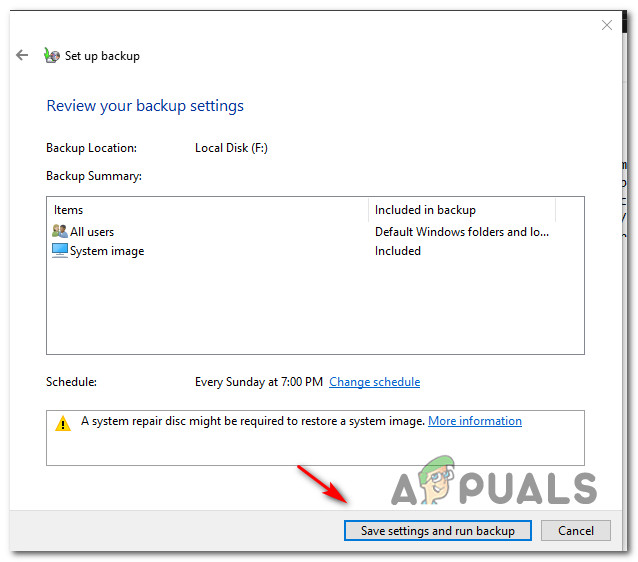
Running the custom backup attempt
If the backup attempt ends with the same 0x8100002F error code even after you followed the instructions above, move down to the next potential fix below.
Method 2: Exclude LocalLow, Contacts, and Searches Folders
If the reason why you are seeing the 0x8100002F error is that Windows is unable to back up the LocalLow, Contacts, and Searches folders, you can avoid the error by modifying the Windows Backup to specifically avoid those locations.
Several affected users have confirmed that the instructions below have finally allowed them to complete the backup process without seeing the same 0x8100002F error.
Here are the step-by-step instructions that will show you how to exclude the LocalLow, Contacts, and Searches folders from the current Windows Backup attempt and future attempts:
- Press Windows key + R to open up a Run dialog box. Next, type ‘control’ inside the text box and press Enter to open up the Classic Control Panel interface.
- Inside Control Panel, use the search function (top-right section) to search for ‘windows backup‘. Then, from the list of results, click on Backup and Restore.
- Once you’re inside the Backup and Restore and click on Set up backup from the list of options.
Note: When prompted by the UAC (User Account Control), click Yes to grant admin access. - At the first prompt, select a viable option where you want to save the backup and click Next.
- At the next prompt, select the Let me choose toggle and click on Next once again.
- Next, expand the drop-down menu associated with Data files, then expand the ‘*Your UserName* Libraries‘ entry.
Note: *Your UserName* is simply a placeholder. Your screen will contain the actual name of your PC. - Expand the Additional Locations drop-down menu, then go ahead and deselect checkboxes associated with the AppData folder, Contacts, and Searches.
- Next, Expand Computer’s drop-down menu, expand the item for your system drive (for example Local Disk (C:)), then Users > *YourUsername* and then click to select the AppData, Contacts, and Searches checkboxes if they exist.
- Finally, click Next, then Save settings and run backup, then wait for the operation to be complete.
In case this method didn’t allow you to fix the 0x8100002F error code, move down to Method 3.
Method 3: Updating or Uninstalling the NVIDIA USB EHCI Chipset
If the reason why you are encountering the 0x8100002F error is a conflict between the NVIDIA USB Enhanced Host Controller Interface (EHCI) chipset driver and a generic equivalent, you can fix the issue by updating or uninstalling the NVIDIA USB EHCI chipset driver.
Several affected users that were dealing with the same issue have managed to fix the issue by updating the dedicated Nvidia driver or by uninstalling it and allowing the generic driver to take its place.
To make this process easier, follow the step-by-step instructions below:
- Press Windows key +, R to open up a Run dialog box. Next, type ‘devmgmt.msc’ inside the text box and press Enter to open up the Device Manager utility.
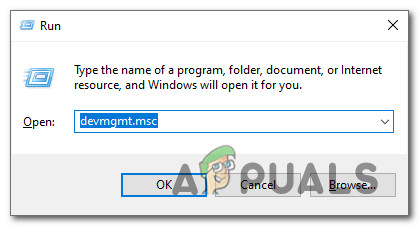
Opening Device Manager - Once you’re inside Device Manager, scroll down through the list of installed devices and expand the drop-down menu associated with USB Connector managers.
- Inside the USB Connector Managers, right-click on NVIDIA USB EHCI chipset entry and choose Update driver from the context menu.
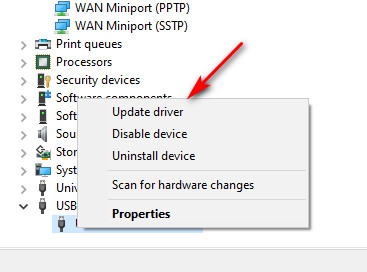
Updating the NVIDIA USB EHCI chipset driver - At the next screen, click on Search automatically for updated driver software, then follow the on-screen prompts to complete the installation of the new driver version in case a new version is found.
Note: in case the utility doesn’t find a new version of the driver, simply go-ahead and right-click it, and choose Uninstall device from the context menu. This will get rid of the dedicated drive supplied by NVIDIA and replace it with a generic equivalent. - Restart your computer and see if the issue is now fixed.
In case the same problem is still occurring, move down to the next potential fix below.
Method 4: Using a 3rd party Alternative
If none of the potential fixes above have been effective in your particular scenario, the only thing you can do at this point is to dump the built-in backup utility and go for a 3rd party alternative.
Since there are a lot of different 3rd party utilities that will help you do this, we’ve made a shortlist of the most efficient and robust solution that includes a free version:


