How to Fix Error Code 0x81000019 on Windows?
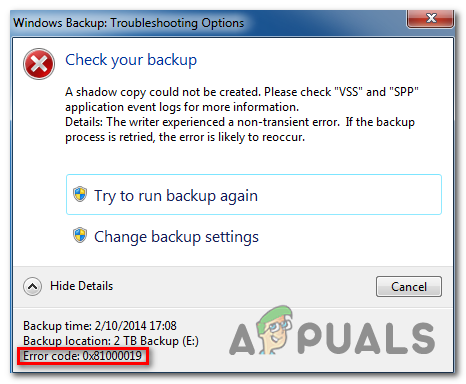
Several Windows 10 users have been encountering the 0x81000019 error code when trying to take a backup of Windows 10. After several minutes of processing, this error code comes on the screen accompanied by the error message ‘A shadow copy could not be created‘. This error is often associated with the VSS and SPP event logs. As it turns out, the issue seems to be exclusive to Windows 10.
What’s causing the Windows Backup Error 0x81000019?
We’ve investigated this particular issue by looking at various user reports and by trying out the most popular repair strategies that other affected users have successfully used to get to the bottom of this issue. As it turns out, several different scenarios might end up producing this issue. Here’s a shortlist of potential culprits:
- Insufficient space in the system reserved partition – As it turns out, this issue can often occur due to insufficient space in the System Reserved partition. Windows Backup will do a lot of data swapping from the System Reserved partition during the creation of a backup, which will facilitate this error if not enough space is available. In this case, you can resolve the issue by enlarging the system reserved partition.
- Volume Shadow Copy service is set to Manual – Another potential culprit that might cause this behavior is an improper instance of the Volume Shadow Copy (VSS service). If the service is set to manual, the backup procedure will likely be affected. If this scenario is applicable, you can resolve the issue by changing the status of the service to Automatic.
- 3rd party Antivirus interference – An overprotective AV suite can also be responsible for the apparition of the 0x81000019 error code. In most cases, Avast, Comodo, McAfee are reported for being responsible. In this case, you should be able to resolve the issue either by disabling real-time protection or by uninstalling the security suite altogether.
- System file corruption – In rare circumstances, this problem can occur due to some kind of system file corruption that’s somehow interfering with the backup component. If this scenario is applicable, you should be able to fix the problem either by running a couple of utilities (DISM and SFC) or by reinitiating every OS component via a clean install or a repair install (in-place upgrade)
If you’re currently encountering the same issue and you’re looking for a way around it, the steps below should eventually allow you to fix the 0x81000019 error code for good. Keep in mind that each of the potential fixes mentioned below is confirmed to work by at least one affected user.
If you want to be as efficient as possible, we encourage you to follow the instructions below in the same order that we arranged them in (via efficiency and severity). Eventually, you will stumble upon a fix that will allow you to resolve the issue regardless of the culprit that’s causing the problem.
Let’s begin!
Method 1: Enlarging the system reserved partition
As several affected users have reported, you’re likely encountering this problem due to an insufficient system partition space. During the backup procedure, Windows will swipe a lot of data back and forth the system reserved partition. If not enough space is available, expect to see the 0x81000019 error code as a result.
Some users have confirmed that they were able to resolve this issue by using a 3rd party application to enlarge the system reserved partition to over 500 MB by taking space from C or a different regular drive.
If you think this scenario is applicable, follow the instructions below for step-by-step instructions on enlarging the system reserved partition by using Partition Wizard:
Note: We’re using the free version of Partition Wizard, but feel free to use any other product that’s capable of doing this, if you’re more comfortable with it.
- Visit this link (here) and click on Download Freeware on the next screen to initiate the download of the free version of Partition Wizard.

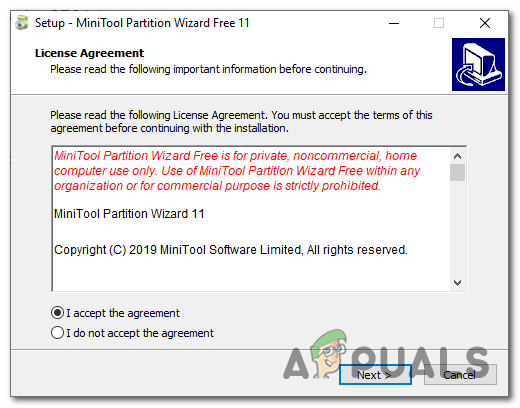
Downloading the free version of Partition Wizard - Wait until the download is complete, then double-click on the Partition Wizard installation executable, follow the on-screen prompts to complete the installation of the 3rd-party partitioning software.
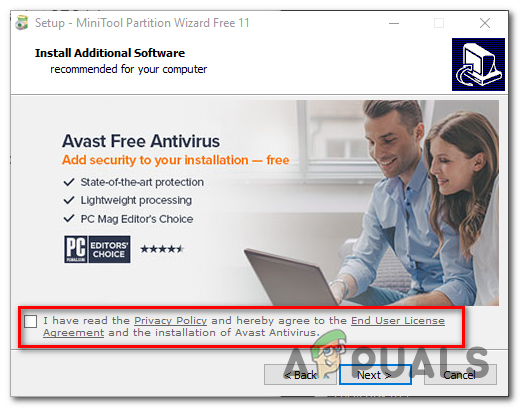
Installing the Partition Wizard executable - Go through every installation screen to complete the installation, then restart your computer once the process is complete. If you pay attention, you can avoid the installation of unnecessary PUPs by unchecking the agreement box.
Preventing the installation of PUPs - At the next system startup, open Partition Wizard and at the initial screen, click on Disk & Partition Management from the list of available options.

Accessing the Disk & Partition Management section - Once you arrive in the correct section, move your attention to the right-hand section, then right-click on the System Reserved partition. Once you see the newly appeared context menu, choose Extend from the list of available options.
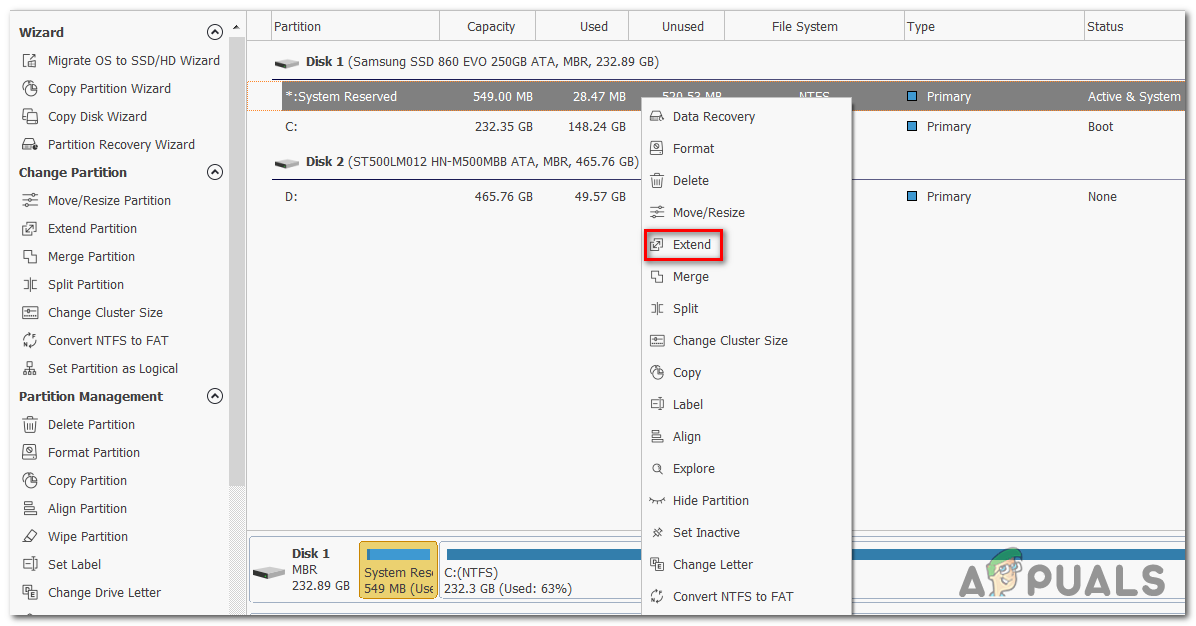
Extending the system reserved partition - When you’re inside the Extend section, start the operation by selecting the drive that you want to take space from. Once the correct drive is selected, use the slider below to enlarge the System Reserved partition to at least 1 GB, then click on OK to save the changes and start the operation.
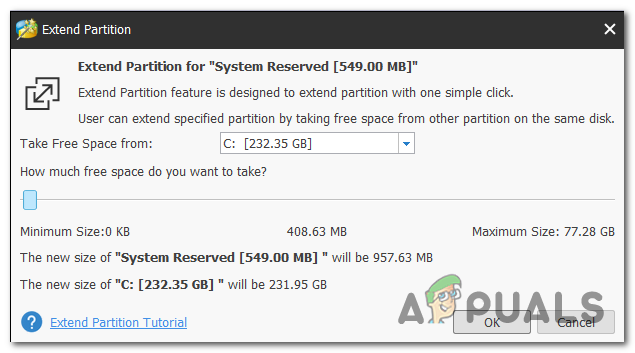
Enlarging the system reserved partition - Wait for the operation to complete, then restart your computer and see if the problem is fixed at the next system startup.
- At the next system startup, repeat the backup attend again and see if you’re still encountering the same problem.
If you’re still encountering the 0x81000019 error code, move down to the next method below.
Method 2: Setting the Volume Shadow Copy Service to AUTOMATIC
Another potential cause with the potential of triggering the 0x81000019 error code is an improper instance of the Volume Shadow Copy service (commonly referred to as the VSS service). In most cases, the backup procedure will not be able to complete because the VSS service is set to Manual.
Several affected users that were also struggling to resolve this problem have reported that they finally manage to resolve the issue by changing the status type of Volume Shadow Copy to Automatic. Most users have reported that after doing this, they were able to complete the backup procedure without encountering the 0x81000019 error code.
Here’s a quick guide on modifying the status type of Volume Shadow Copy Service to Automatic:
- Press Windows key + R to open up a Run dialog box. Once you’re inside the Run box, type ‘service.msc’ and press Enter to open up the Services window.

Running Services Manager - Once you’re inside the Services screen, scroll down through the list of local services and locate the Volume Shadow Copy service. After you manage to locate it, right-click on it and choose Properties from the newly appeared context menu.
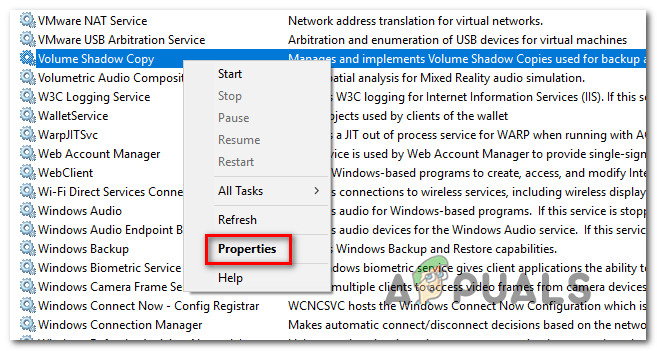
Accessing the Properties screen of the VSS service - Once you manage to get inside the Properties screen of the Volume Shadow Copy service, select the General tab from the list of options at the top, then change the Startup type to Automatic. Next, click Apply to save the changes.
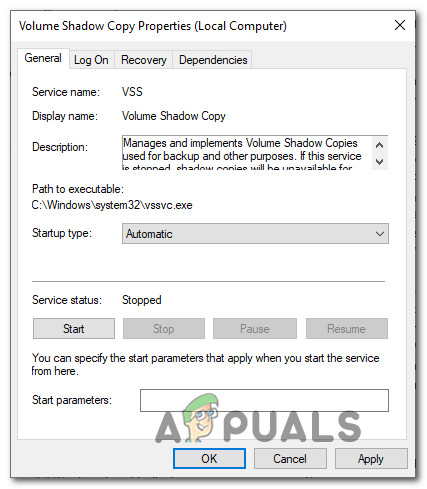
Change the status tab to Automatic - Restart your computer and restart the backup procedure at the next system startup.
If you’re still encountering the same 0x81000019 error code when trying to repeat the action, move down to the next method below.
Method 3: Disable 3rd party AV suite (if applicable)
As it turns out, in some cases, the decisive factor that’s causing the backup procedure to fail with the 0x81000019 error code is an overprotective 3rd party security suite. Keep in mind that certain 3rd party security suites are known to interfere with some Windows components including the Backup component.
Avast, Comodo, McAfee are just a few potential culprits that might be responsible for the apparition of the 0x81000019 error code. Several affected users that found themselves in this exact position have managed to get the problem sorted out either by disabling the real-time protection while the backup was being created or by uninstalling the intrusive security suite altogether.
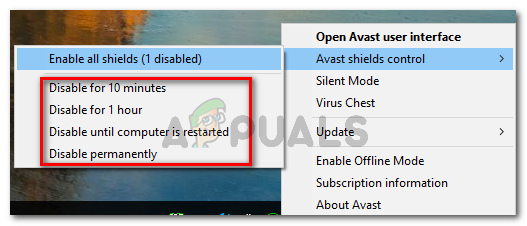
If you want the less intrusive approach, you should start by accessing your AV settings and disabling real-time protection first. Chances are it will let you complete the backup process without getting the error again (unless a firewall component is also involved). With most 3rd party suites, you can do this easily by right-clicking the taskbar icon to access the quick menu.
If the same problem is still occurring even after you disabled the real-time protection, we encourage you to uninstall the 3rd party suite completely from your computer – just to make sure that your AV hasn’t enforced some passive security rules that will remain active even when the real-time protection is disabled.
If you’re looking for a quick and effective way of doing this, follow this article (here) for step by step instructions on getting rid of your 3rd party AV and removing every remnant file.
If you already followed this method to no success or this wasn’t applicable since you don’t use a 3rd party AV suite, move down to the next potential fix below.
Method 4: Running DISM and SFC scans
As it turns out, this particular problem can also appear due to some kind of system file corruption. This has been consistently reported by several different Windows 10 users that have been hinting that the backup component can be inhibited by corrupted data present in critical folders.
If this scenario is applicable, you should be able to fix the problem by running ac couple of built-in utilities designed to deal with instances where system file corruption ends up breaking important components. DISM (Deployment Image Servicing and Management) and SFC (System File Checker).
While SFC is more focused on repairing logical errors, DISM is better at fixing dependencies that might affect the backup and updating operation. With this in mind, we encourage you to run both utilities to maximize your chances of getting the backup component back to a functioning state.
Here’s a quick guide on running both the SFC and DISM scans from an elevated Command Prompt:
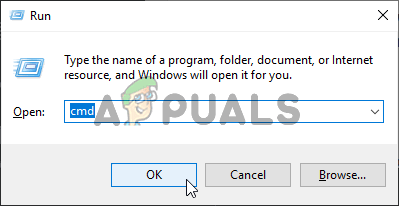
- Press Windows key + R to open up a Run dialog box. Next, once you’re inside the newly appeared Run dialog box, type ‘cmd’ inside the text box and press Ctrl + Shift + Enter to open up an elevated CMD command. If you’re prompted by the UAC (User Account Control), click Yes to grant admin access.
Opening the Command Prompt - Once you manage to get inside the elevated CMD prompt, type the following command and press Enter to initiate an SFC scan:
sfc /scannow
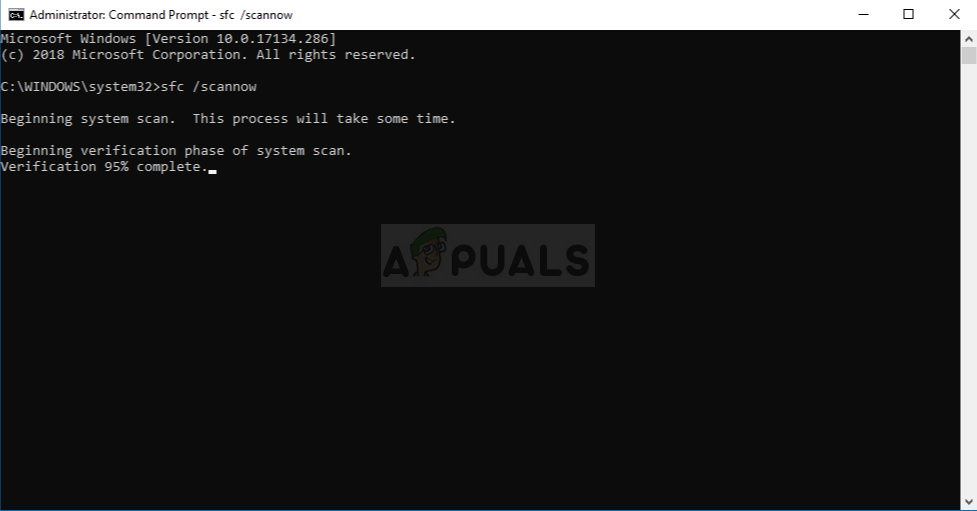
Running the SFC scan Note: This SFC scan uses a locally cached copy to replace corrupted instances with healthy copies. Once you start this scan, you mustn’t interrupt it, since you run the risk of creating additional logical errors if you close the window before to operation is complete.
- Once the process is complete, restart your computer and wait for the next startup sequence to complete. After the startup sequence is complete, follow step 1 again to open up another elevated Command Prompt.
- After you manage to return to another elevated Command Prompt, type the following command and press Enter to initiate a DISM scan:
DISM /Online /Cleanup-Image /RestoreHealth

Restoring System Files Note: It’s important to keep in mind that DISM requires a permanent Internet connection. This is crucial since the utilities borrow the WU (Windows Component) to download healthy copies that will be later used to replace corrupted instances. Due to this fact, you’ll need to ensure that your network connection is not interrupted during this process.
- After the DISM scan is complete, restart your computer and see if the backup component is fixed at the next system startup.
If the same 0x81000019 error code is still occurring, move down to the next method below.
Method 5: Perform a repair install / clean install
If the general system repair that you performed above didn’t allow you to resolve the issue, it’s very likely that you’re dealing with some kind of system file corruption that cannot be resolved conventionally. In case this scenario applies to your current situation, you should be able to fix the issue entirely by resetting every Windows component including booting-related data.
When it comes to doing this, you have two ways forward:
- Clean install – This is the easiest procedure out of the two since it can be done I just a couple of steps with no installation media. But the major disadvantage is that you will end up losing all your personal files unless you back up all important files in advance and store them outside your OS drive.
- Repair install – A repair install (in-place repair) is the more tedious approach that will require you to use a compatible installation media. But the major advantage of going this route is that it will only affect your Windows components. This means that every personal file (apps, games, media, and even some user preferences) will remain intact.
Feel free to follow whichever method is closer to what you have in mind.


