How to Fix Windows 11 Wi-Fi Adapter Disappeared?
A lot of users have reported that they are unable to connect to their Wi-Fi network on their personal computers because the network connection is unavailable. At first, they are able to use it without problems but after some time the network connection becomes unavailable.
They are unable to connect to the Wi-Fi network connection no more. In other cases, the Wi-Fi connection has disappeared completely, and they are unable to find it and access it. This issue has been typically encountered on Windows 11, after upgrading from the previous Windows version.
After a lot of affected users have complained about this issue, we have decided to take an in-depth look into this issue to see what causes it. Here’s a shortlist that contains all the possible reasons:
- Outdated Windows – This issue could be caused by your Windows missing some of the latest updates. Even if this issue might be also caused by an update done in the past, you need to have the latest update installed to make sure that you are up to date and not missing any new changes. To check for updates, go to the Windows Updates section and make sure to install them if you find any.
- Windows bug – Another cause might be a simple bug that is happening to your Windows 11, making your Wi-Fi adapter disappear. This can happen even if you haven’t done anything, so it has nothing to do with you. In this case, you can try to run the Network Adapter Troubleshooter from the Windows Settings.
- Network connection issues – Many people are also saying that this issue could be caused by some network issues that are randomly happening to your computer. In this case, one way to fix this is to flush the DNS using the Command Prompt, then reset the Winsock Catalog. Another way is to perform a network reset from the Windows Settings.
- Hidden adapter – This error could be also caused by your computer making the adapter hidden. If that’s the case, you won’t be able to see it even from the Device Manager. All you have to do is to go to the Device Manager and scan your computer for hardware changes.
Now that you are aware of the causes of this problem, here are all the methods that users are recommending in order to fix the Wi-Fi adapter that disappeared on Windows 11:
1. Make sure your Windows is up to date
Before going straight to the practical method of this article, the first thing you should do is to check if your Windows is up to date. Many users have been saying that they have managed to fix this issue by installing the latest update that was available at that moment.
Even if this problem could be caused by an update that has been installed recently, you should keep an eye on the Windows Updates menu to make sure that you are using the latest update available. The devs might fix the issue in the new updates if it is a problem caused by them with a previous update.
All you have to do is to go to the Windows Update inside the Settings and make sure to check for updates. In case you find any, install them and reboot your personal computer afterward.
In case you don’t know how to do this, here is a guide that will show you how:
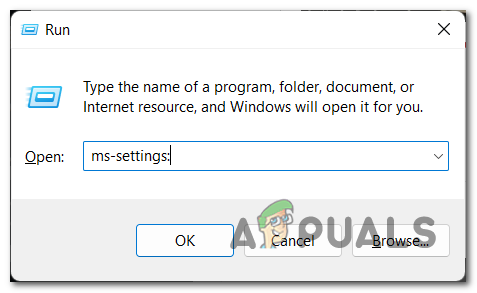
- The first thing you need to do is to access the Windows Settings. This can be done in many ways, one of them is to press the Windows key + R to open a Run dialog box in which you have to type ‘ms-settings:‘. Now press Enter to open them.

Opening the Windows Settings using a Run dialog box - Now that you are inside the Windows Settings, look for Windows Update inside the list located on the left side of the screen. When you see it, click on it.
- After you’ve done that, click on the Check for updates button that you see on your screen. This process will search for new updates that are available at that moment.

Checking for available updates for your Windows - In case available updates are being found, the Install button will appear on your screen and you need to click it to install them.
- After the updates have been installed on your computer, the last thing to do is to restart your computer or laptop.
- When the laptop boots back, you should be able to see the Wi-Fi adapter.
In case you still can’t see the Wi-Fi adapter, check the next practical method below.
2. Run the Network Adapter Troubleshooter
The second thing you can do is to run the Network Adapter Troubleshooter. This is another that people have done and managed to fix this issue. This could be working because it might be a bug that is happening to your Windows 11, so the troubleshooting should be enough to fix it.
All you have to do is to go to the Troubleshoot section inside the Windows Settings. You should find the Network Adapter Troubleshooter right there, and when you do, click on Run to start the scan.
Here are the steps that you need to follow in order to do this:
- It is first necessary for you to visit the Windows Settings. There are several ways to accomplish this, one of which is to open a Run dialog box by pressing the Windows key + R, where you must type “ms-settings:“. To open them, press Enter.

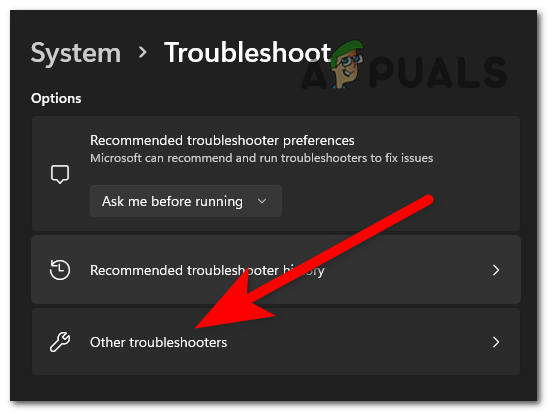
Using a Run dialog box to open the Windows Settings - When you are inside the Windows Settings, right inside the System section scroll down to the bottom of the window to locate the Troubleshoot button.
- Once you’ve done that, you need to access the Other troubleshooters section to be able to see all the troubleshooters available on Windows 11.
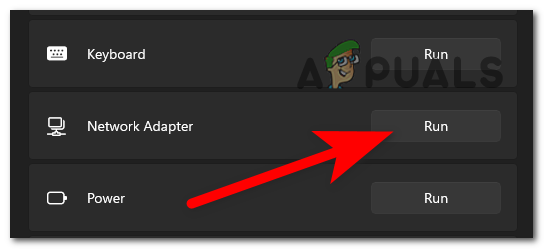
Accessing the other troubleshooters available - Now you will be able to see a list of all the troubleshooters. Look for the Network Adapter inside the list. When you find it, click on Run to start it.
Starting the Network Adapter Troubleshooter - When that is complete, you need to check to see if the Wi-Fi adapter disappearing issue is still present.
In case the error still occurs, go to the next method below.
3. Flush the DNS using the Command Prompt
The people that have gone through this issue are also recommending flushing the DNS inside the Command Prompt. This was efficient for some of the users that have tried this method, so it is worth trying.
Any IP addresses or other DNS records will be removed from your cache by flushing DNS. In addition to other problems, this can aid with security and internet connectivity, and also the Wi-FI adapter disappearing issue.
To do this, all you have to do is to open the Command Prompt as an administrator and insert some commands that will first flush your DNS, then will reset the Winsock Catalog.
Here is a guide that will show you exactly how to do this:
- The first thing you need to do is to open the Command Prompt as an administrator. To do this, press the Windows key + R to open a Run dialog box and type inside the search bar ‘cmd‘. Press the CTRL + Shift + Enter to open the Command Prompt with administrator privileges.

Opening the Command Prompt using a Run dialog box - You will be prompted by the User Account Control (UAC) to confirm that you give the administrator privileges to the Command Prompt. Click on Yes to proceed.
- Now that the Command Prompt appears on your screen, you need to type the following command and press Enter to insert it:
ipconfig /flushdns
- Once you’ve done that, you need to insert another command that will restart the Winsock Catalog:
netsh winsock reset
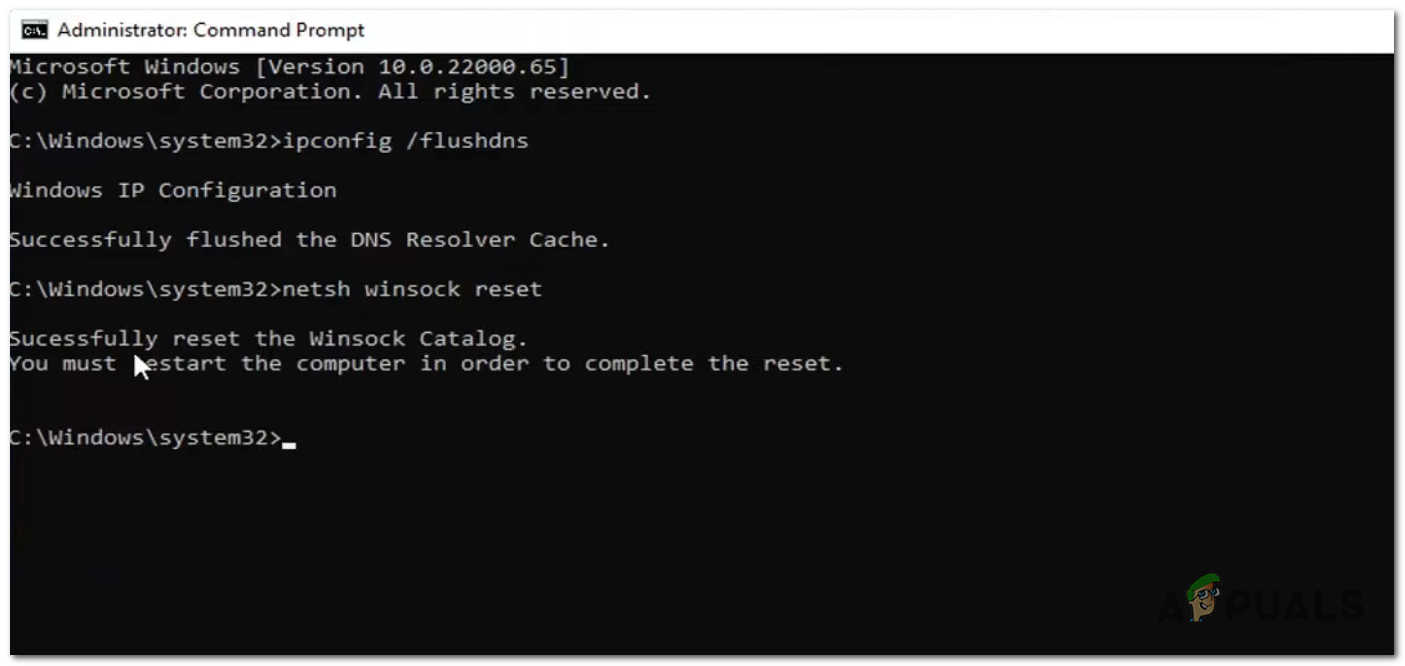
Inside the Command Prompt after flushing the DNS and resetting the Winsock Catalog - After that, you can close the Command Prompt. The only thing left to do is to restart your computer to apply the new changes.
- When the computer boots back on, look to see if the Network adapters disappeared issue is still occurring.
In case the error still appears, check below the next method recommended by the users.
4. Perform a Network Reset inside the Advanced Network Settings
Another thing that is worth trying is to perform a network reset from the Windows Settings of your computer. This method has turned out to be efficient for a large group of people, being recommended by many. This process will reset the network connections that you have on your device.
To perform a network reset, all you have to do is to go to the Advanced network settings and perform the action, then wait until it’s finished. After that, you should reboot your personal computer and the problem should be fixed.
In case you don’t know how to do this, here are the steps you need to follow:
- Firstly you have to open the Windows Settings. To do this, open a Run dialog box by pressing the Windows key + R and type inside the search bar ‘ms-settings:‘, then press Enter.
Opening the Windows Settings using a Run dialog box - Now that you are inside the Windows Settings, you need to look at the list located on the left side of the screen and search for Network & internet. When you see it, access it.
- After you’ve done that, scroll down until you see Advanced network settings, then click on it.
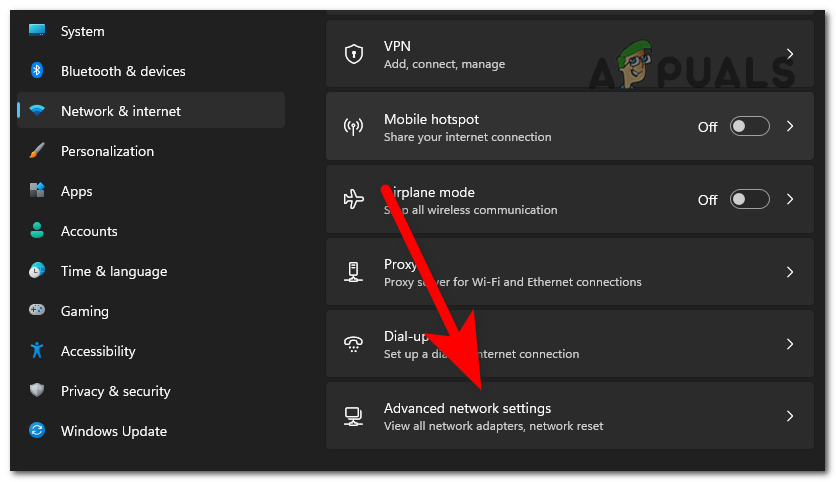
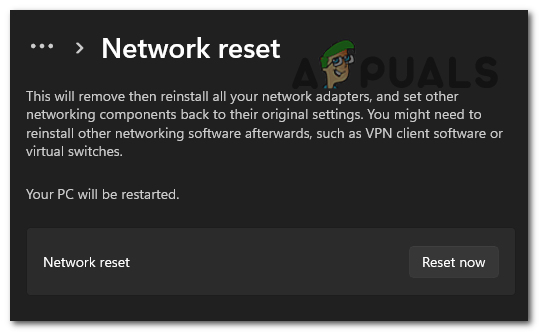
Accessing the Advanced network settings - Now you need to scroll down a bit to the More settings section and look for the Network reset option. Click on it when you find it.
- Once you have done that, the only thing left to do is to click on the Network reset button to start the process. Your personal computer will restart automatically after that.
Starting the Network reset - After your PC boots back, check to see if the Wi-Fi adapter disappearing issue still occurs.
In case the error is still present even after trying all these methods, here is the last potential method that users have used.
5. Scan for Hardware Changes using the Device Manager
The last thing you can try is to scan for hardware changes inside the Device Manager. This process will scan your computer to see if it has any hidden devices that are not showing. After doing this, you might be able to see some hidden devices, and in some cases, users were able to see their Wi-Fi adapter as well.
All you have to do is to open the Device Manager and scan for hardware changes by pressing a button. After that, you should check to see if the Wi-Fi adapter is available now.
In case you don’t know how to do this, here is a short guide that will help you do it:
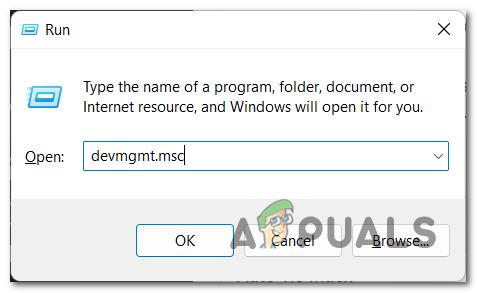
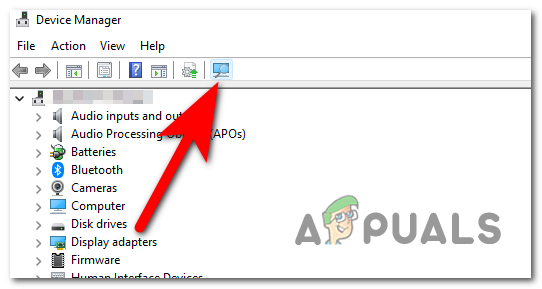
- The first thing you need to do is to open the Device Manager. To do this, you need to open a Run dialog box by pressing the Windows key + R and type inside the search bar ‘devmgmt.msc‘. Press Enter to insert the command and open it instantly.
Opening the Device Manager using a Run dialog box - Once the Device Manager appears on your screen, the only thing left to do is to scan for hardware changes. To do this, all you have to do is to click on the button specific for this action that can be found on the upper side of the screen.
Scanning your computer for hardware changes - After the scan is done, you should go to the Network adapter to see if the Wi-Fi adapter disappearing issue is still occurring.


